Full Arch Fixed Implant Prosthesis
Preoperative Considerations
Consent:
- Pain, swelling, bruising, infection, bleeding
- Implant failure
- Nerve damage to IAN/Lingual/Nasopalatine nerves
- Sinus exposure
- Retained teeth/teeth fragments
- Need for additional procedures
Anesthesia/Positioning:
- Supine vs Fowler's position depending on arch and provider perference
- General anesthesia with nasotracheal intubation vs IV sedation
- Consider proprofol pump for IV sedation, depending on provider anesthetic technique
- For IV sedation, consider longer acting agents (Ex: Dilaudid, Precedex) to decrease bolus frequency, especially if serving as both surgeon and anesthetist
Other:
Armamentarium:
- Botox (case dependent)
- Local anesthesia
- Minnesota retractor
- Self-retaining cheek retractor
- Weider ("Sweetheart') retractor
- Yankauer suction
- Frasier tip suction
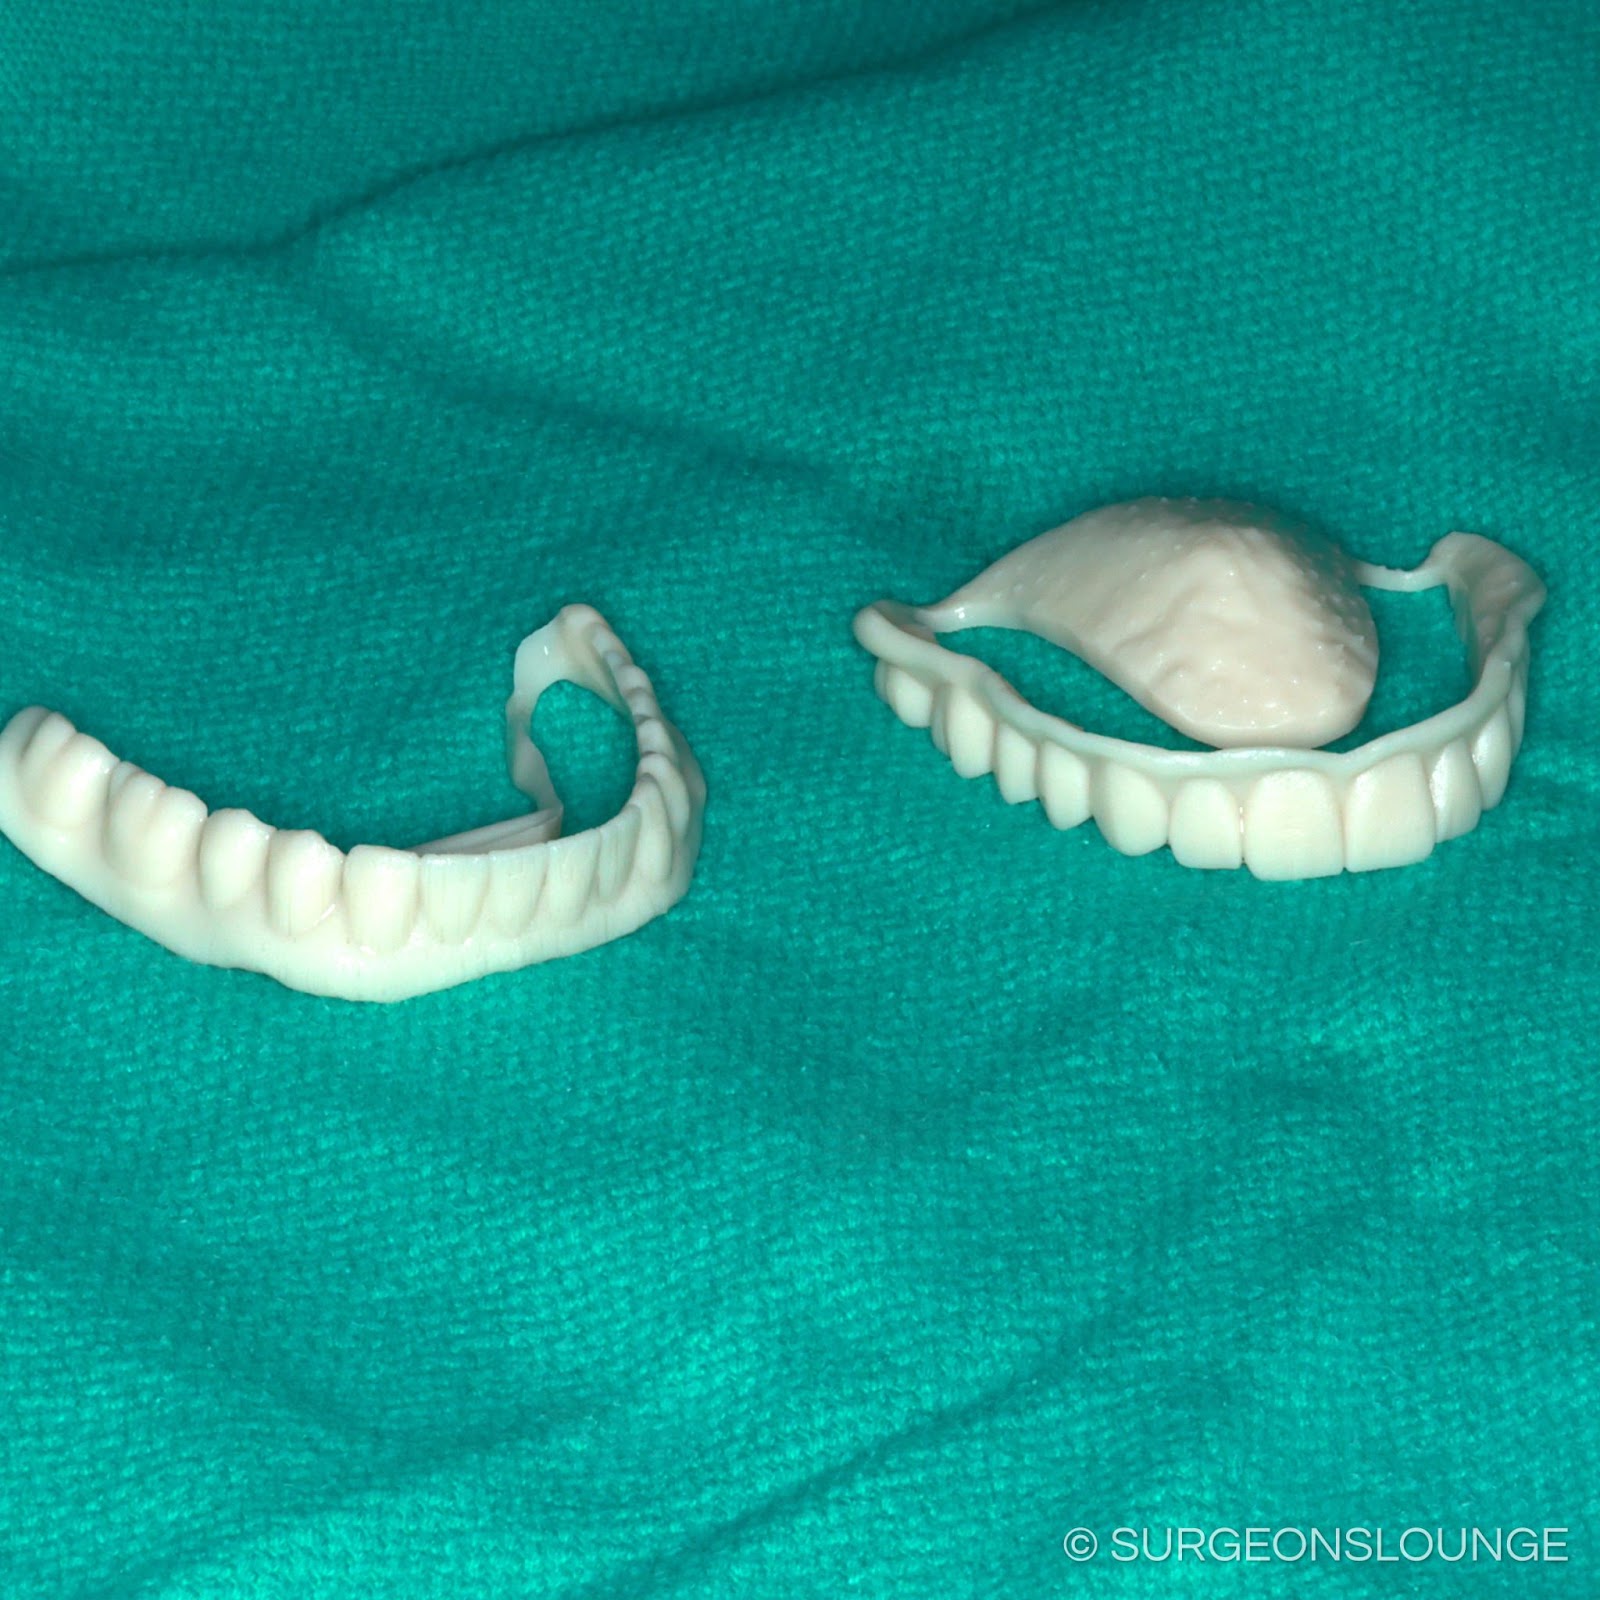
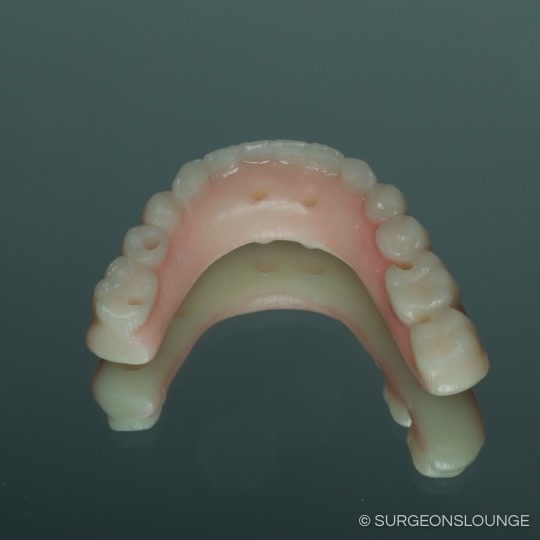
- Trough denture or surgical guide
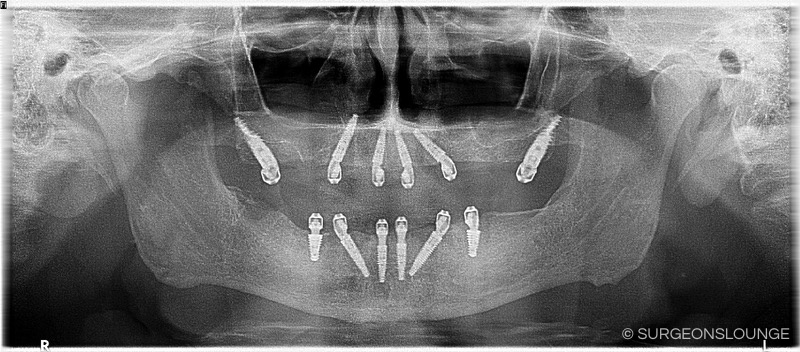
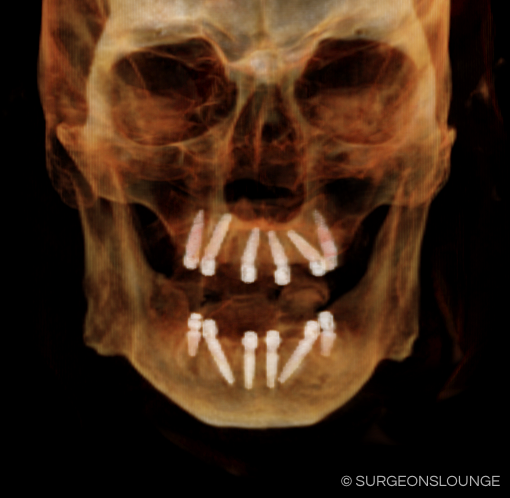
- Dental implants
- Implant drill kit
- Implant handpiece
- Mallet, osteotomes, and hand driver (for Noris pterygoid implants)
- Multiunit abutment try-ins
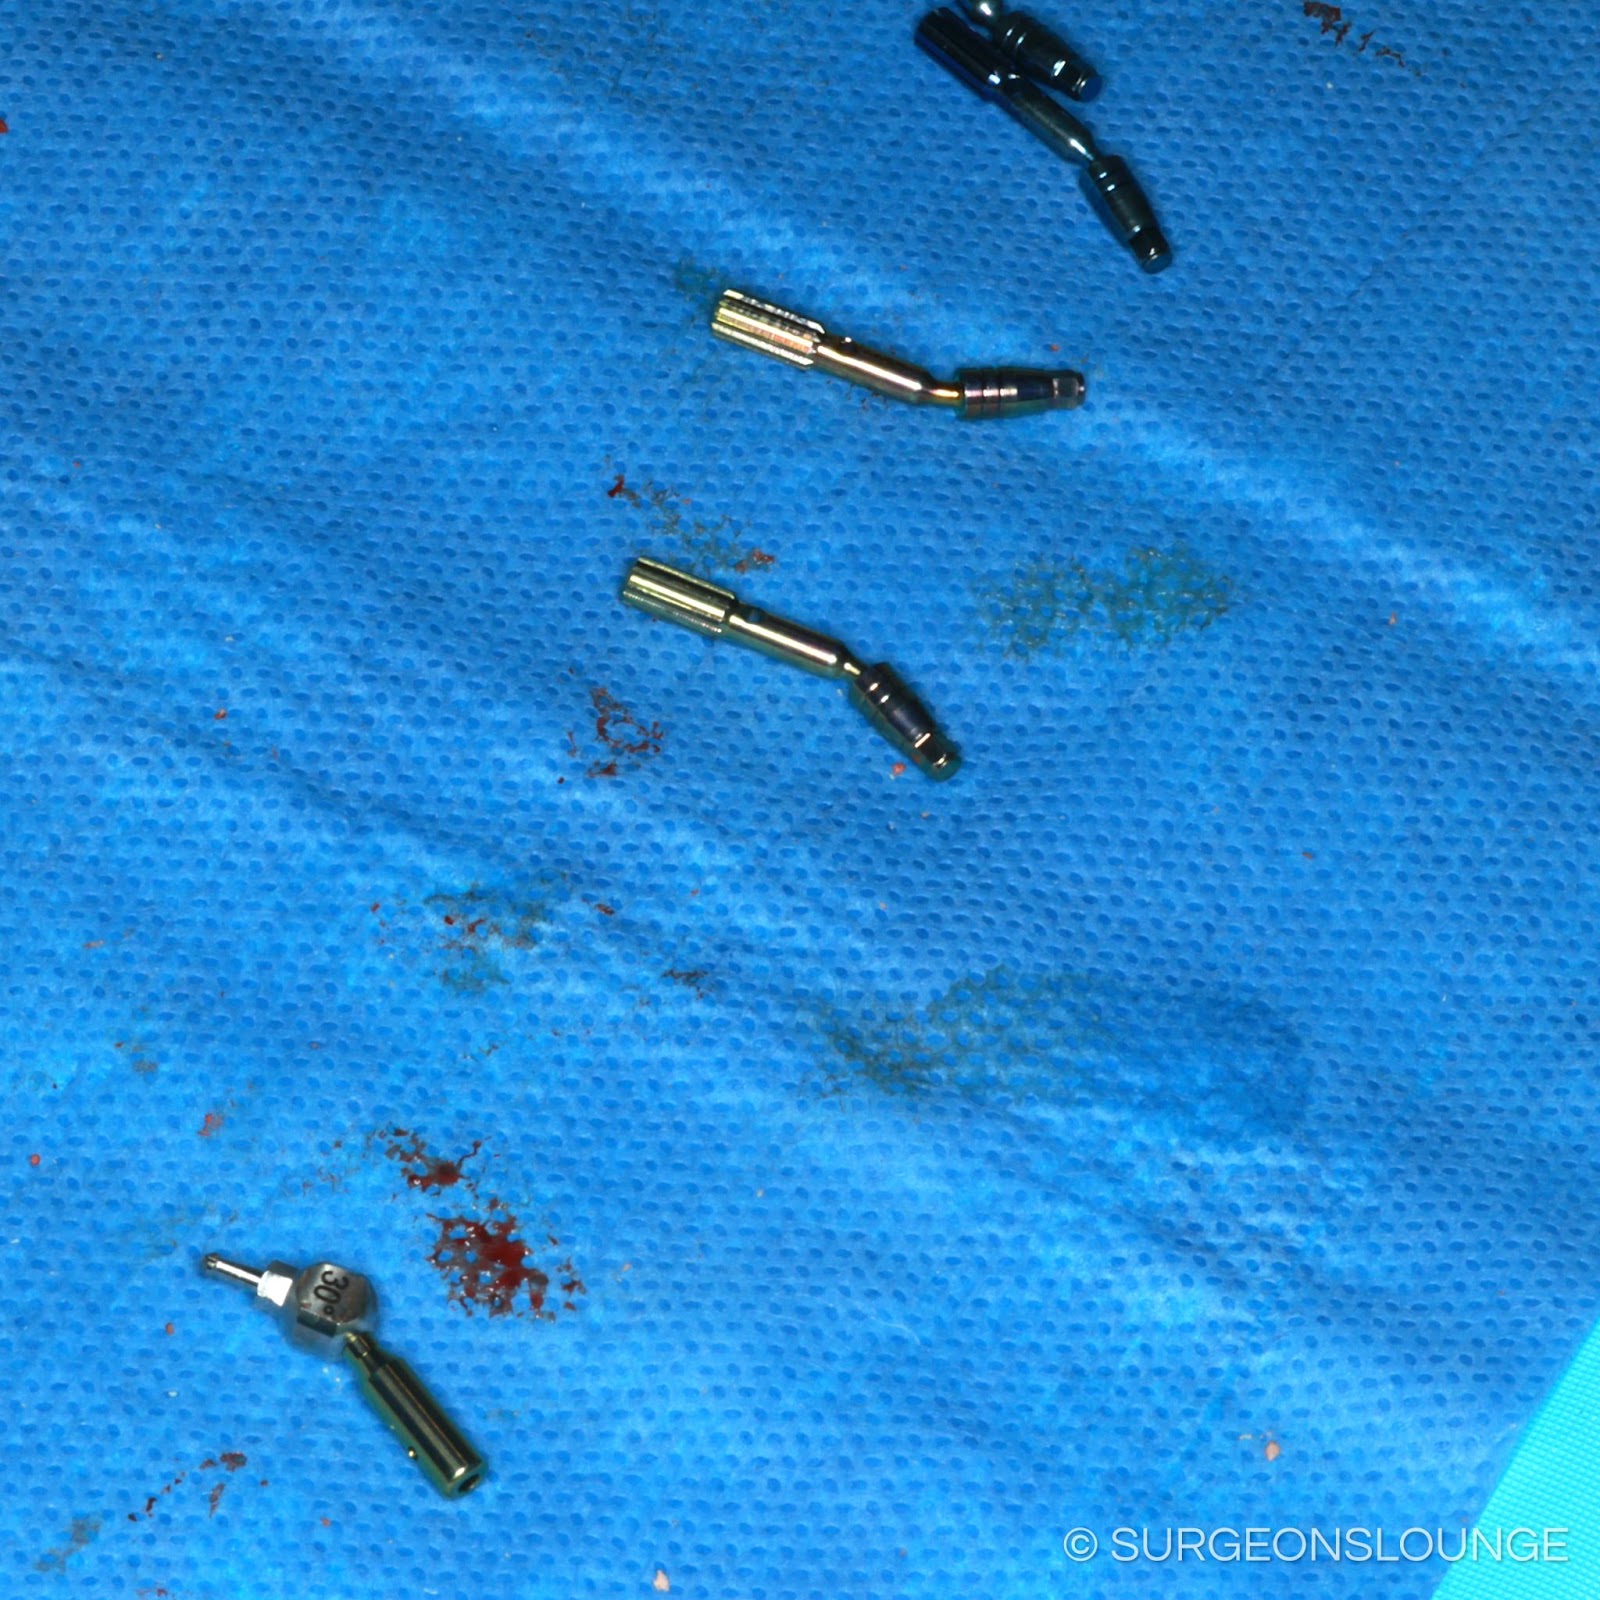
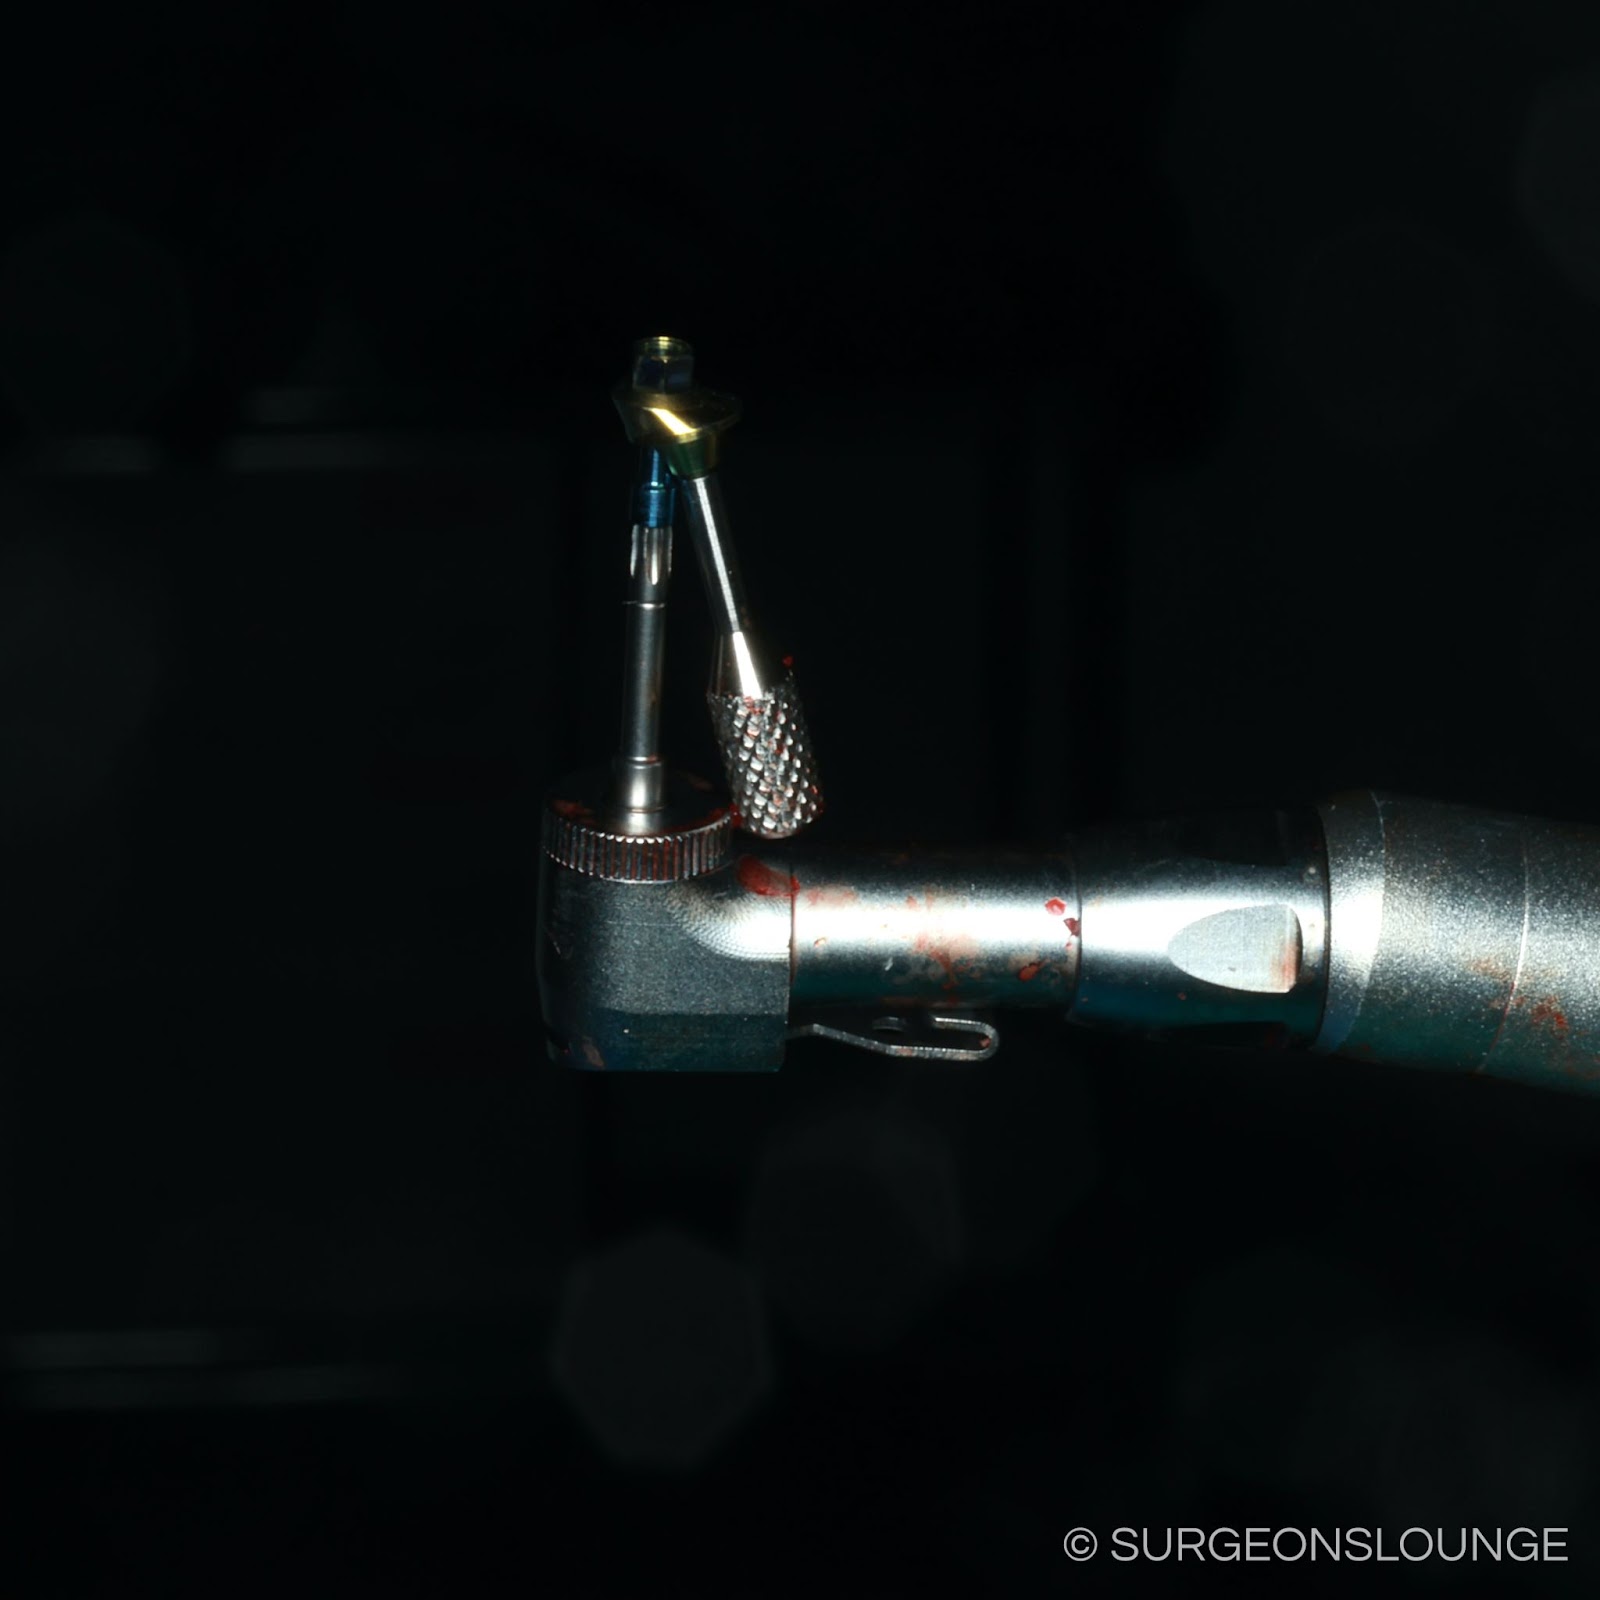
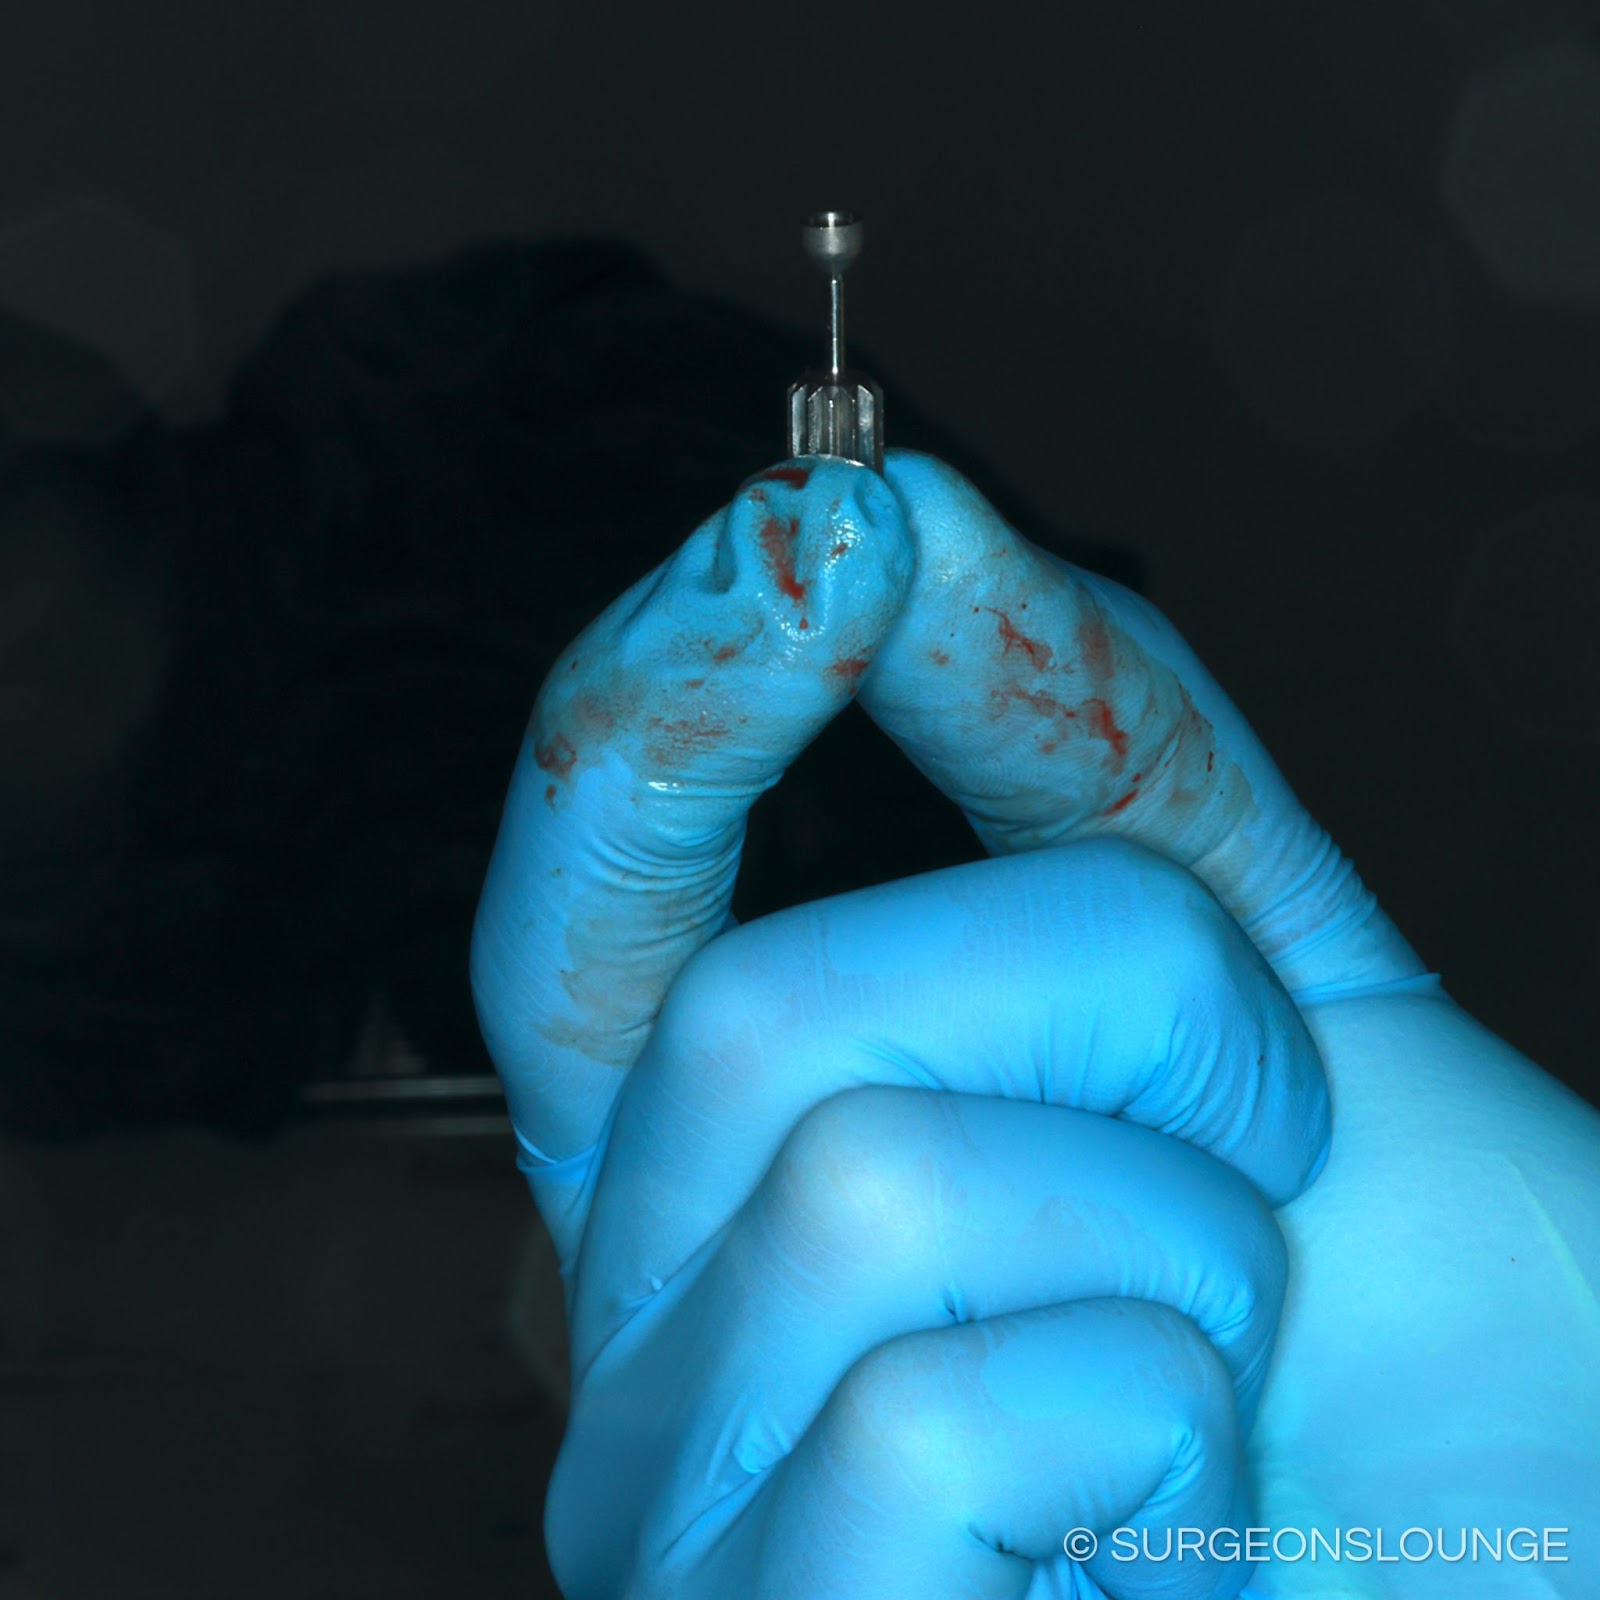
- Multiunit abutments
- Implant profiler
- Multiunit abutment screwdriver
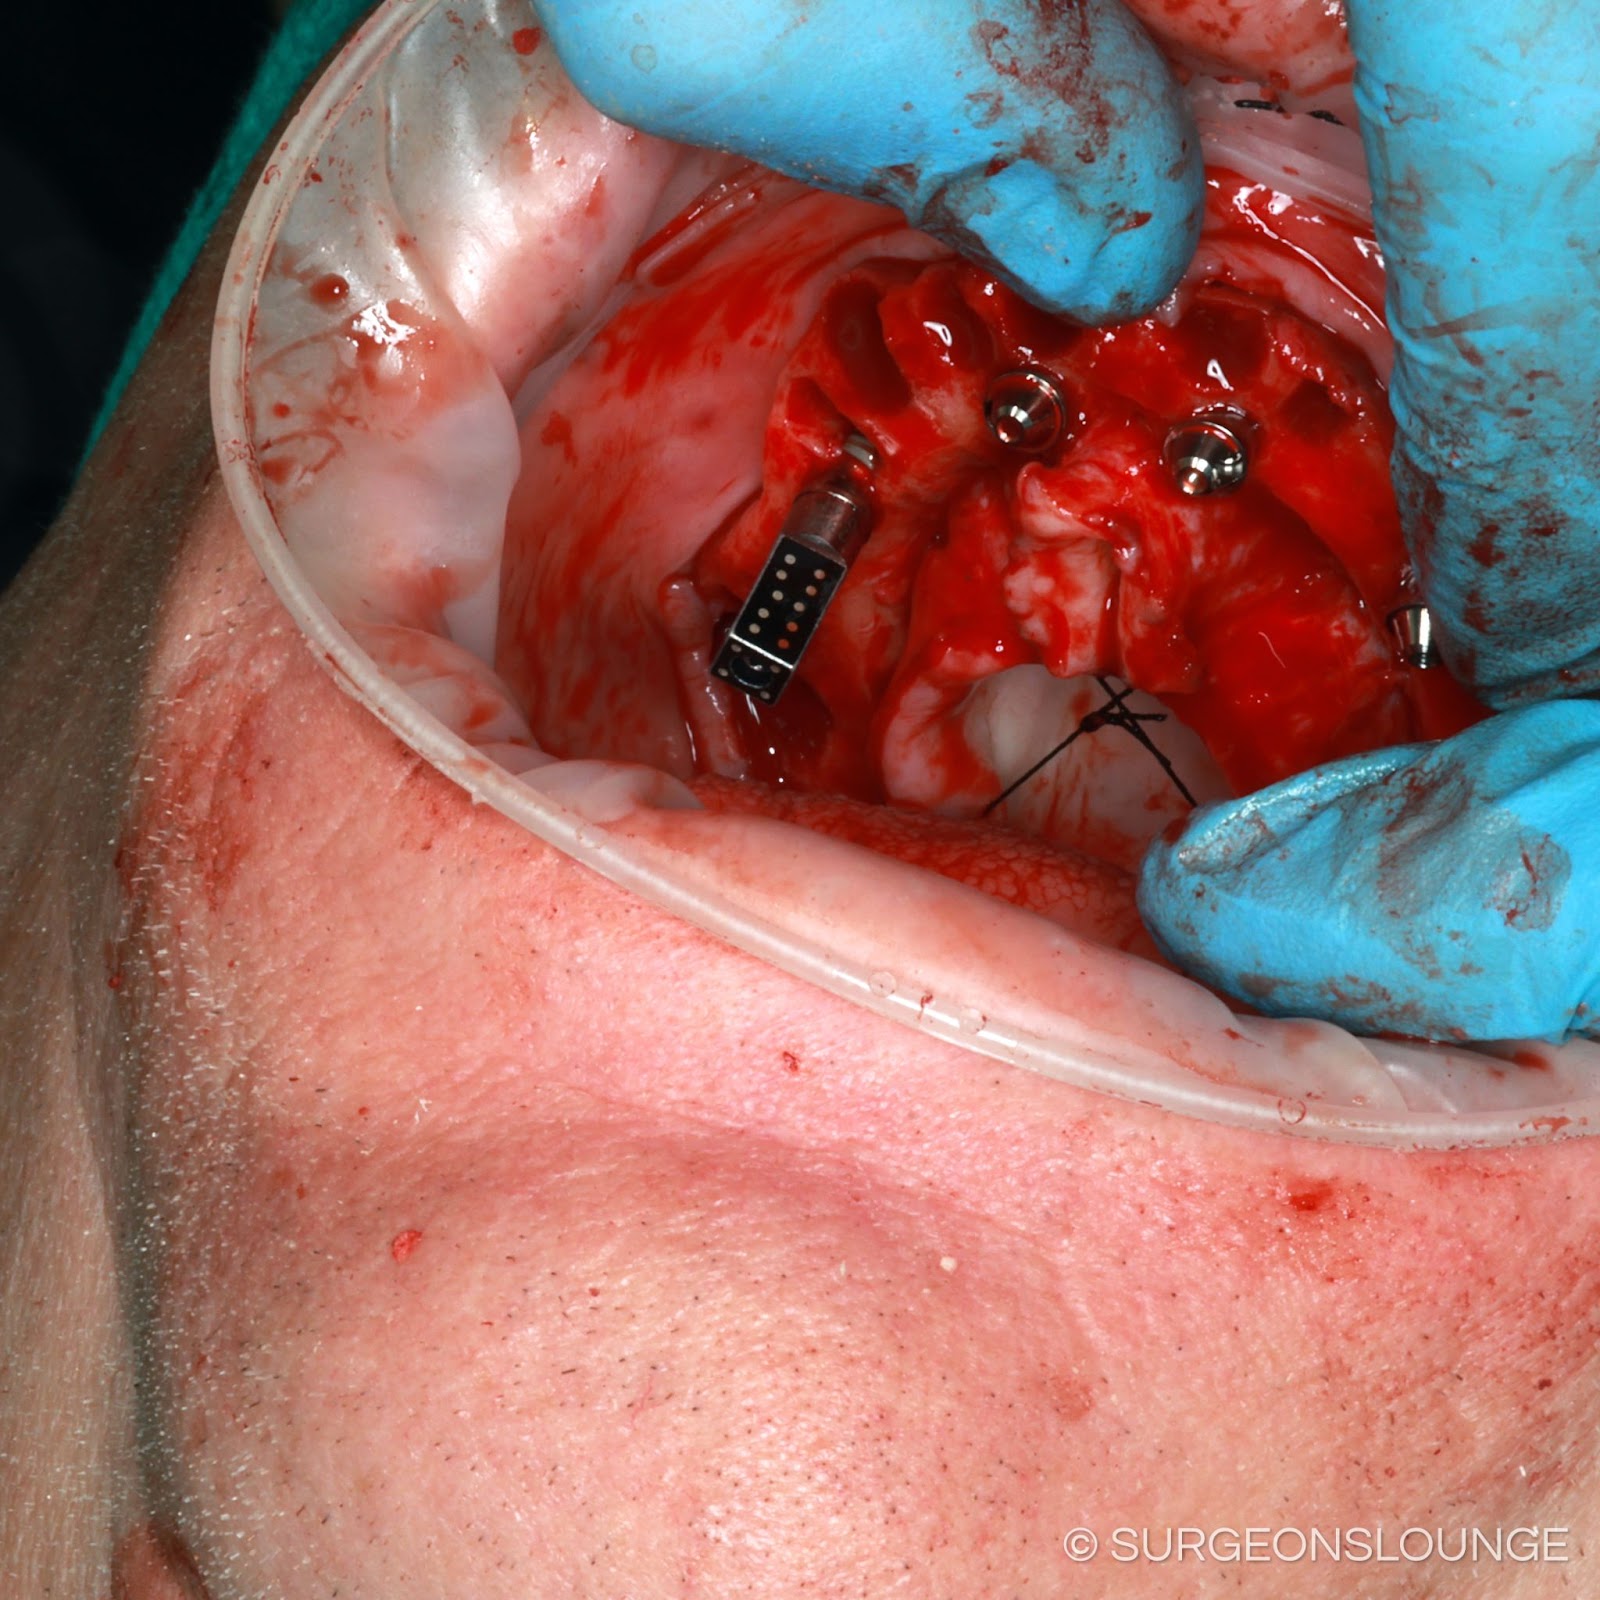
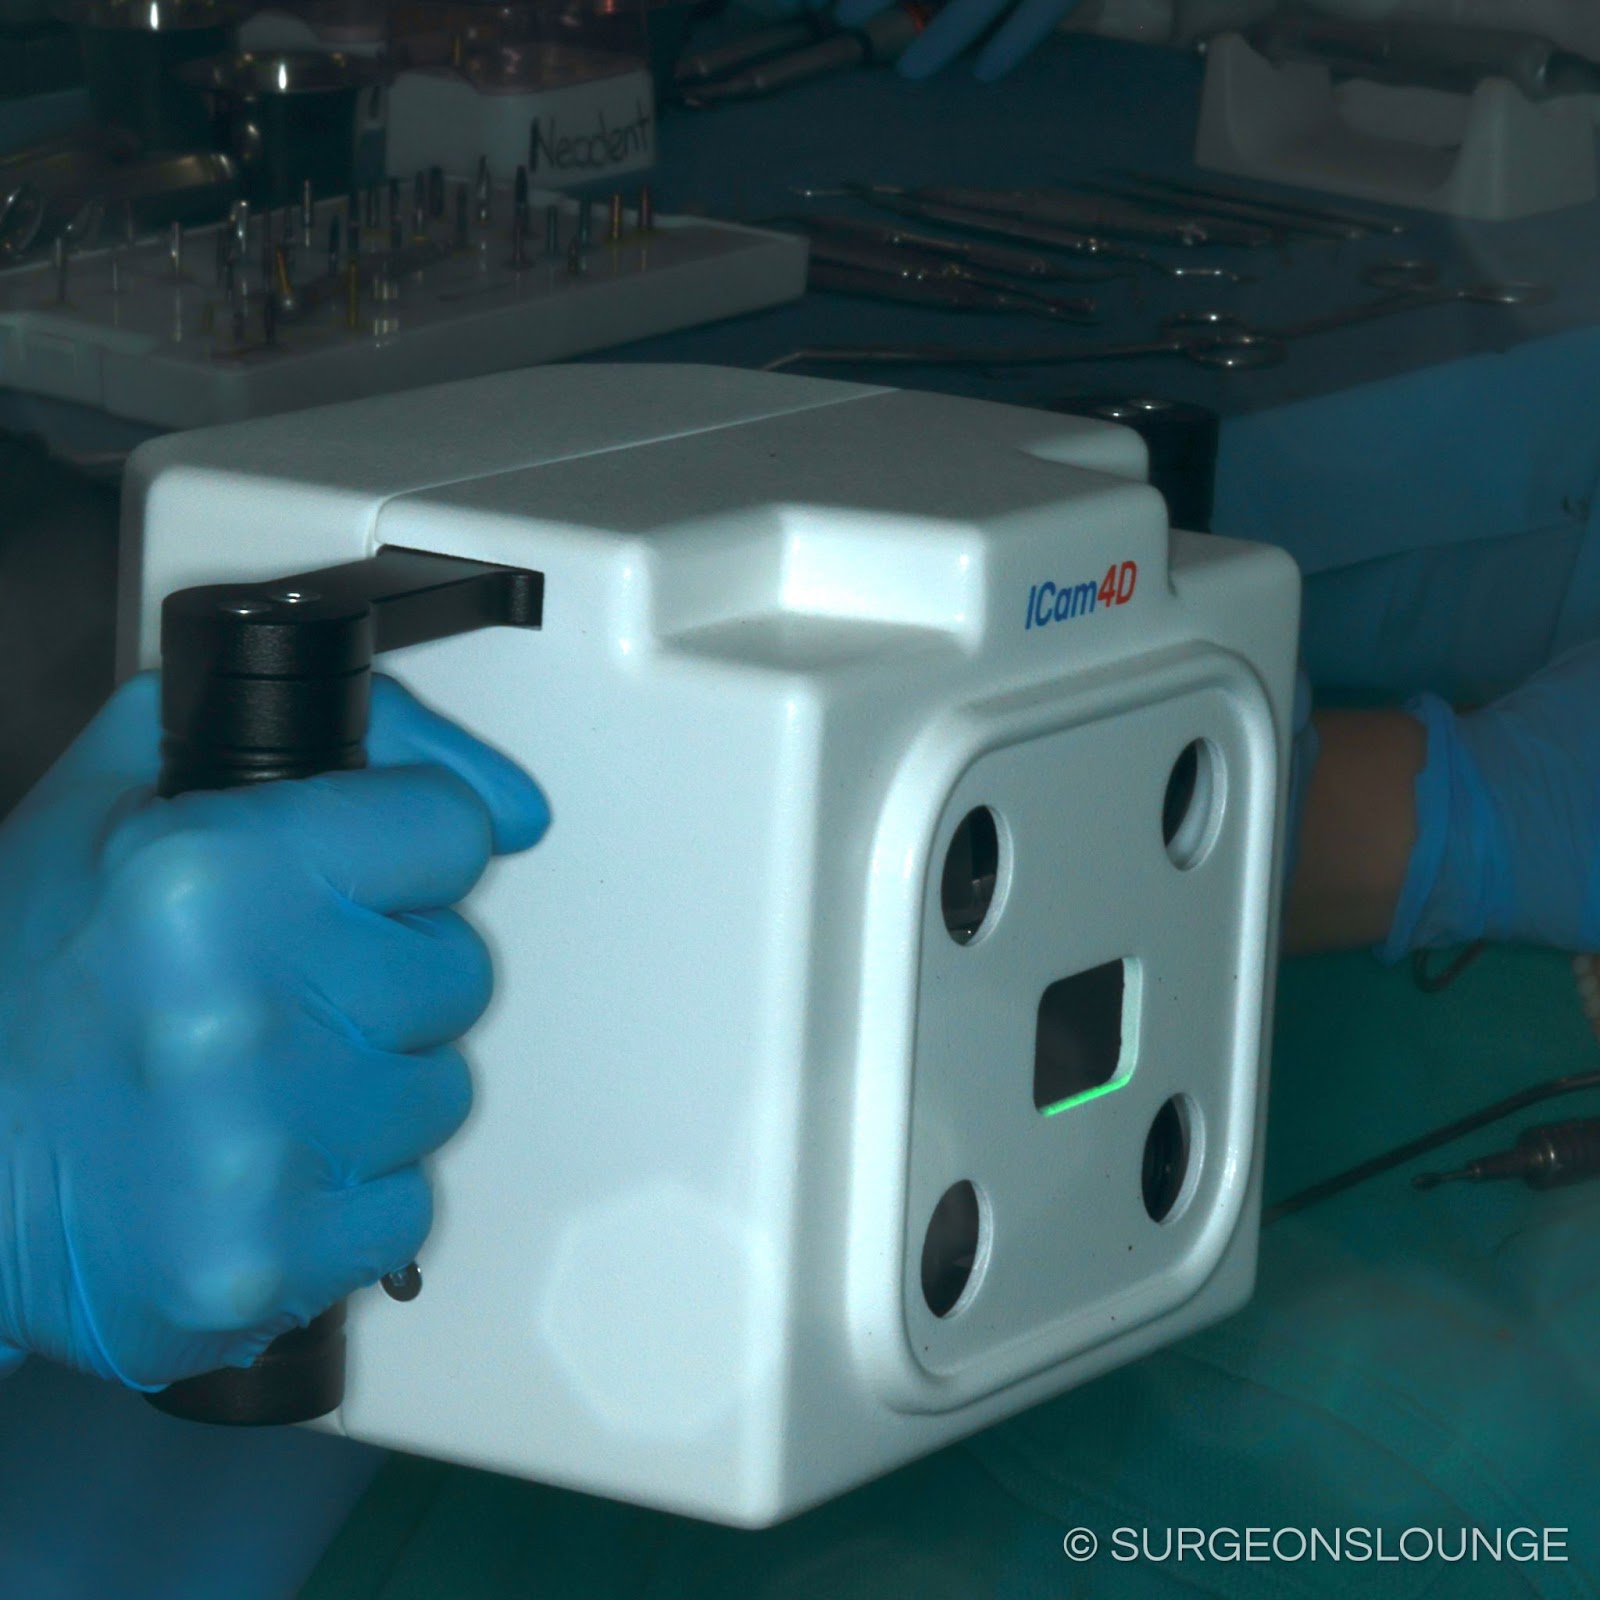
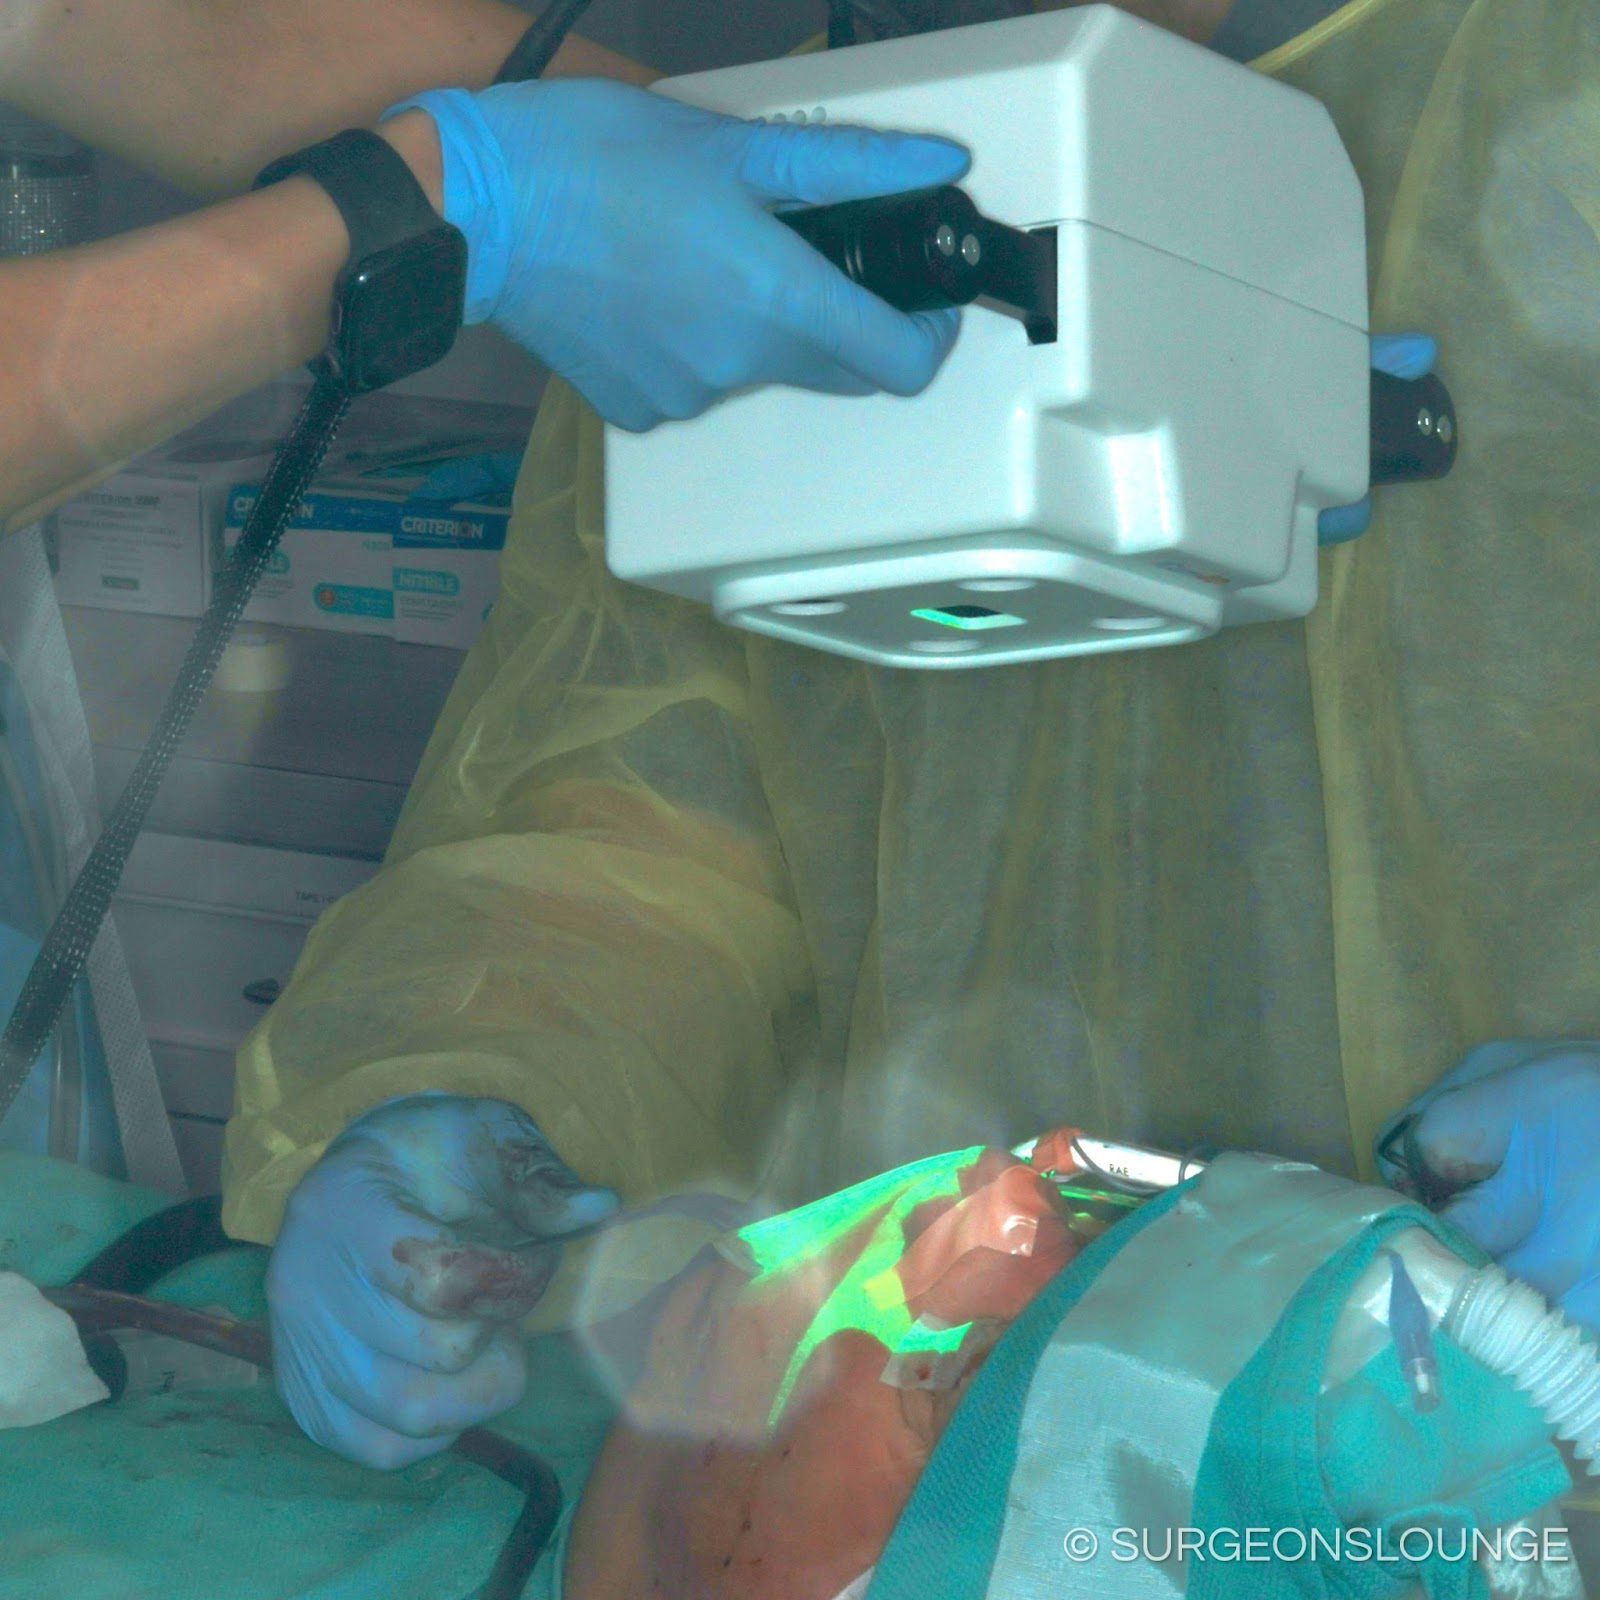
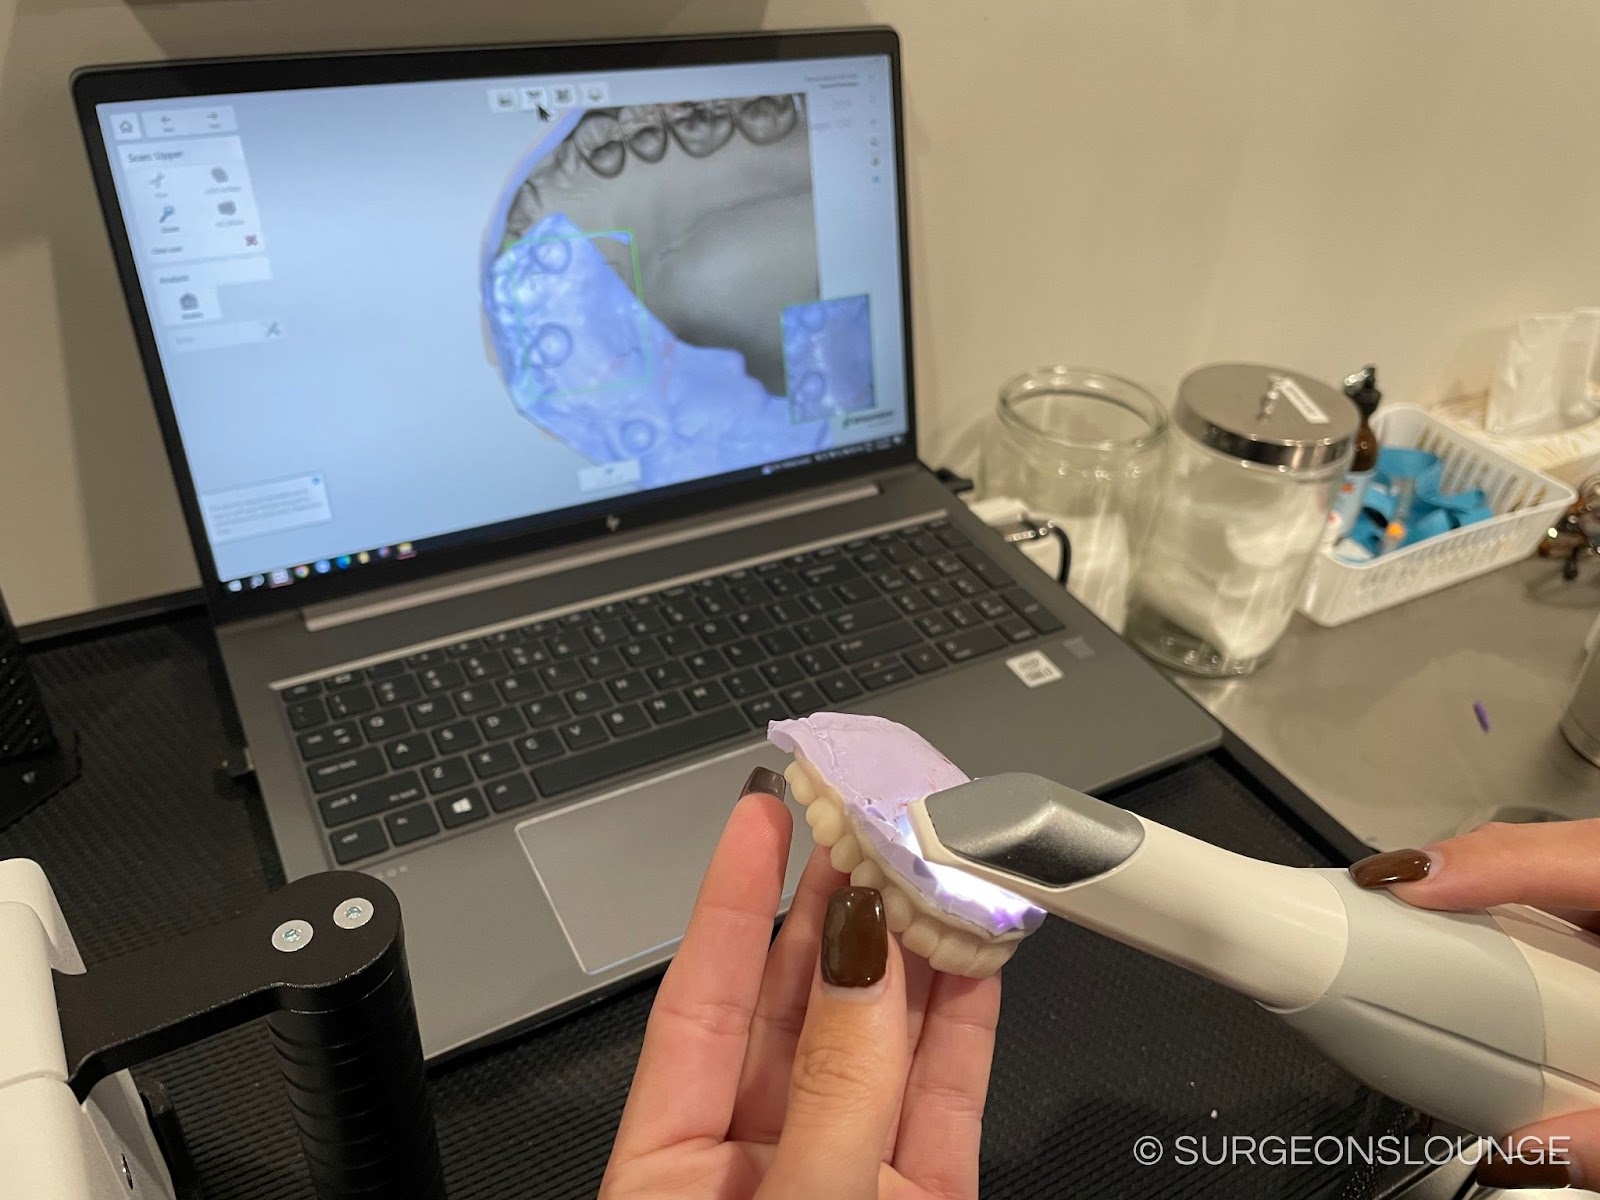
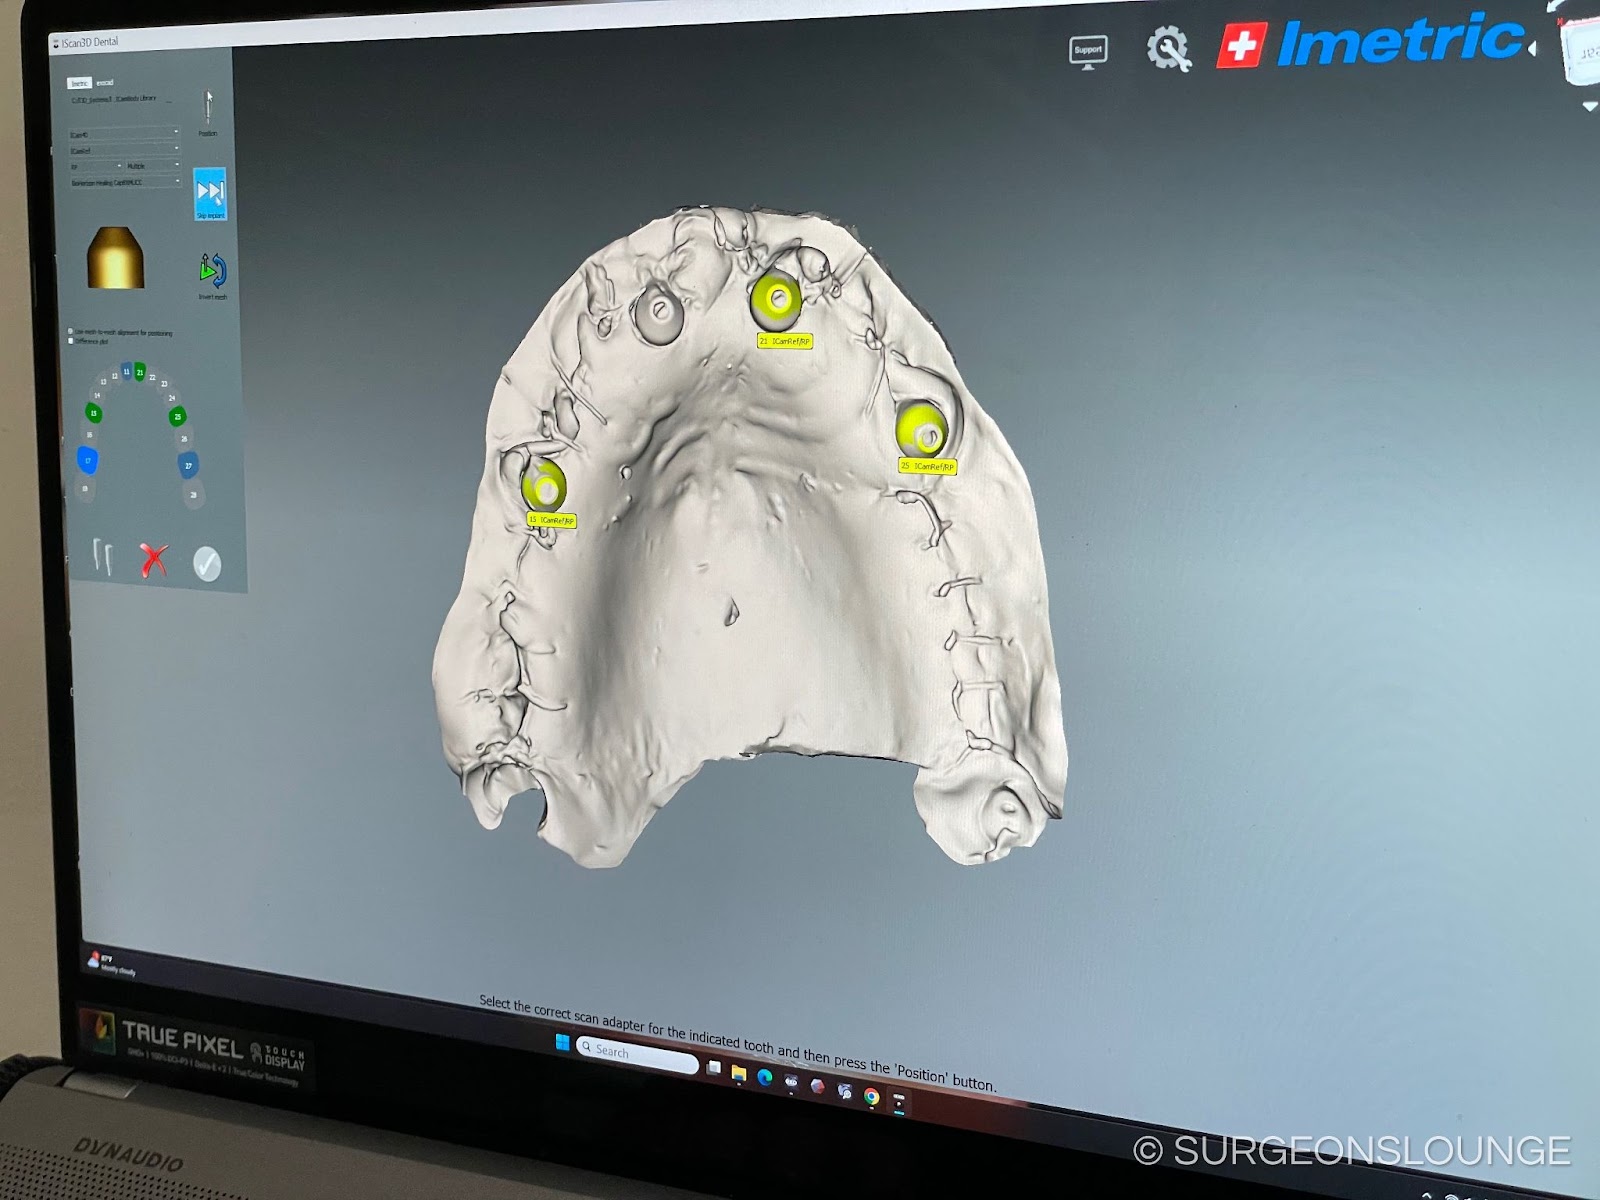
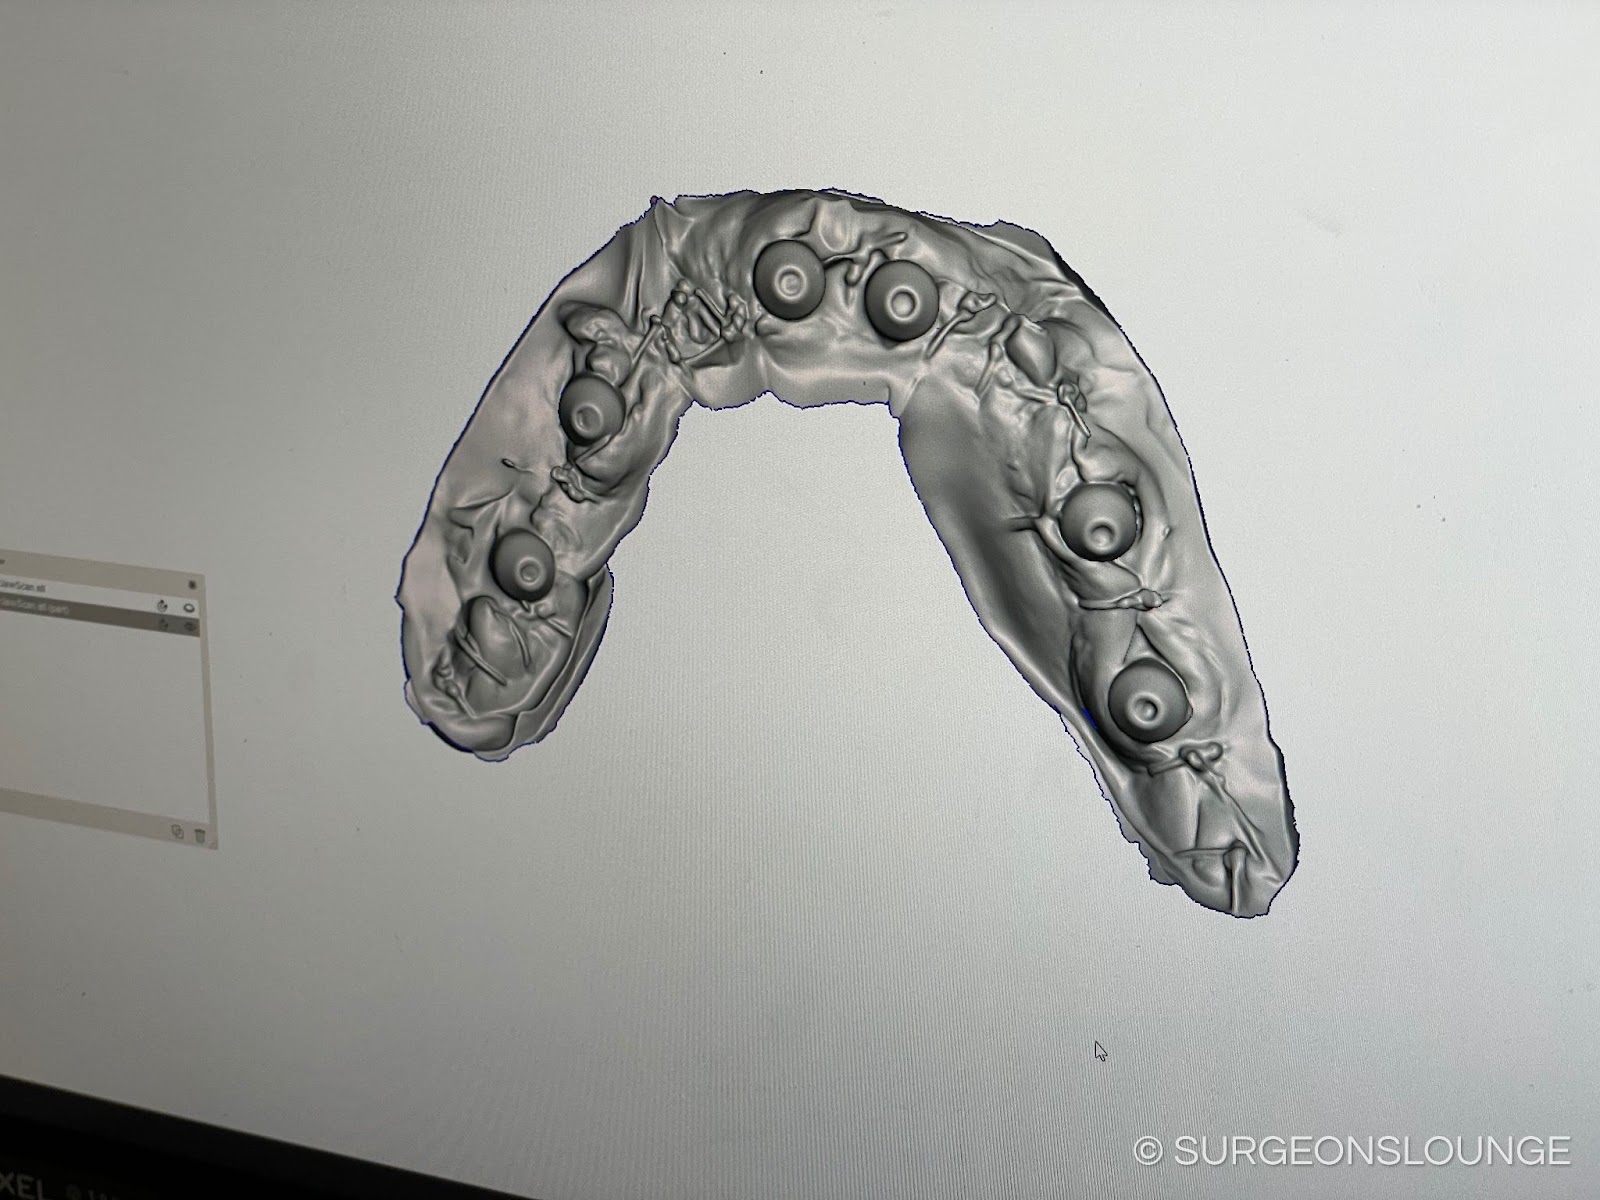
- Photogrammetry posts
- Multiunit abutment comfort caps
- 2-0 Silk suture
- 3-0 Chromic gut suture
- 15 blade
- #9 Molt periosteal elevator
- Surgical handpiece
- Fissure bur
- Large head carbide ("Pineapple/Egg") bur
- Dental elevators
- Dental forceps
- Rongeurs
- Tissue punch
- Normal saline irrigation
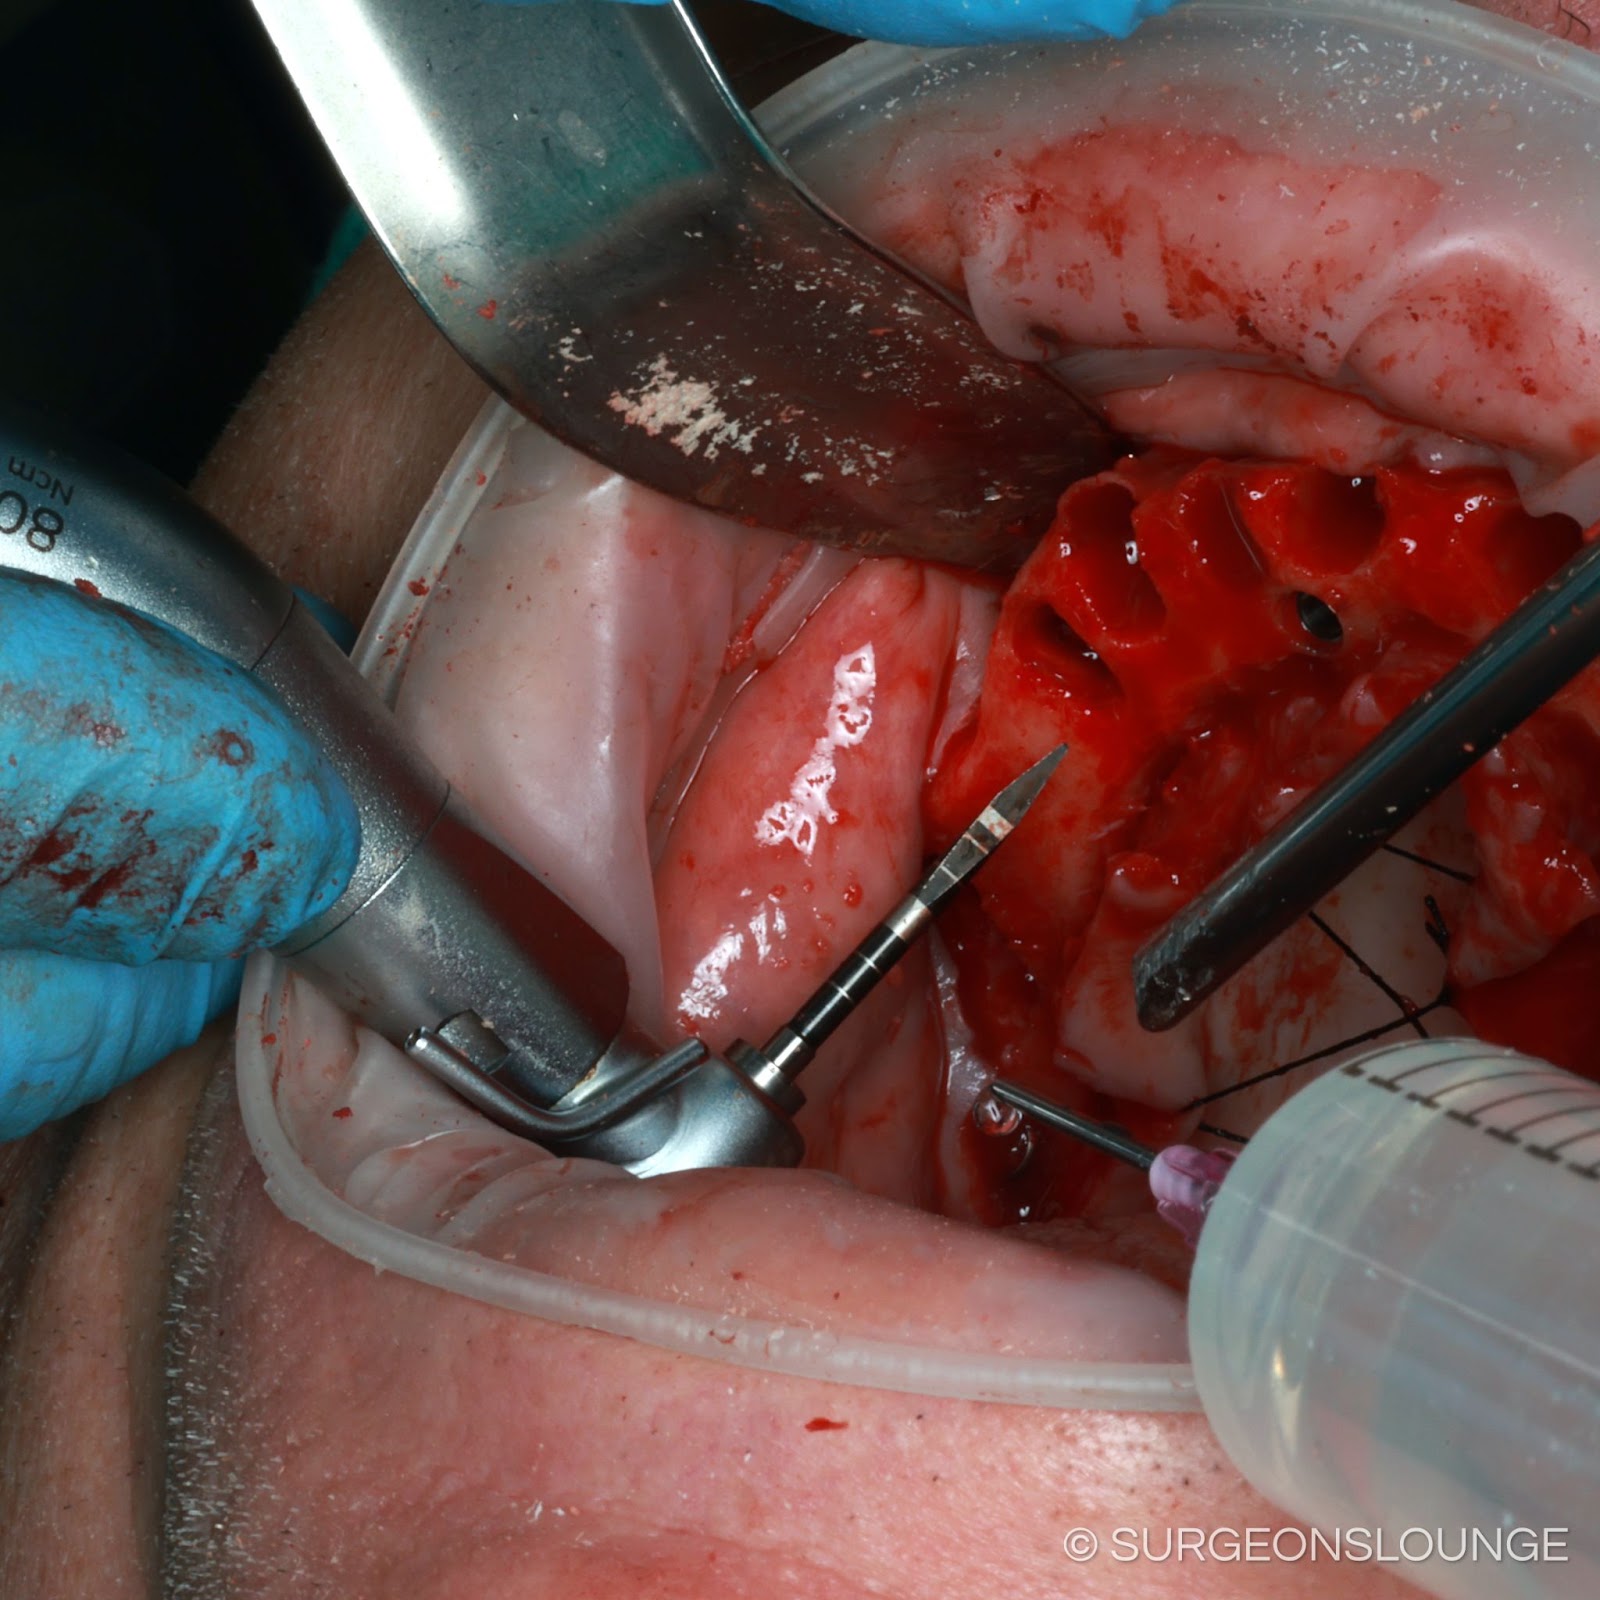
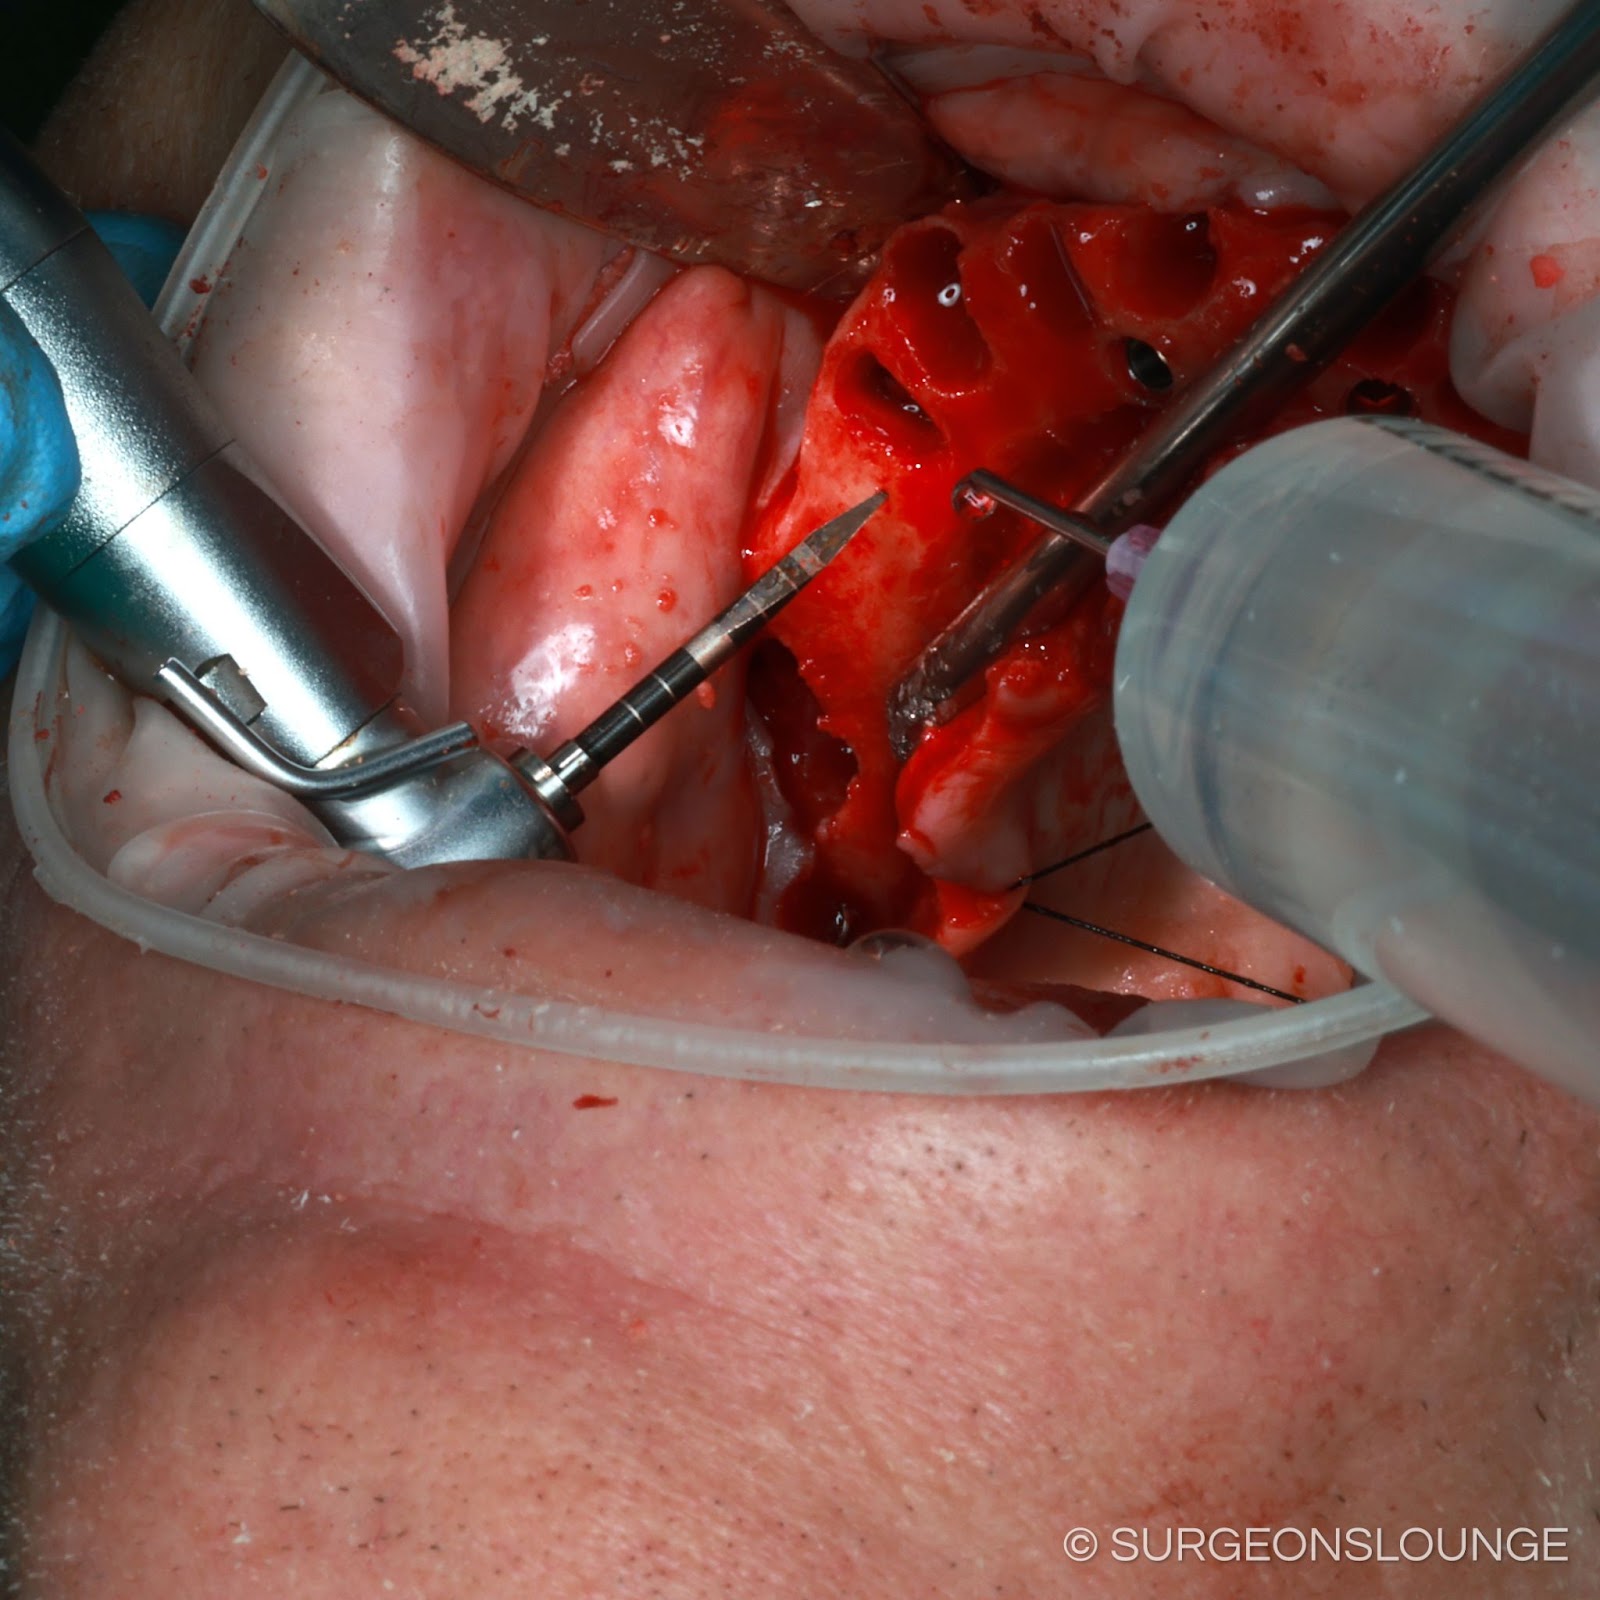
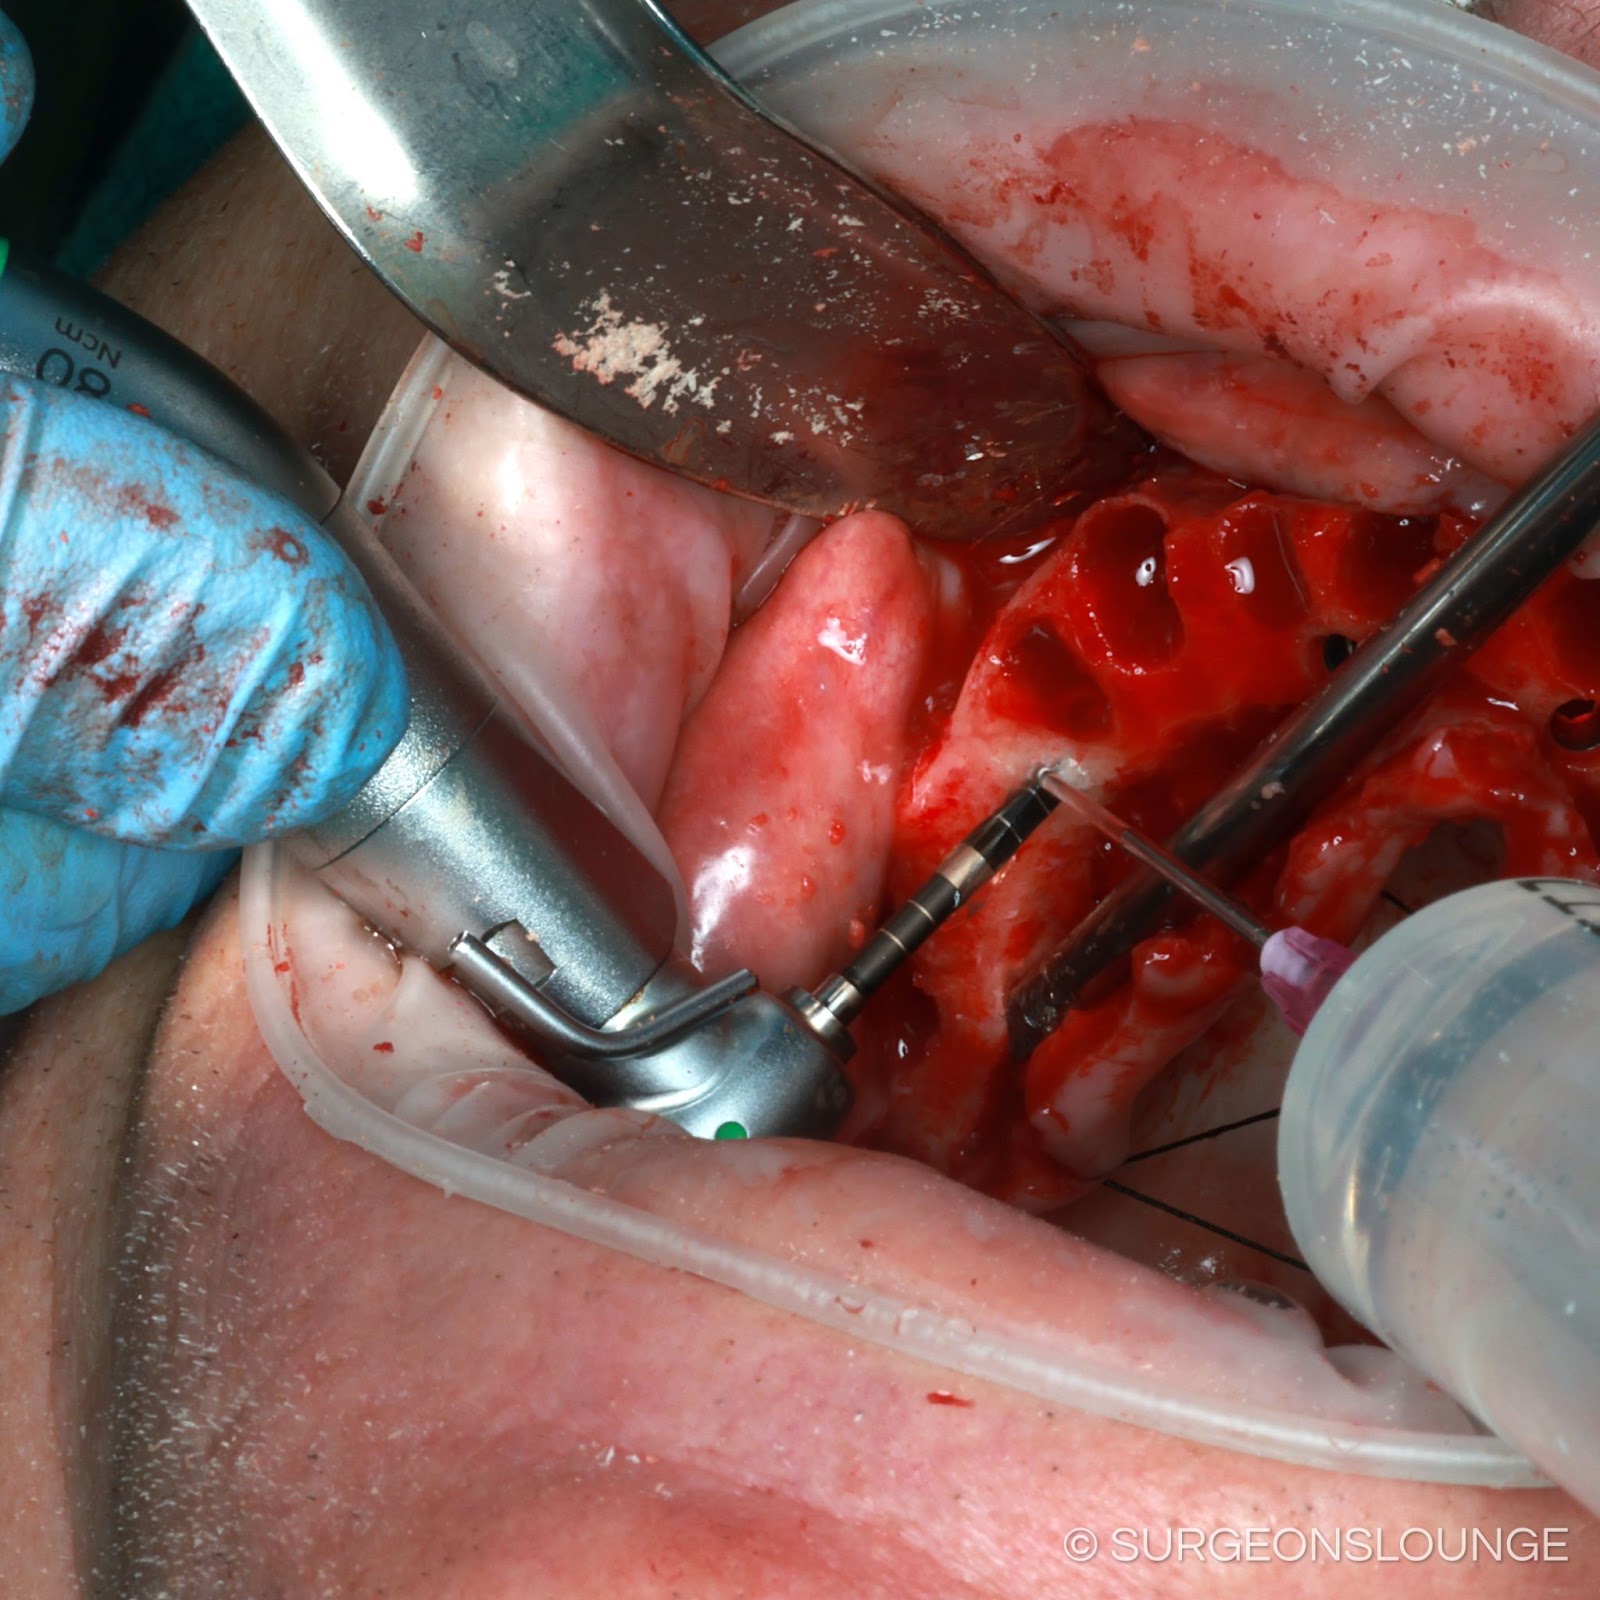
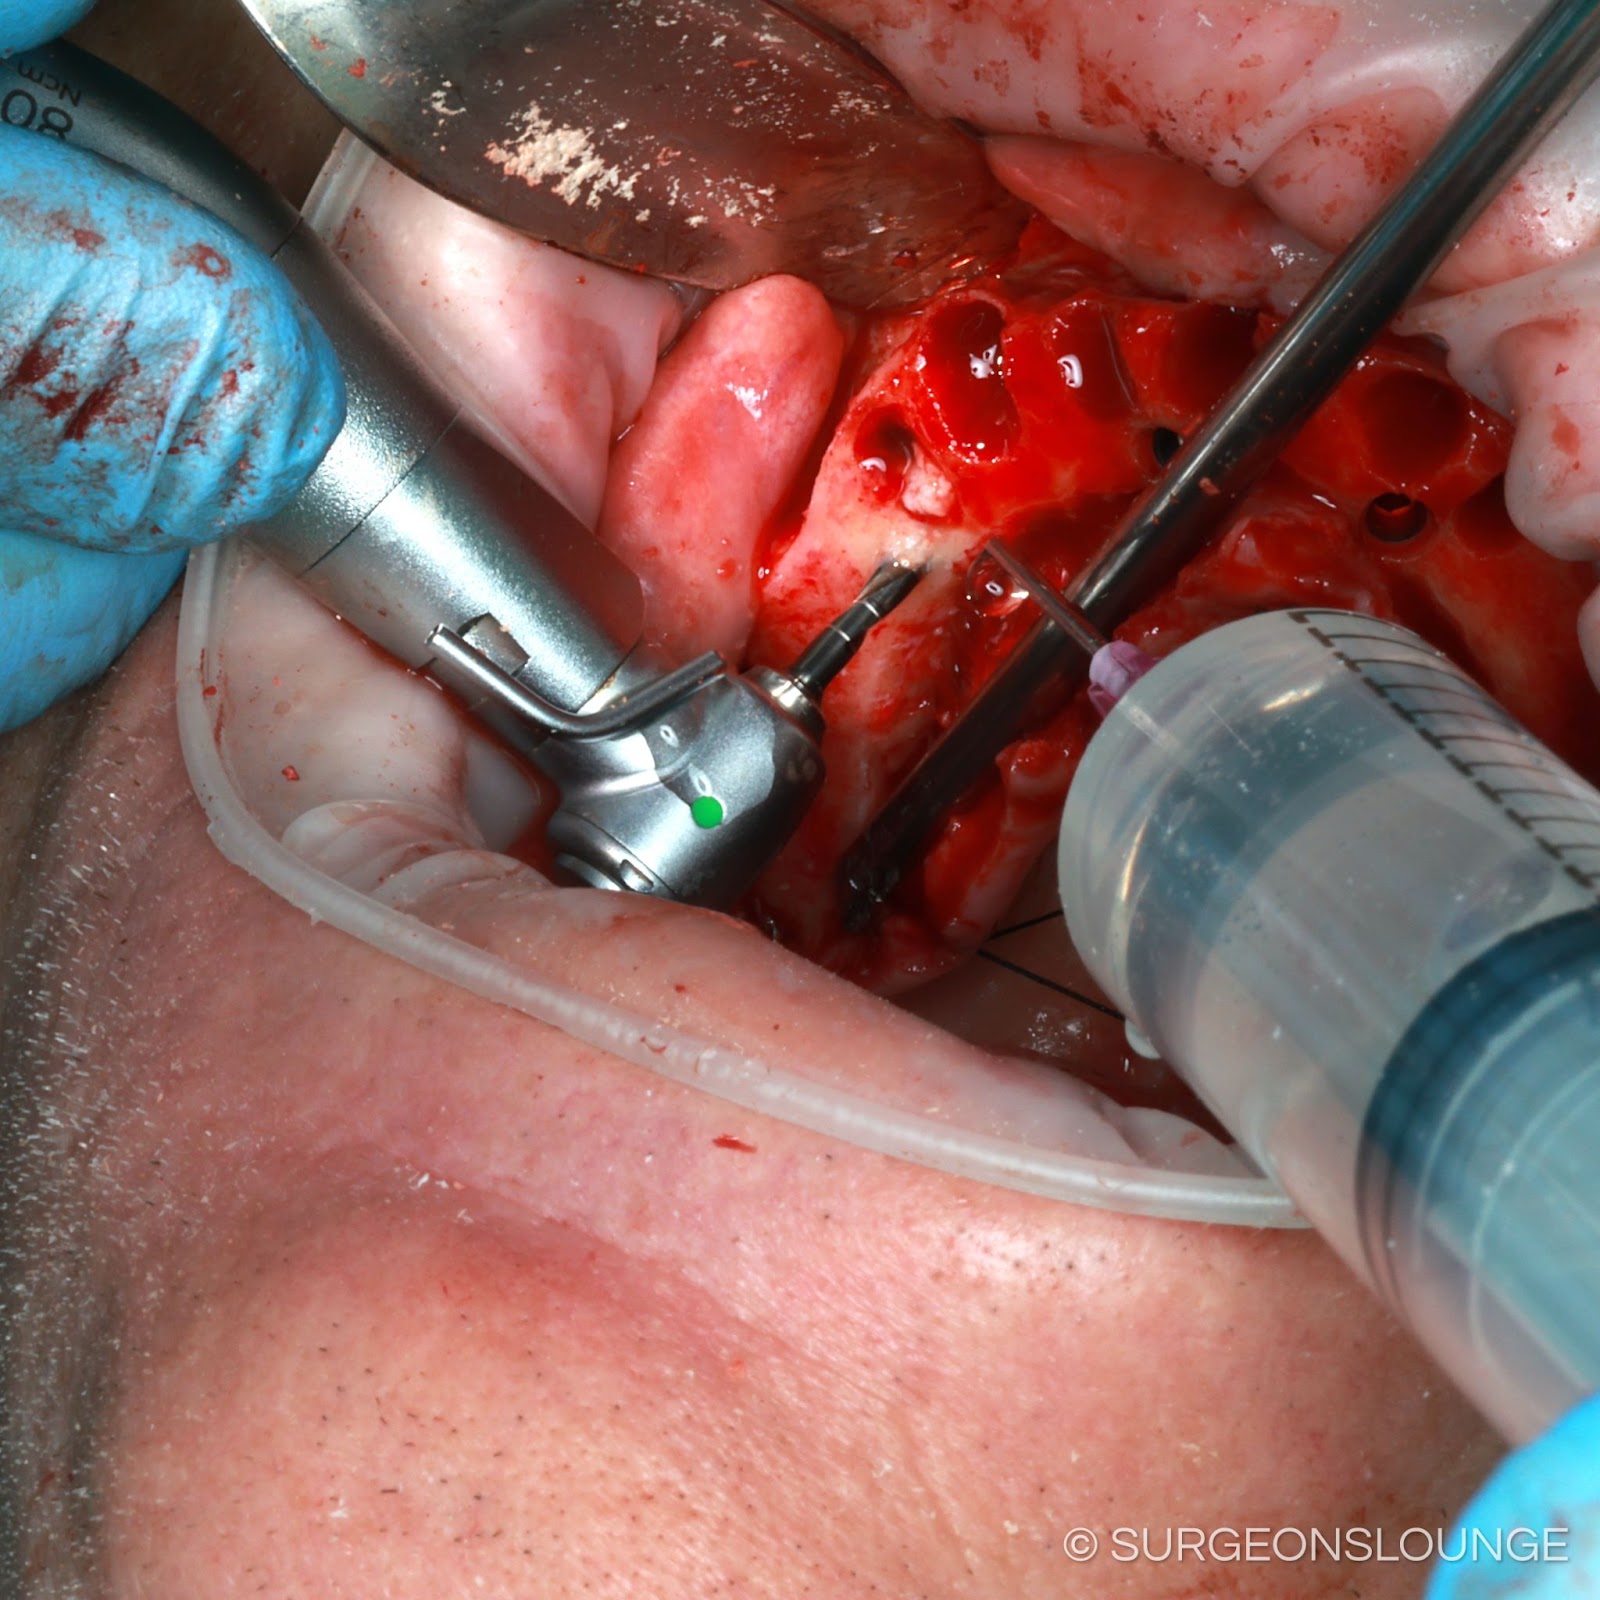
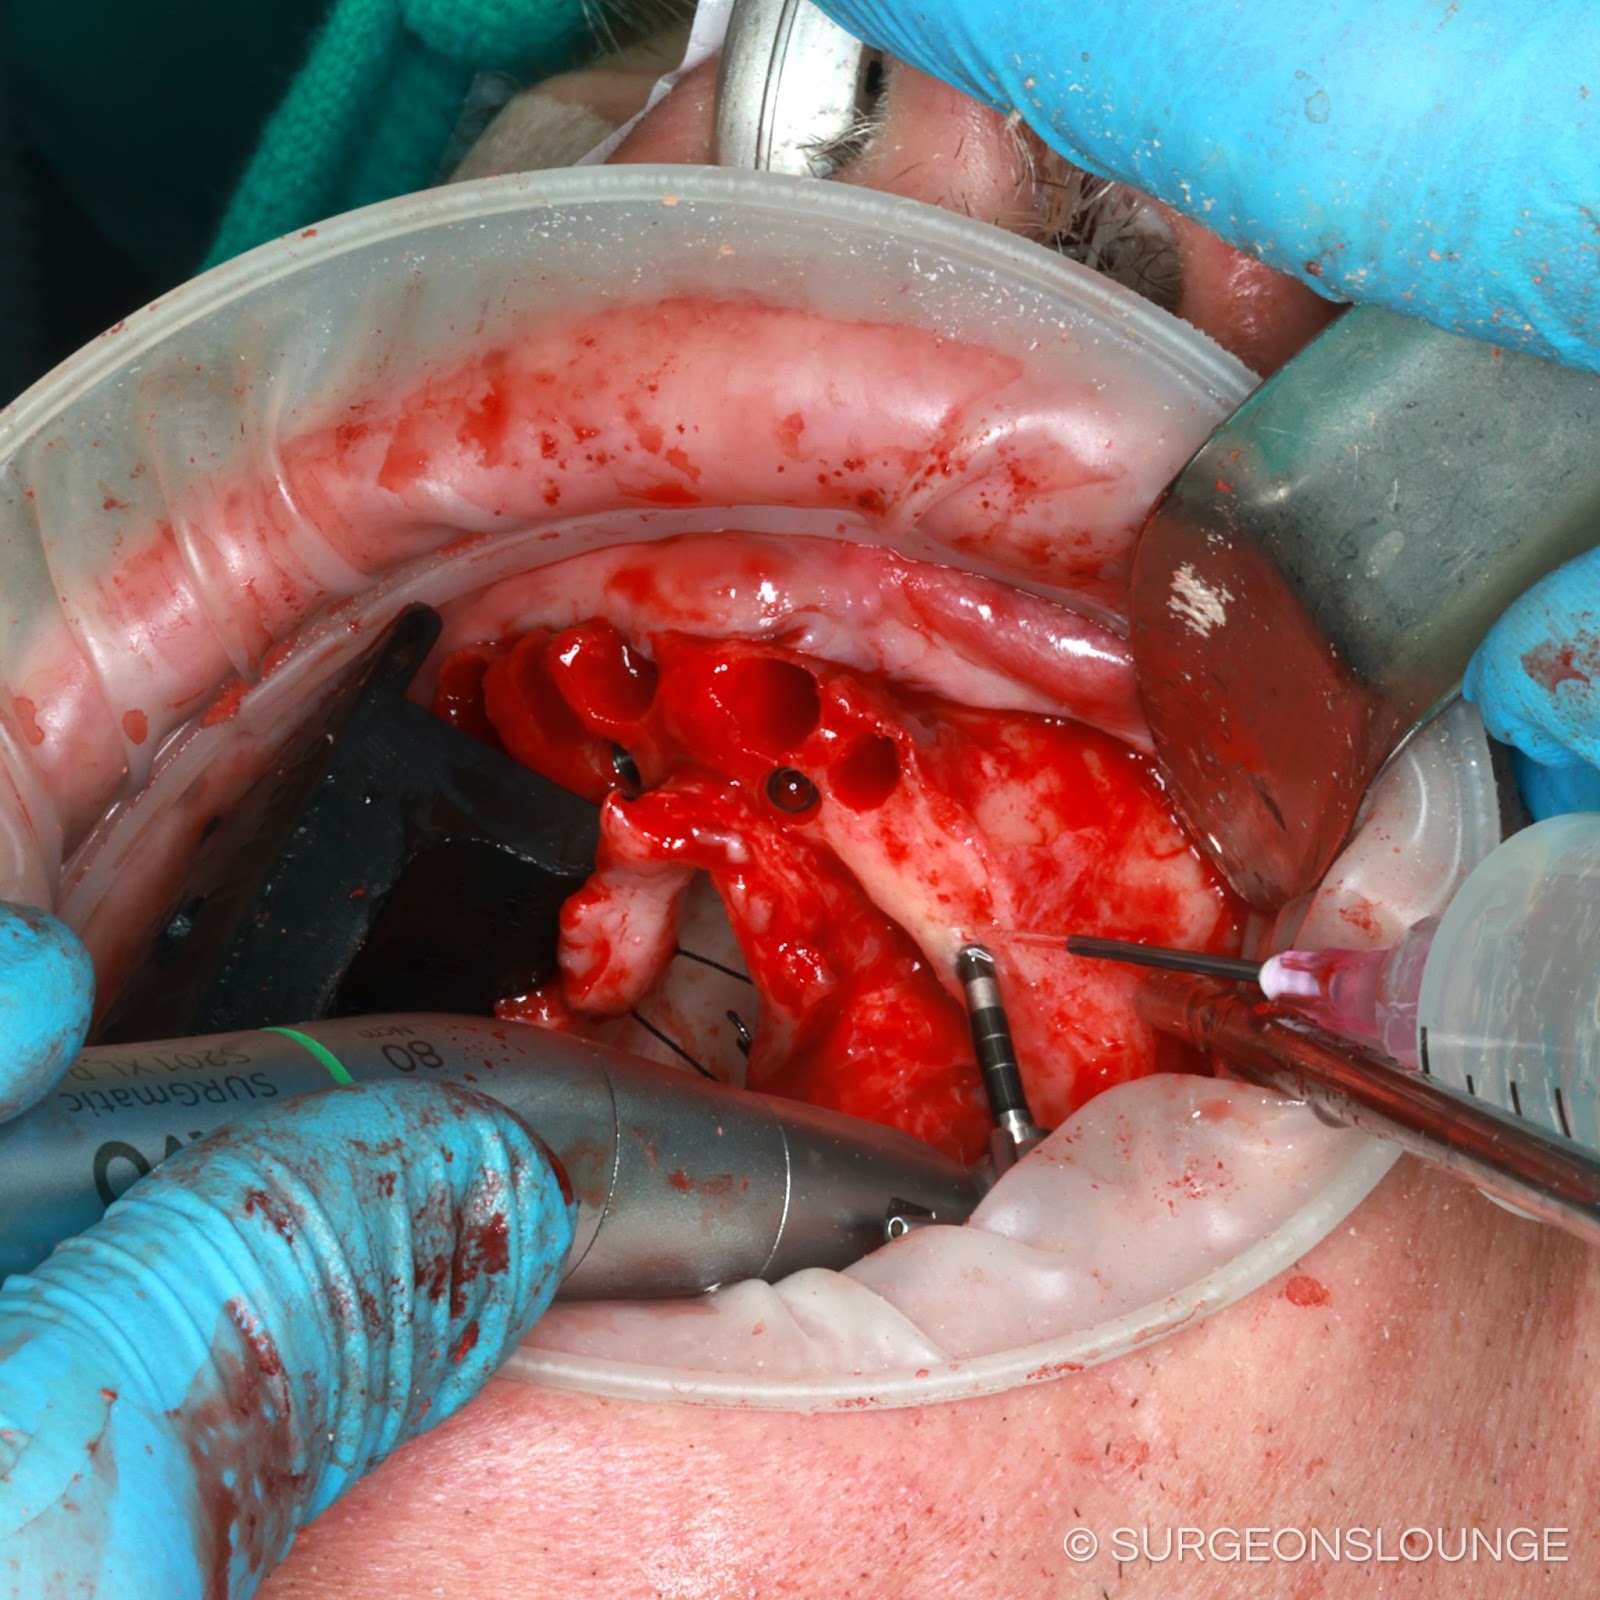
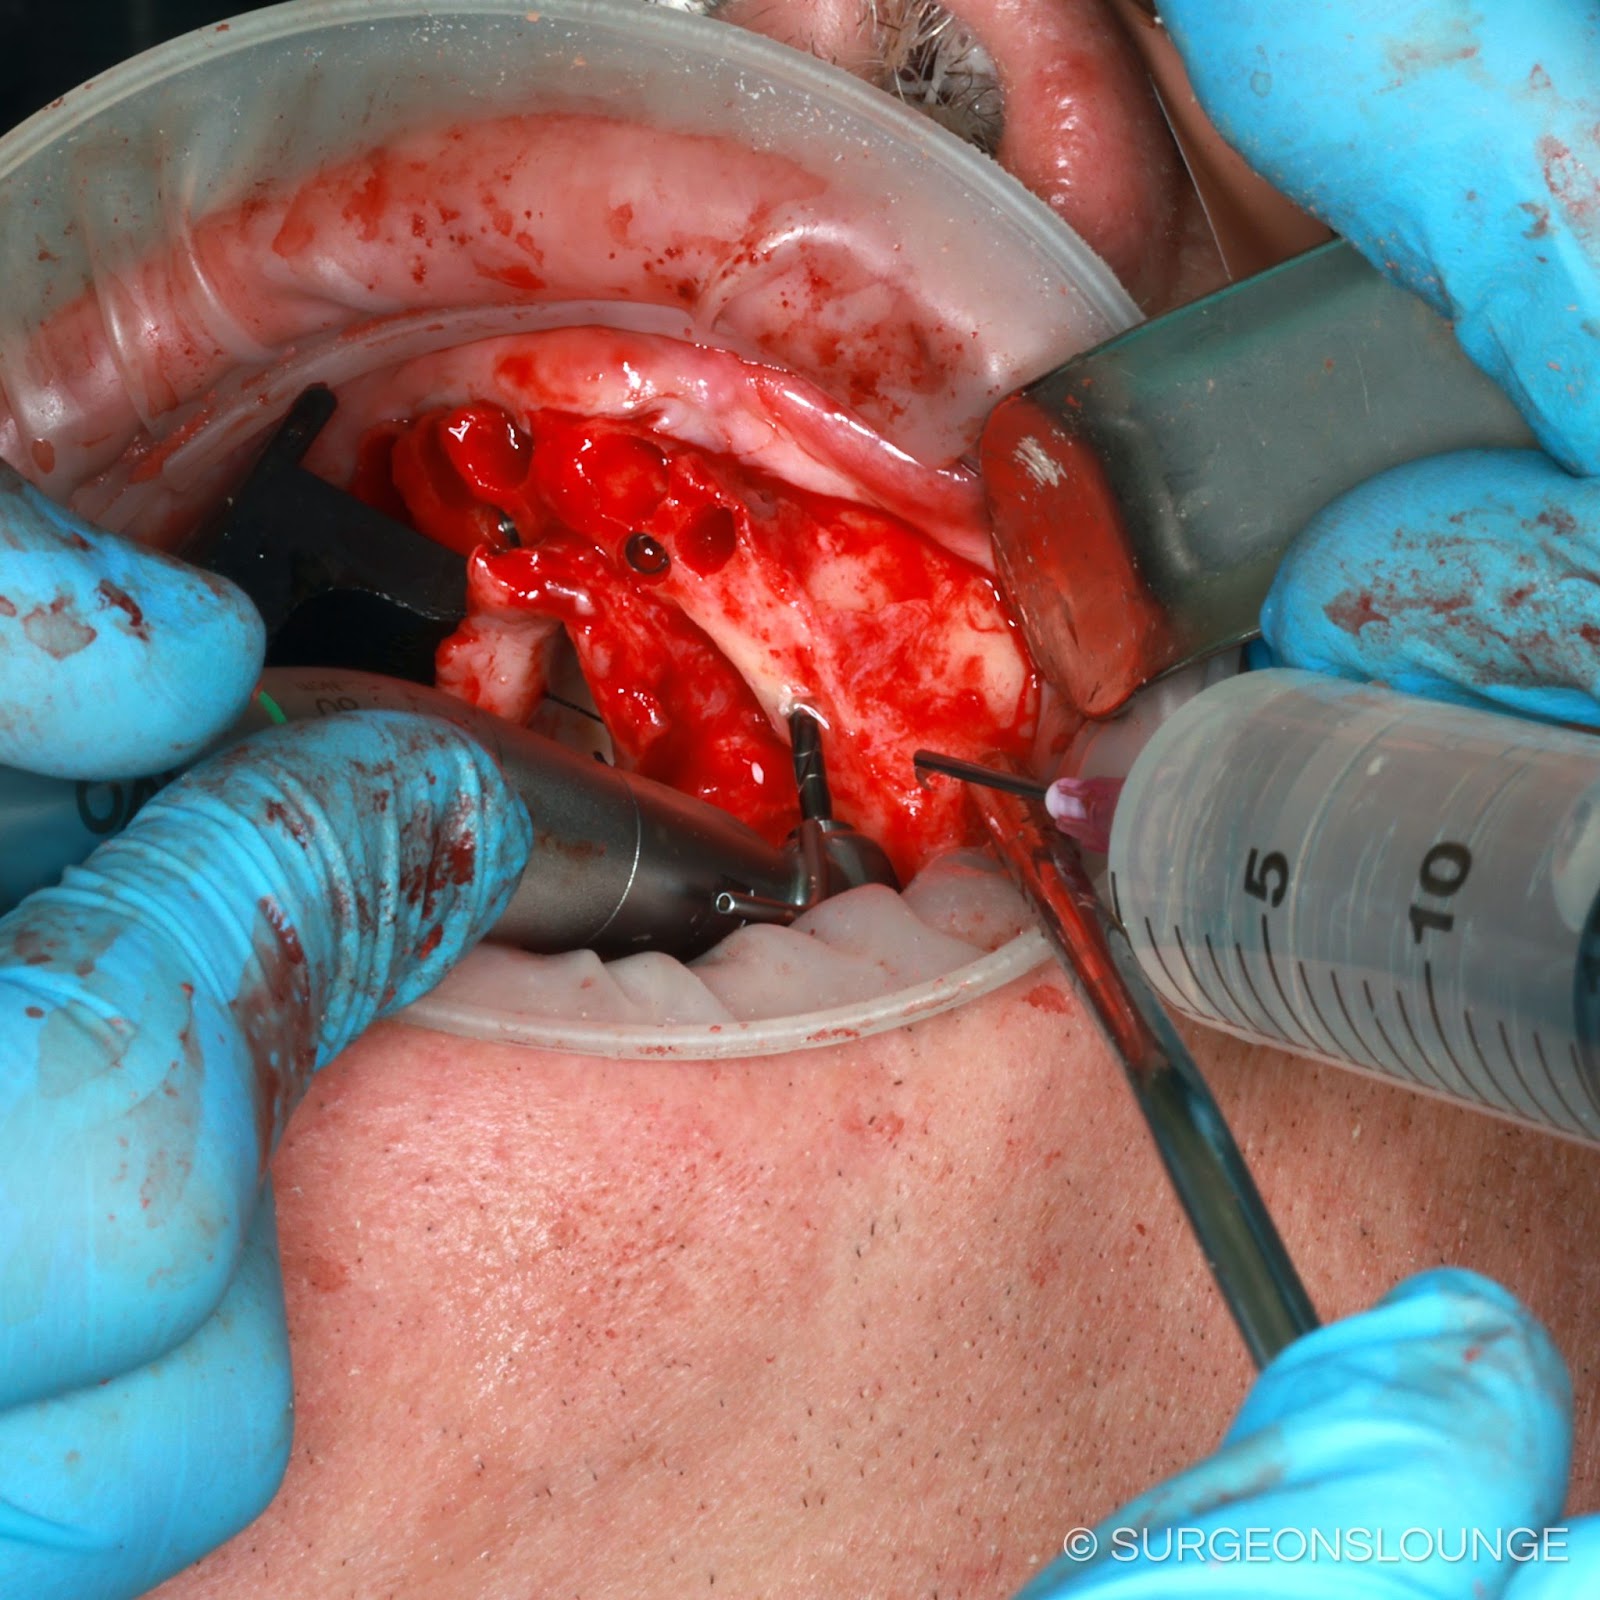
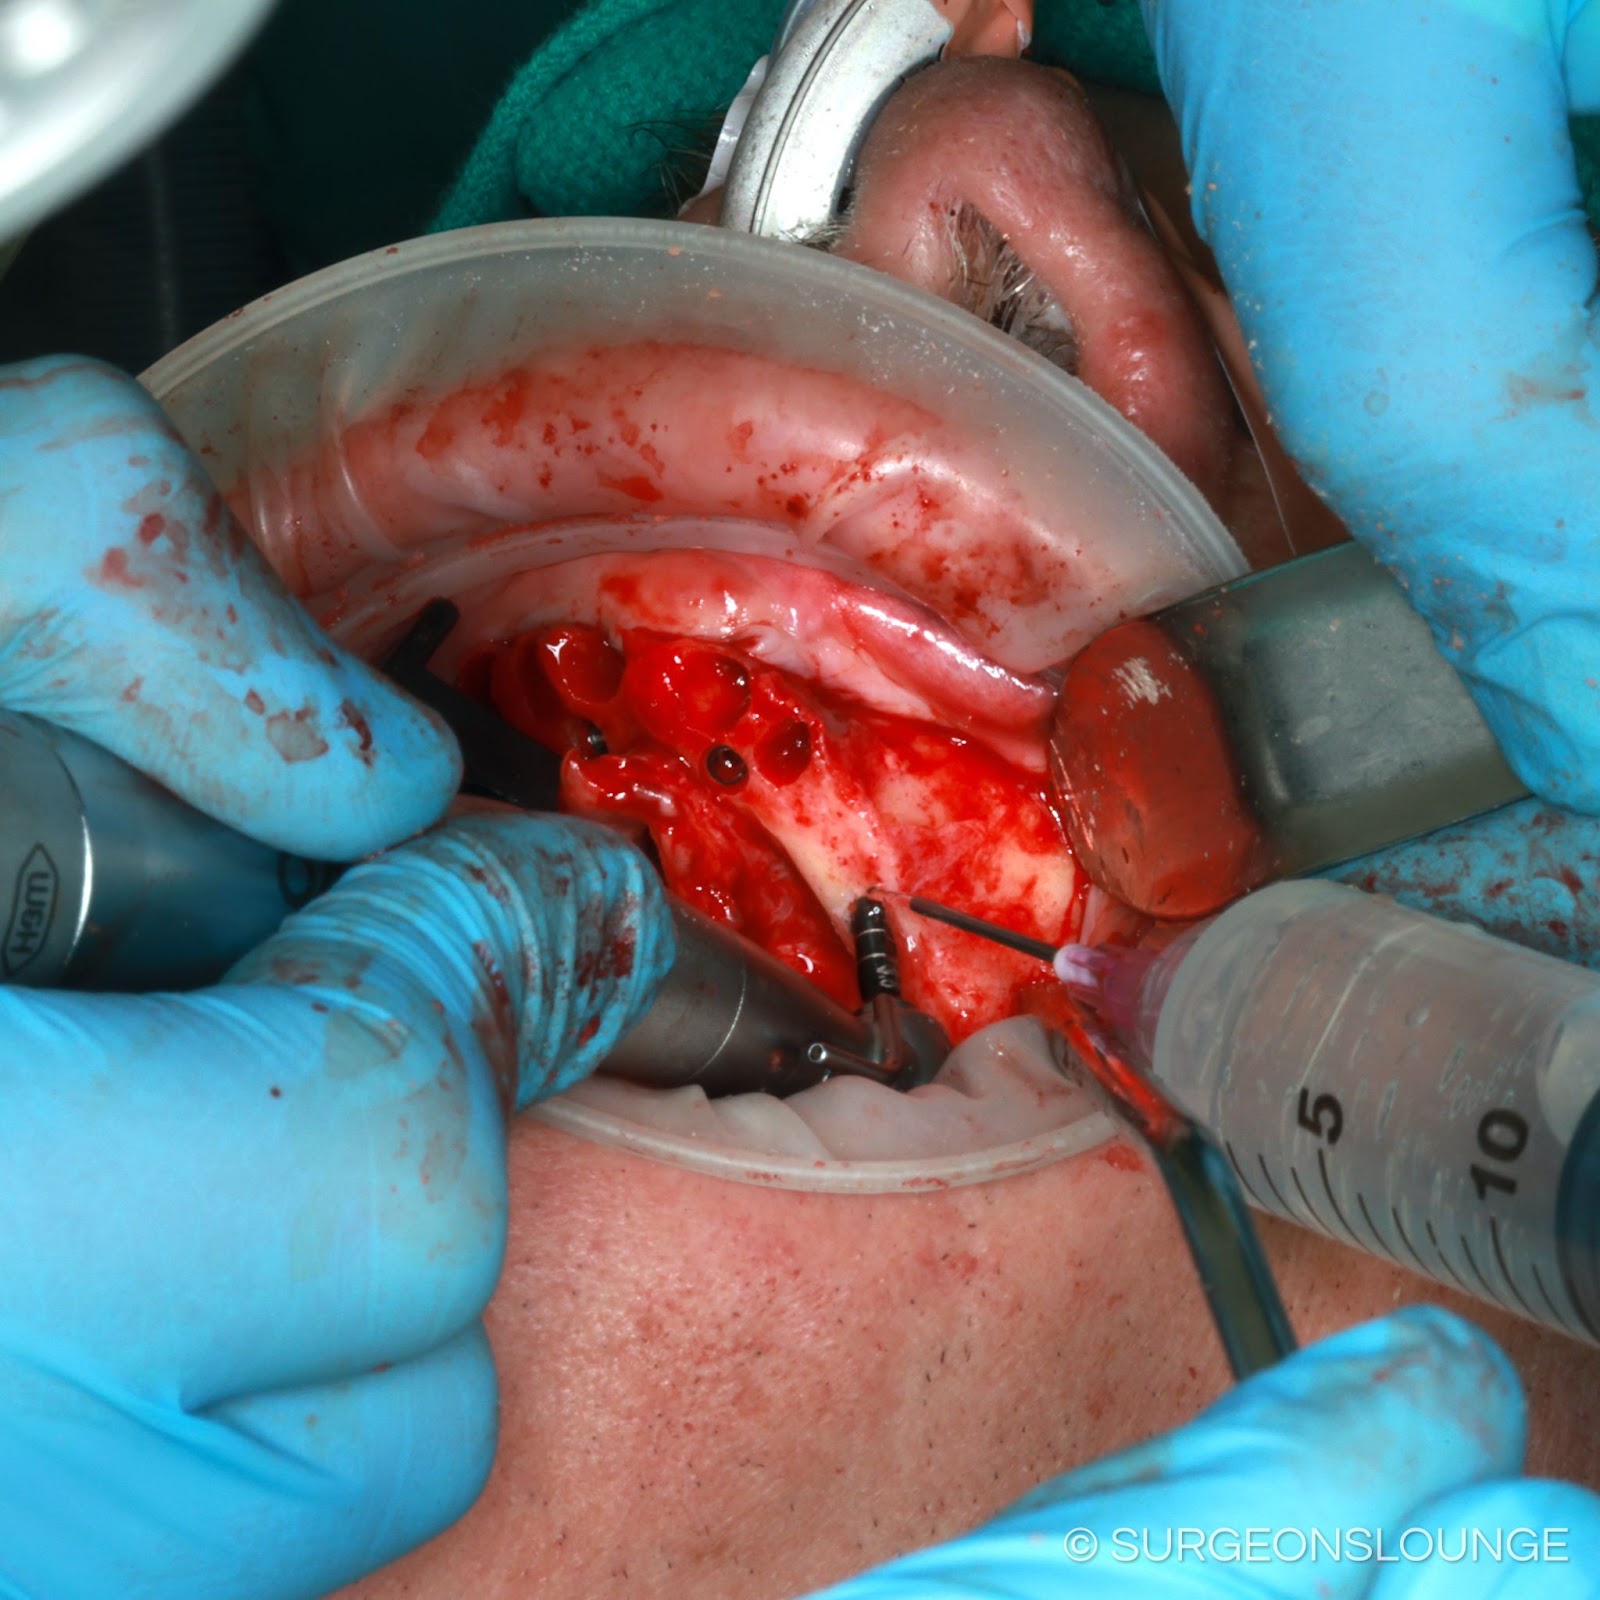
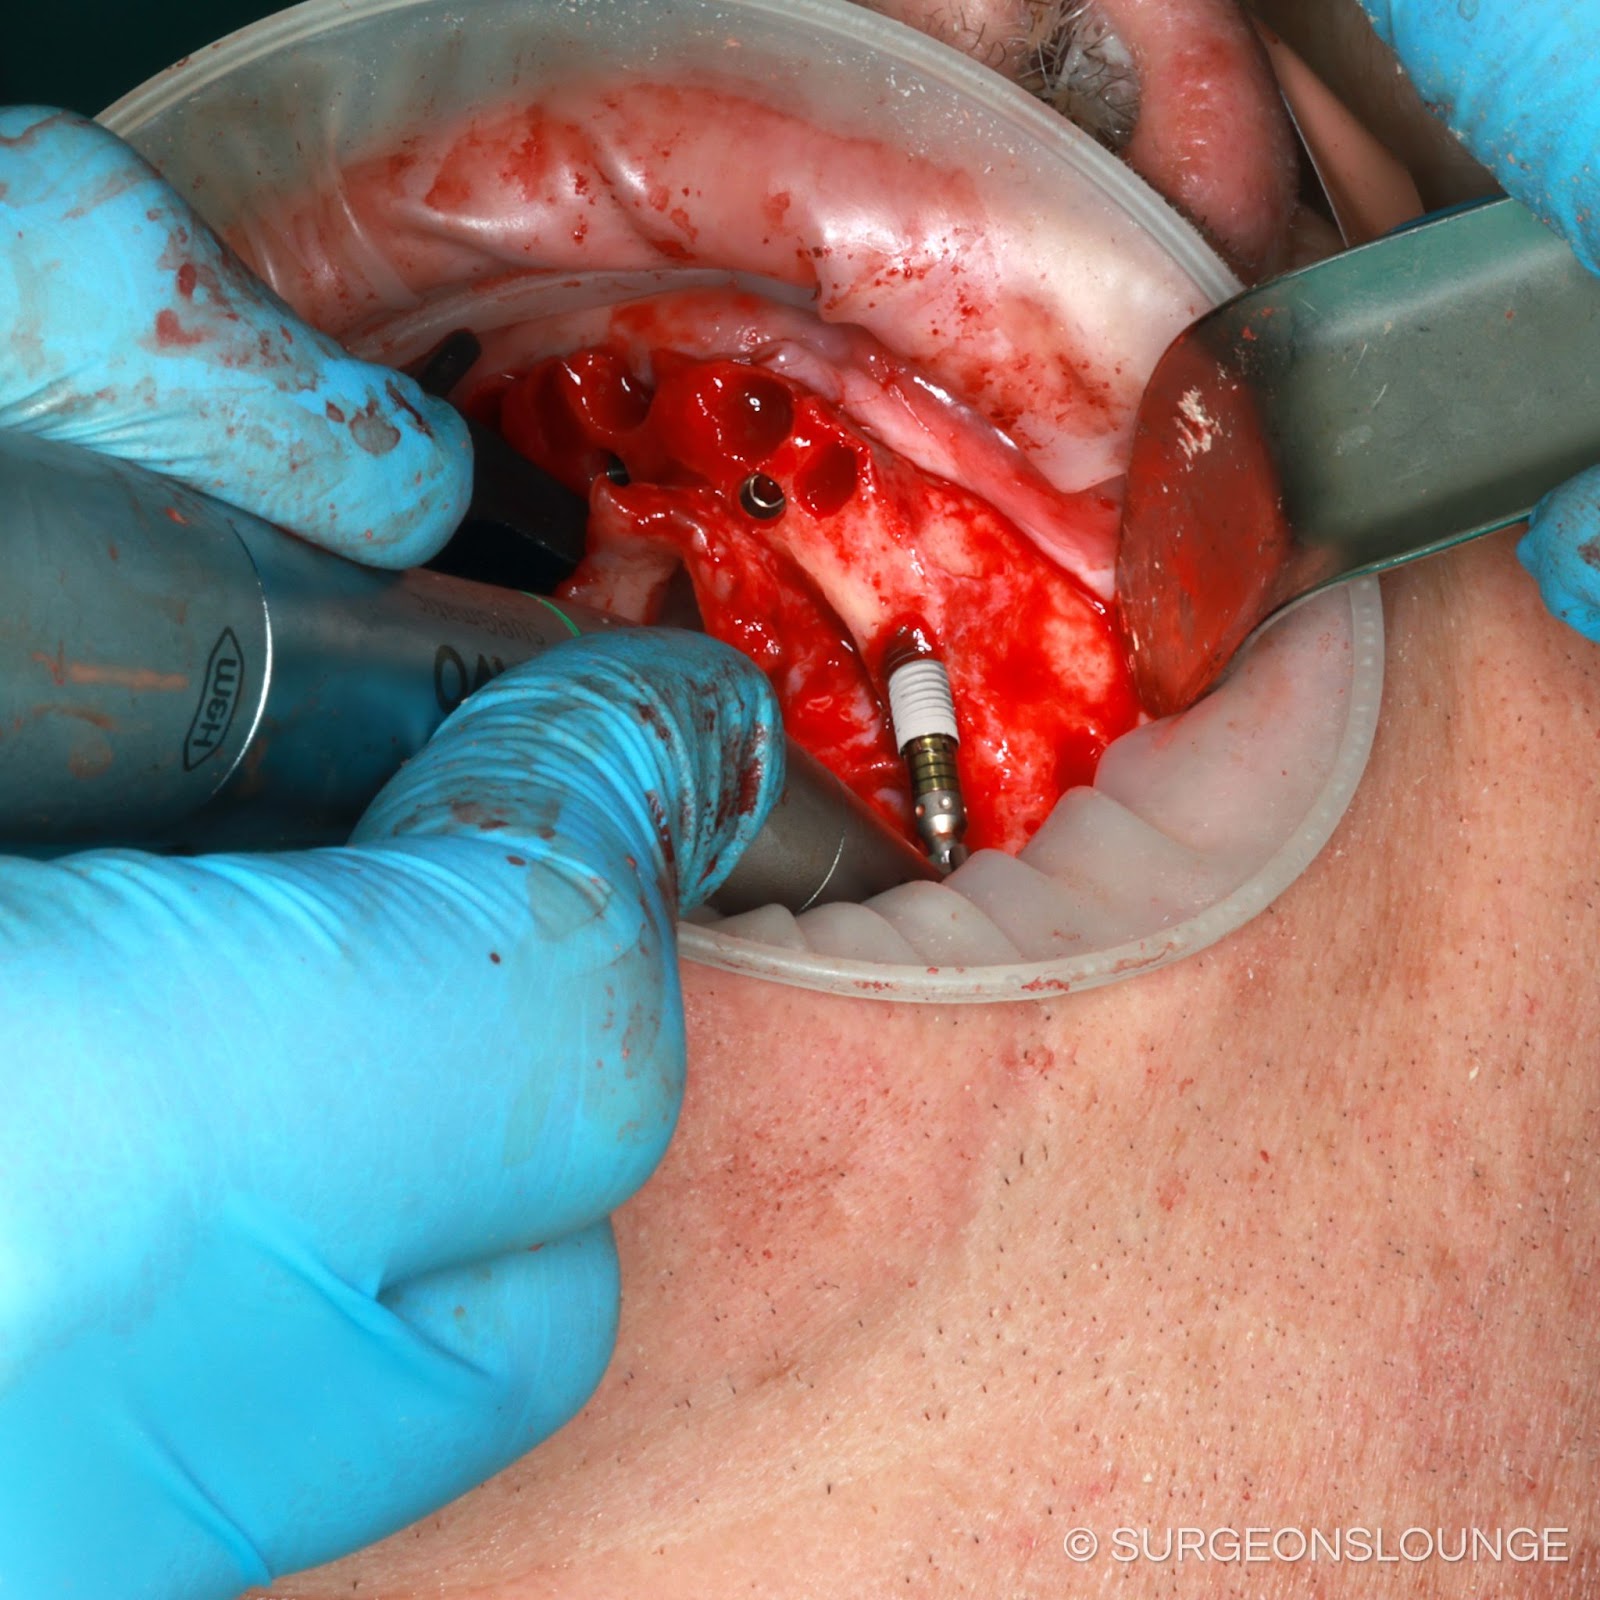
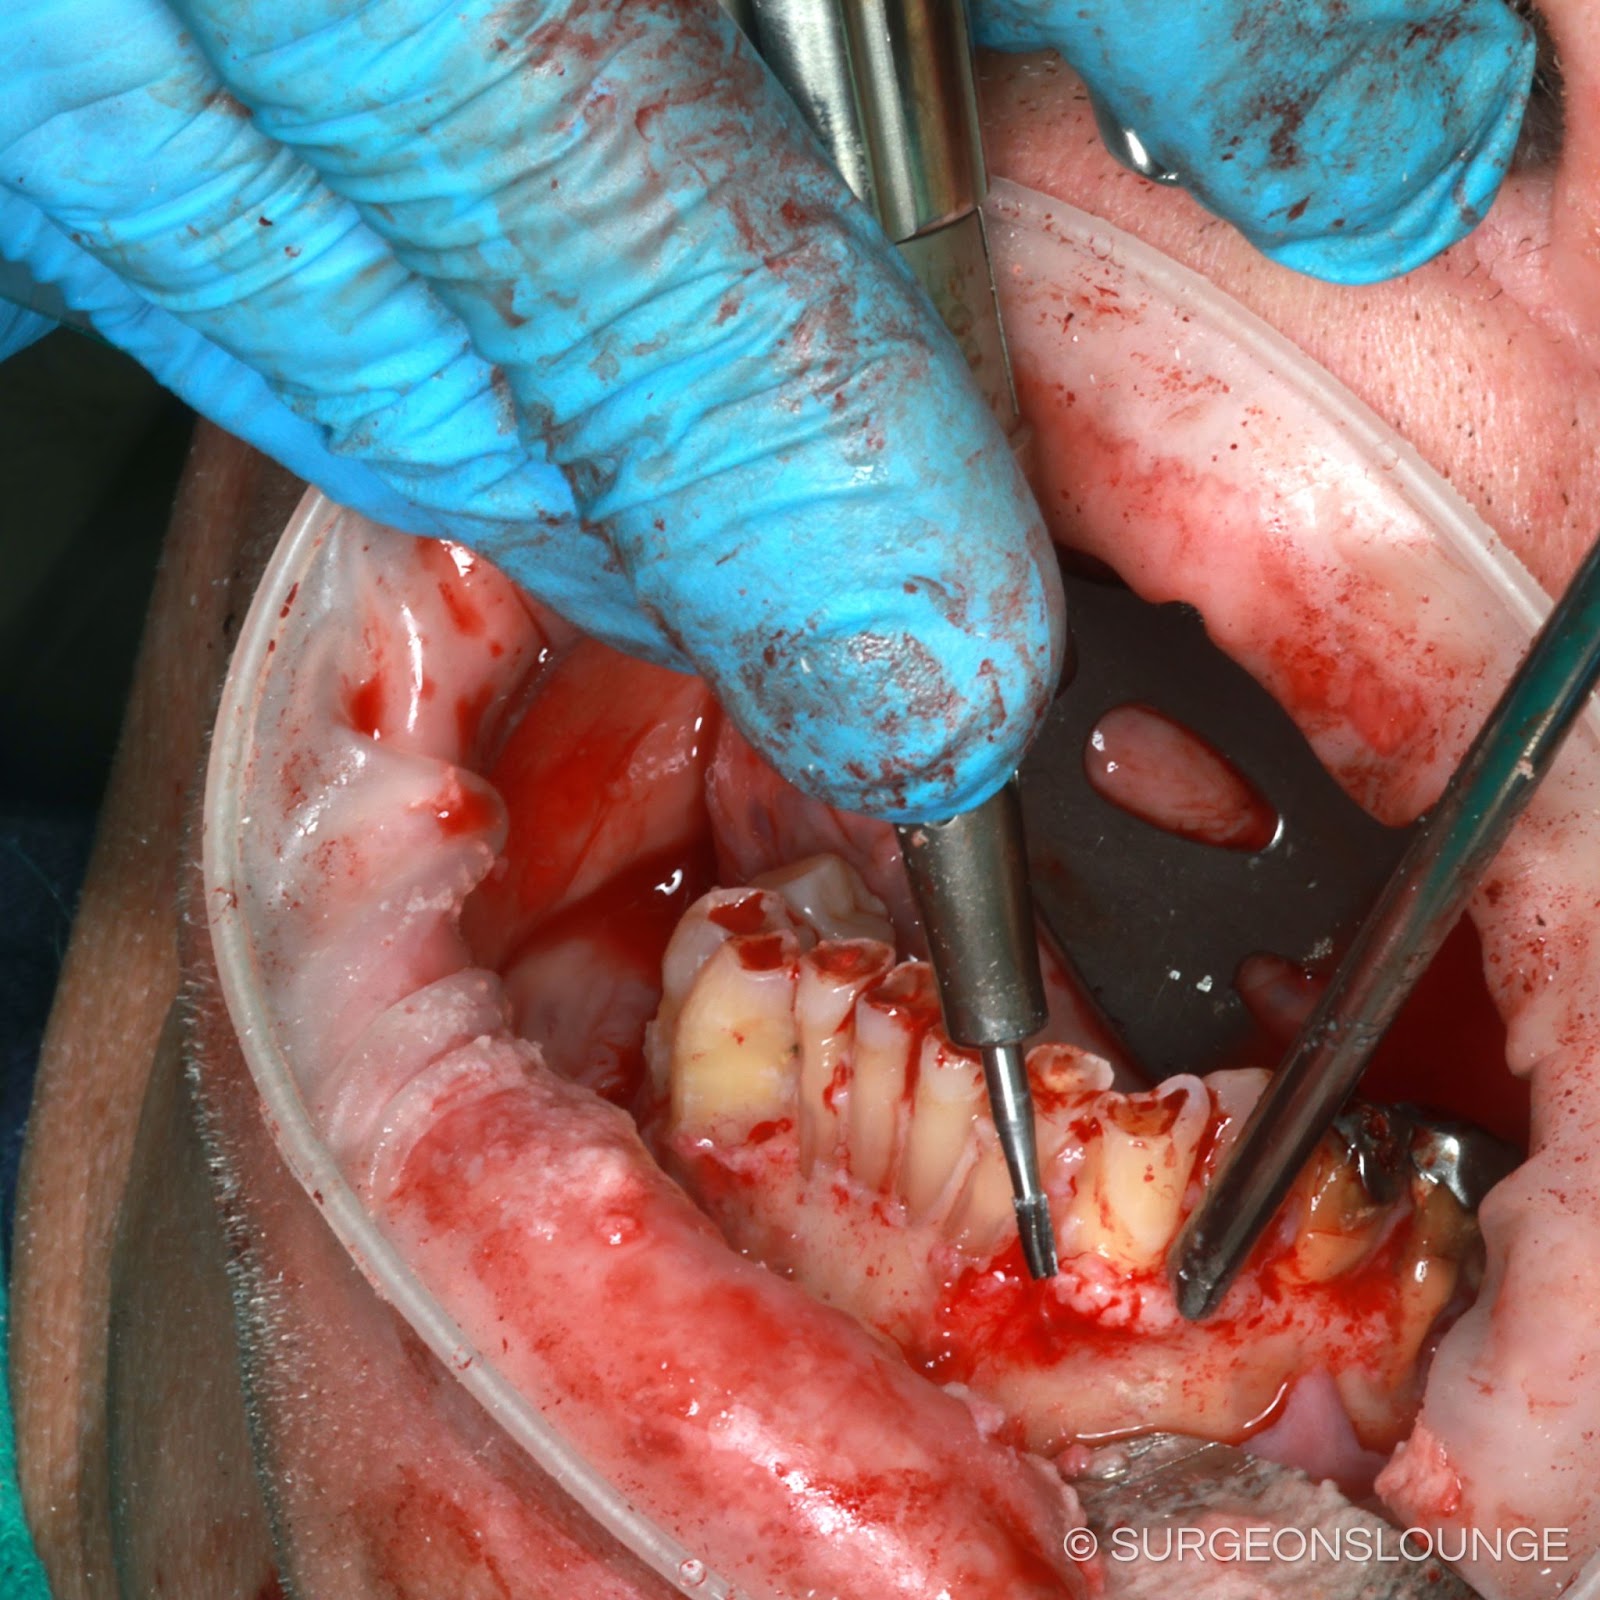
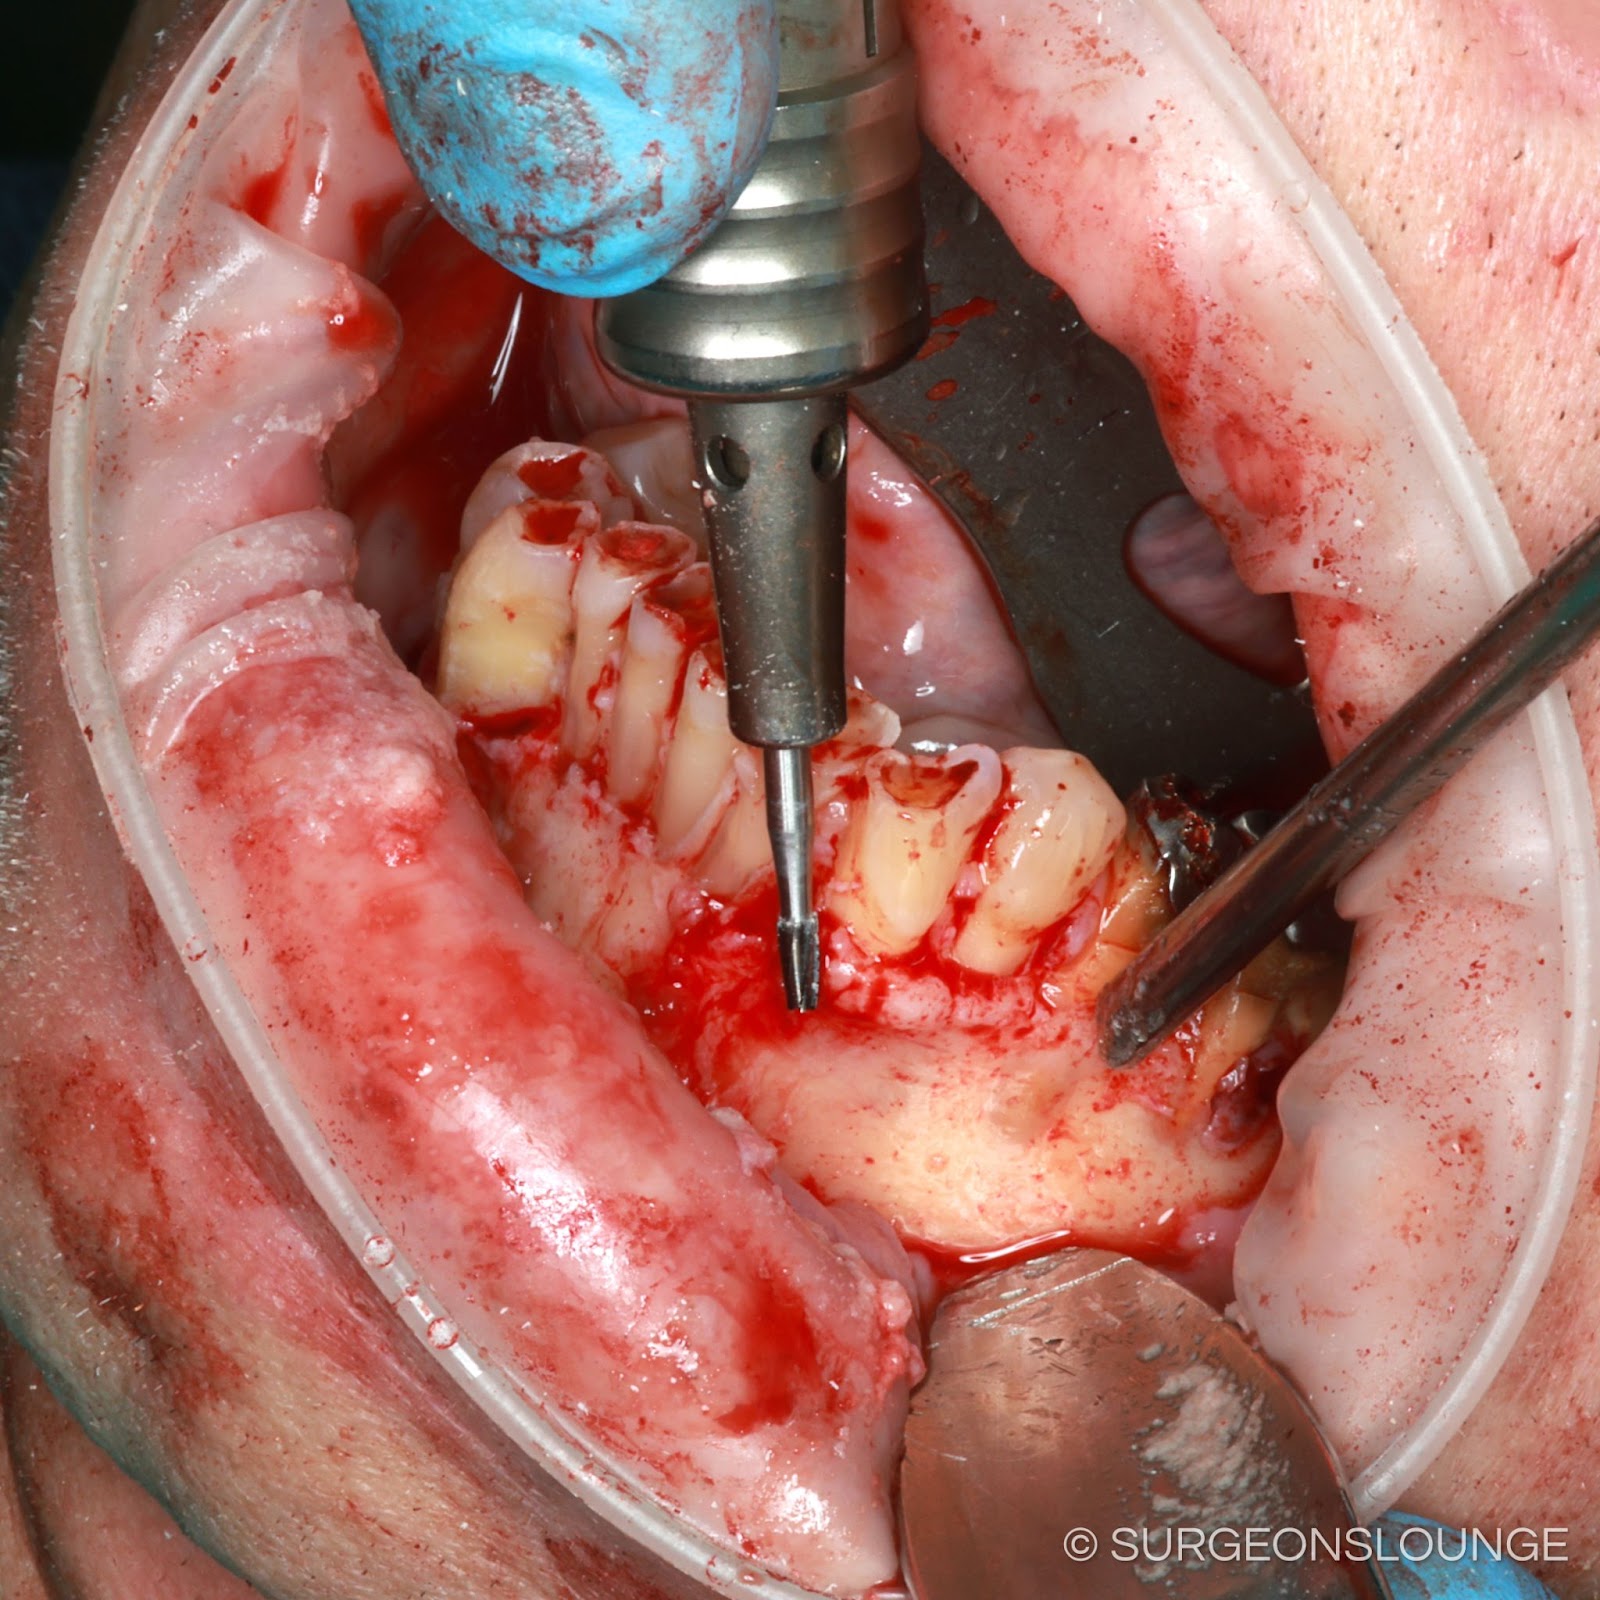
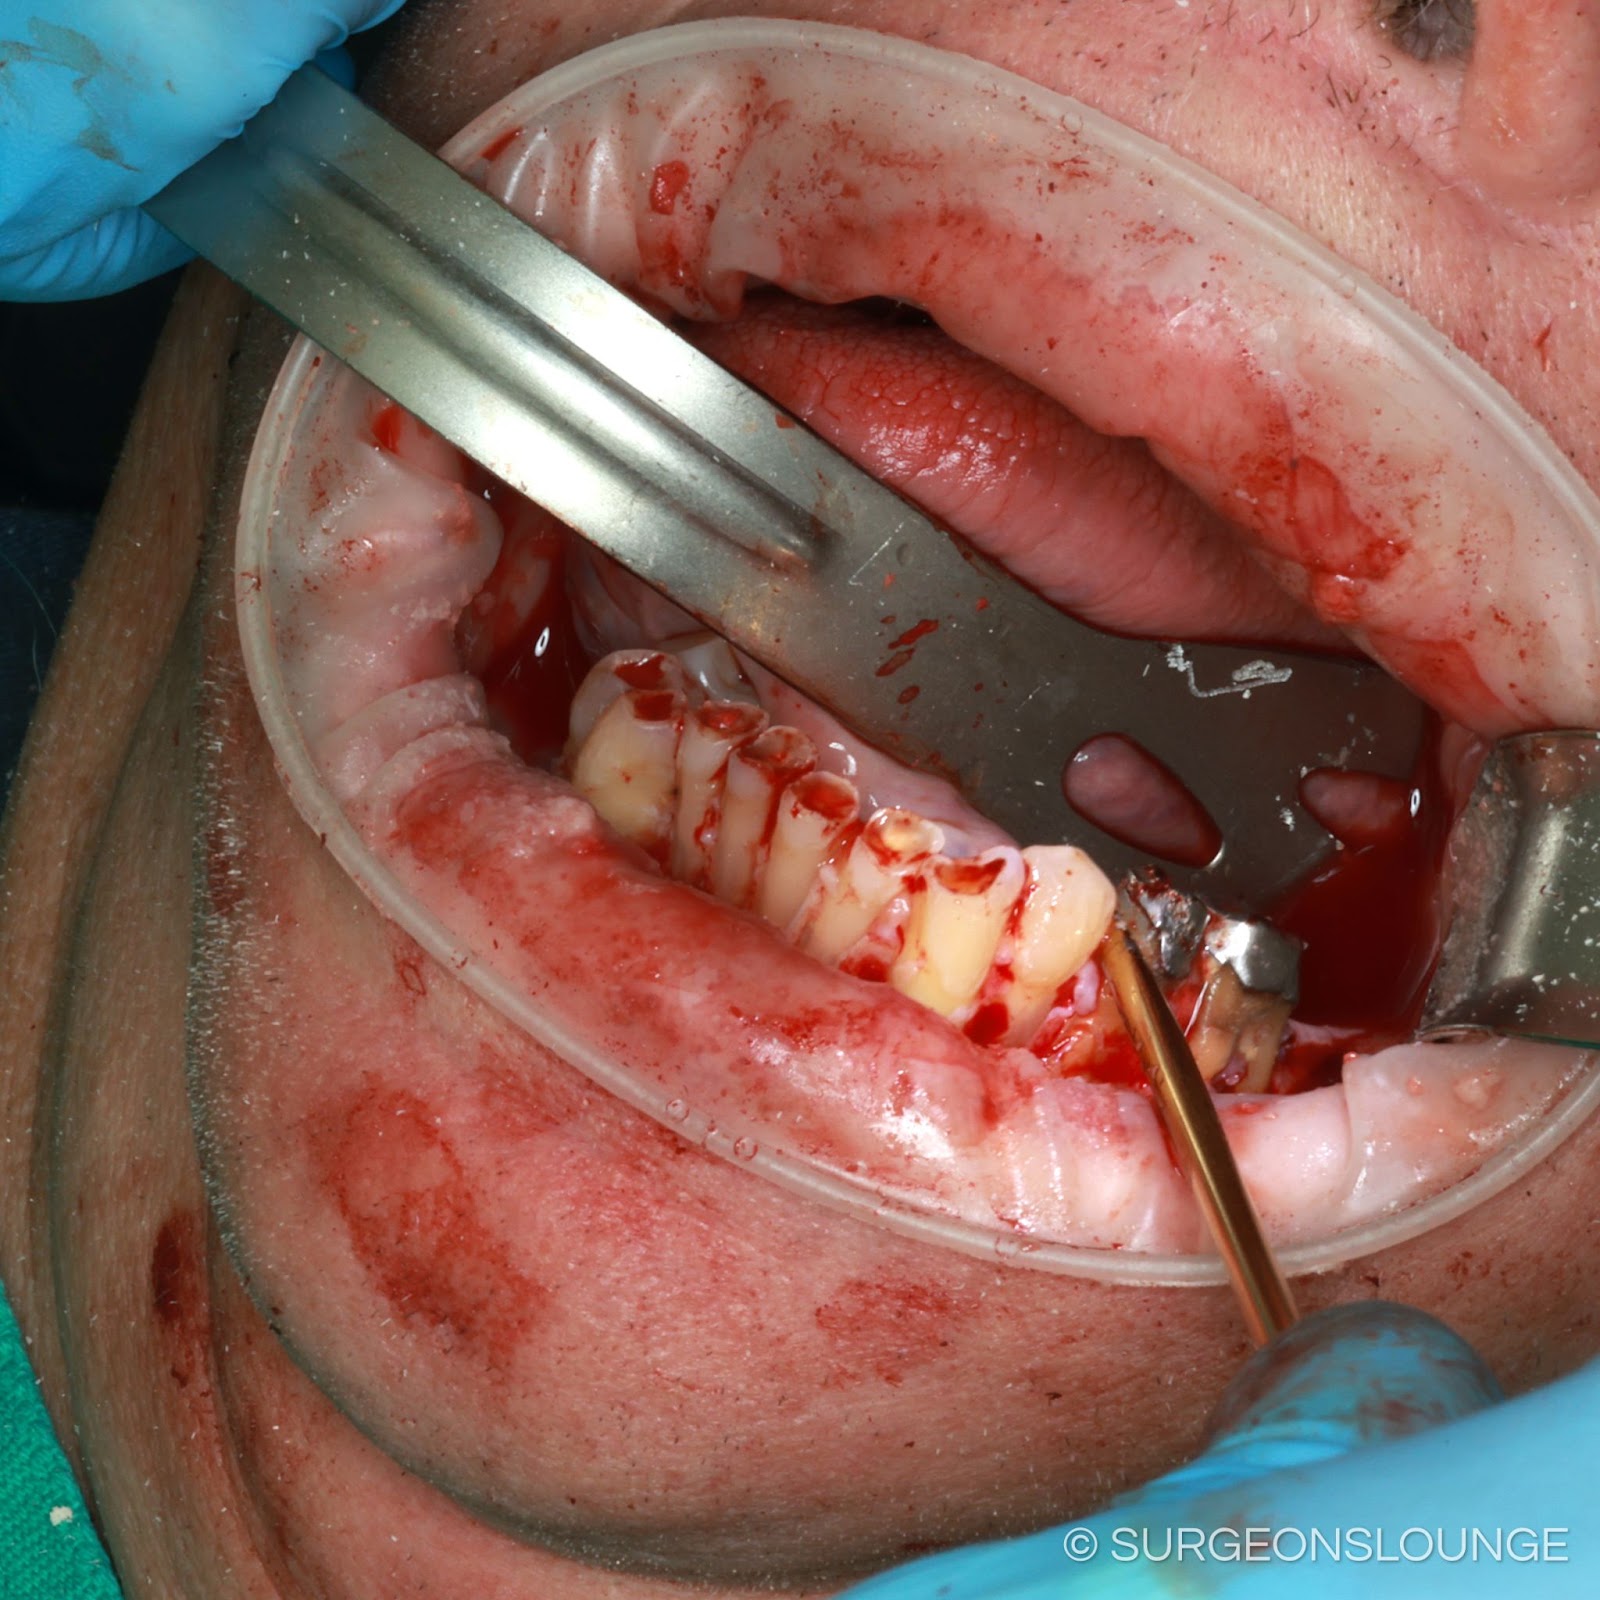
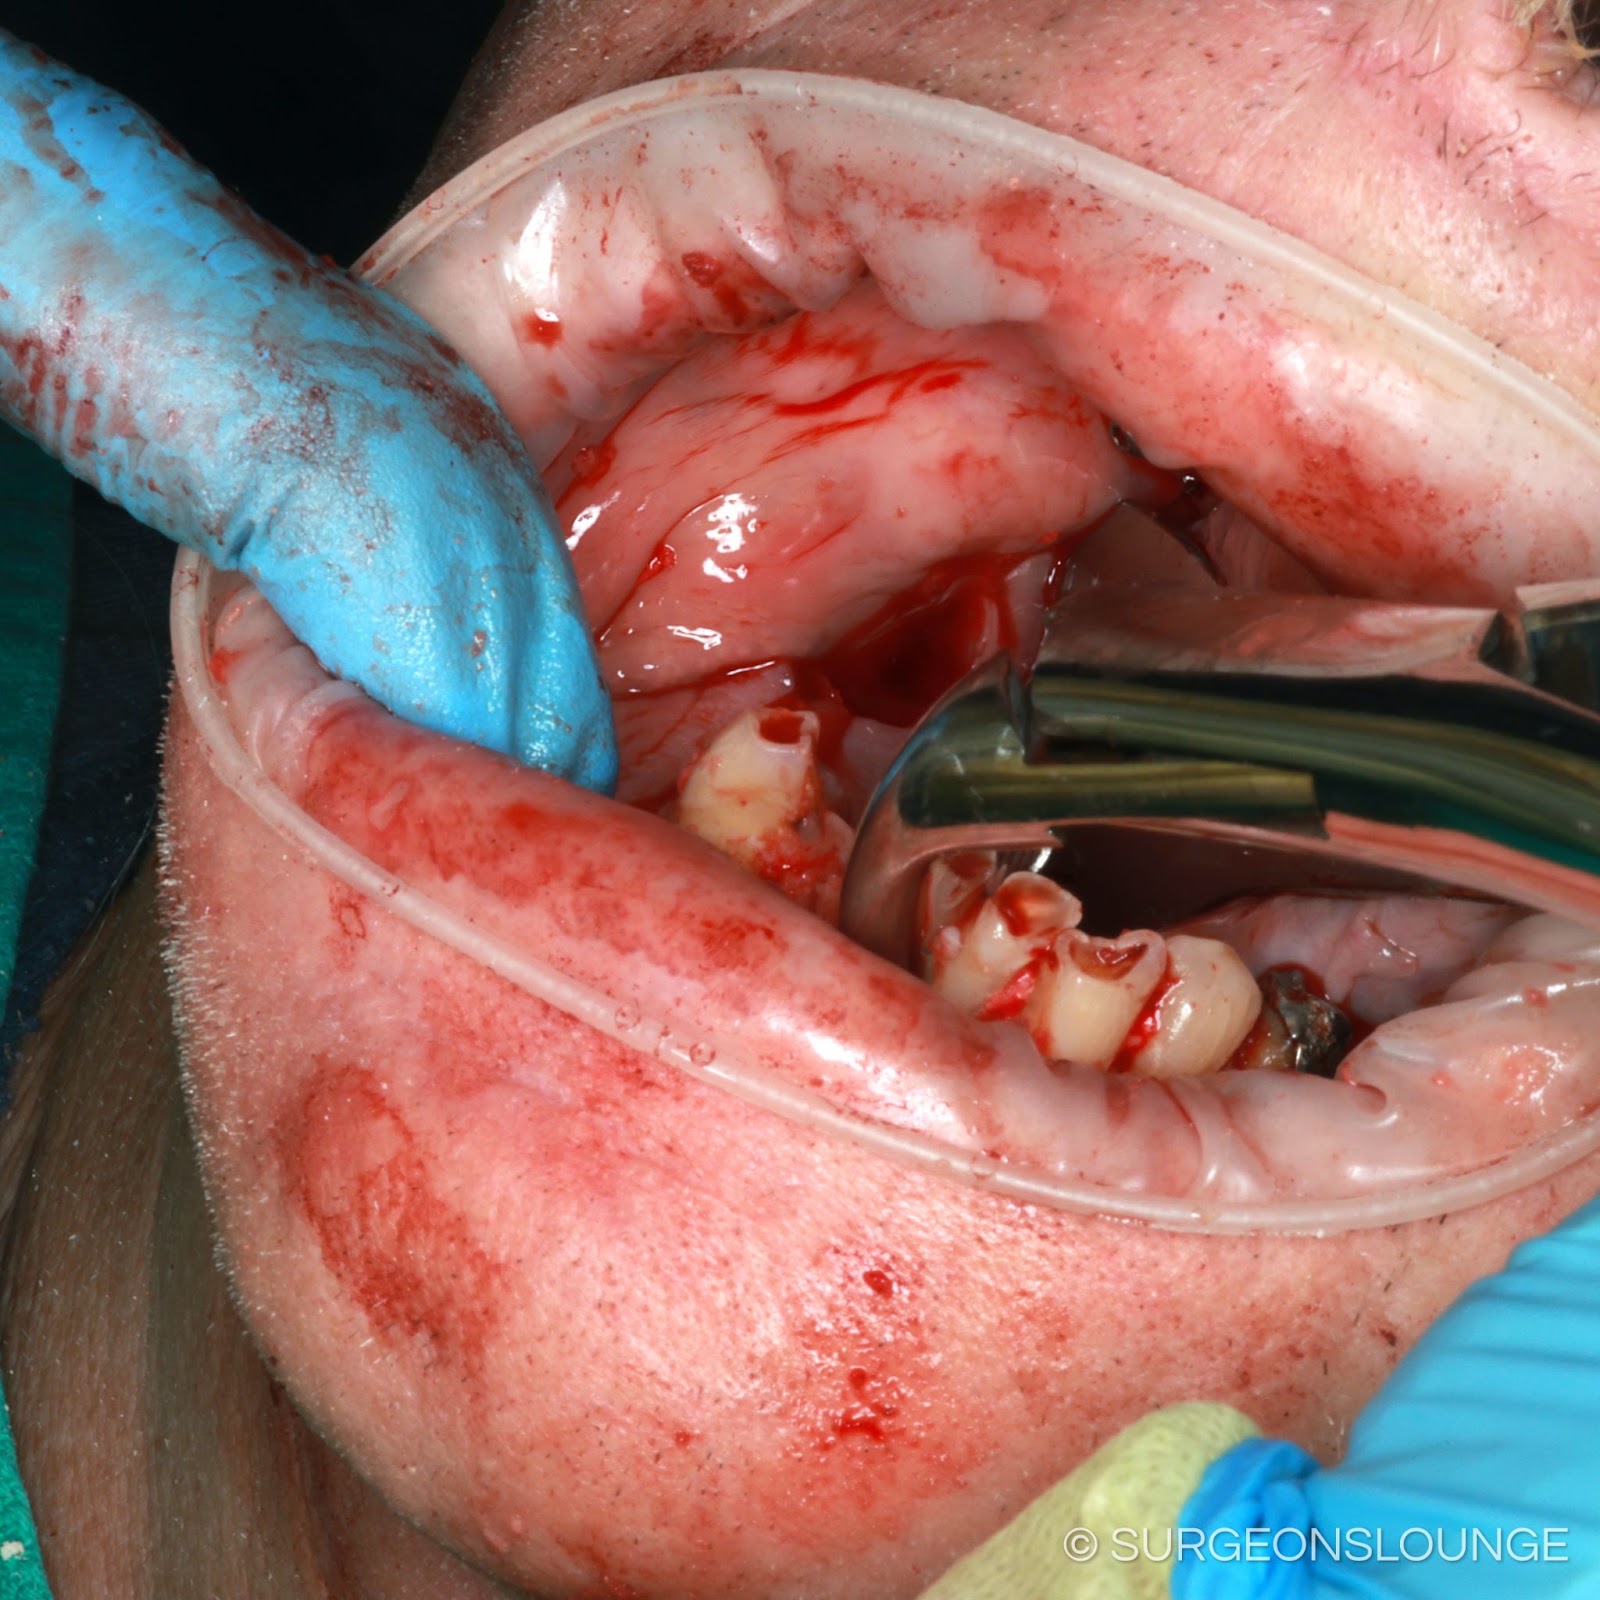
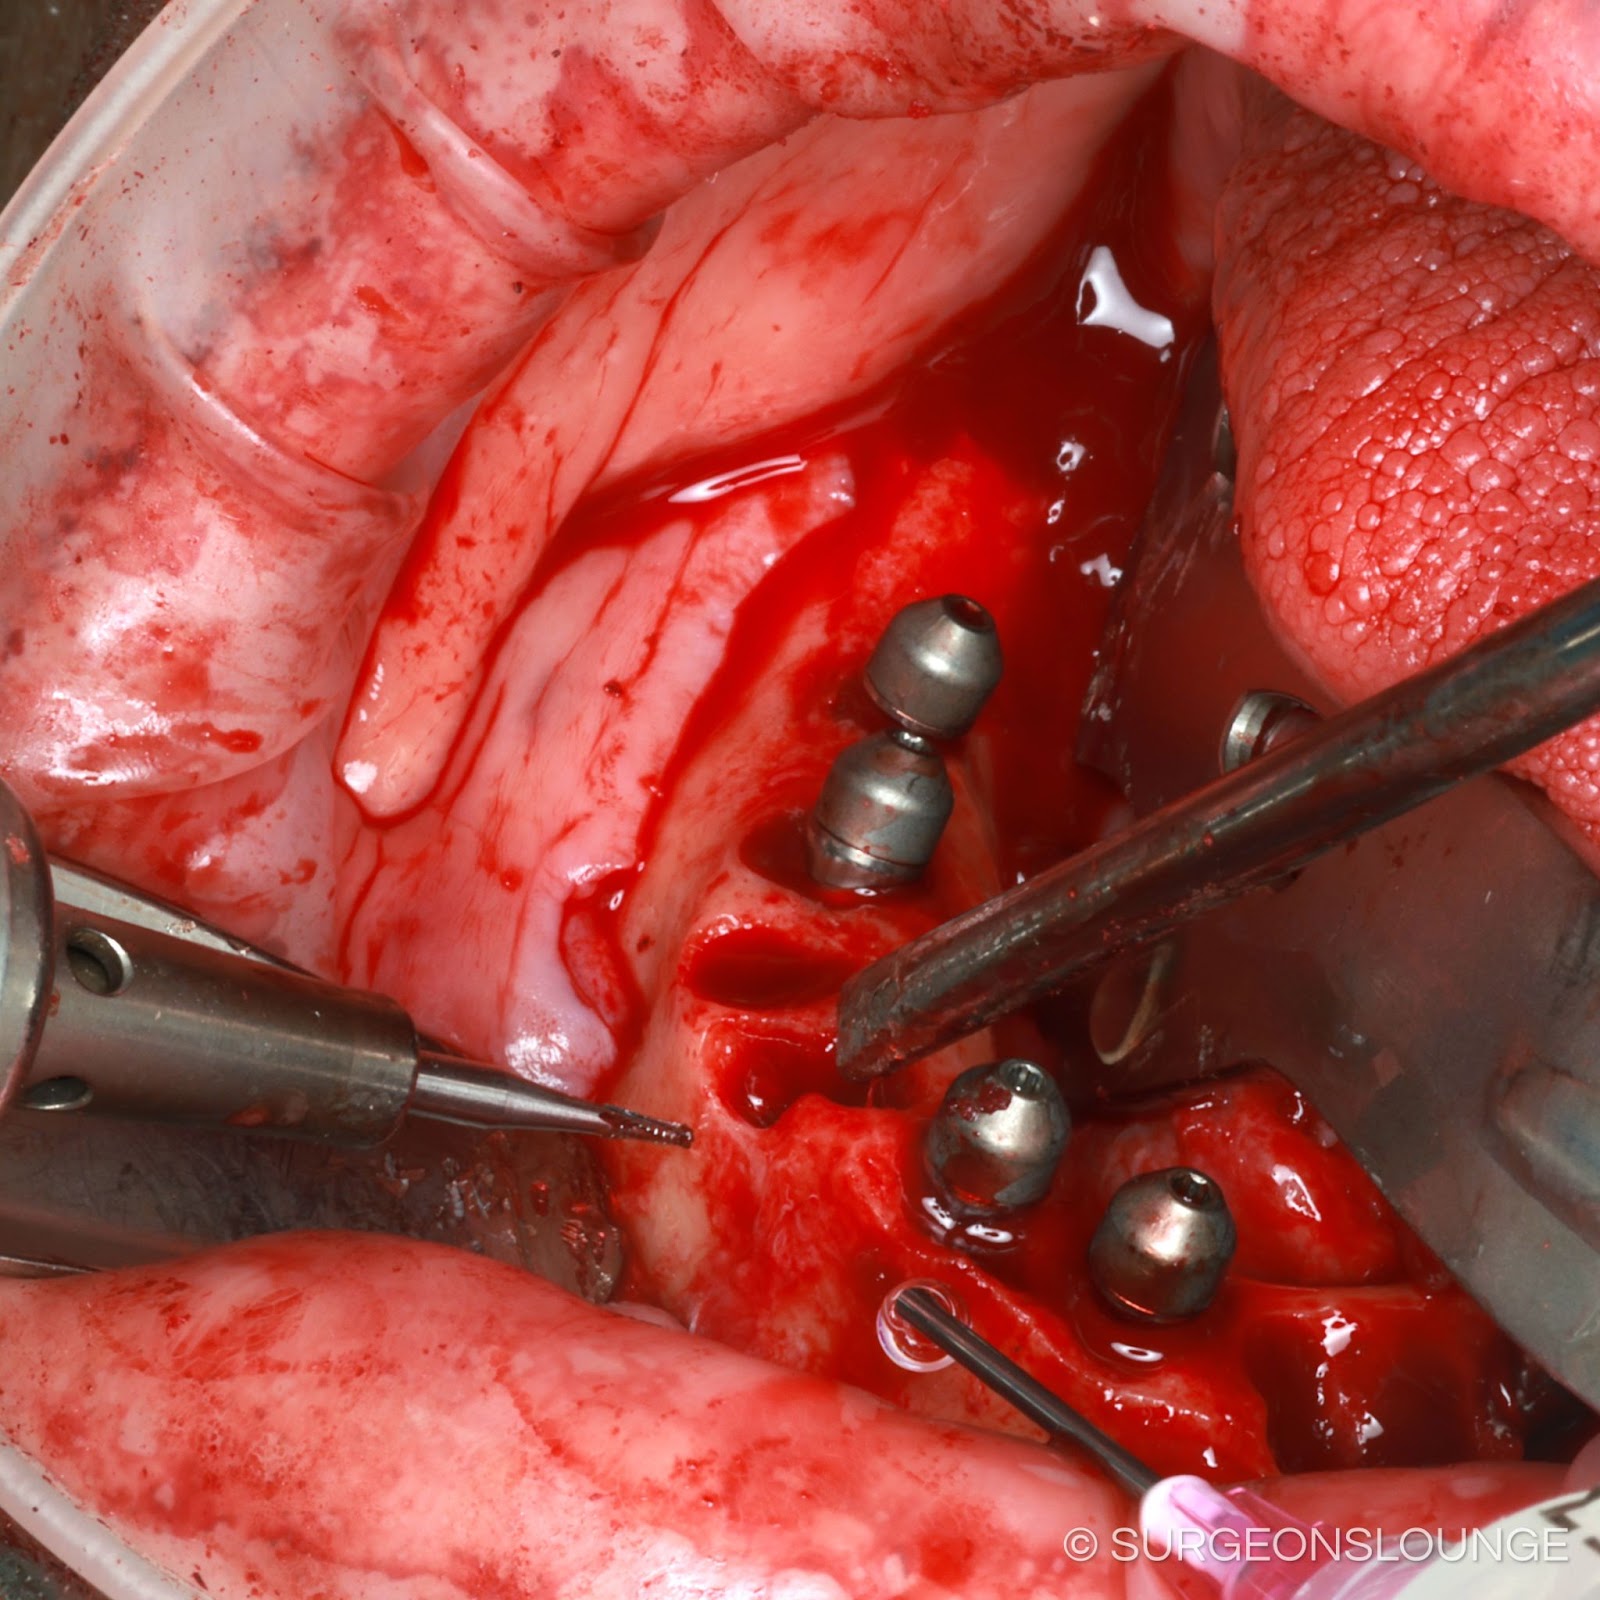
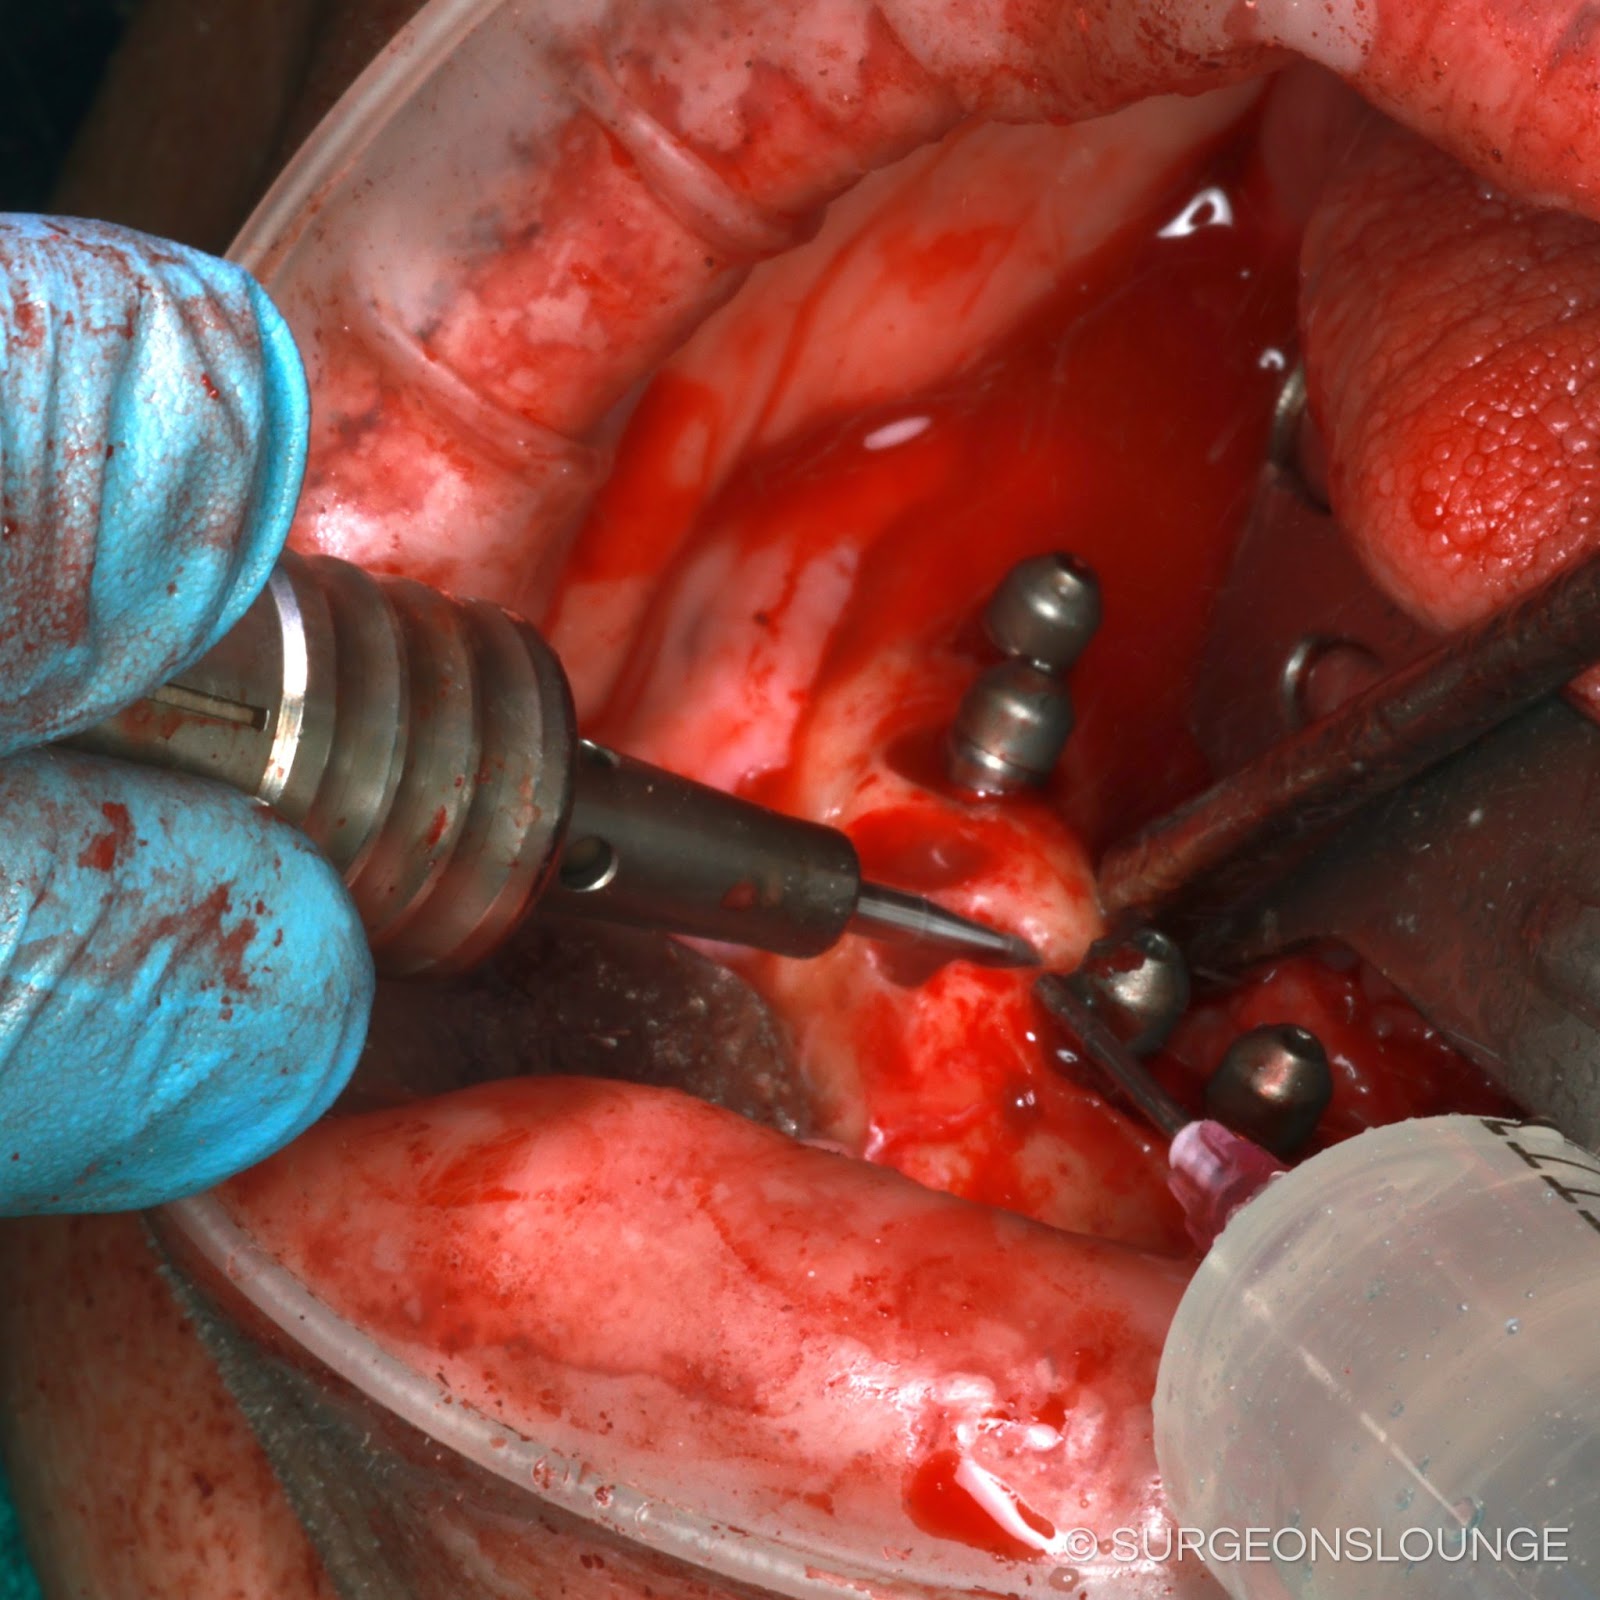
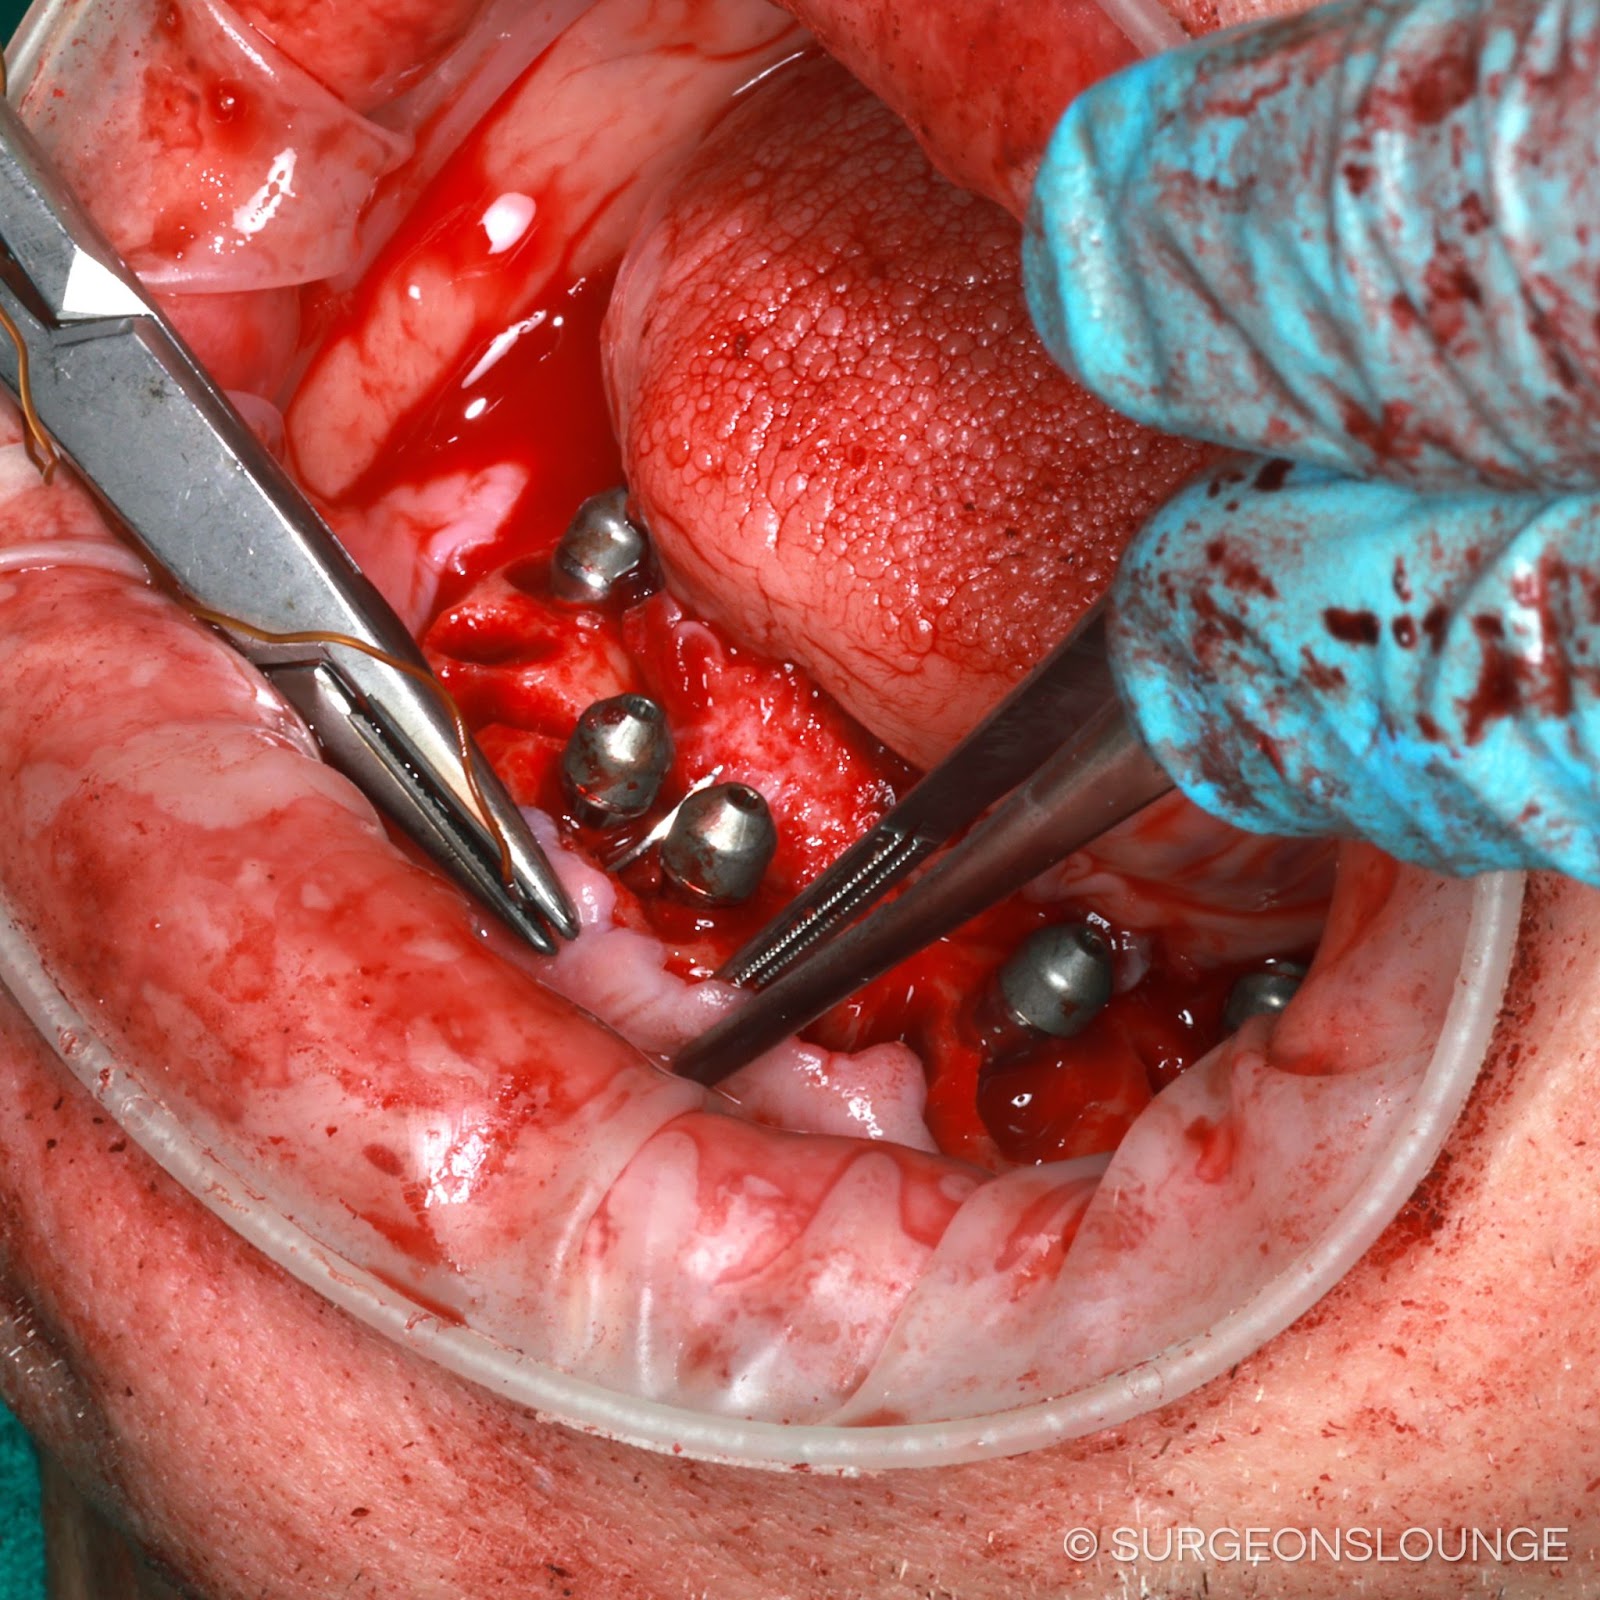
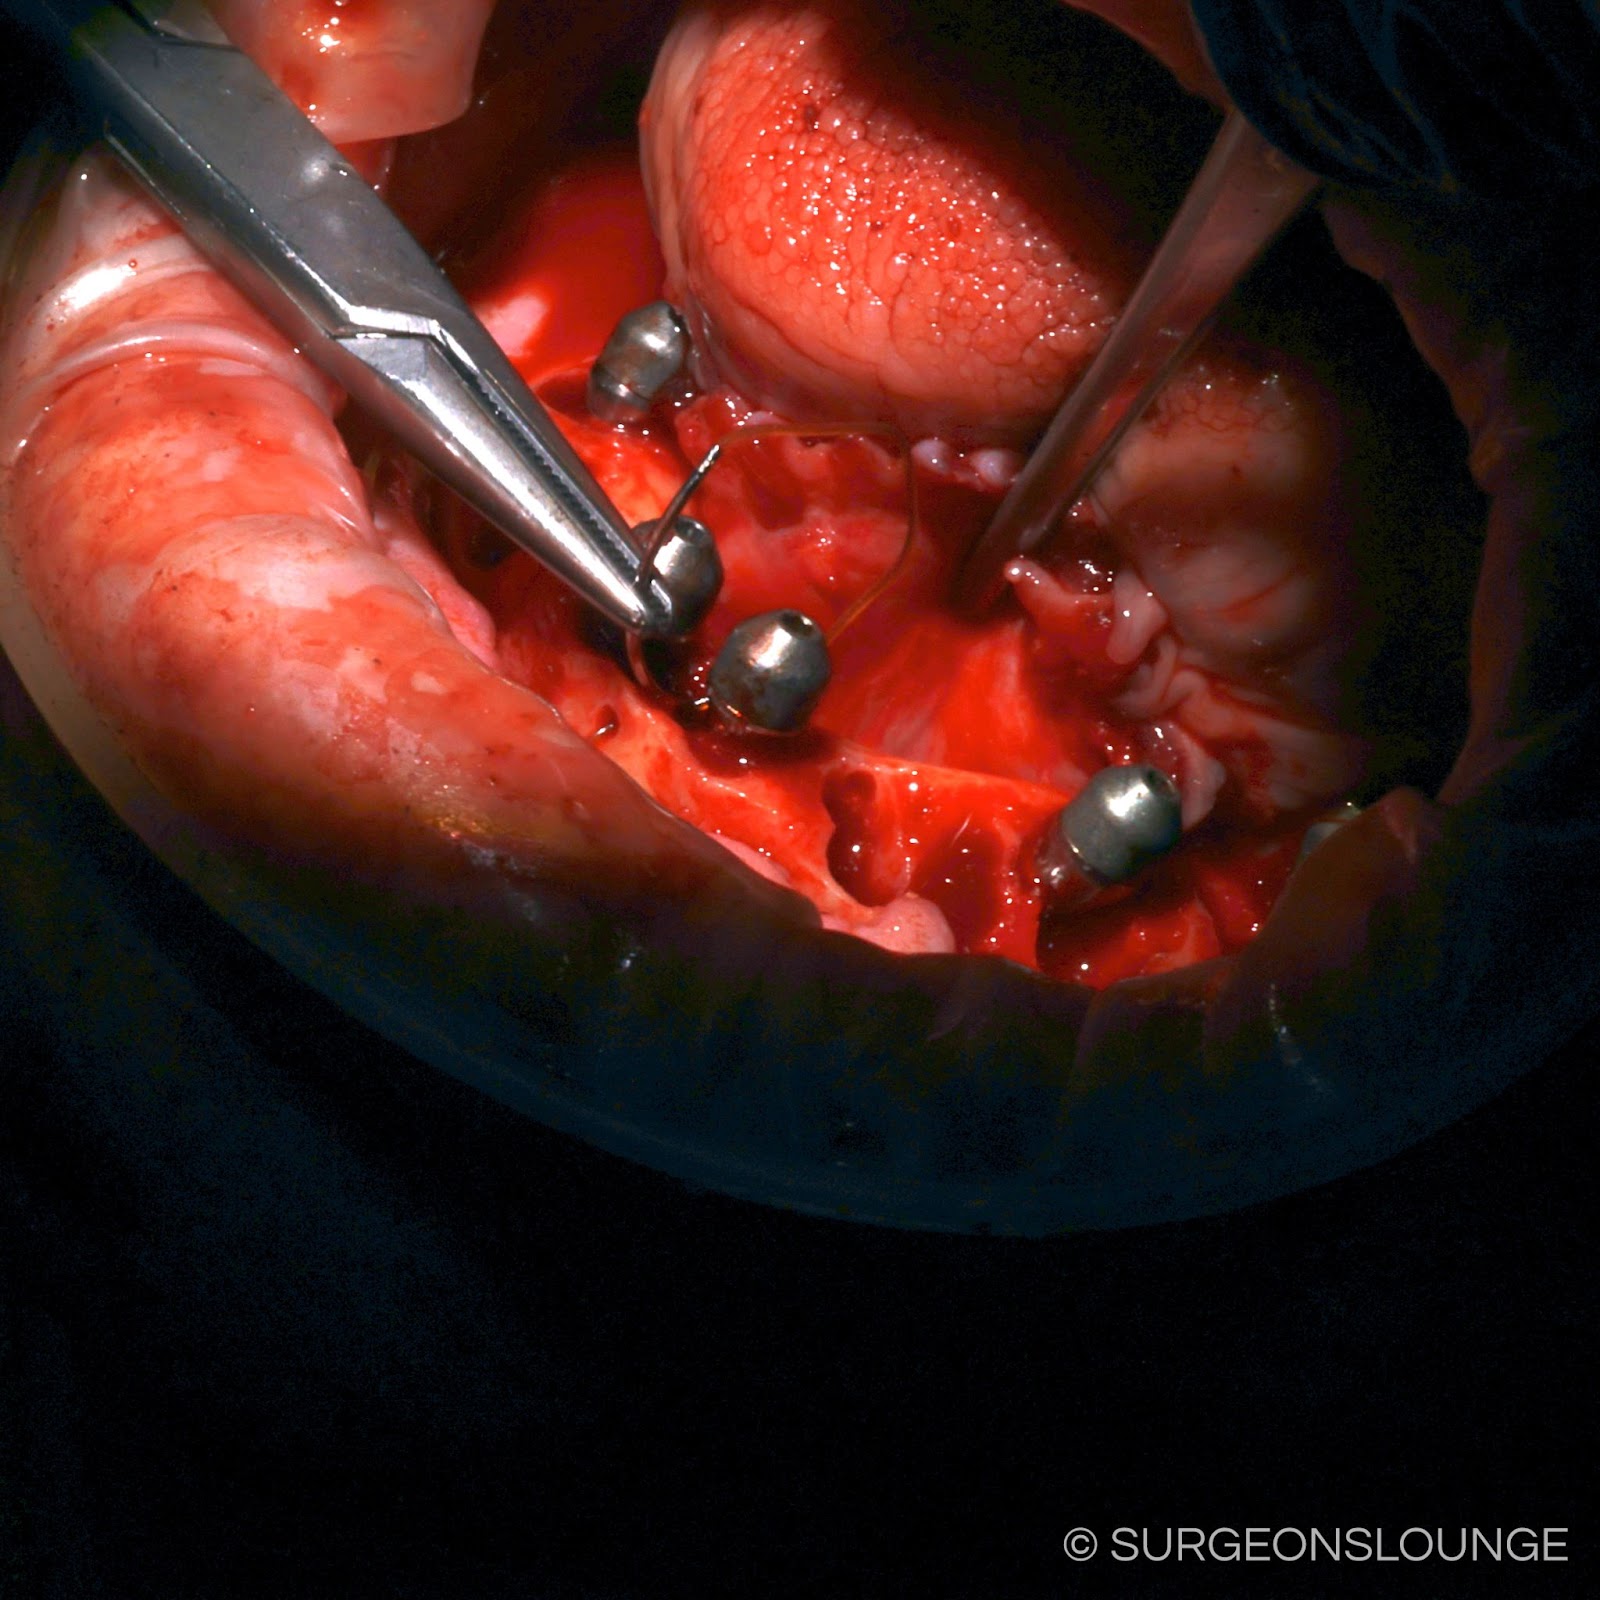
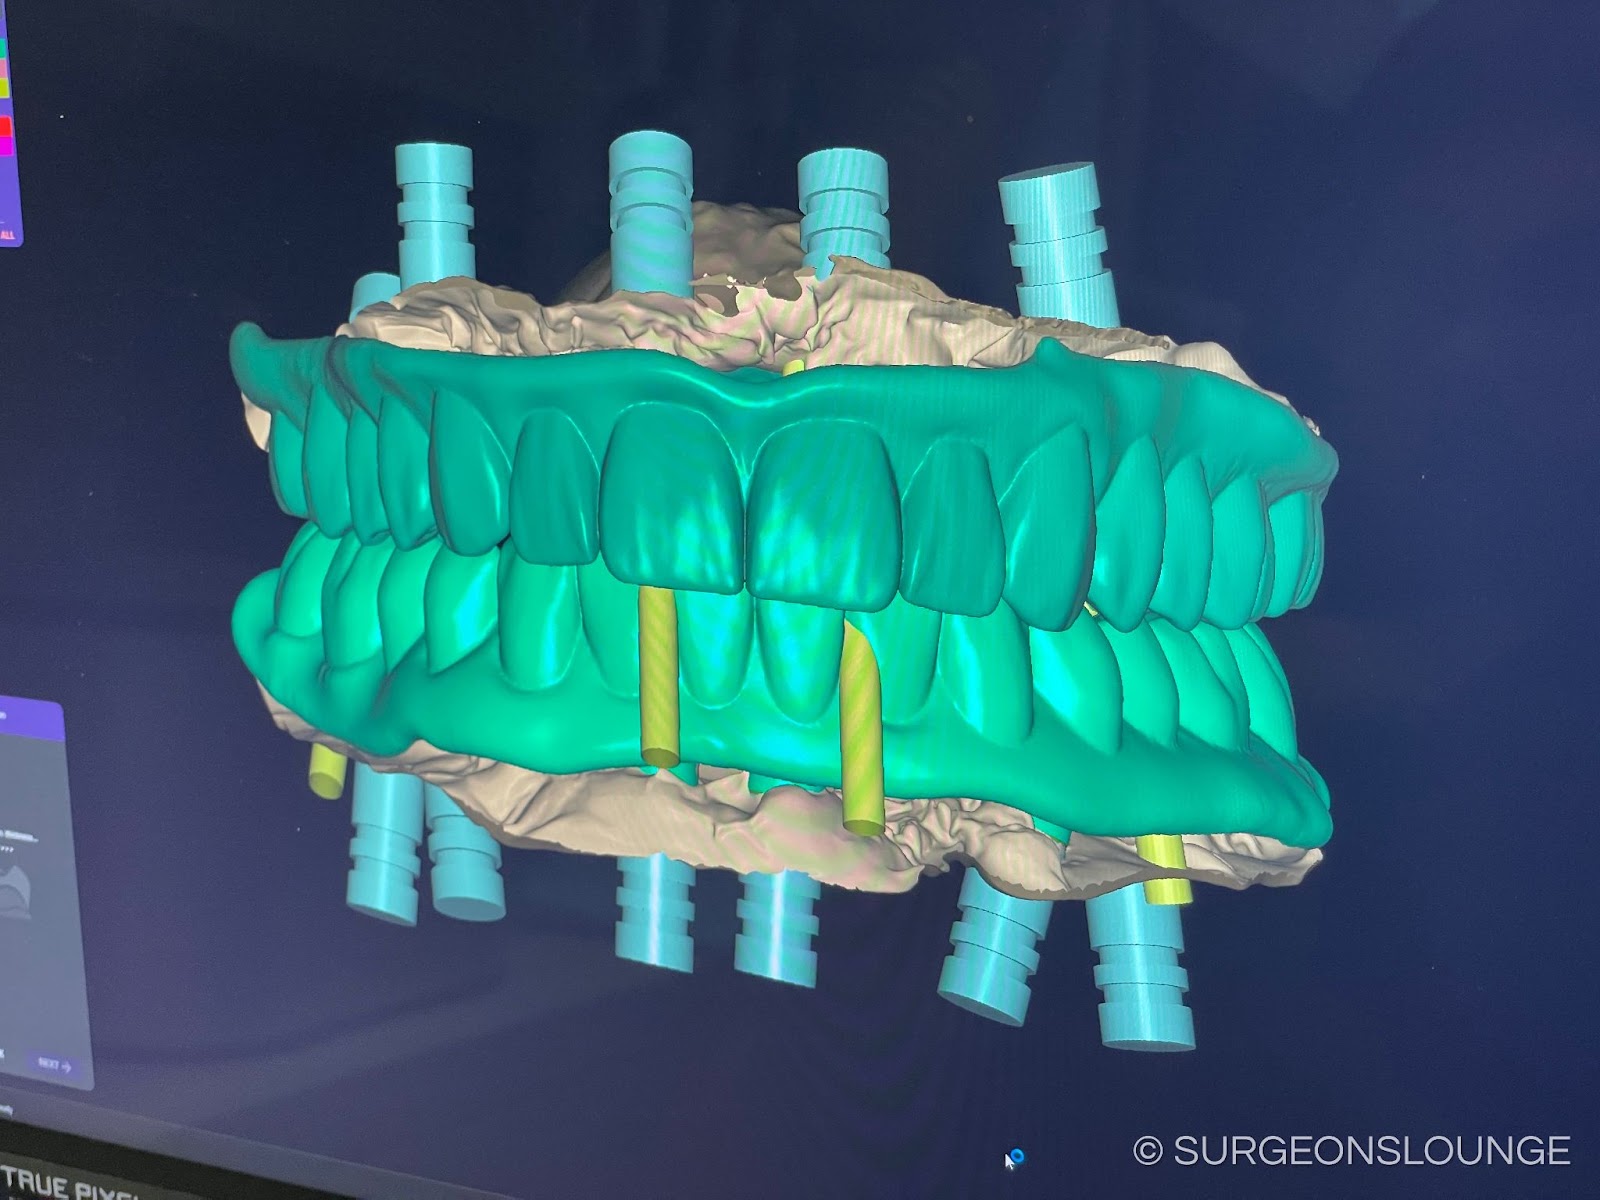
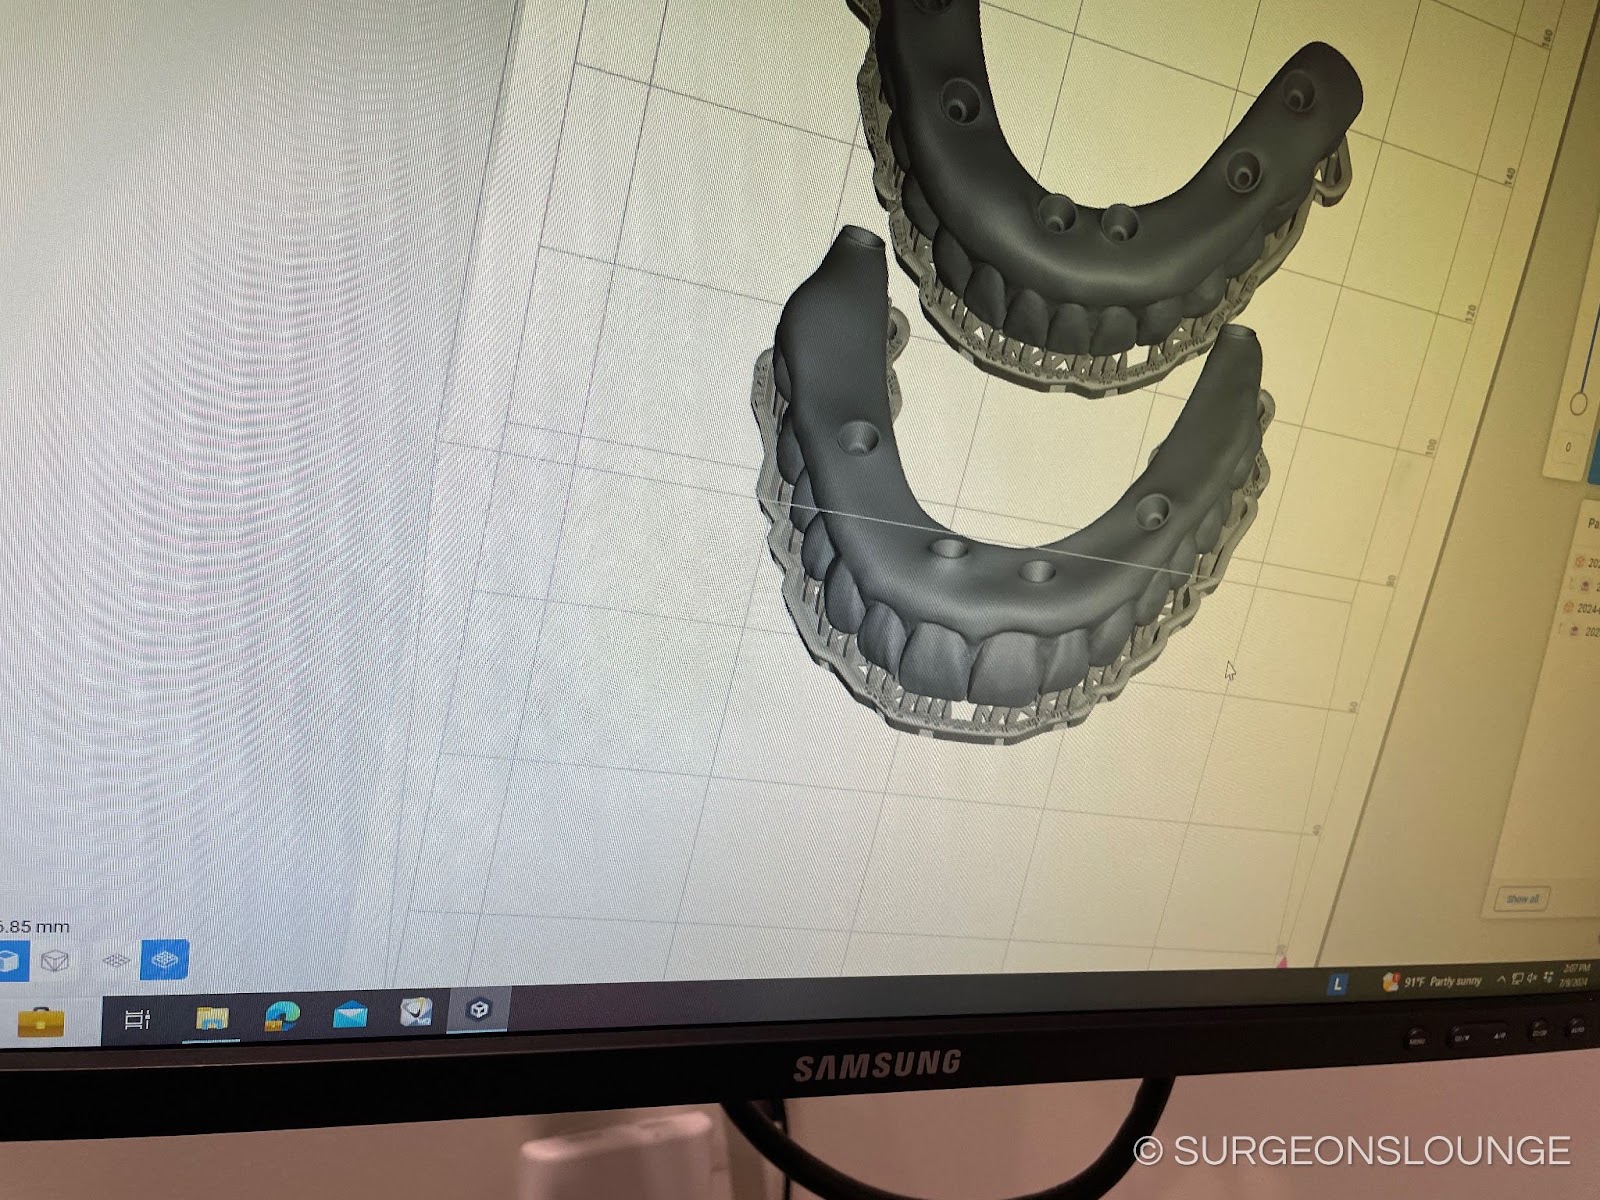
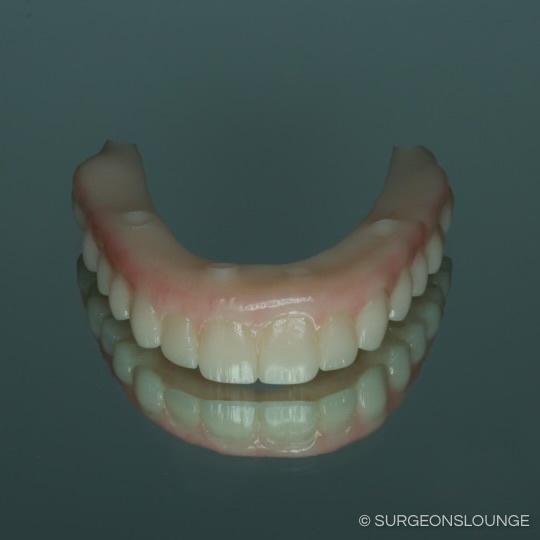
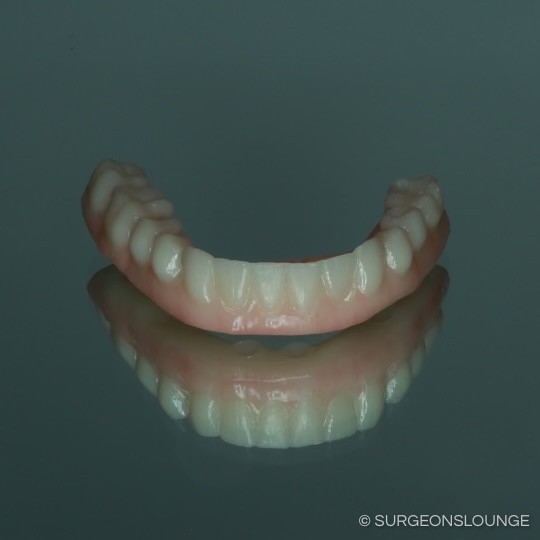
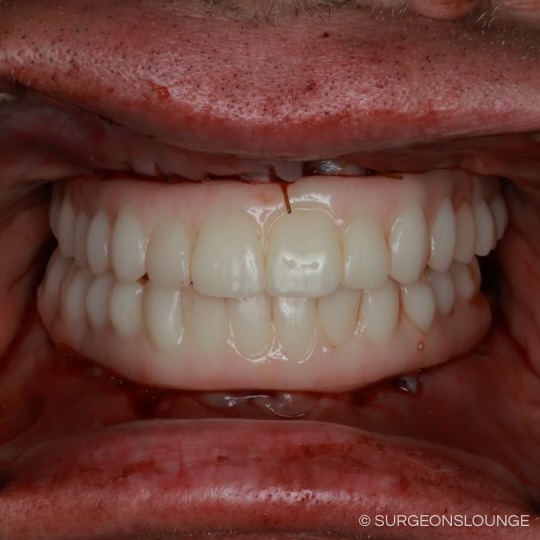
Technique
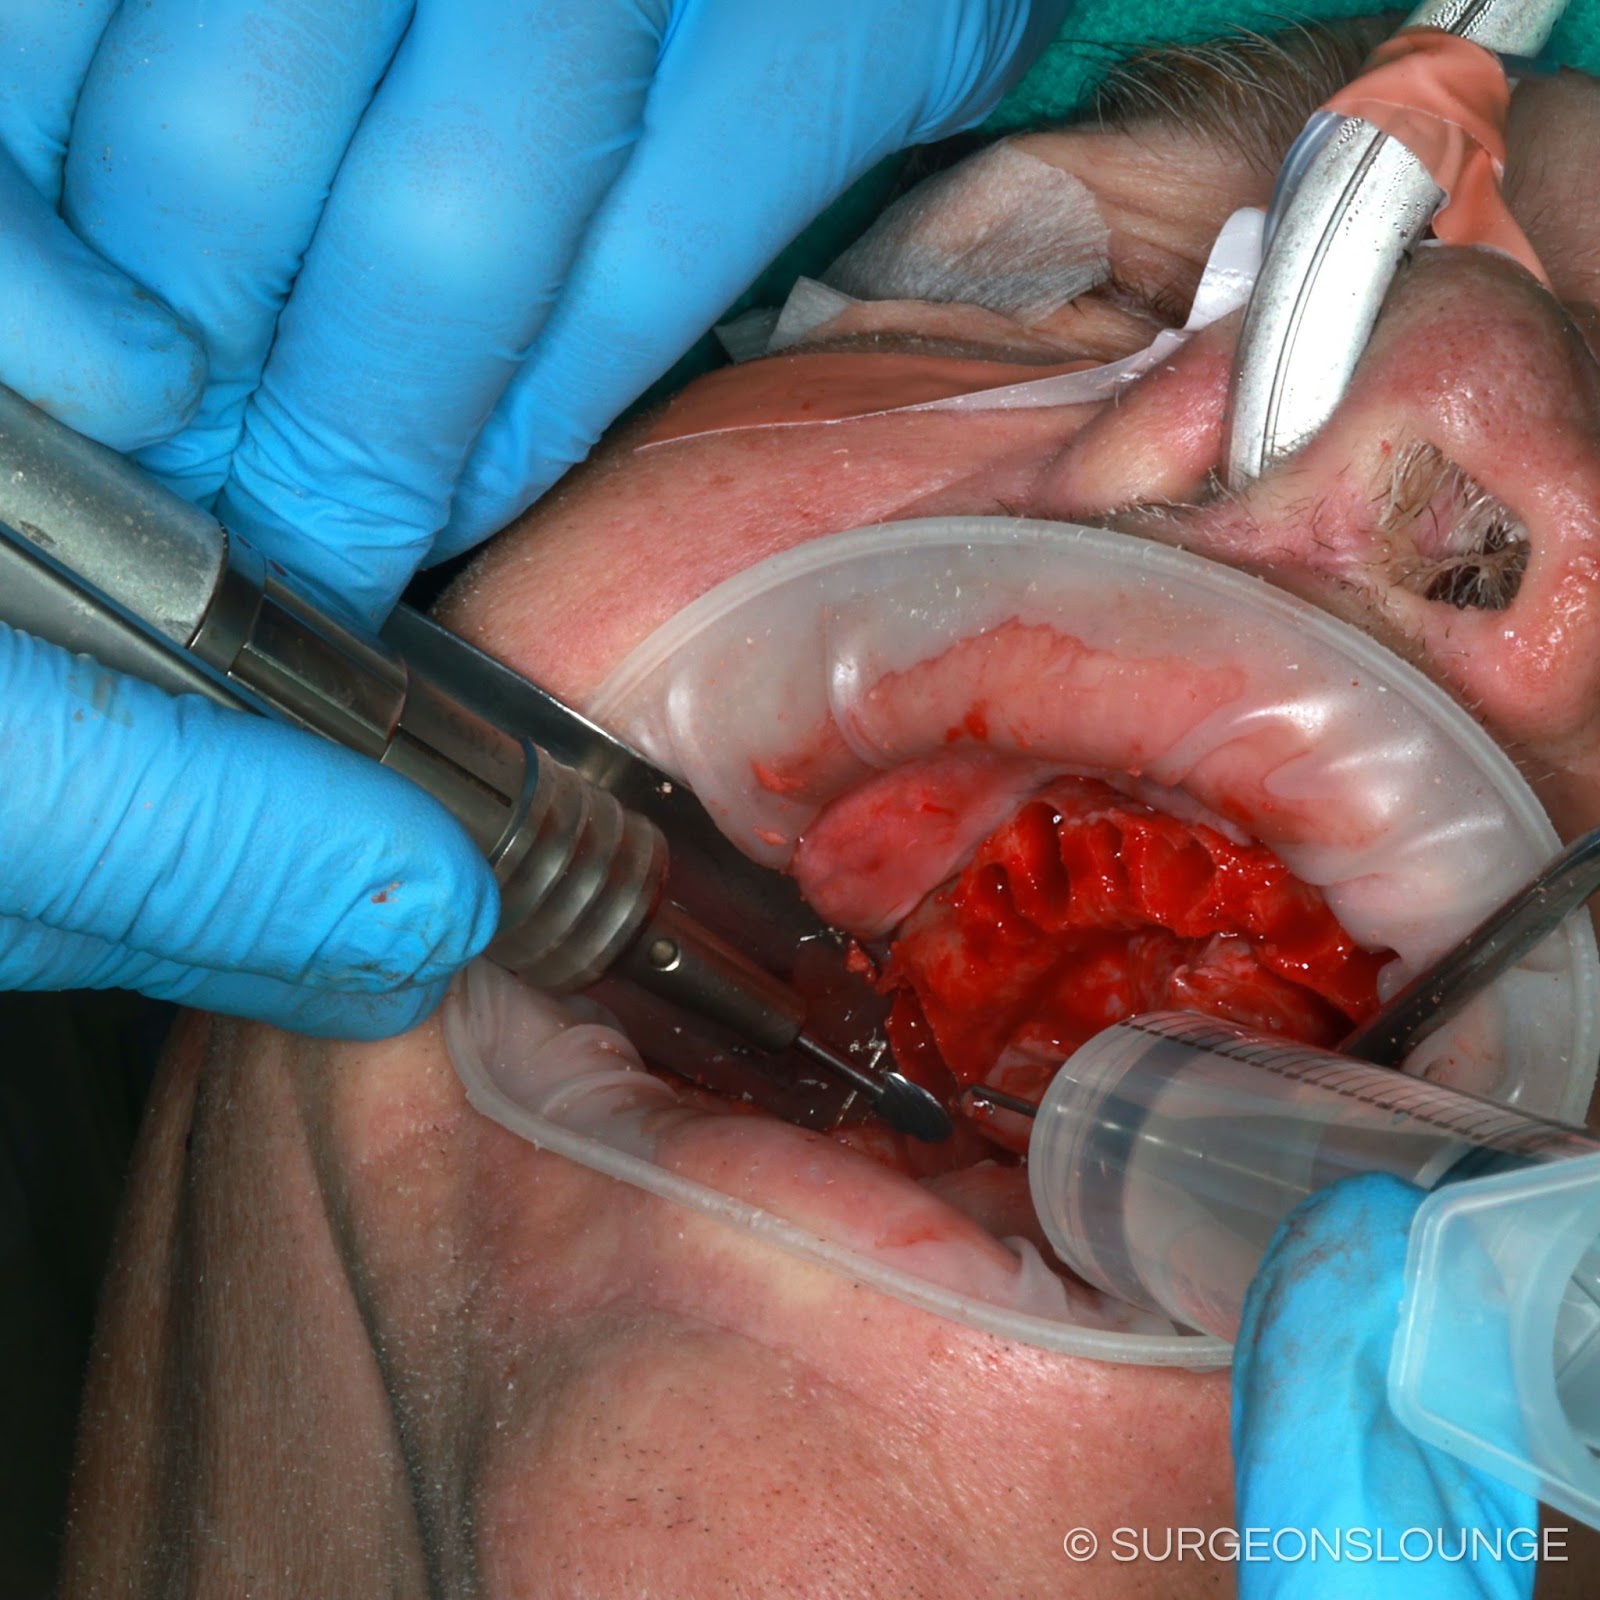
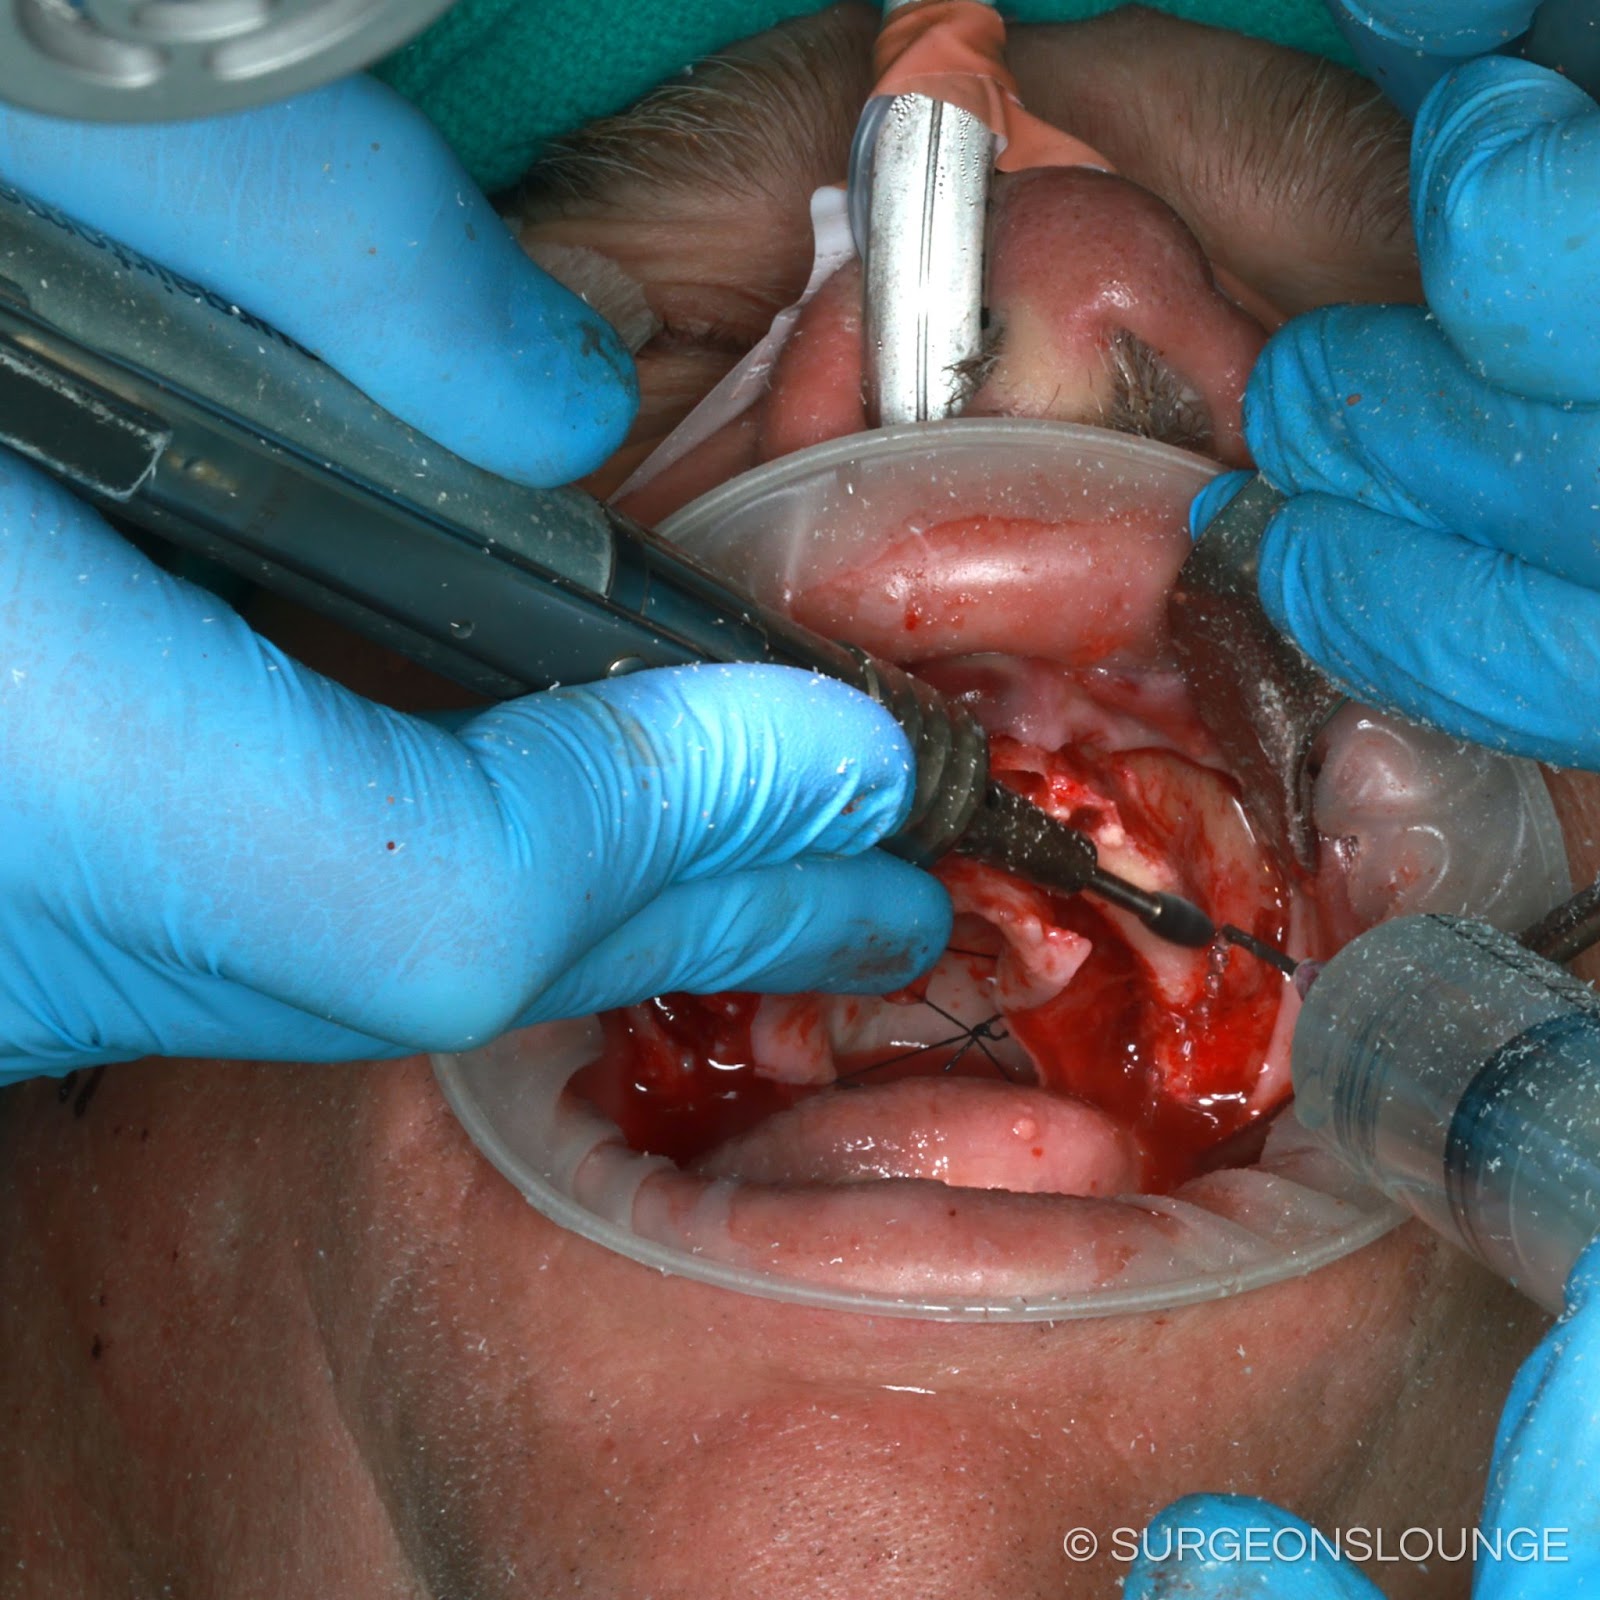
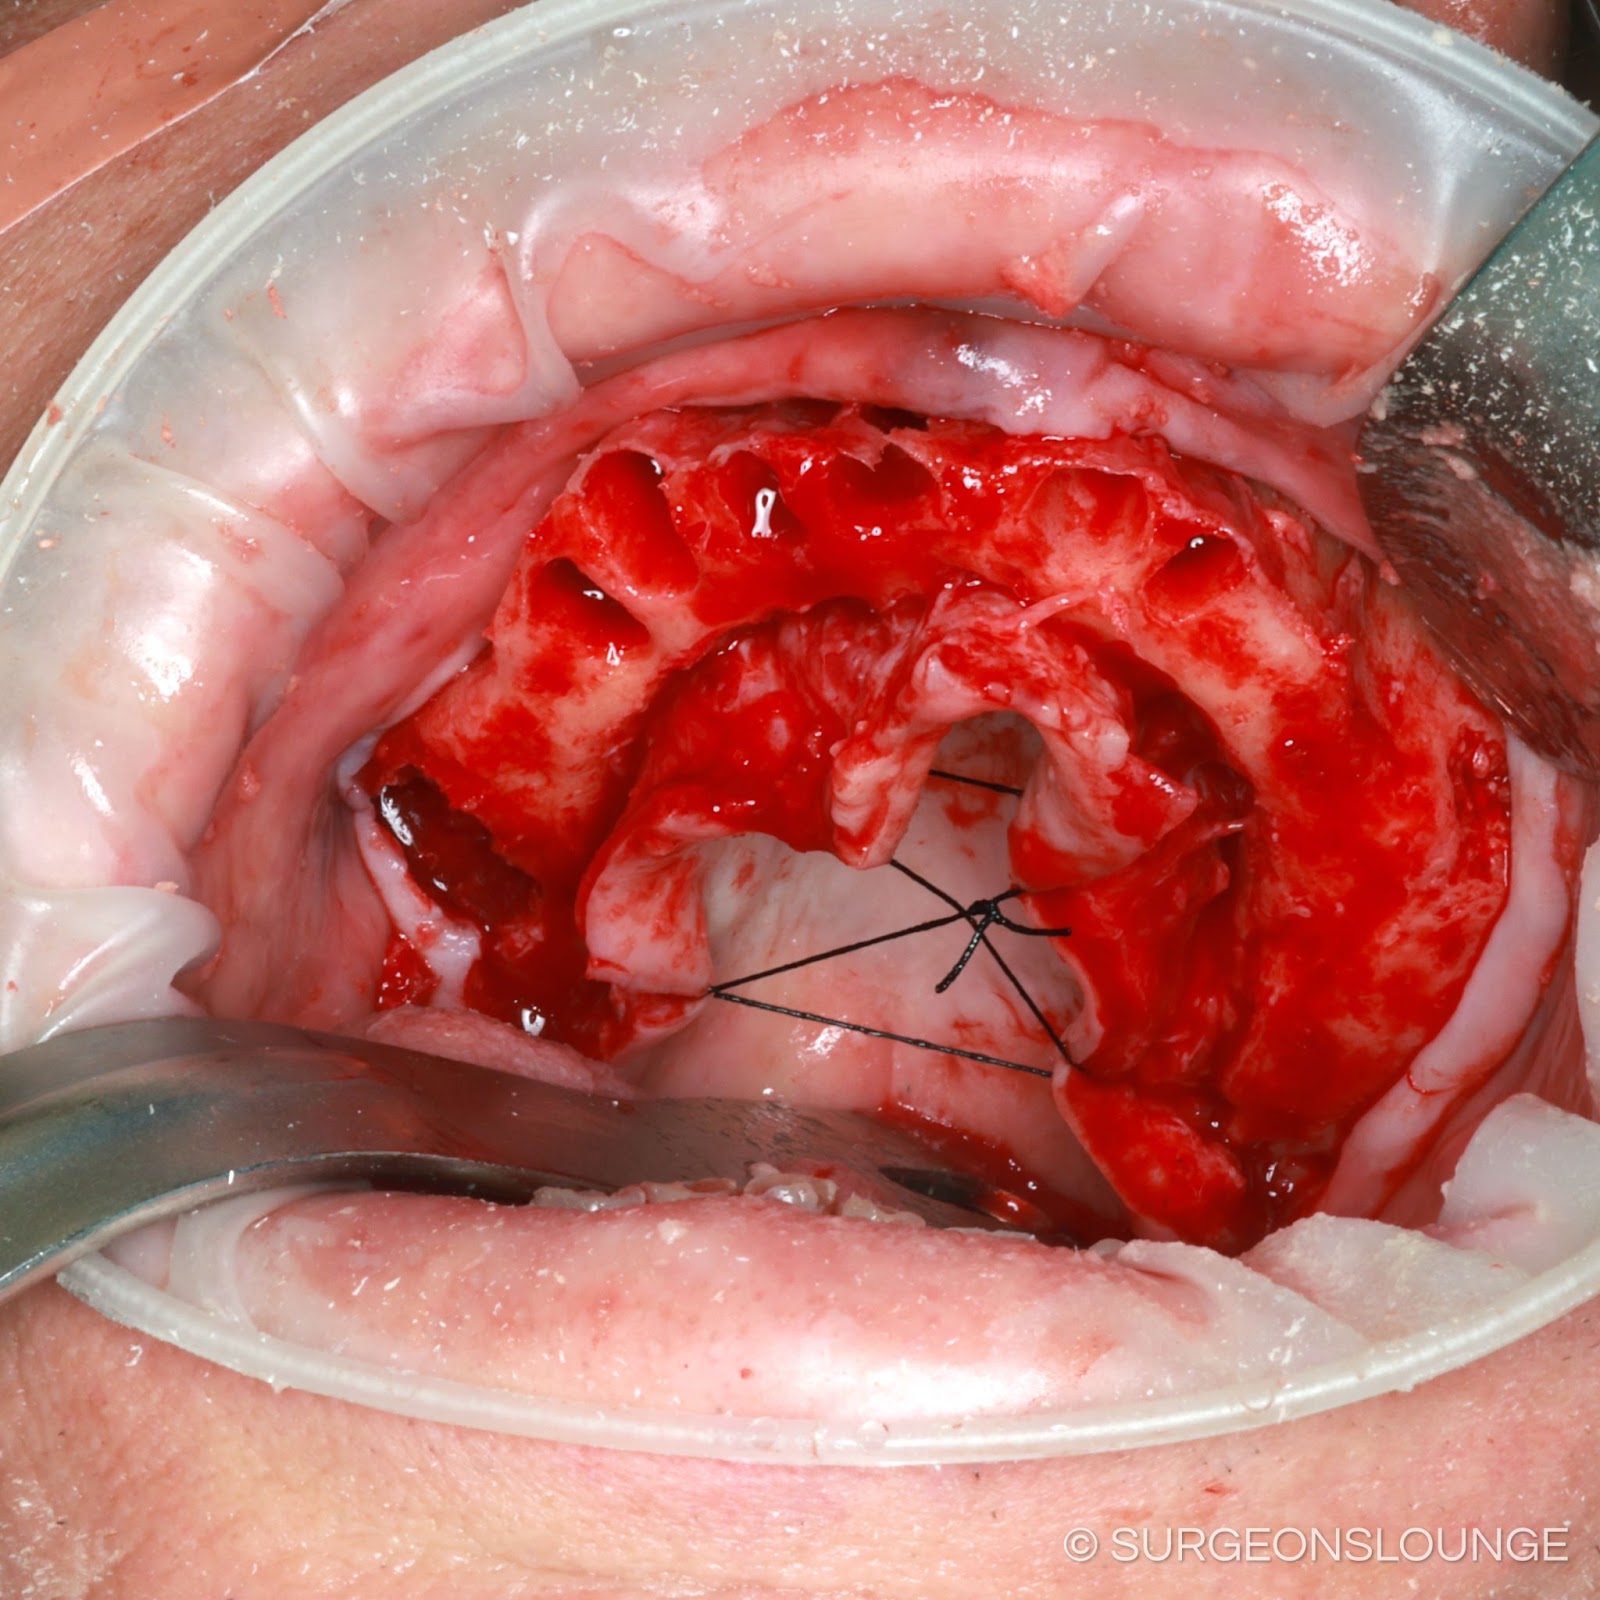
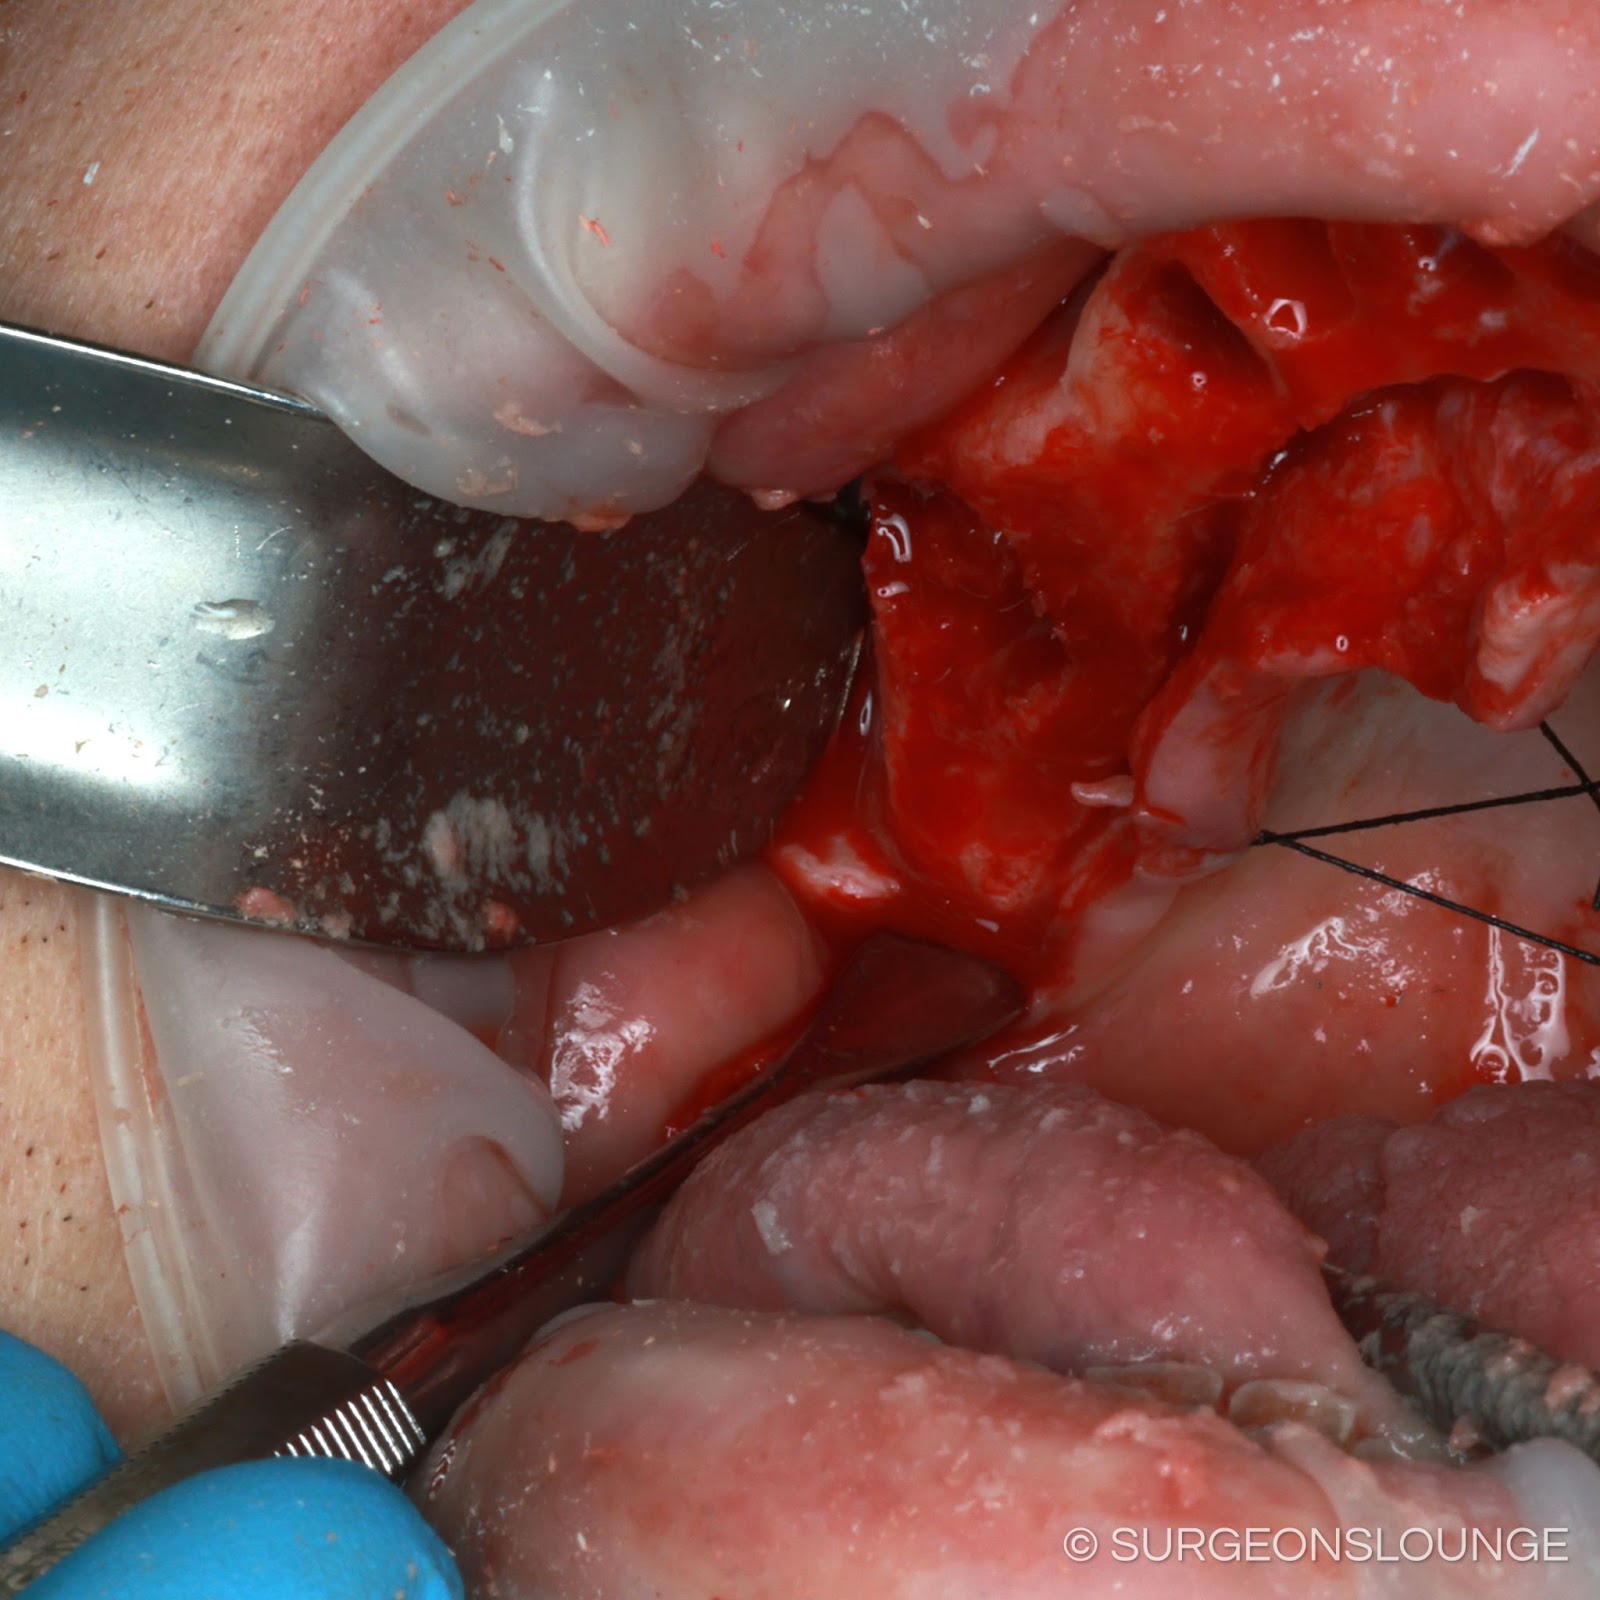












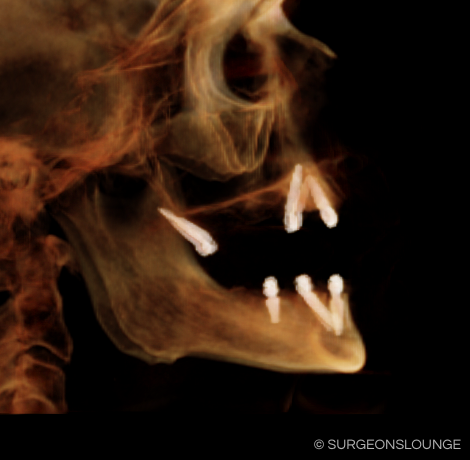
Postoperative Considerations
Immediate:
Follow Up:
Operative Note
Surgeon(s): ***
Assistant Surgeon(s): ***
Preoperative Diagnosis: ***
Postoperative Diagnosis: Same
Procedure(s): ***
Anesthesia: General
Implants: ***
Specimen:***
Drains: None
Fluids: See anesthesia record
EBL: Minimal
Complications: None
Counts: Correct x2
Indications: ***
Findings: As expected
Procedure in Detail:
The patient was seen in the preoperative holding area with a H&P was updated, consents were verified, surgical site marked, and all questions and concerns related to the proposed procedure were discussed in detail. The patient was transferred to the operating room by the anesthesia team. The patient underwent general anesthesia with endotracheal intubation. Tegaderms were placed over the eyes. The patient was prepped and draped in the standard fashion for maxillofacial procedures. A time-out was performed and the procedure began.
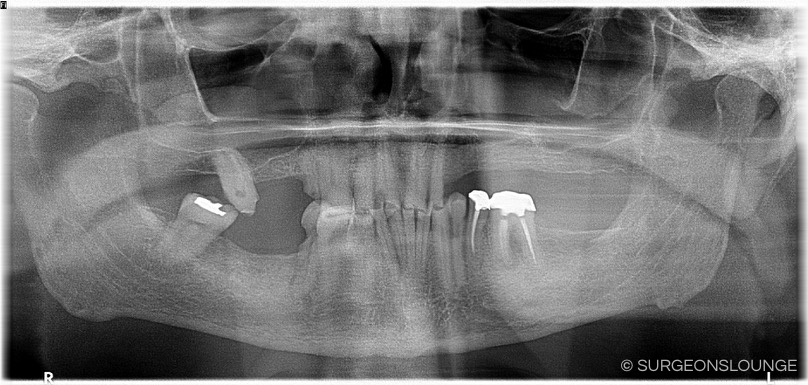
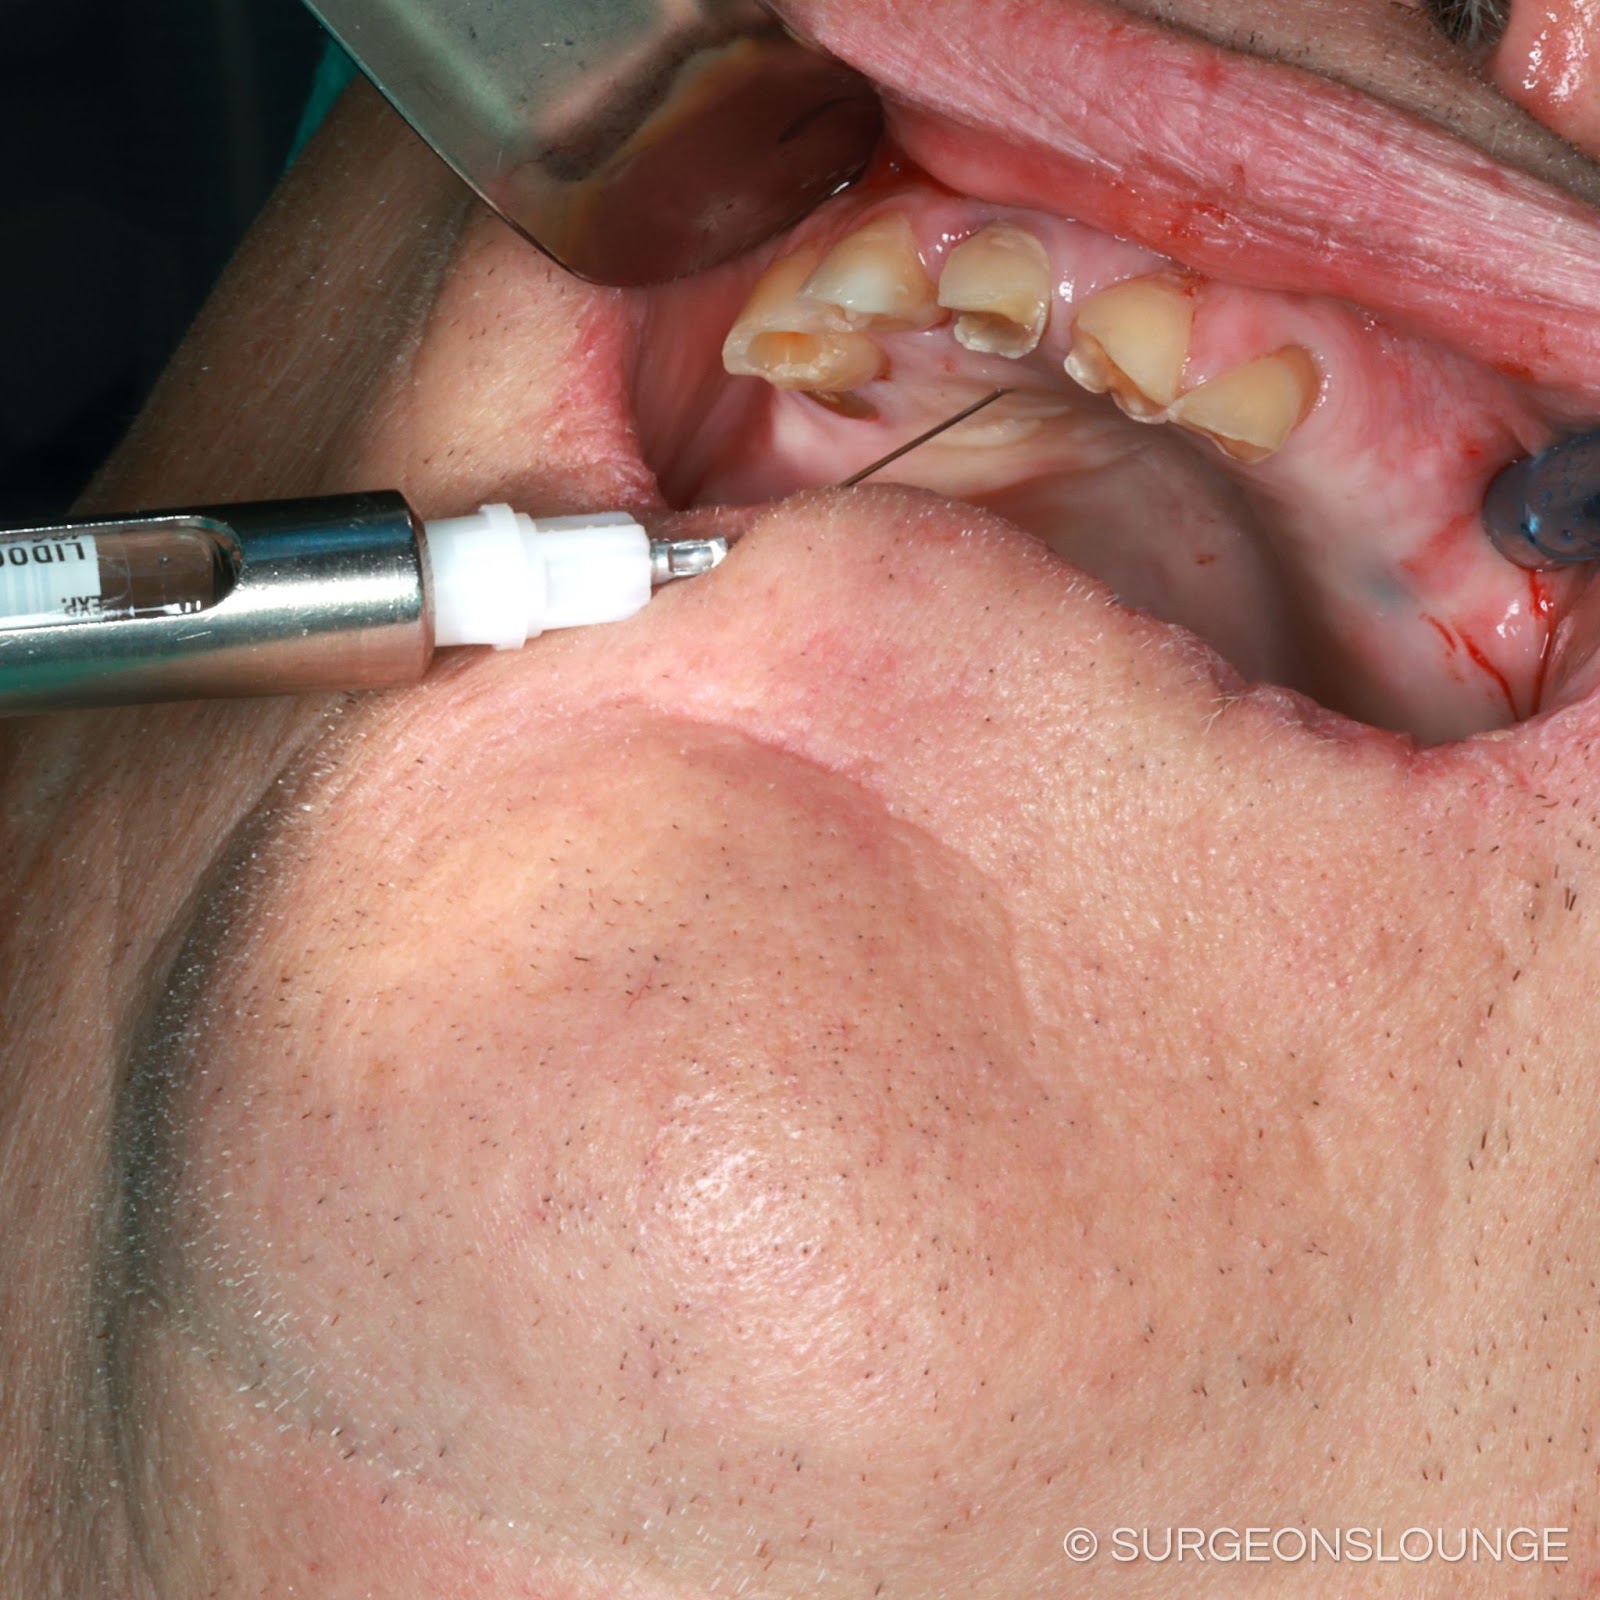
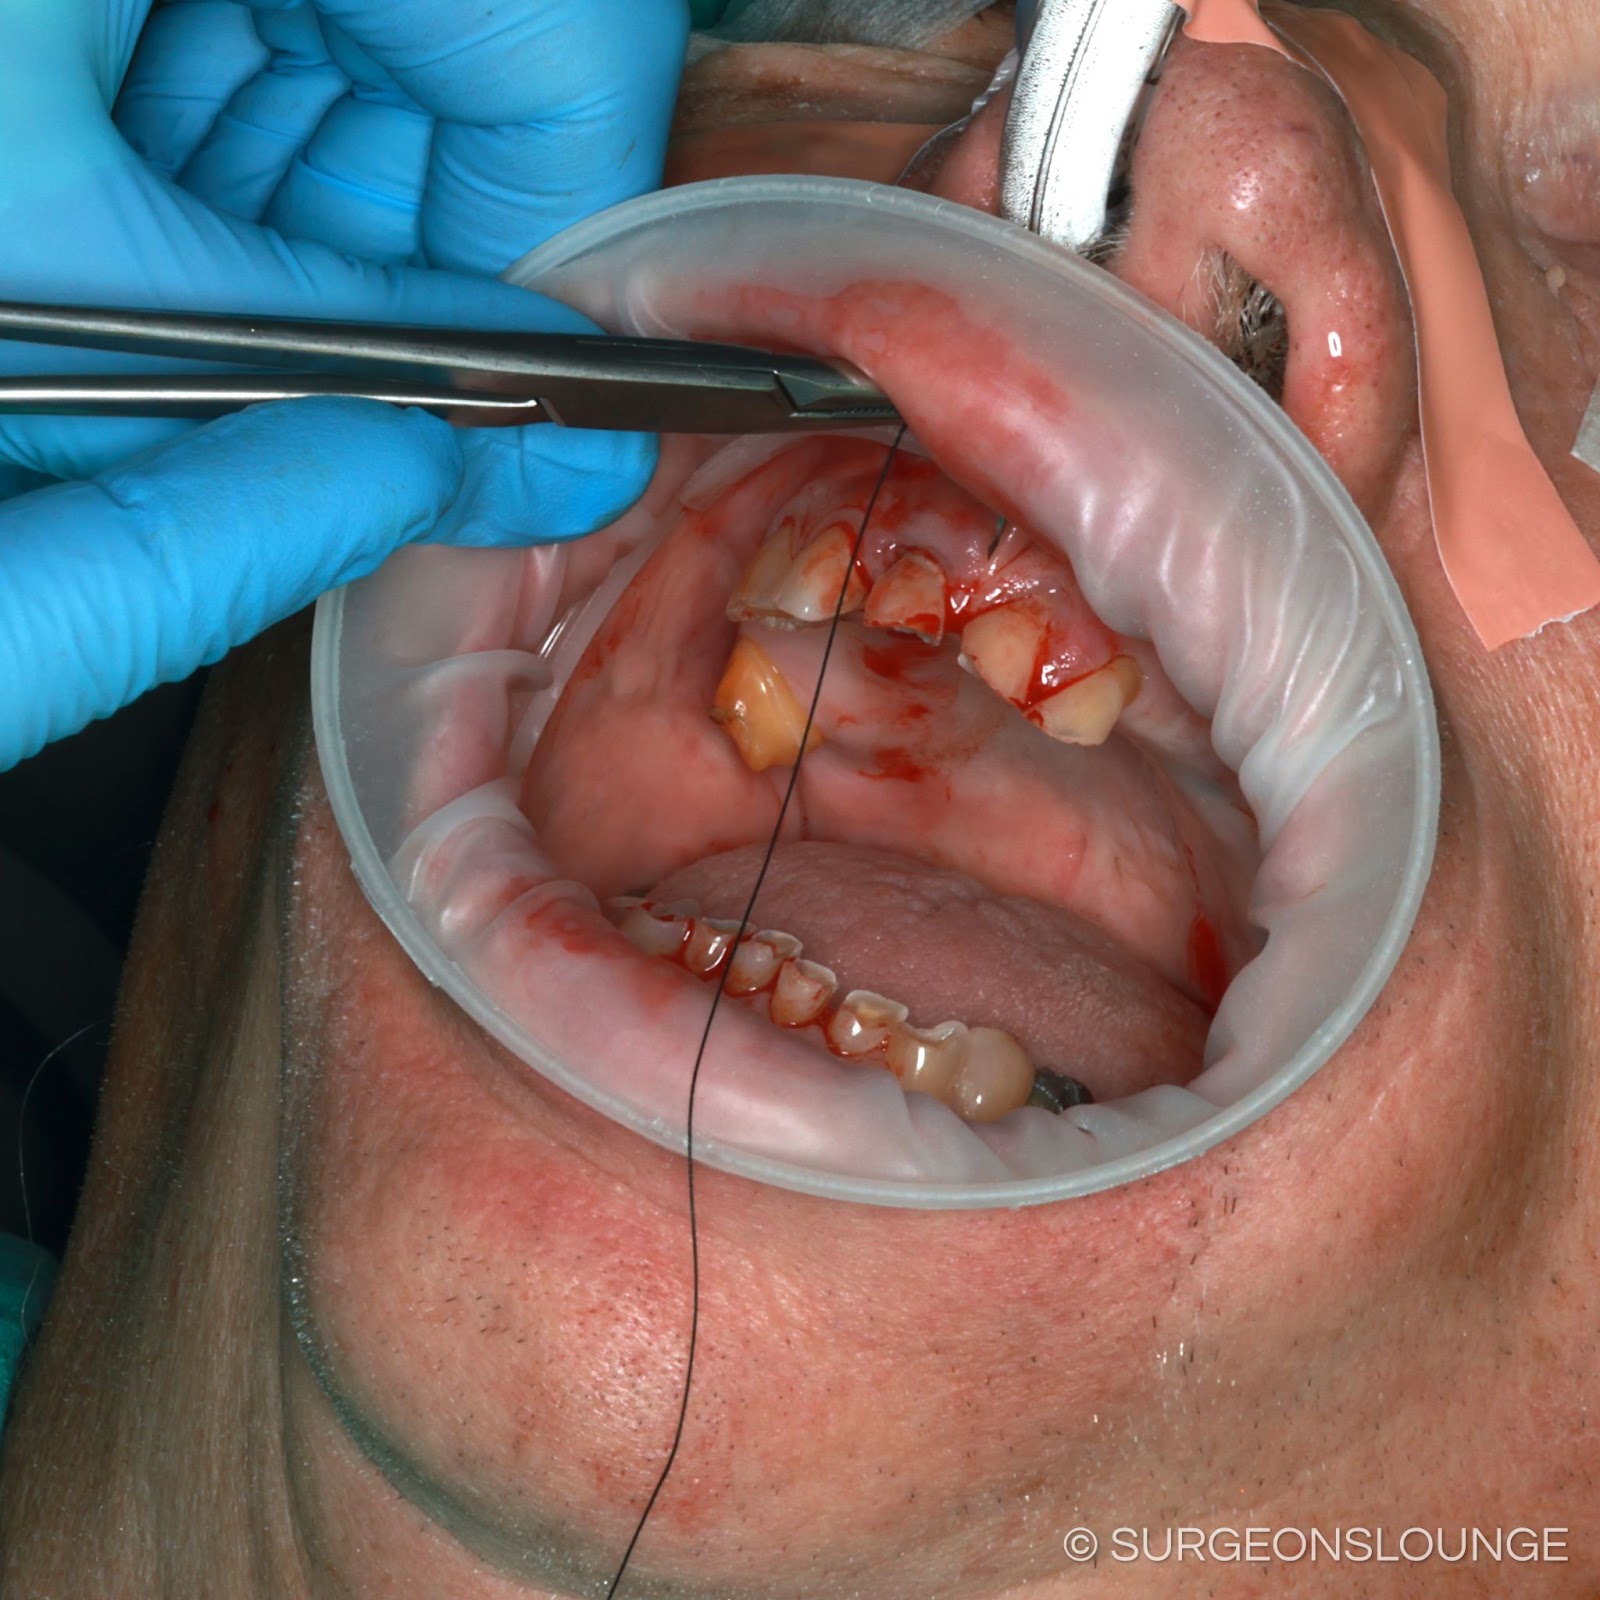
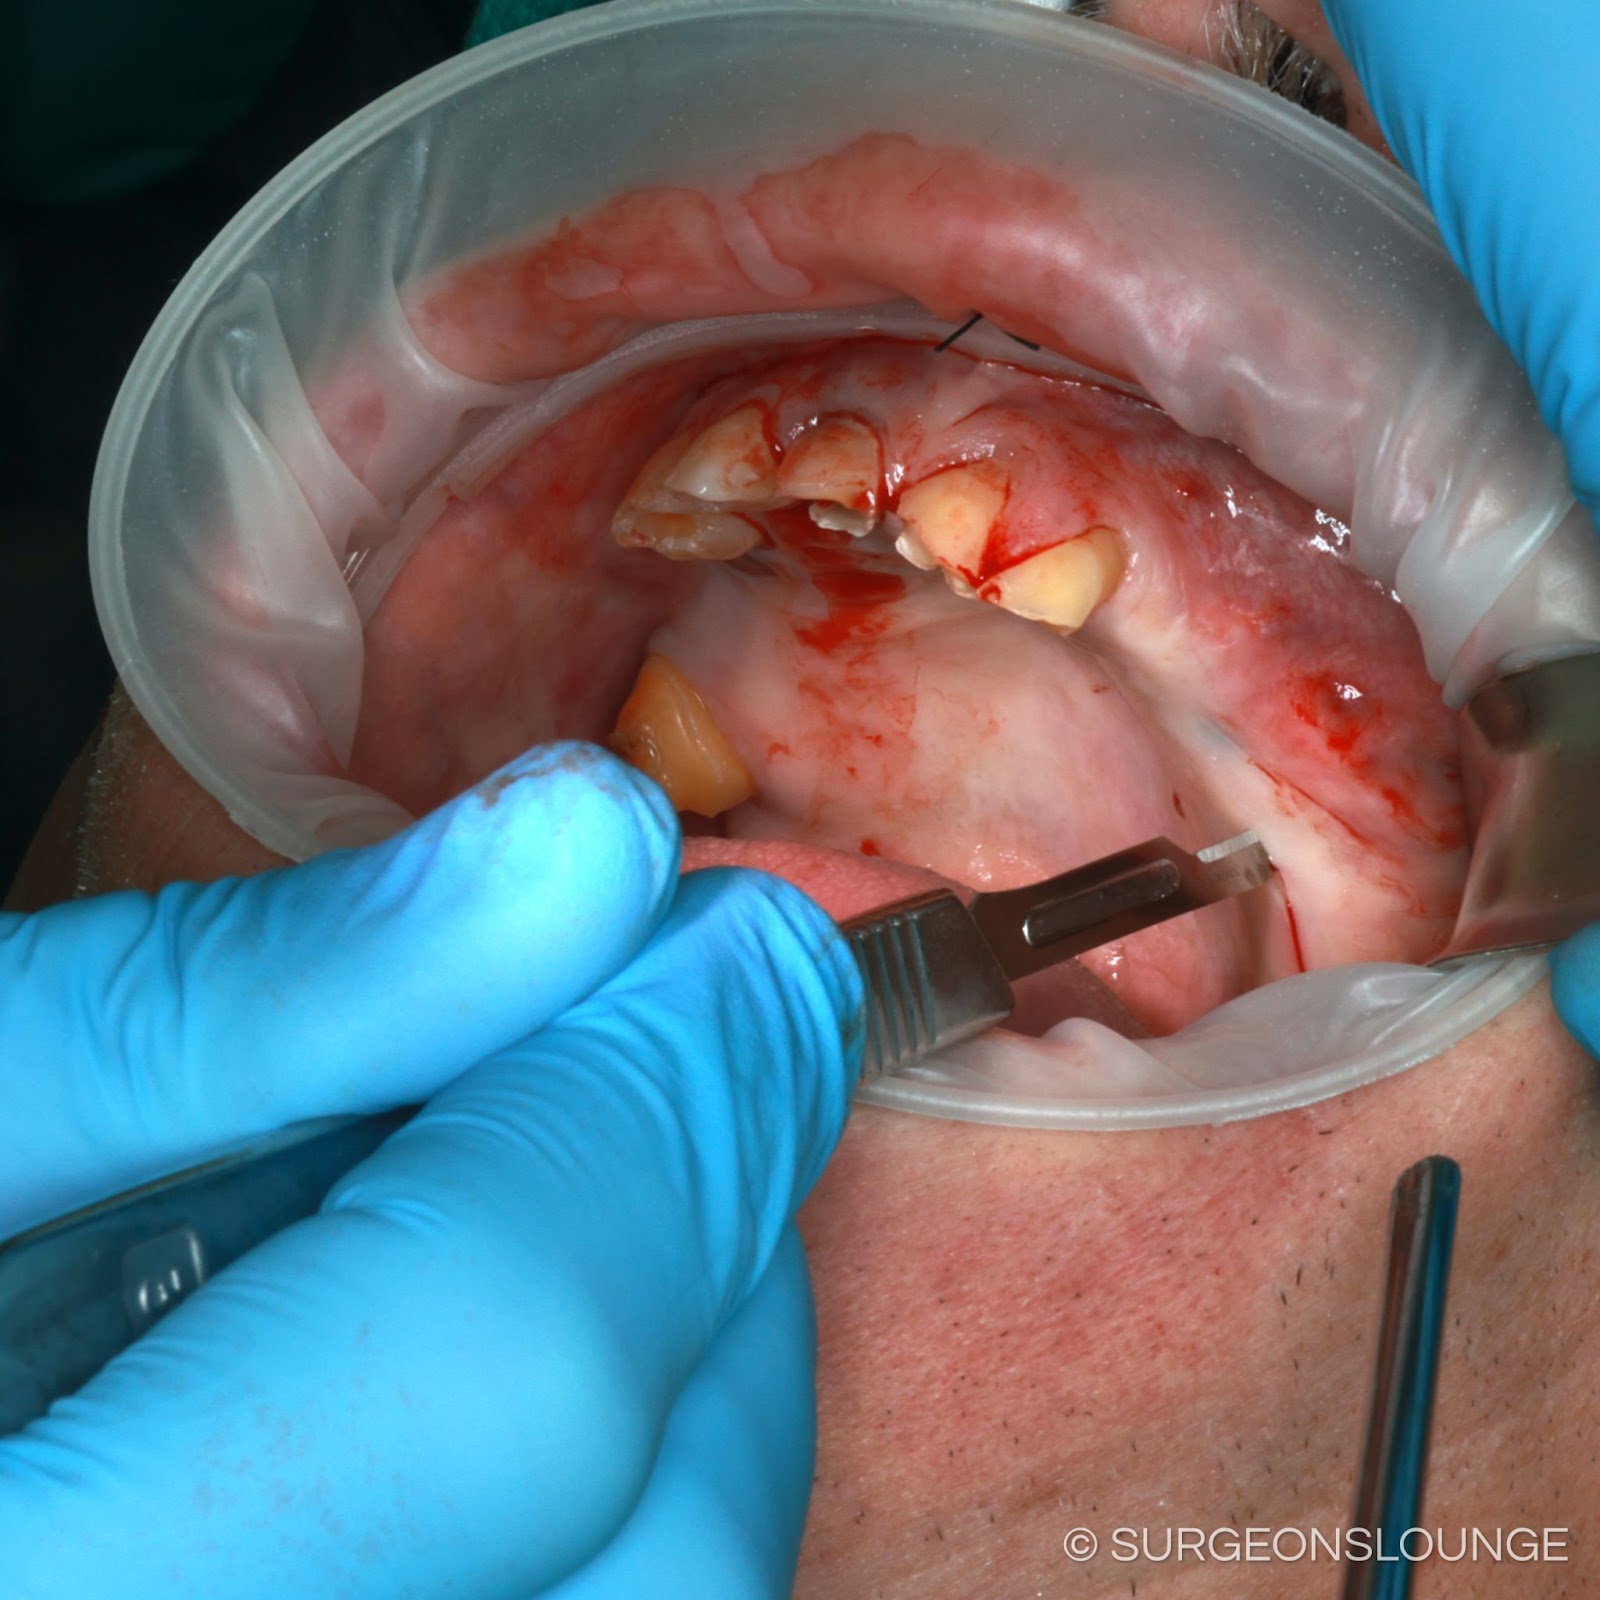
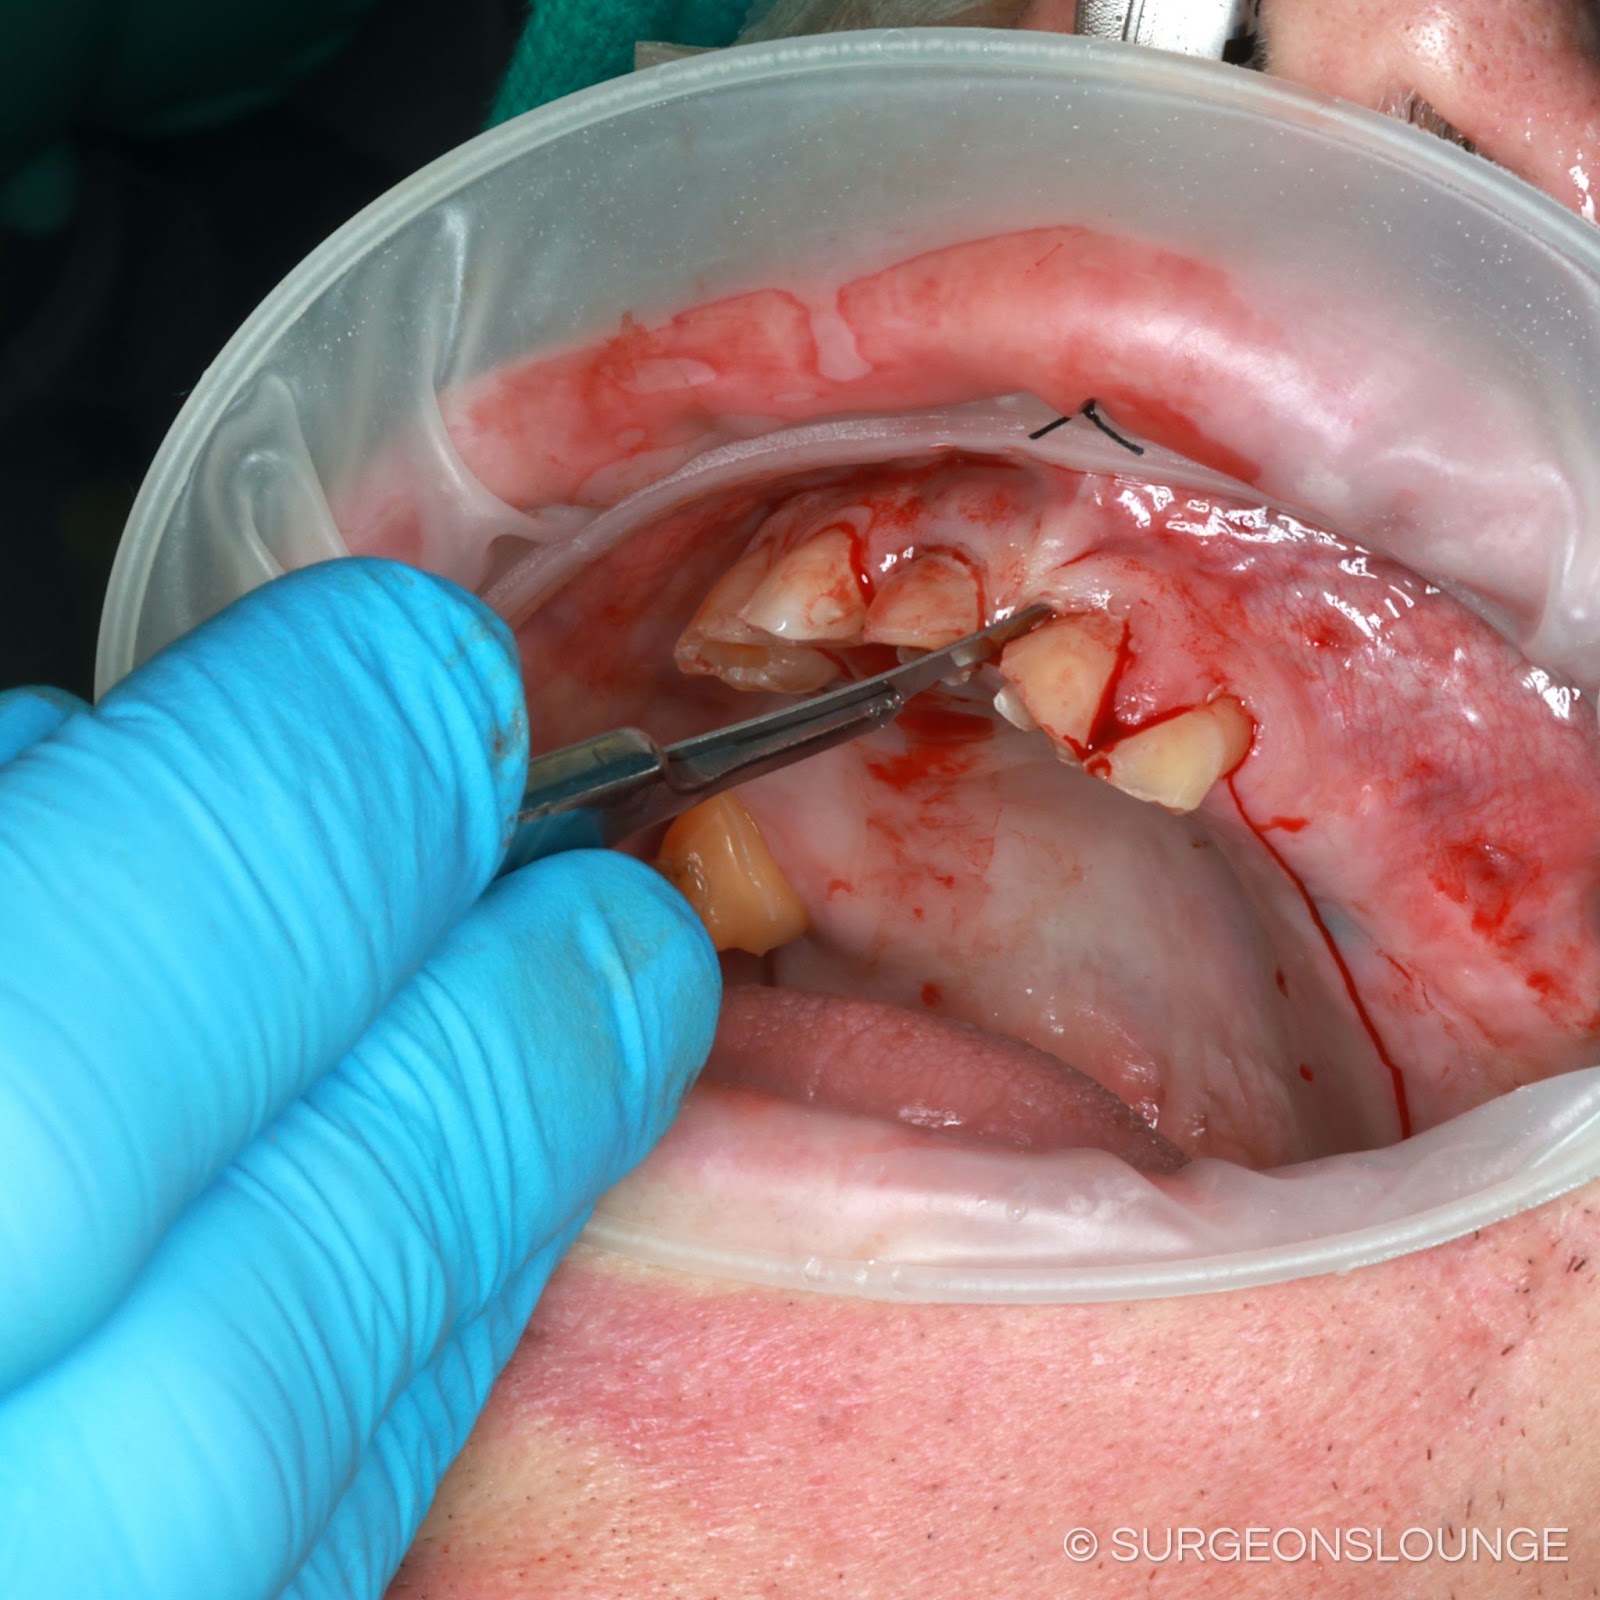
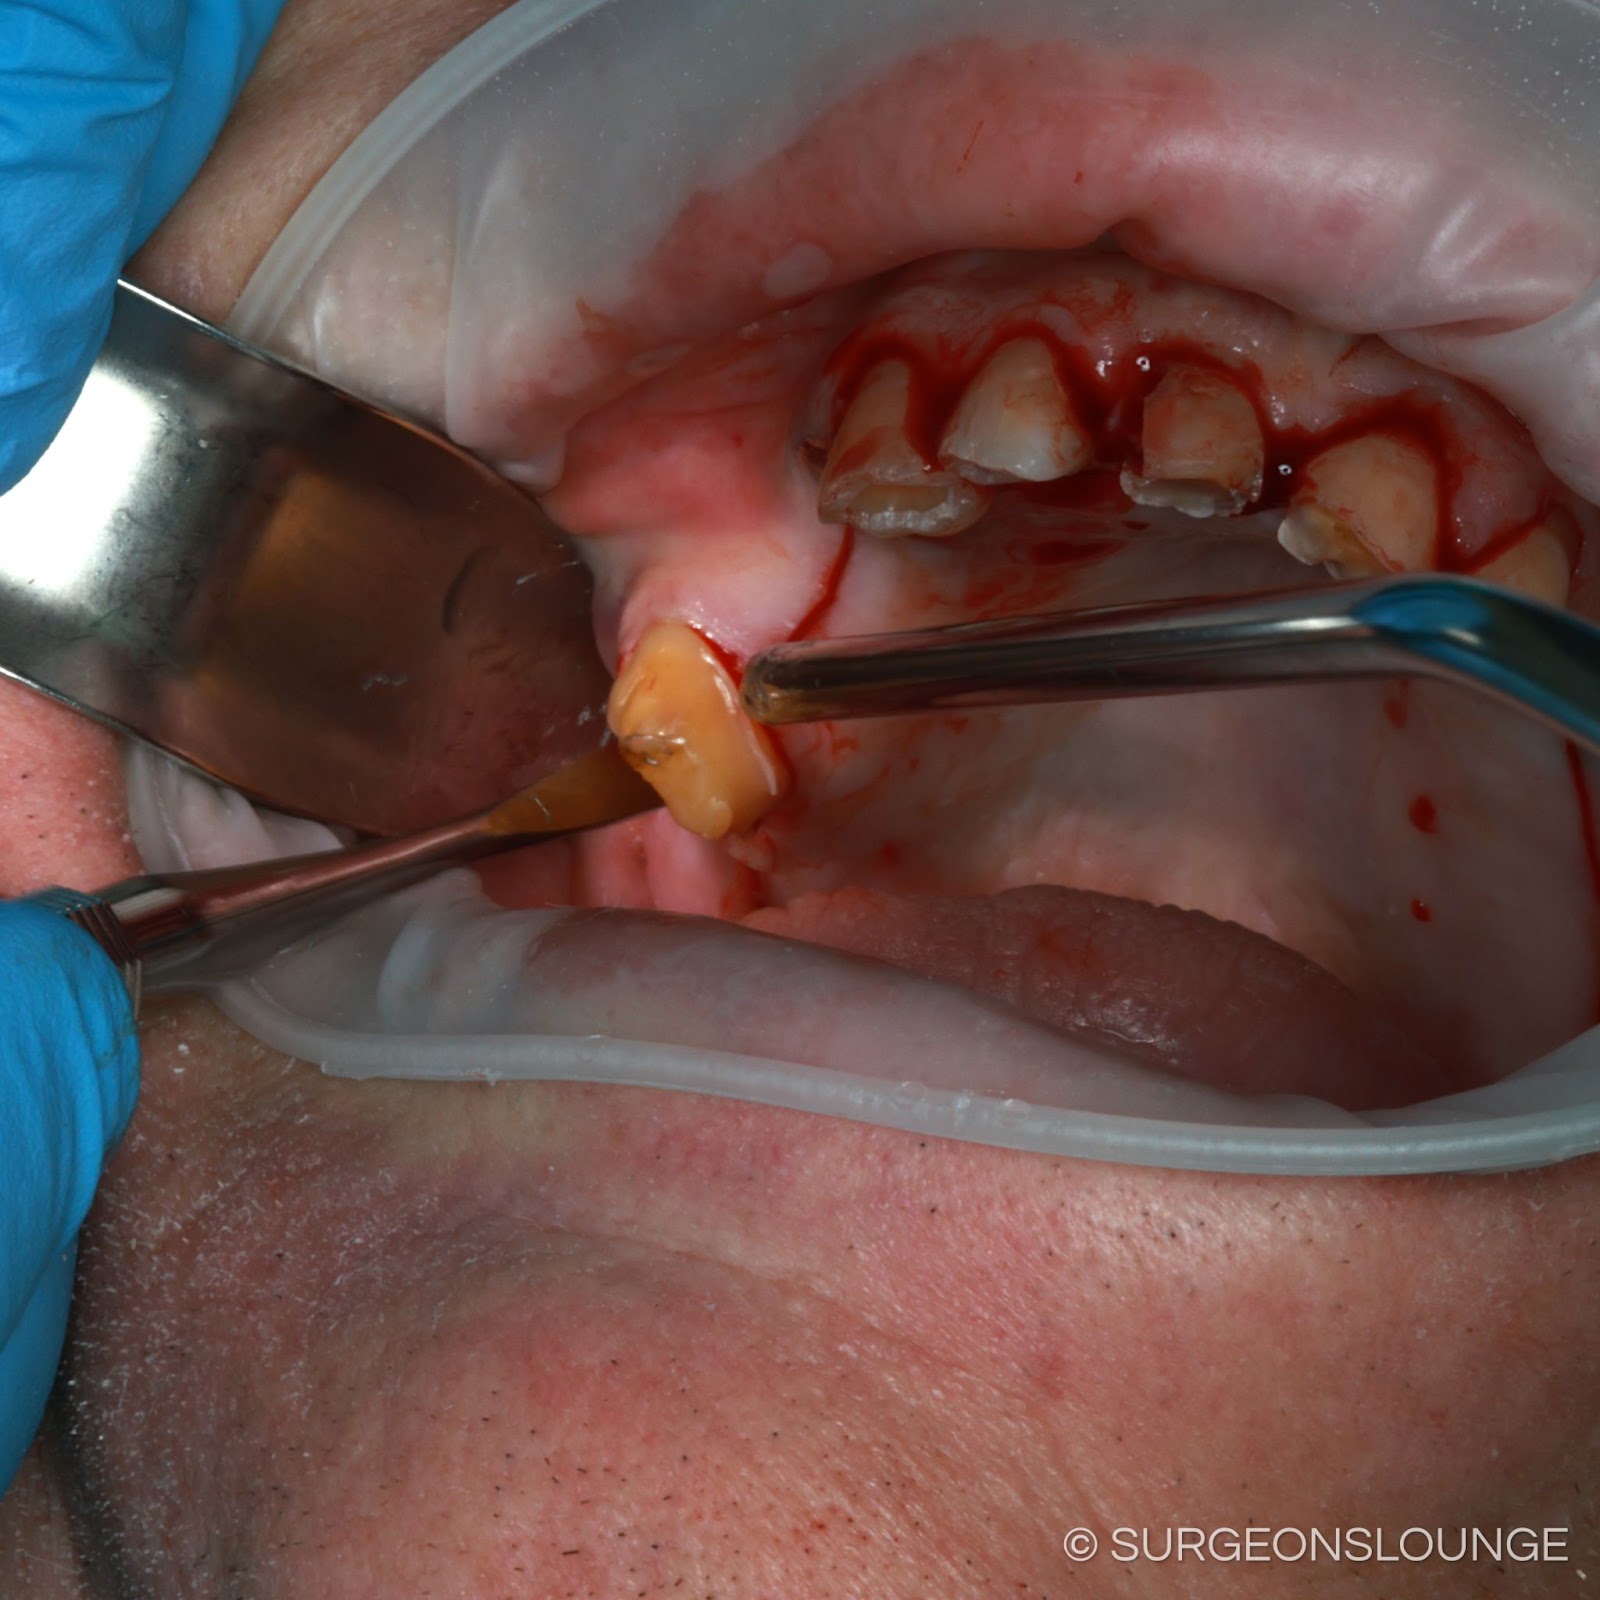
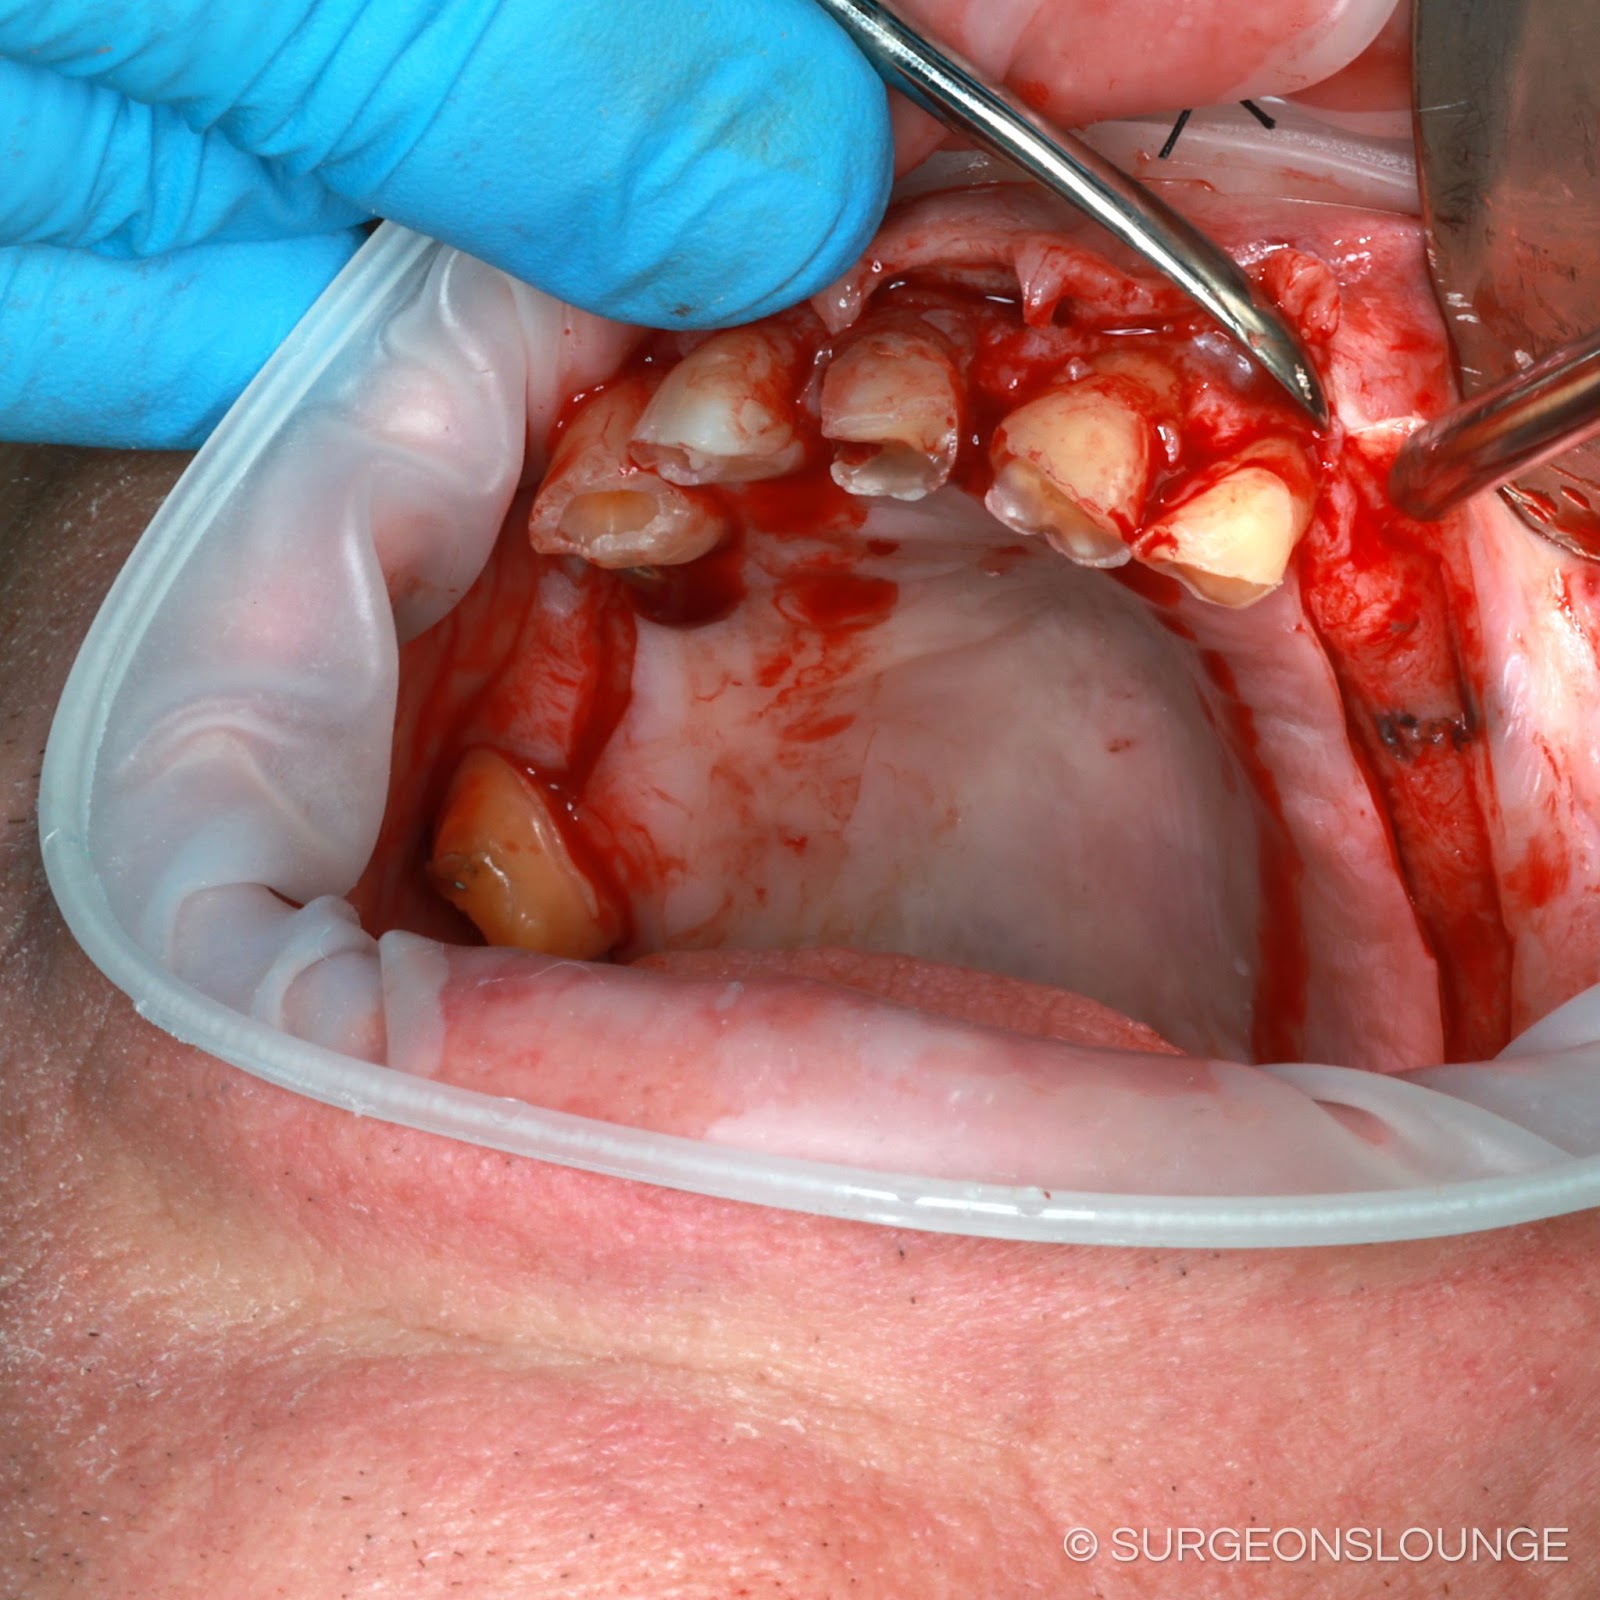
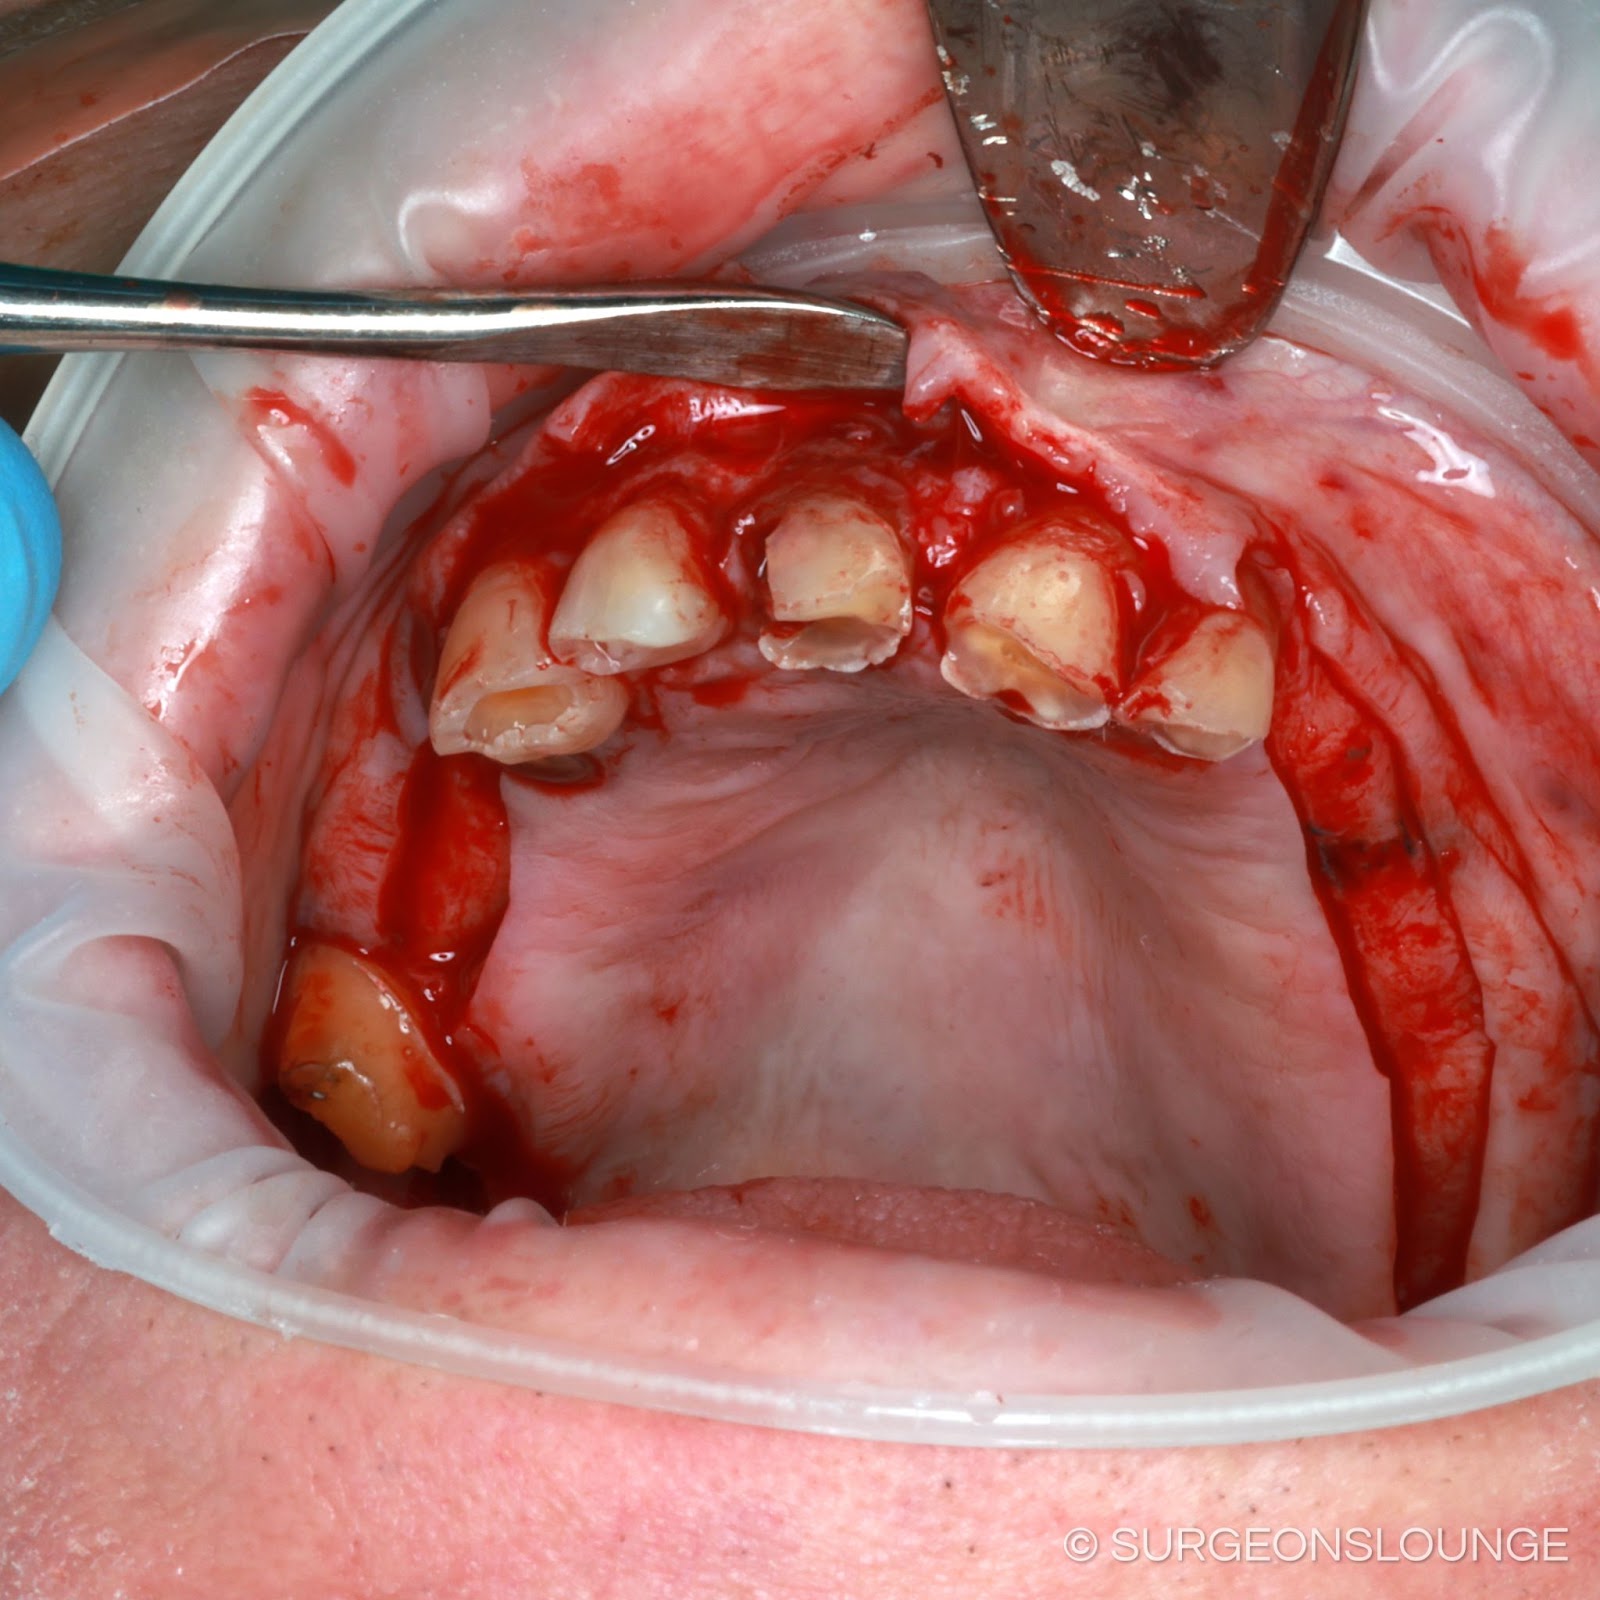
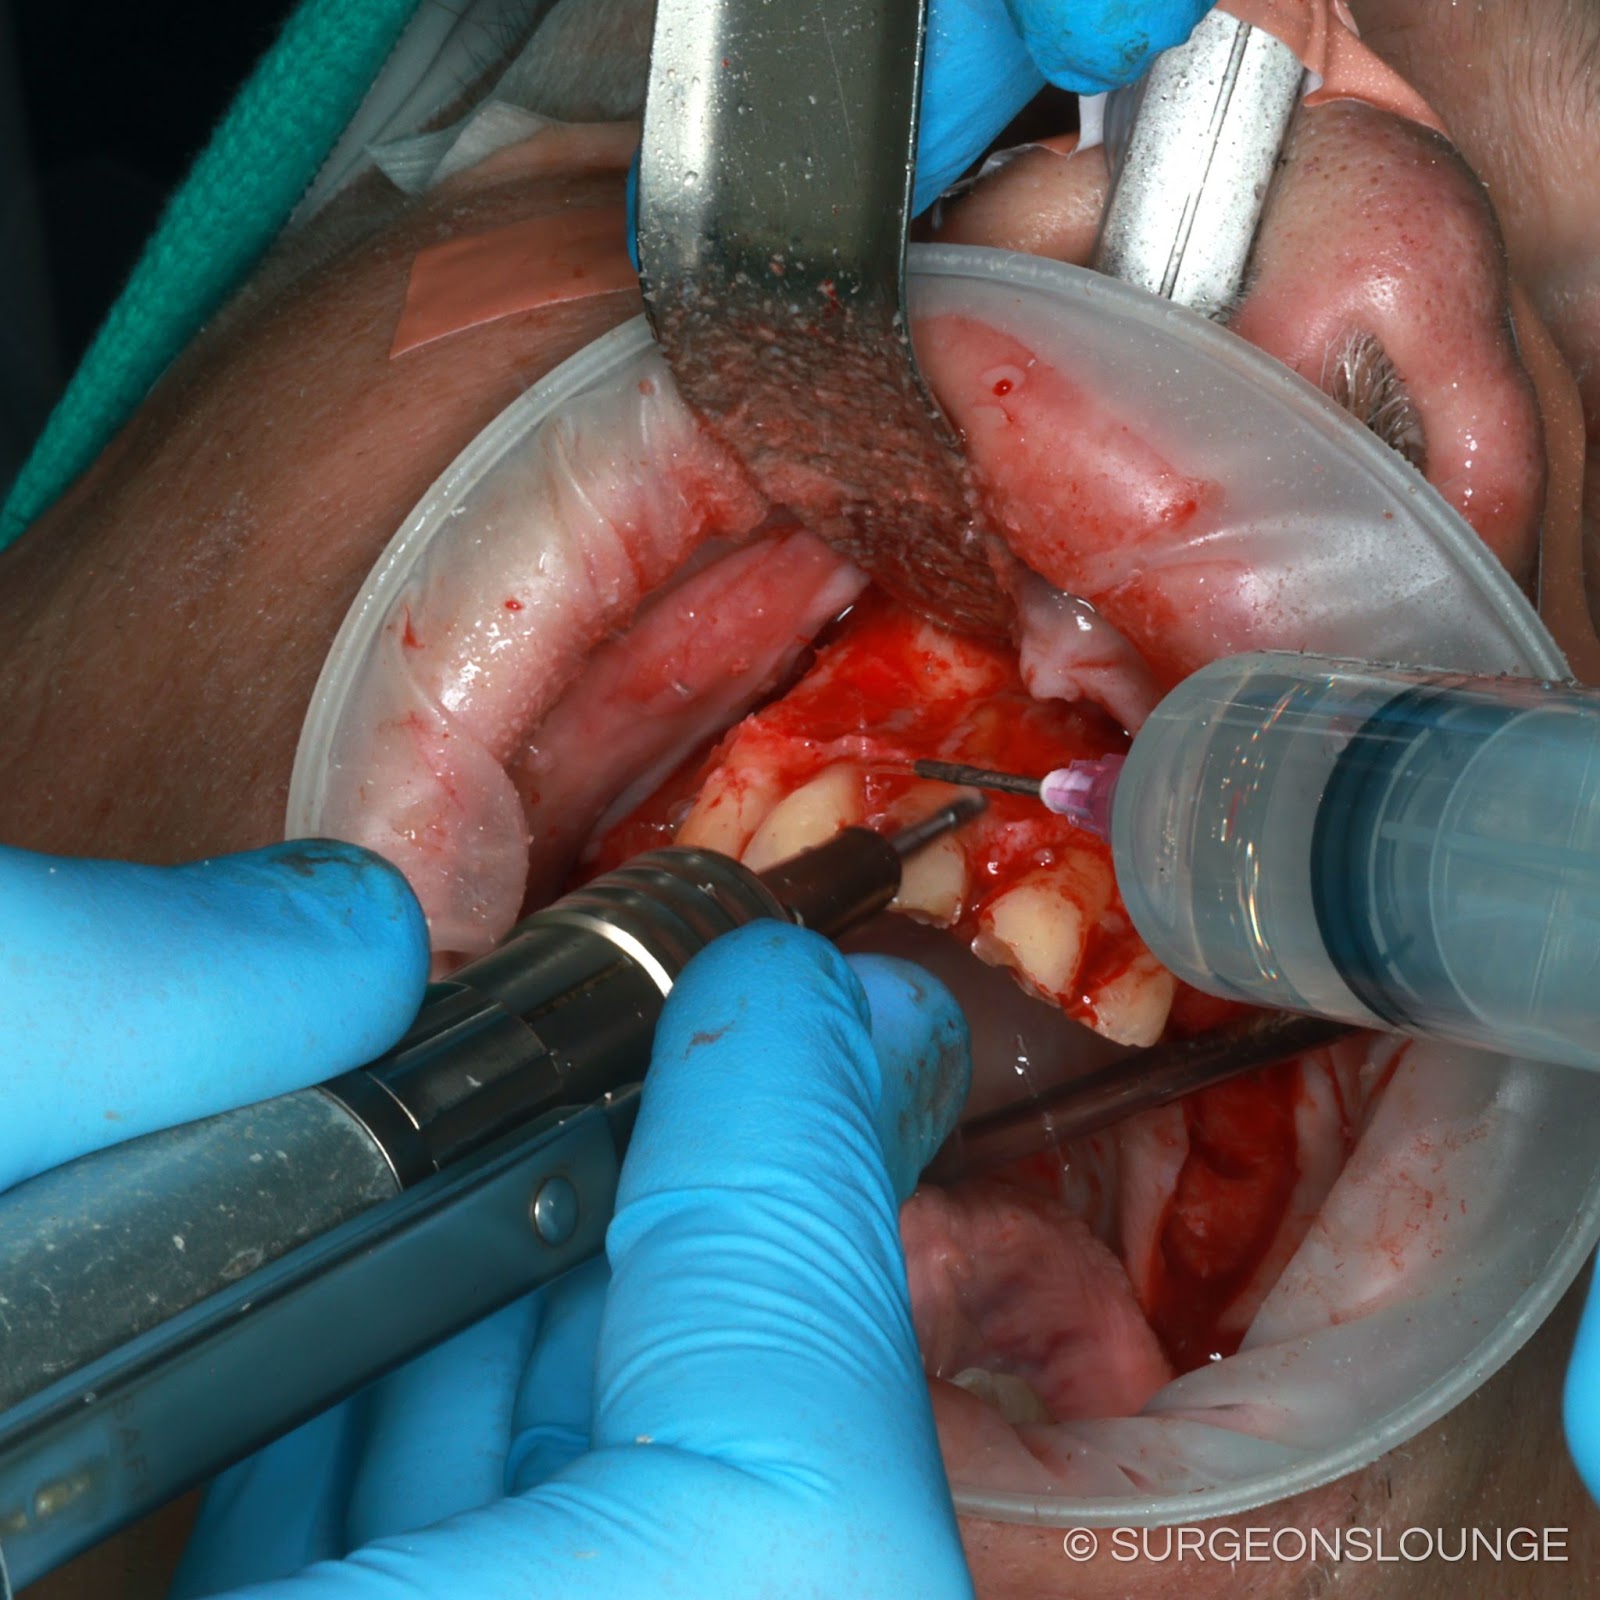
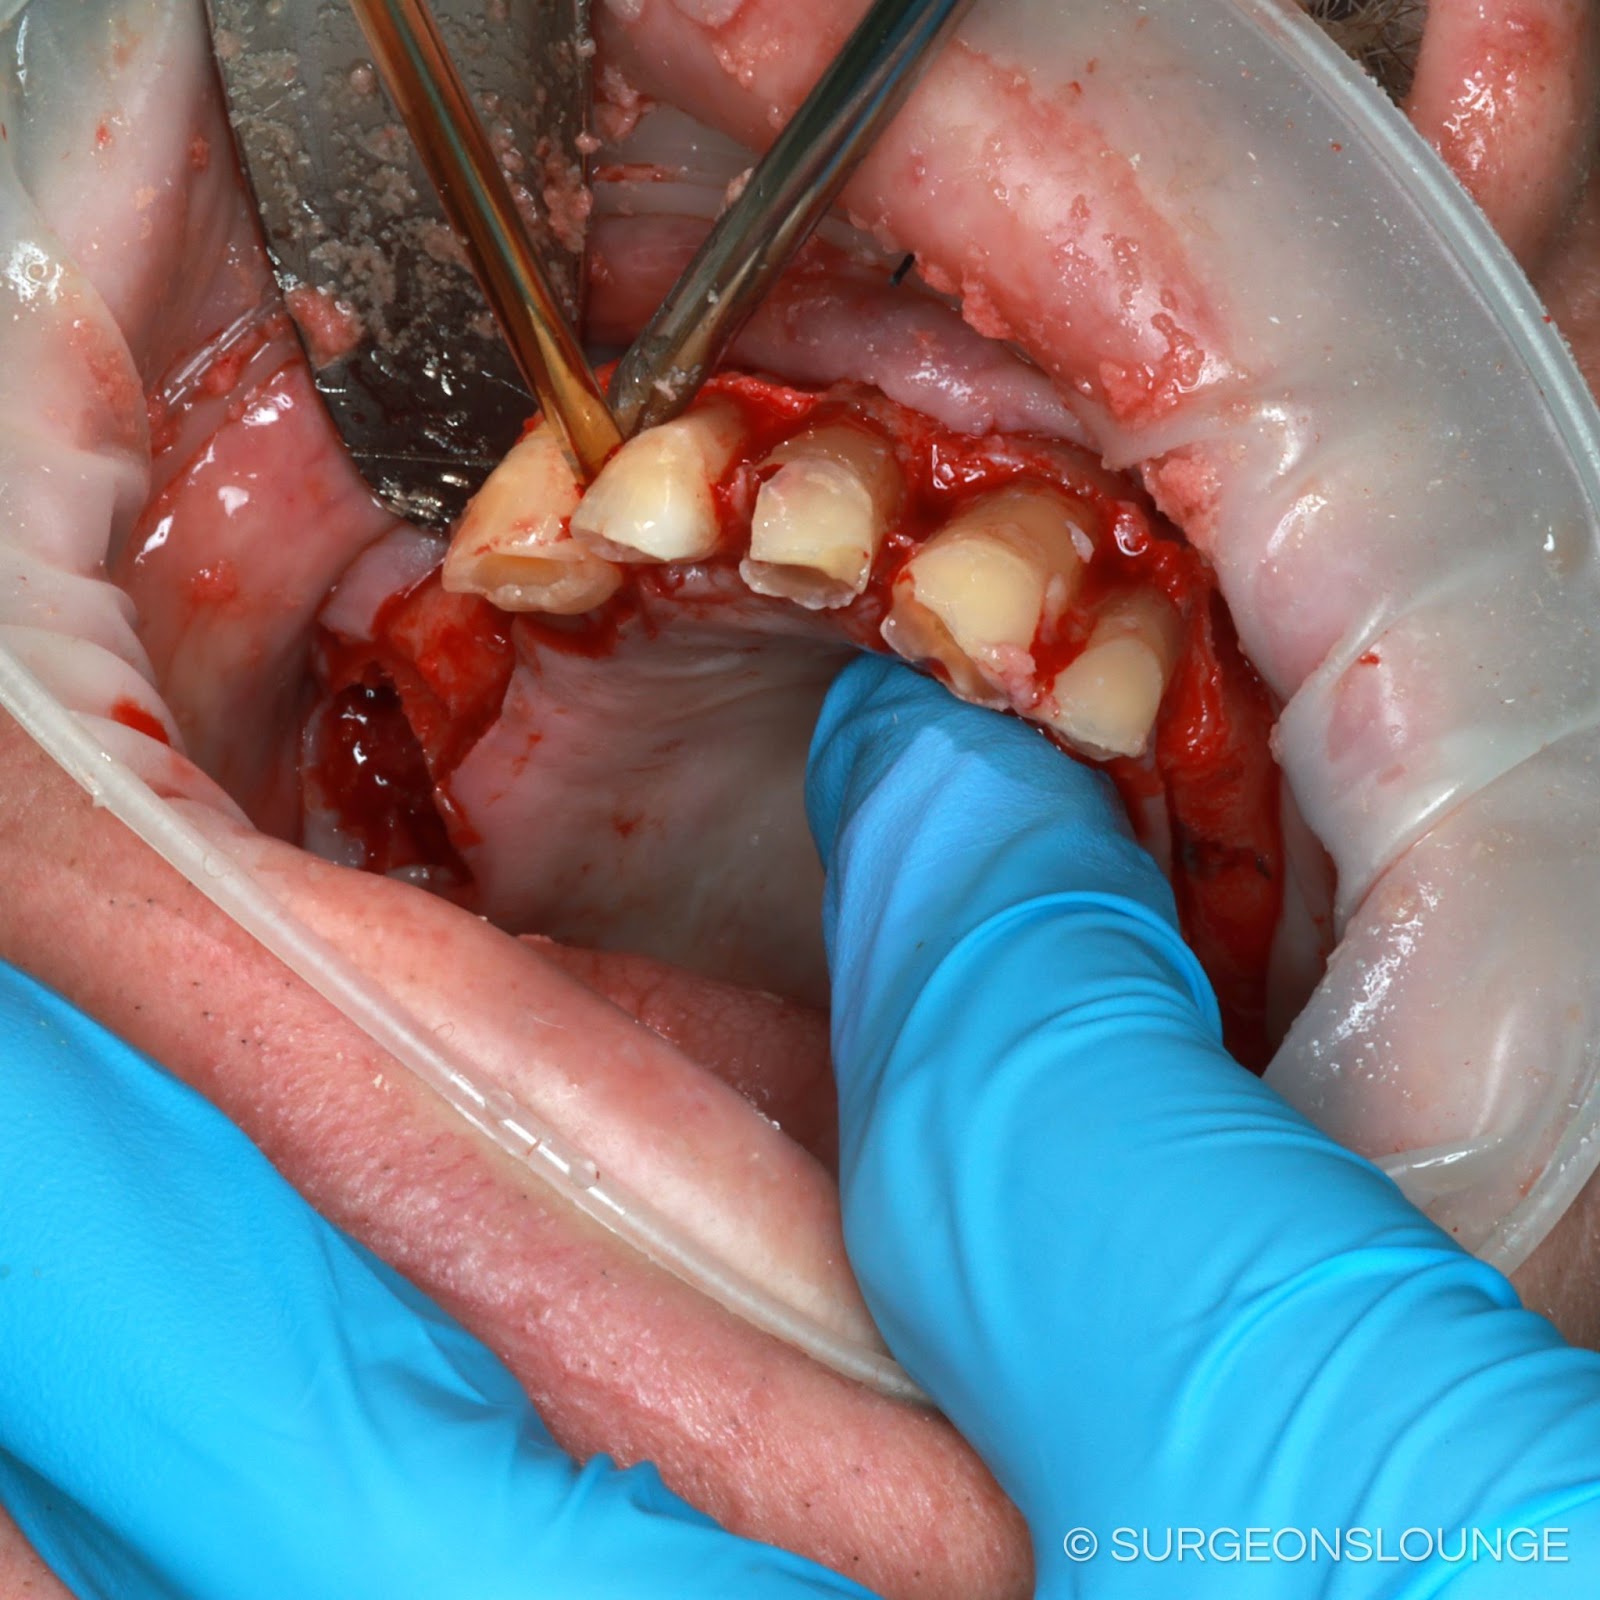
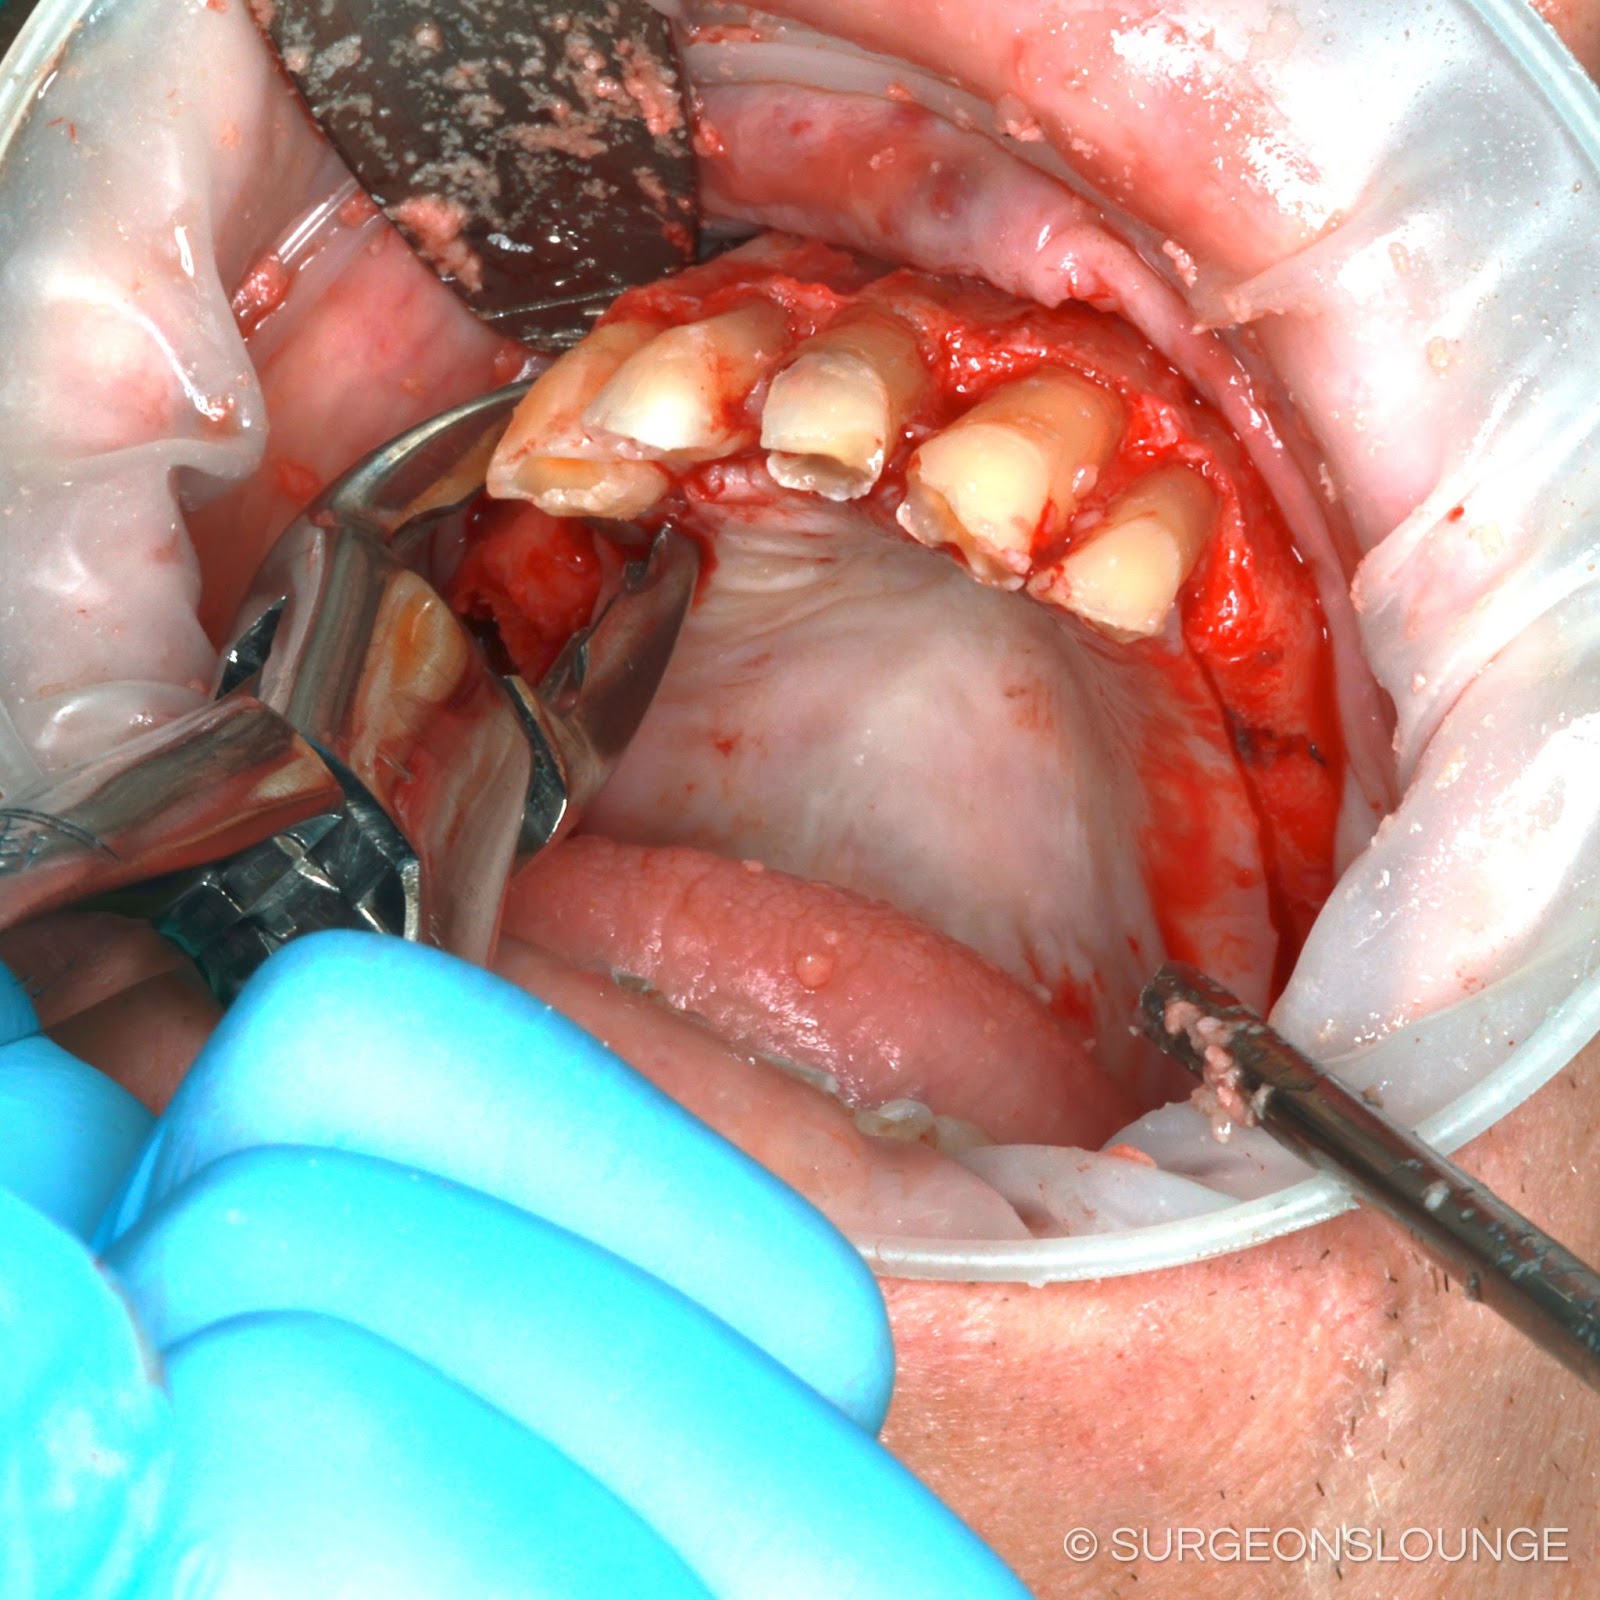
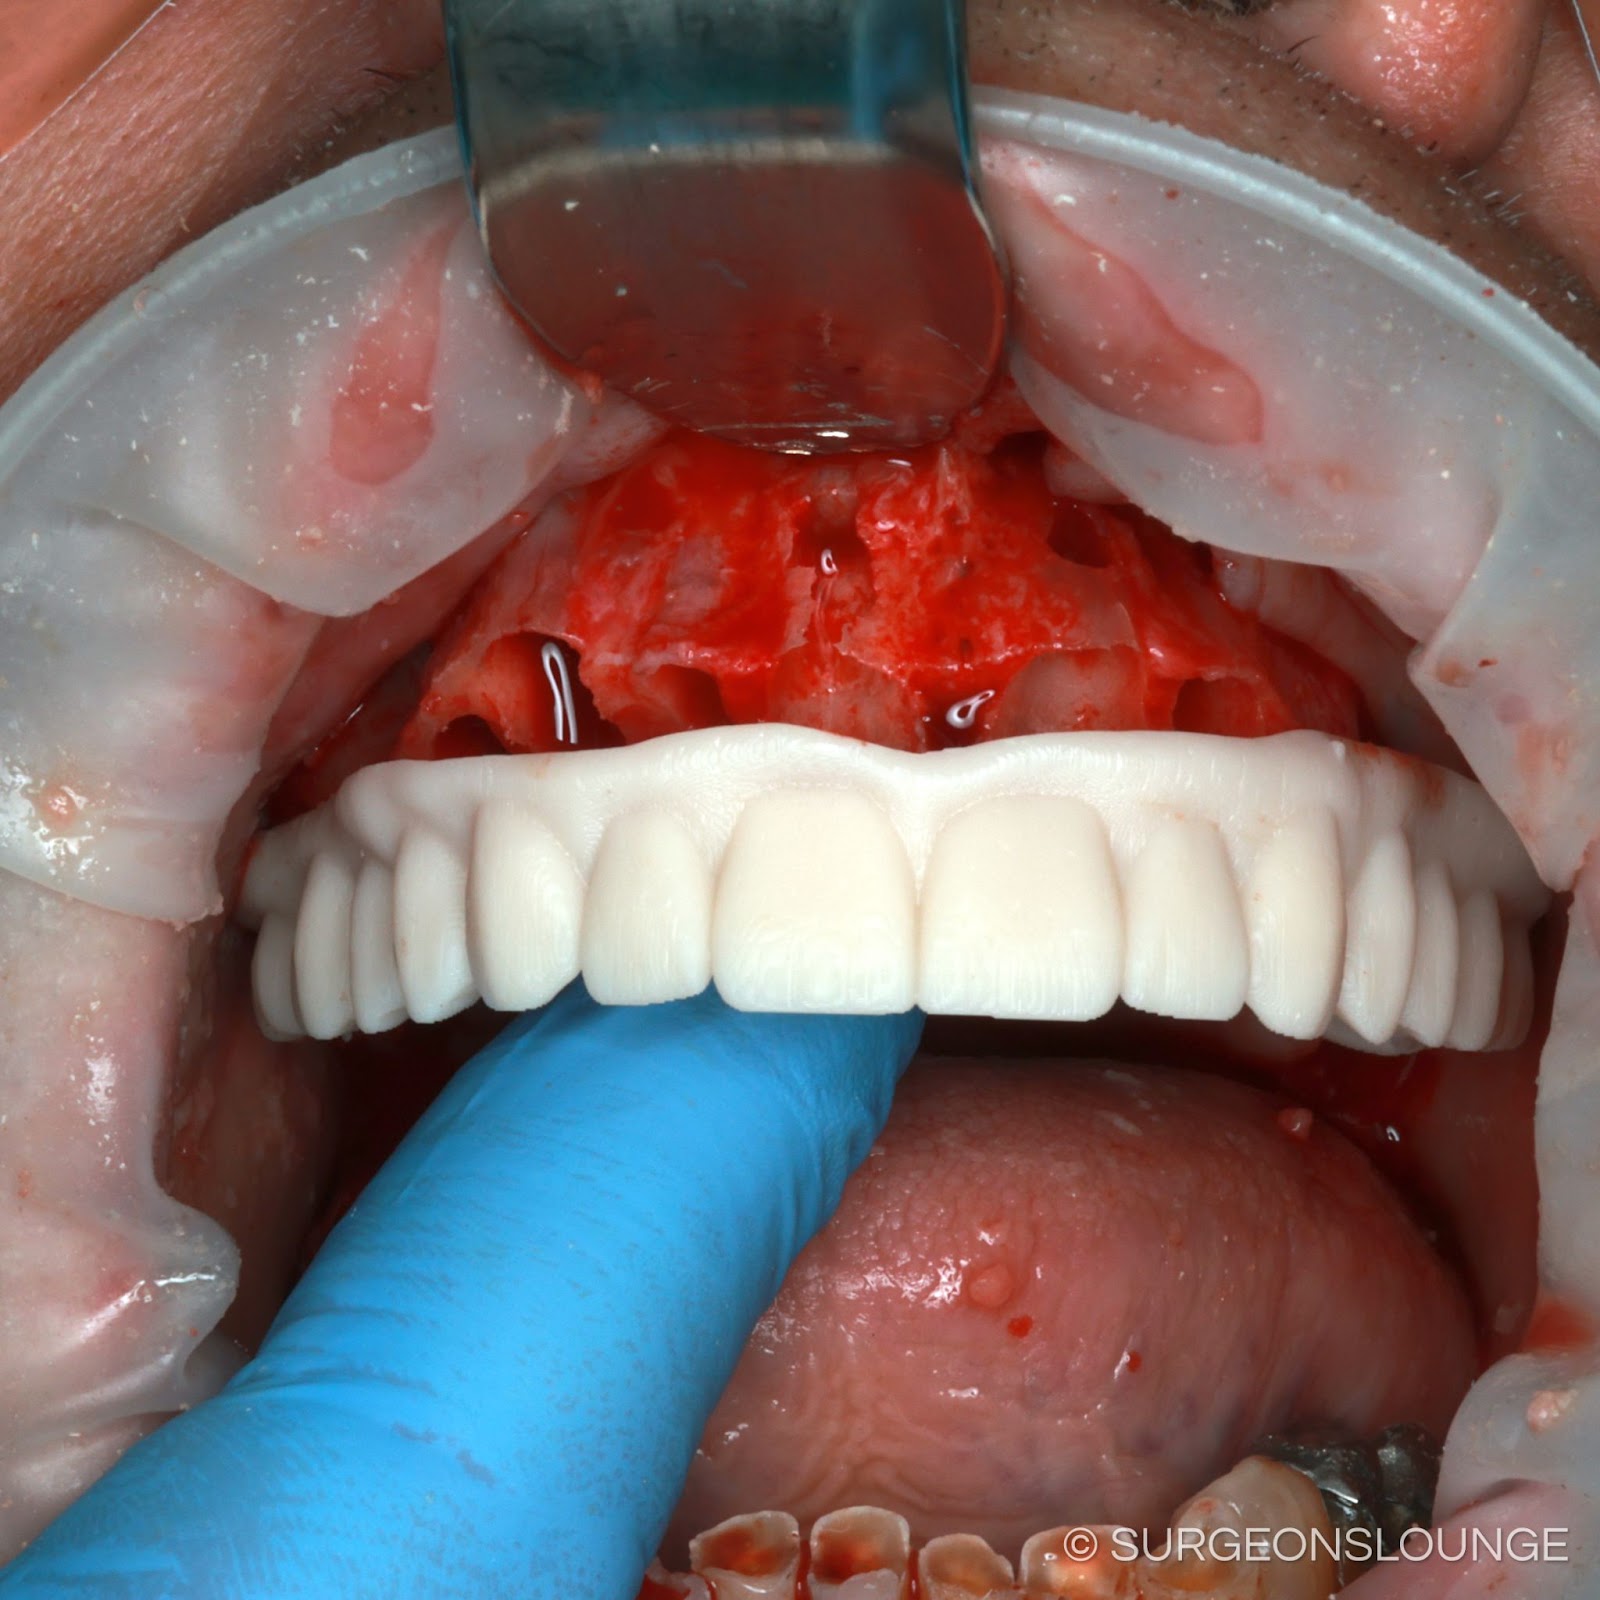
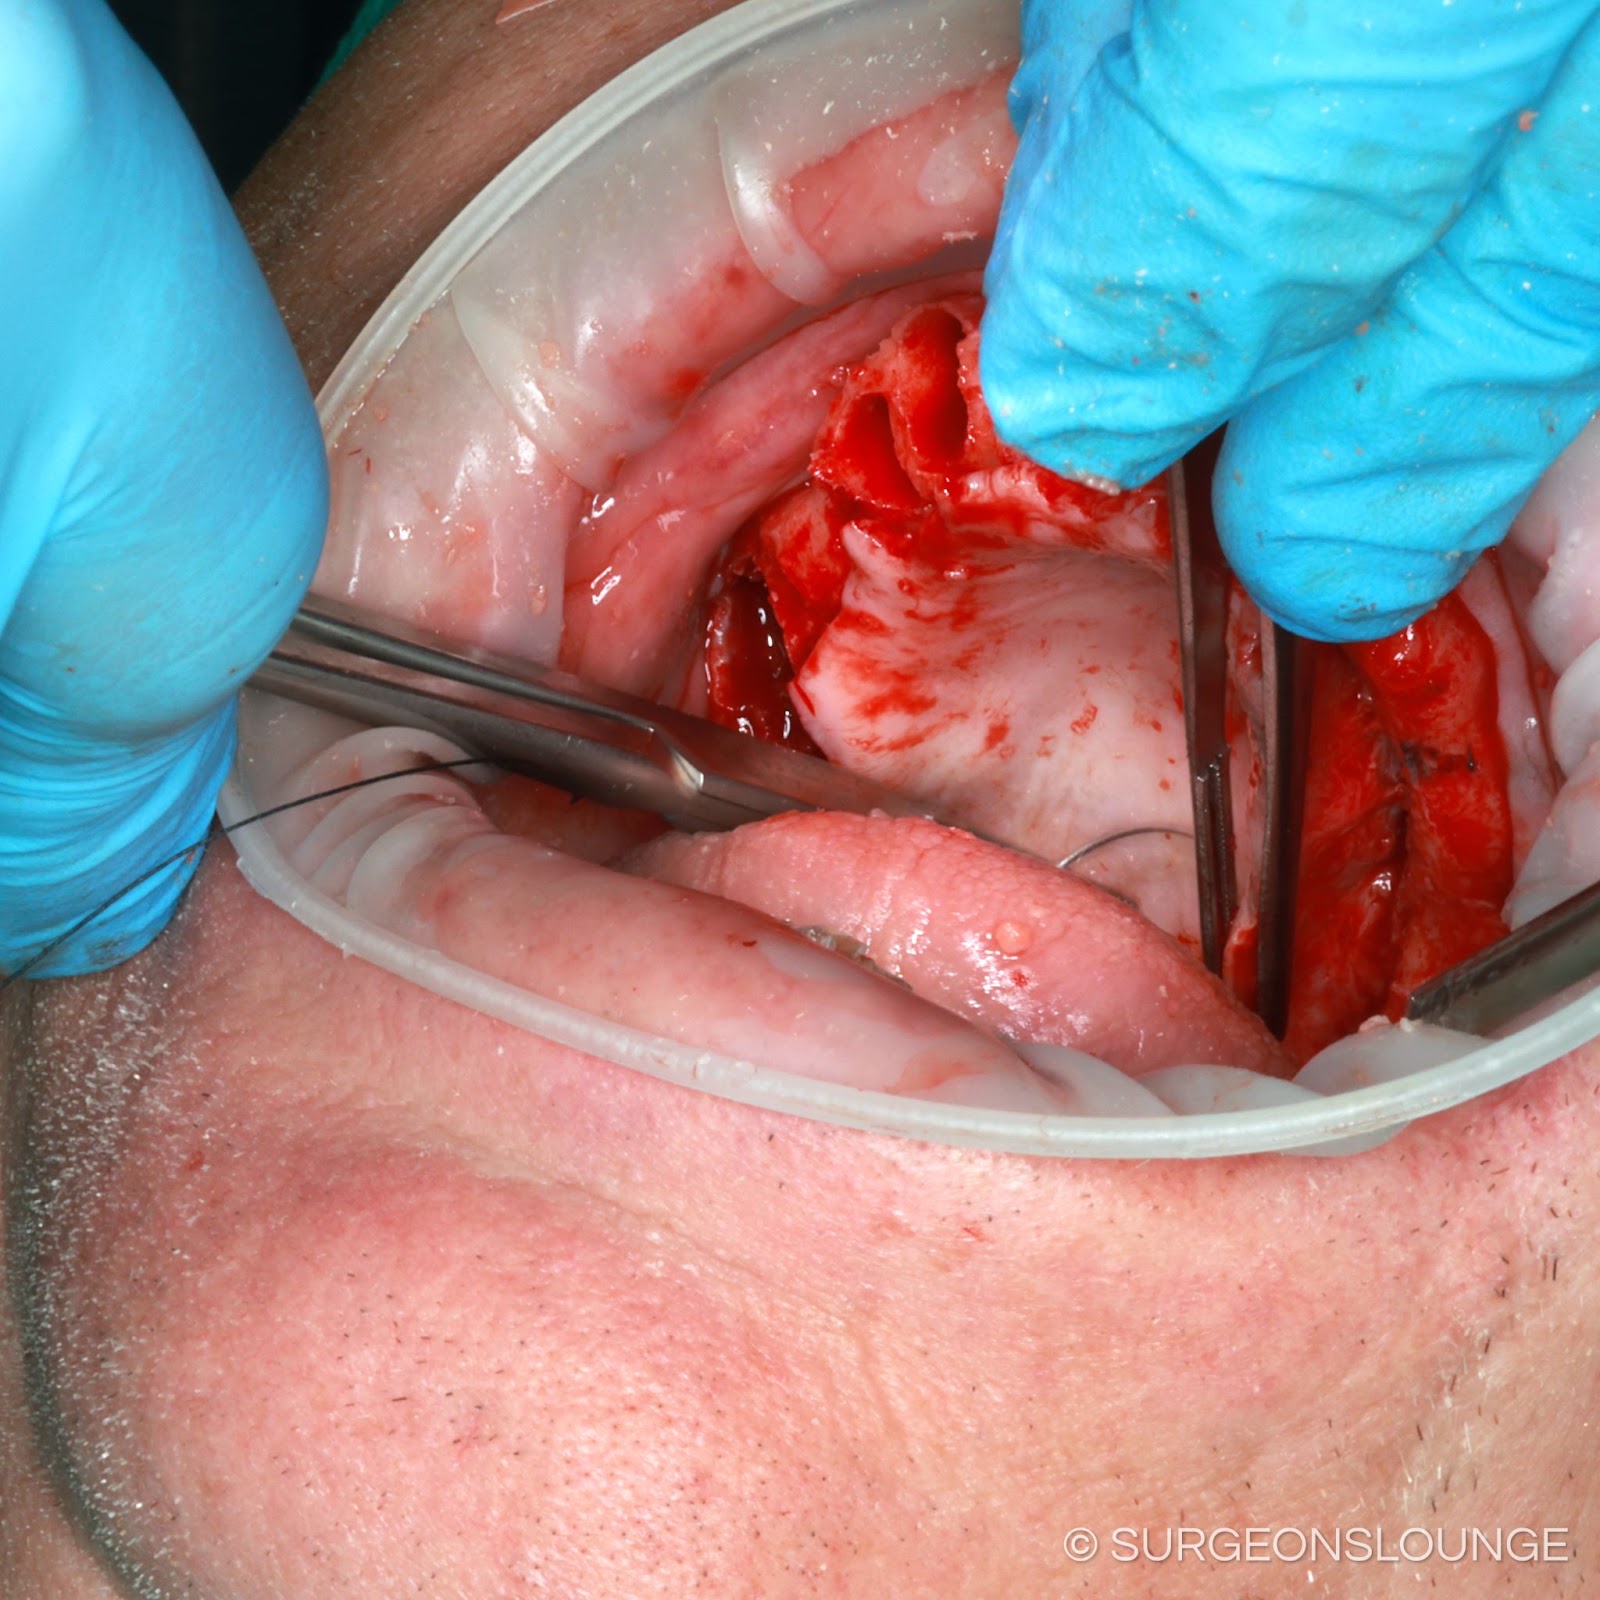
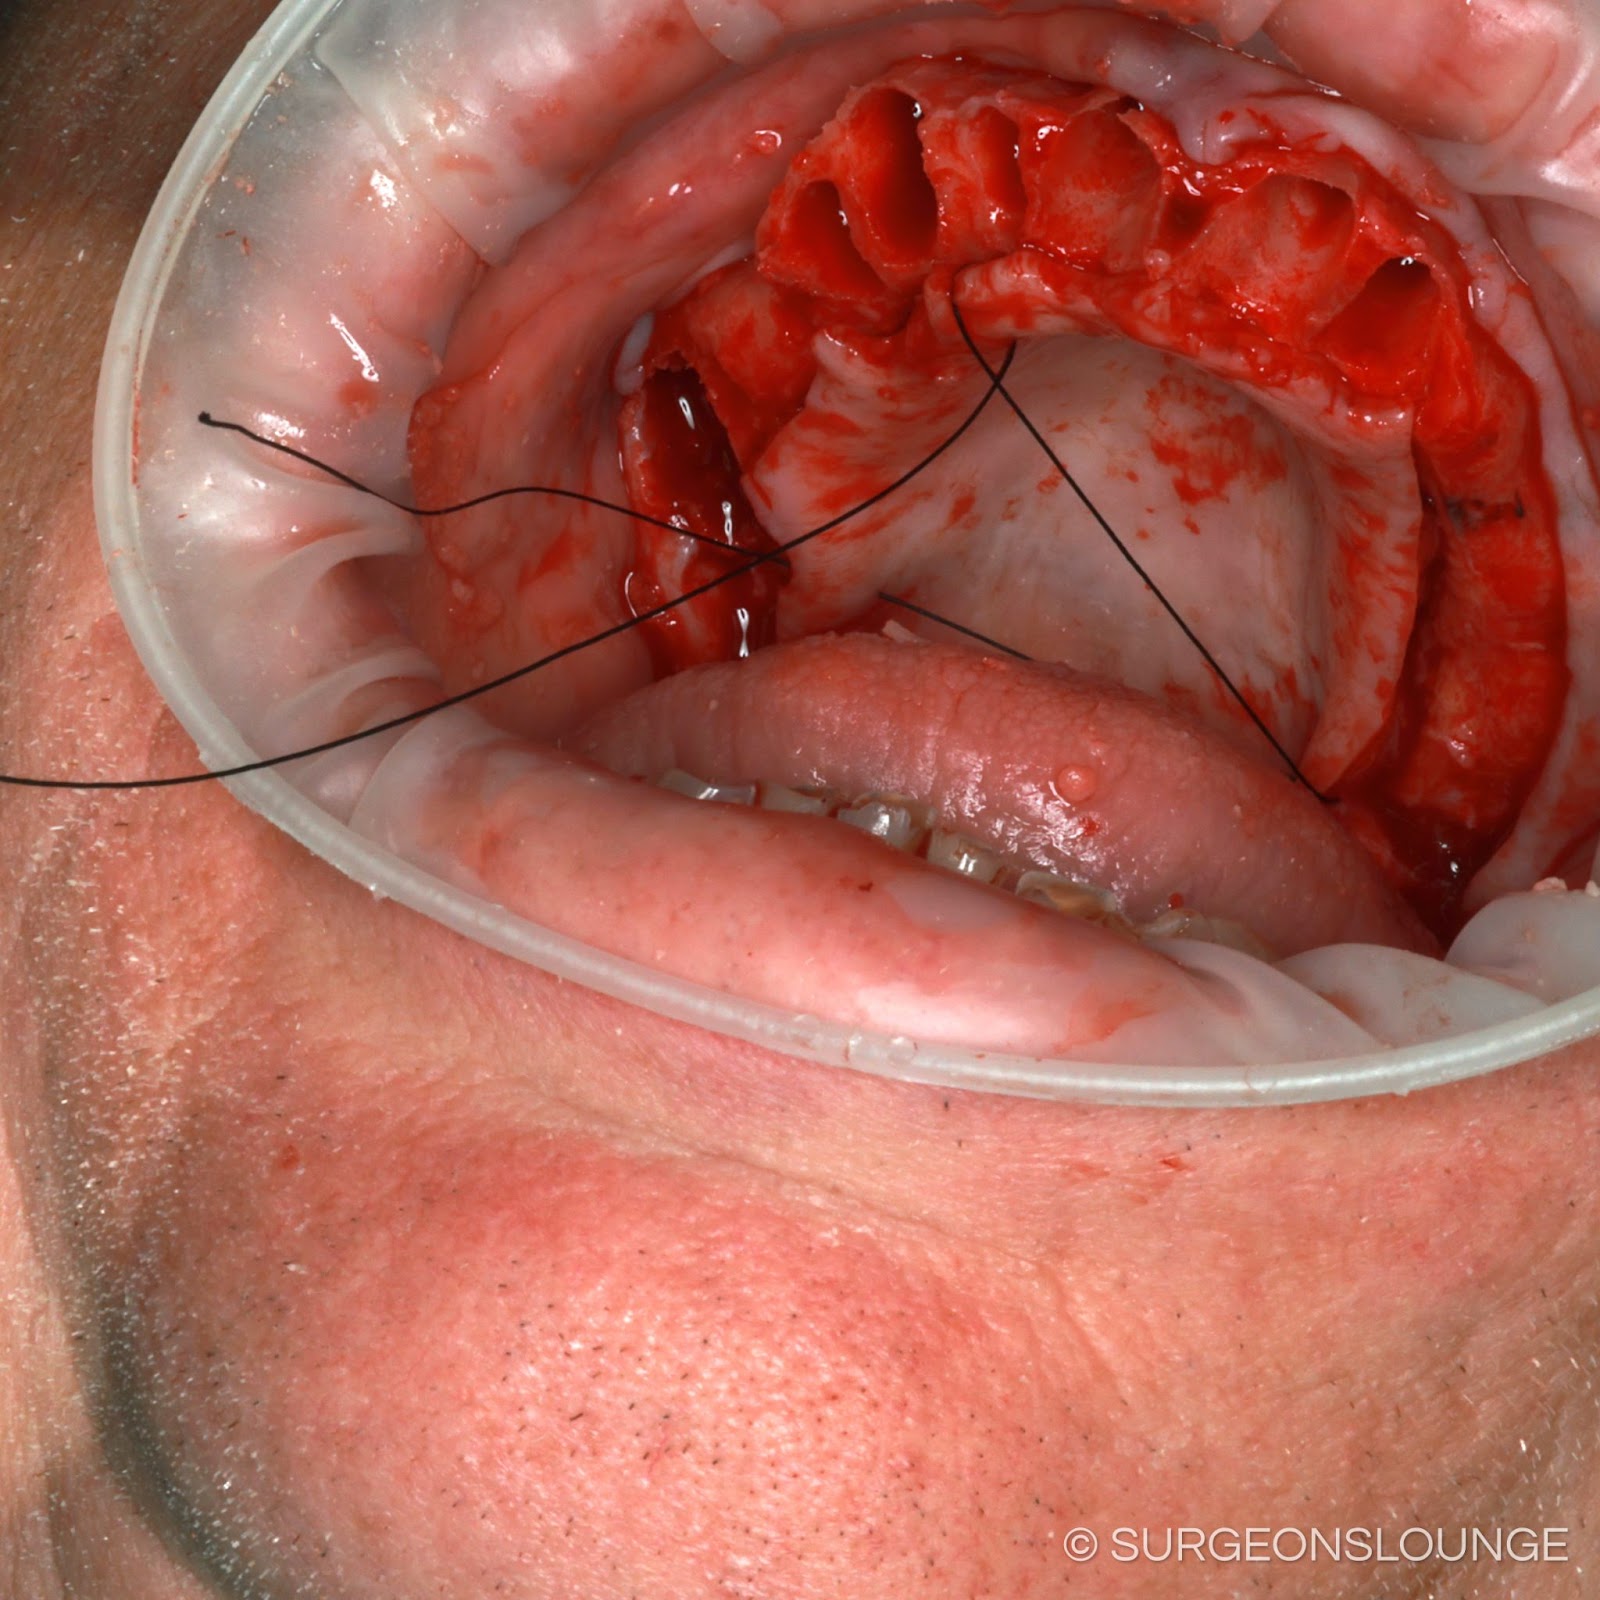
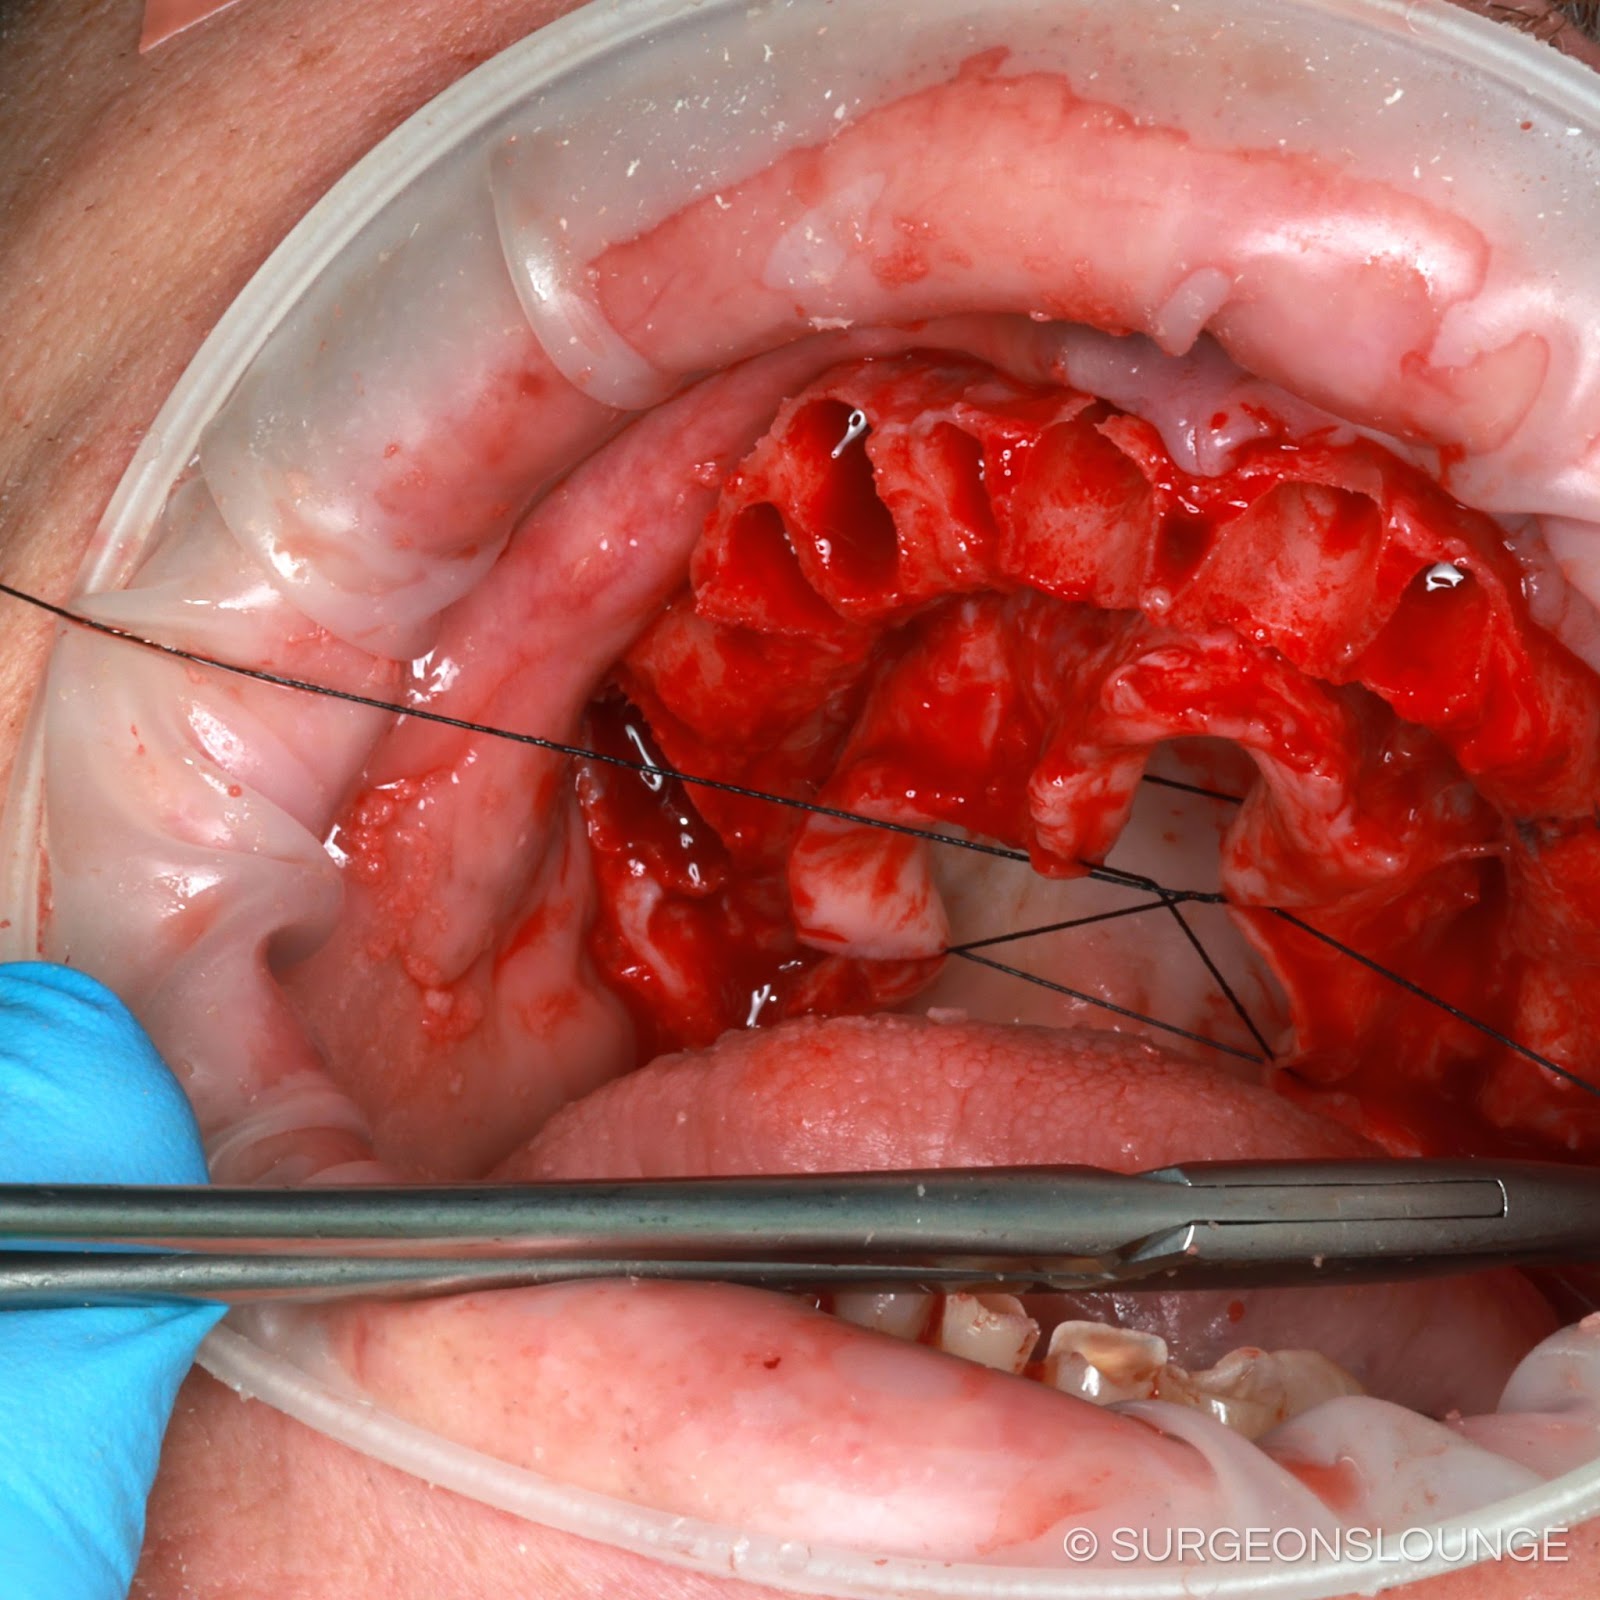
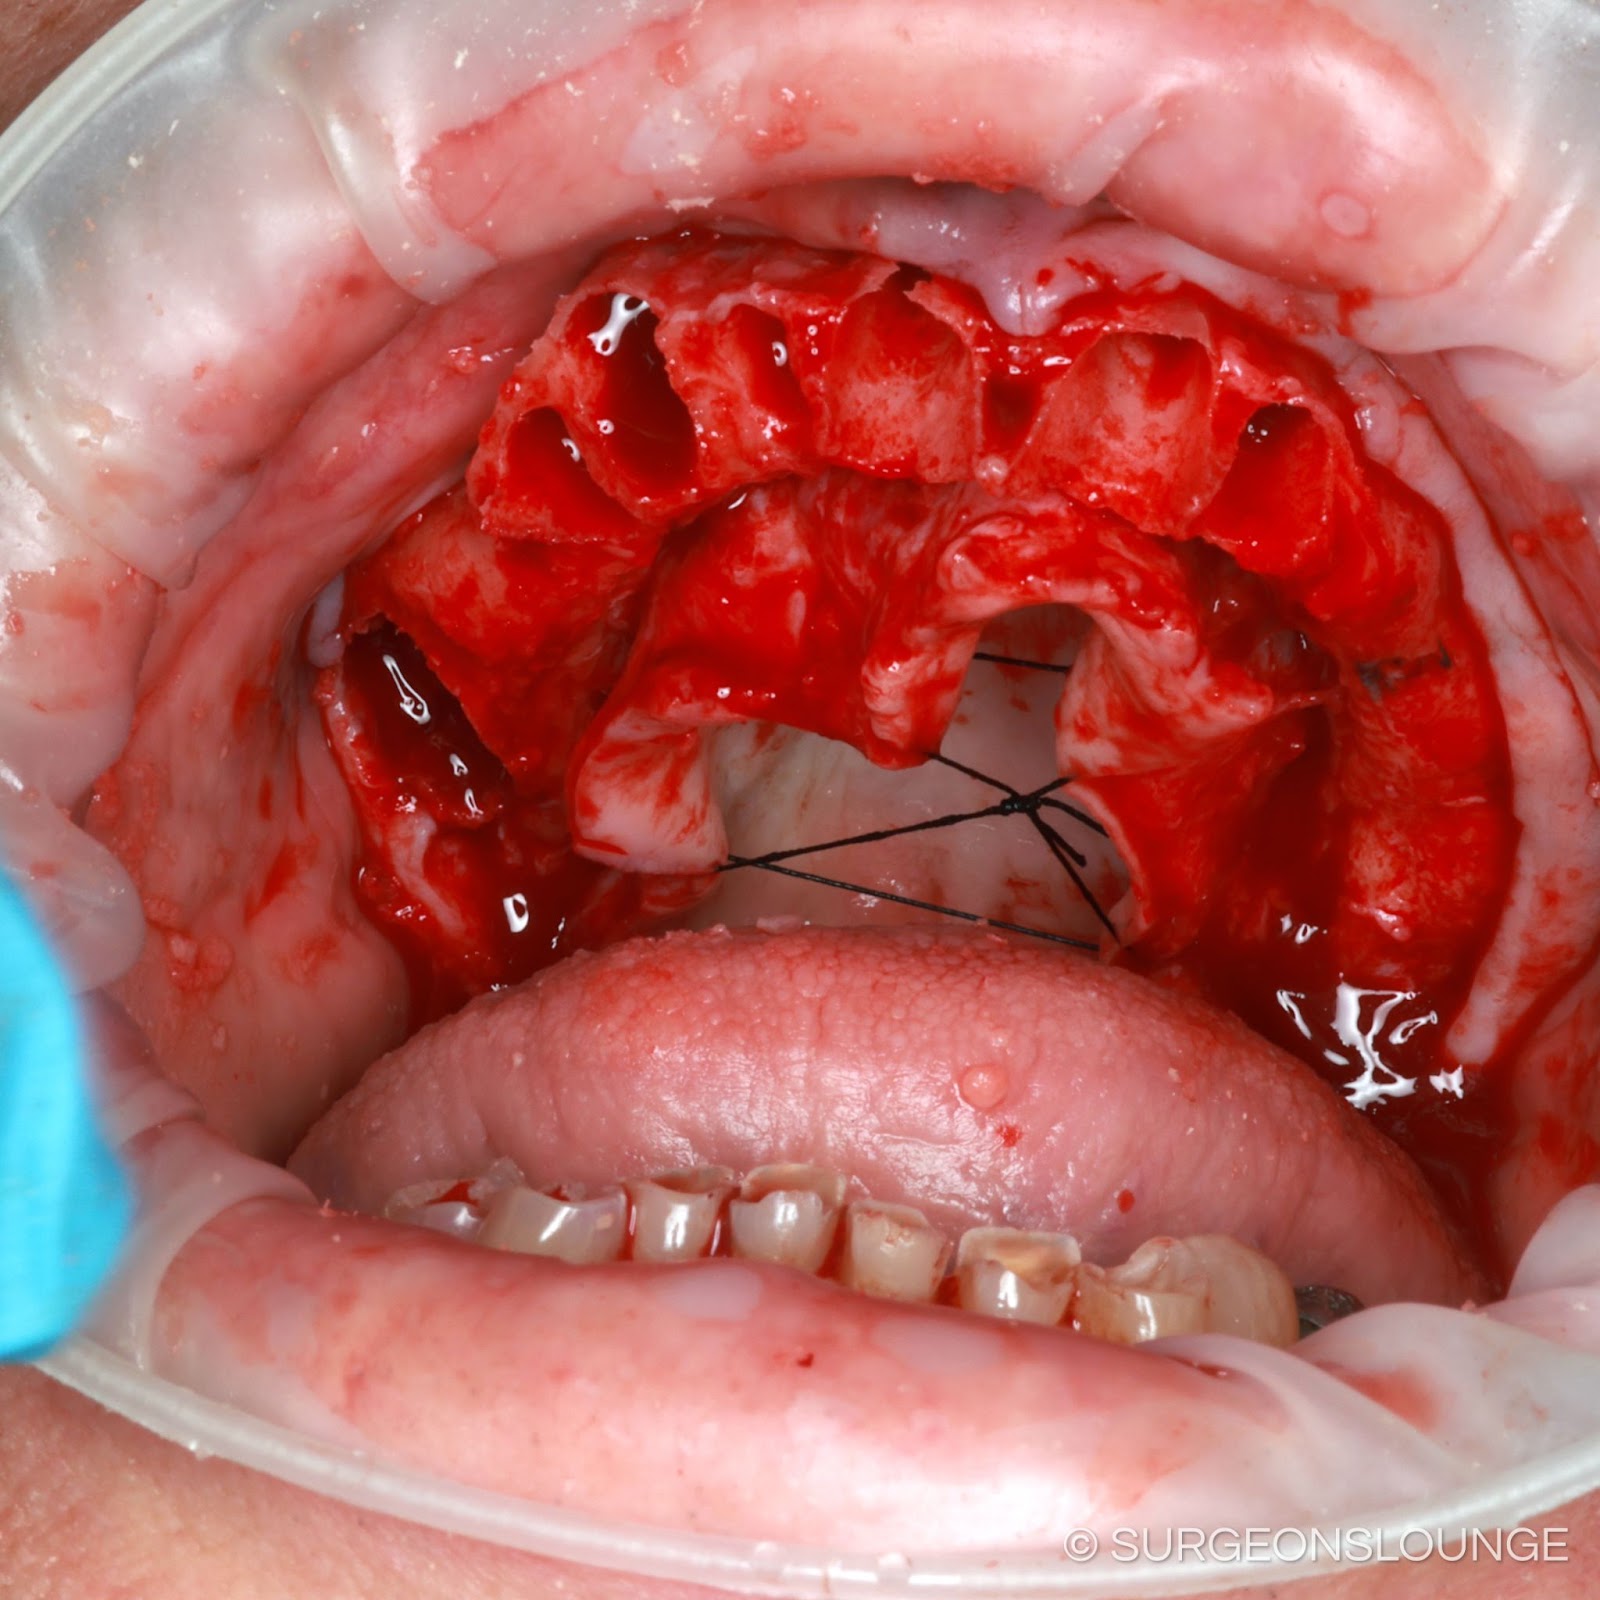
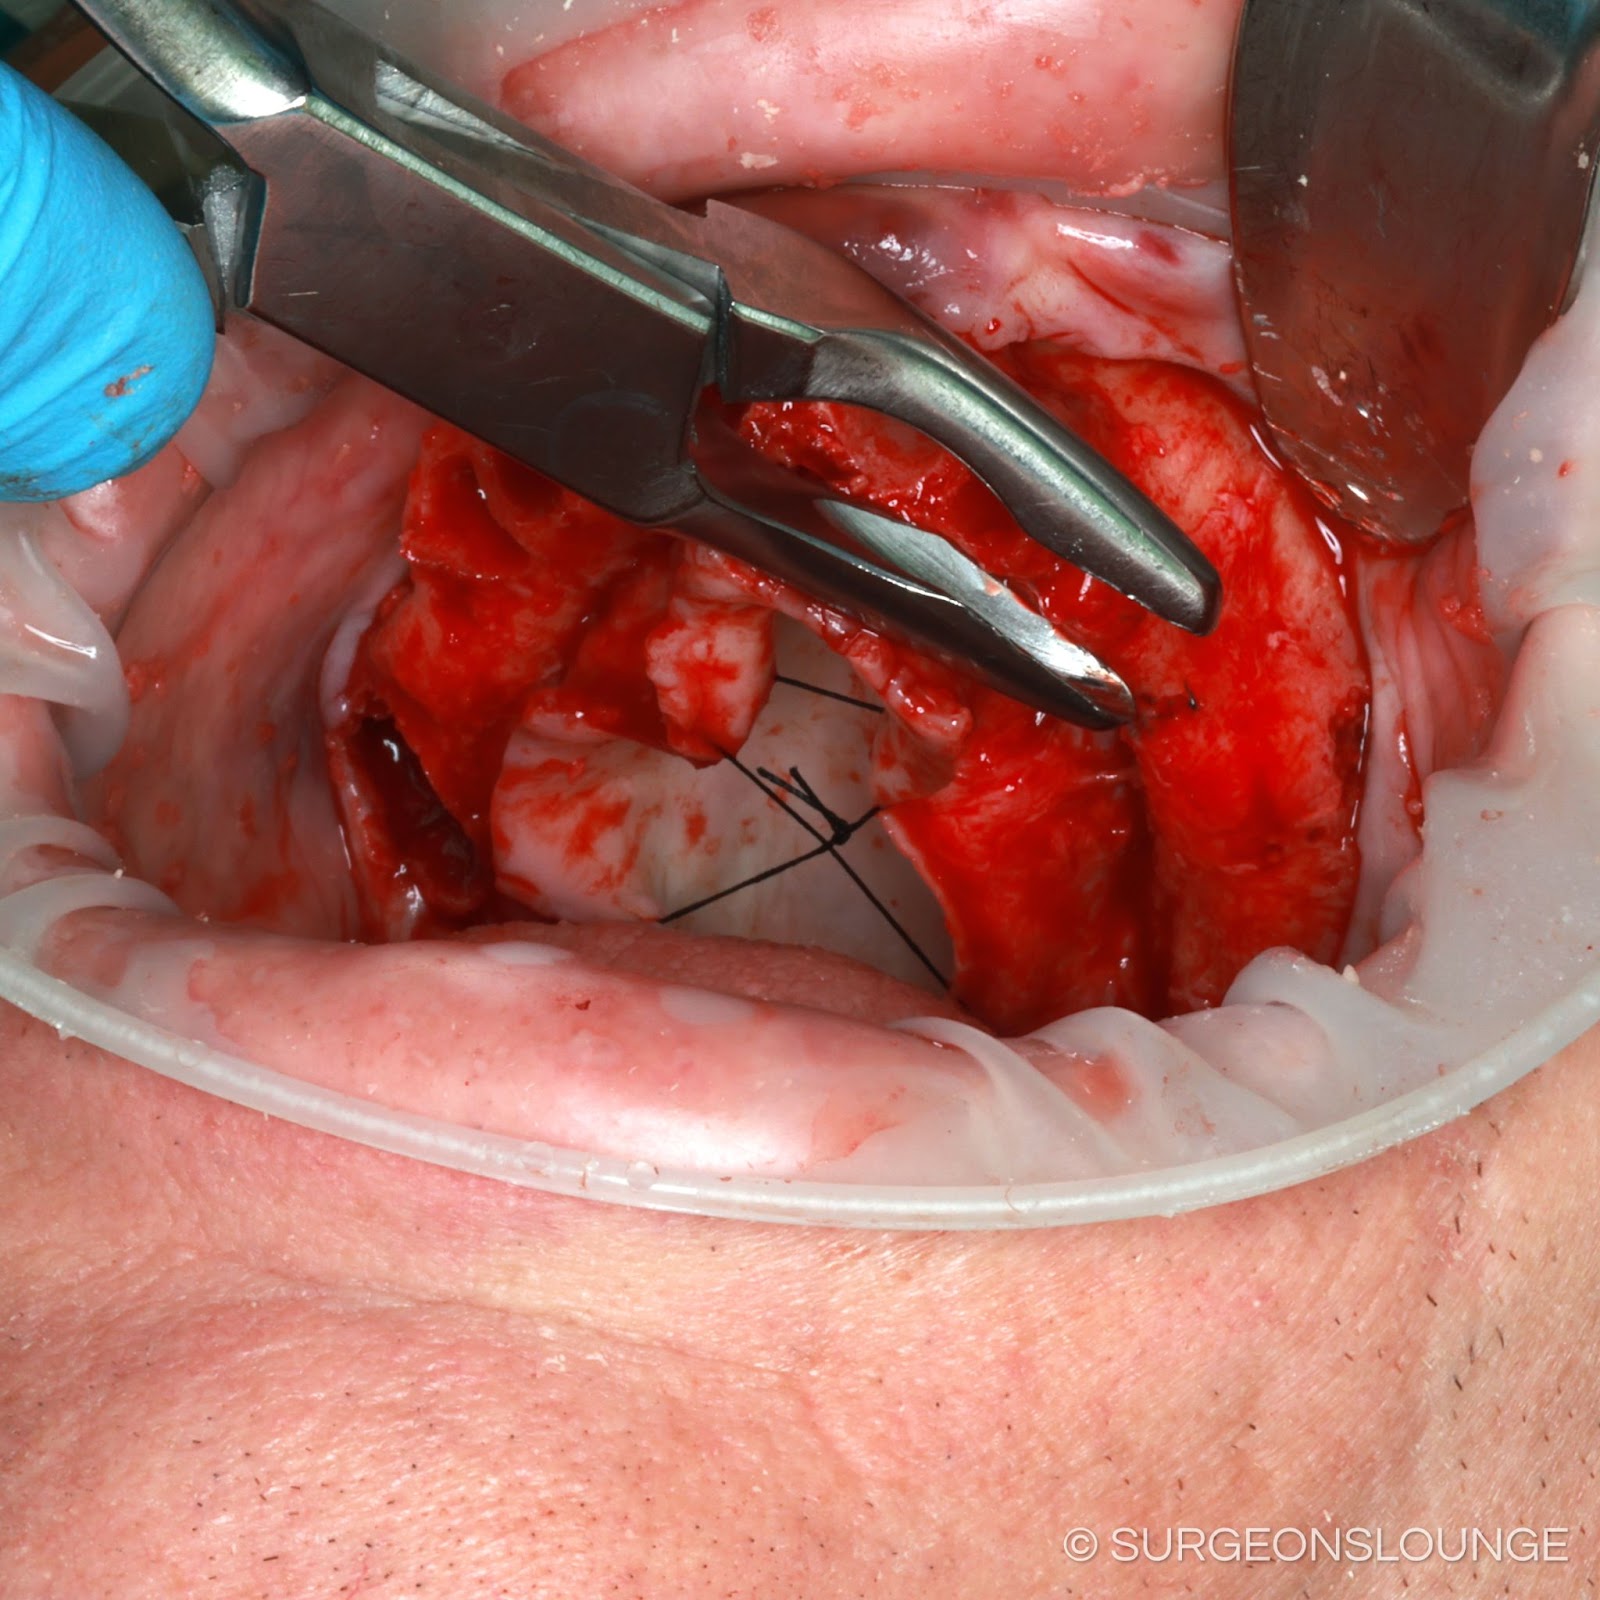
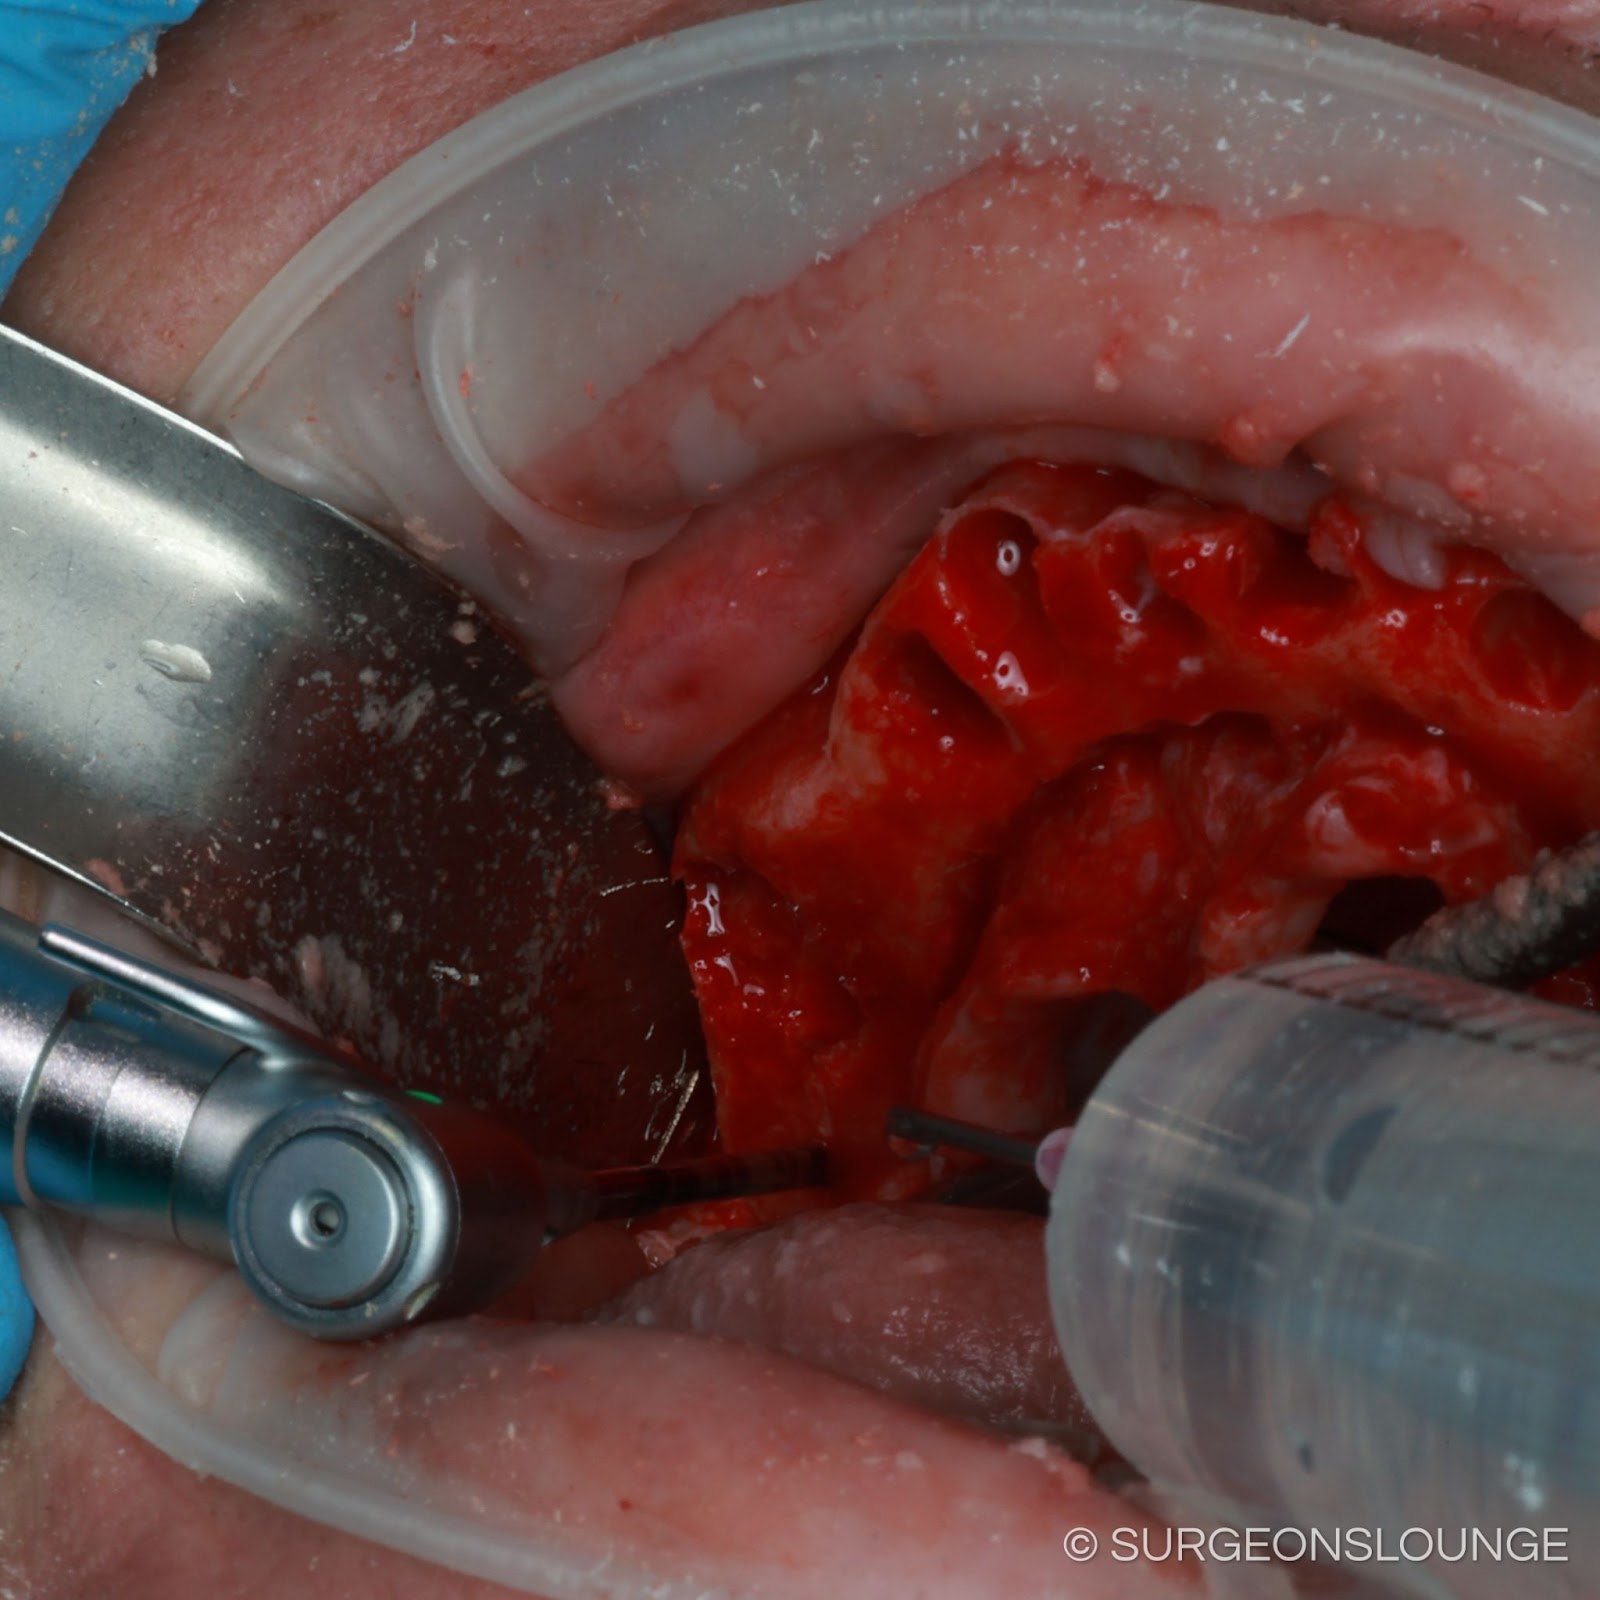
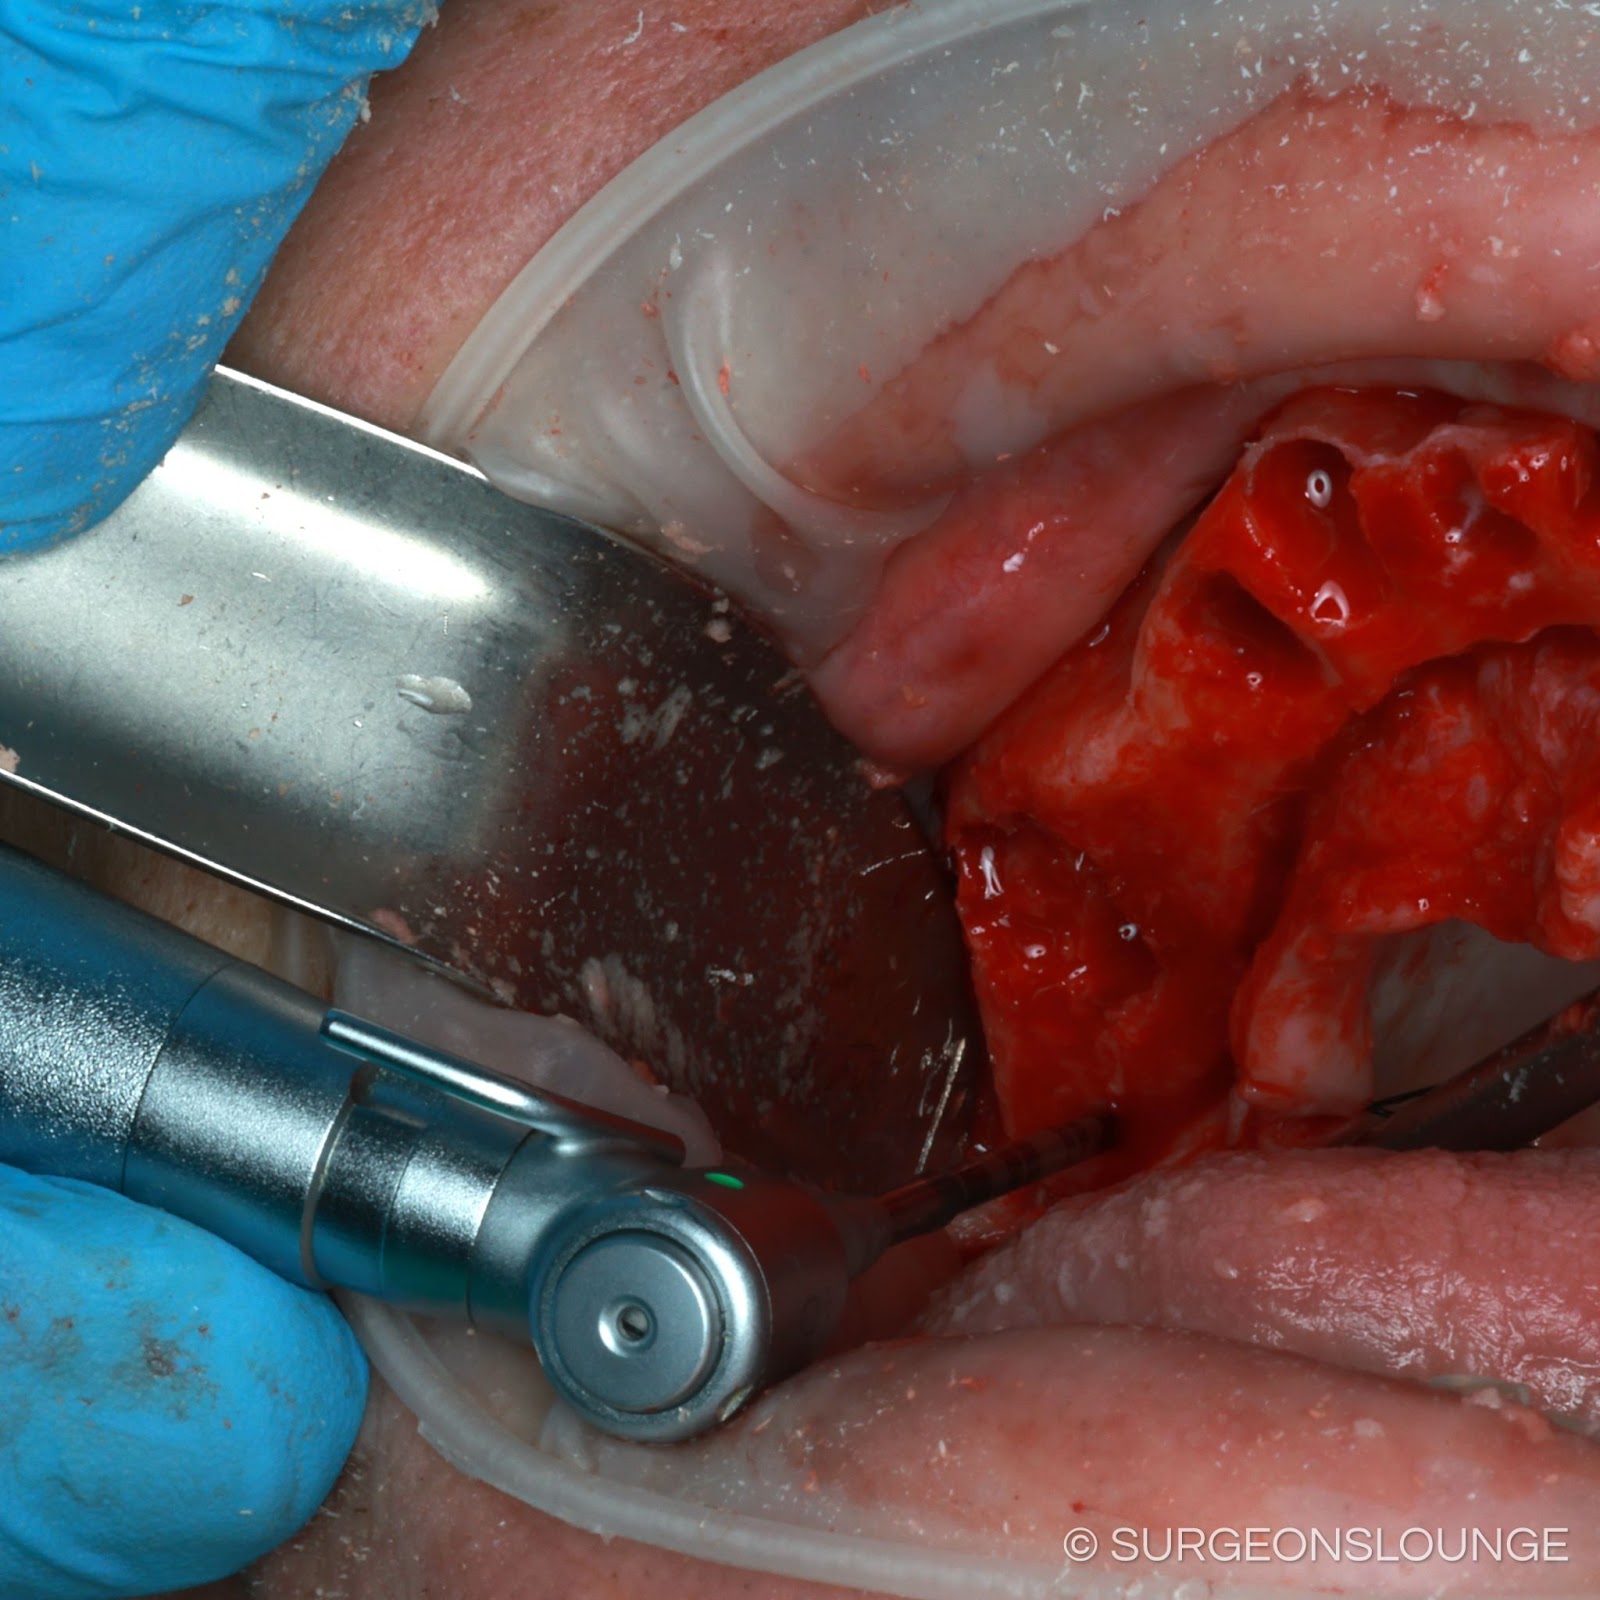
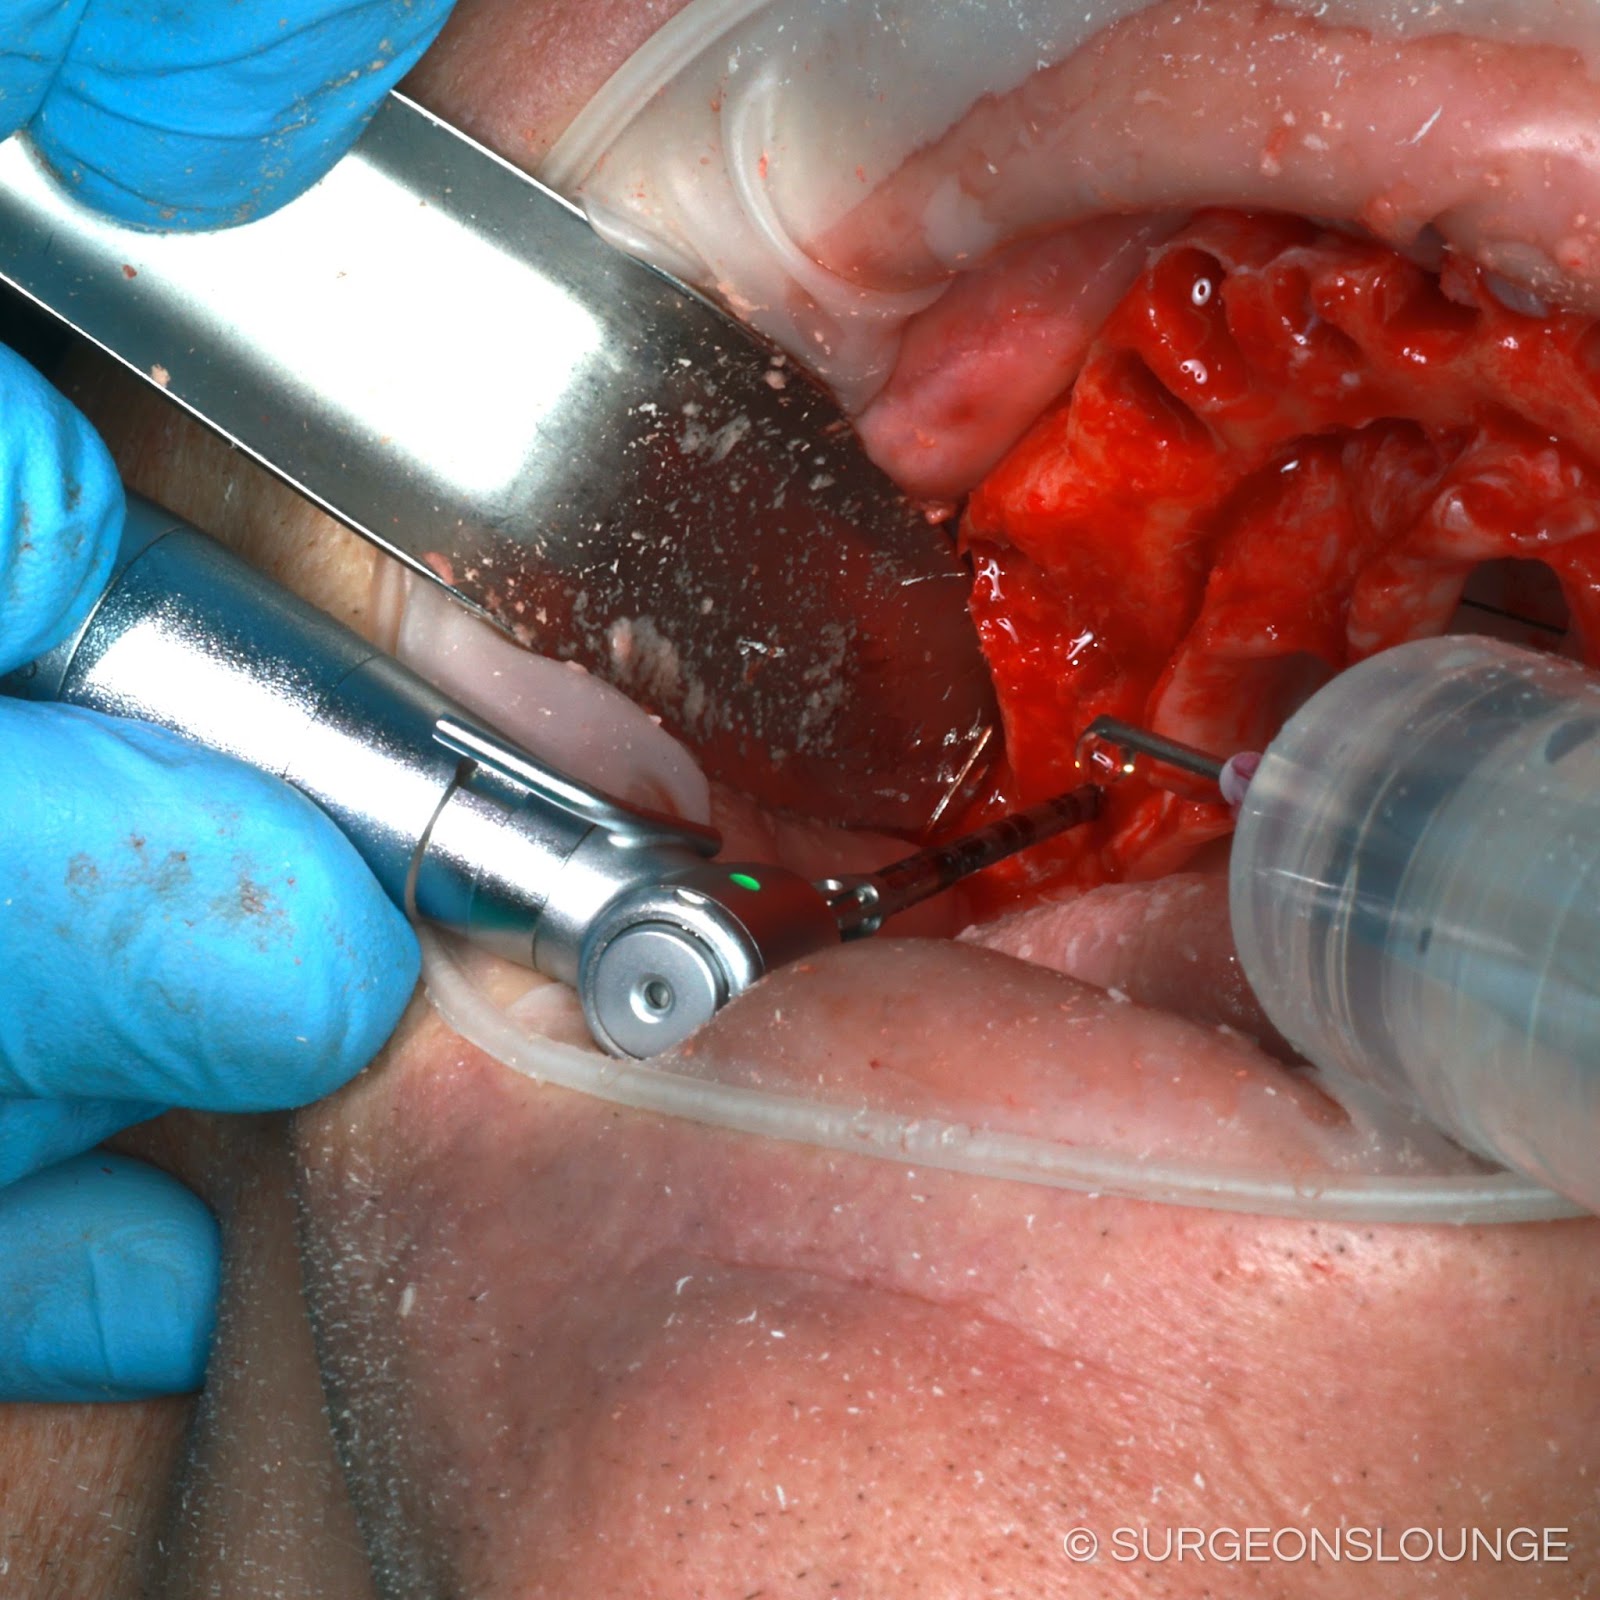
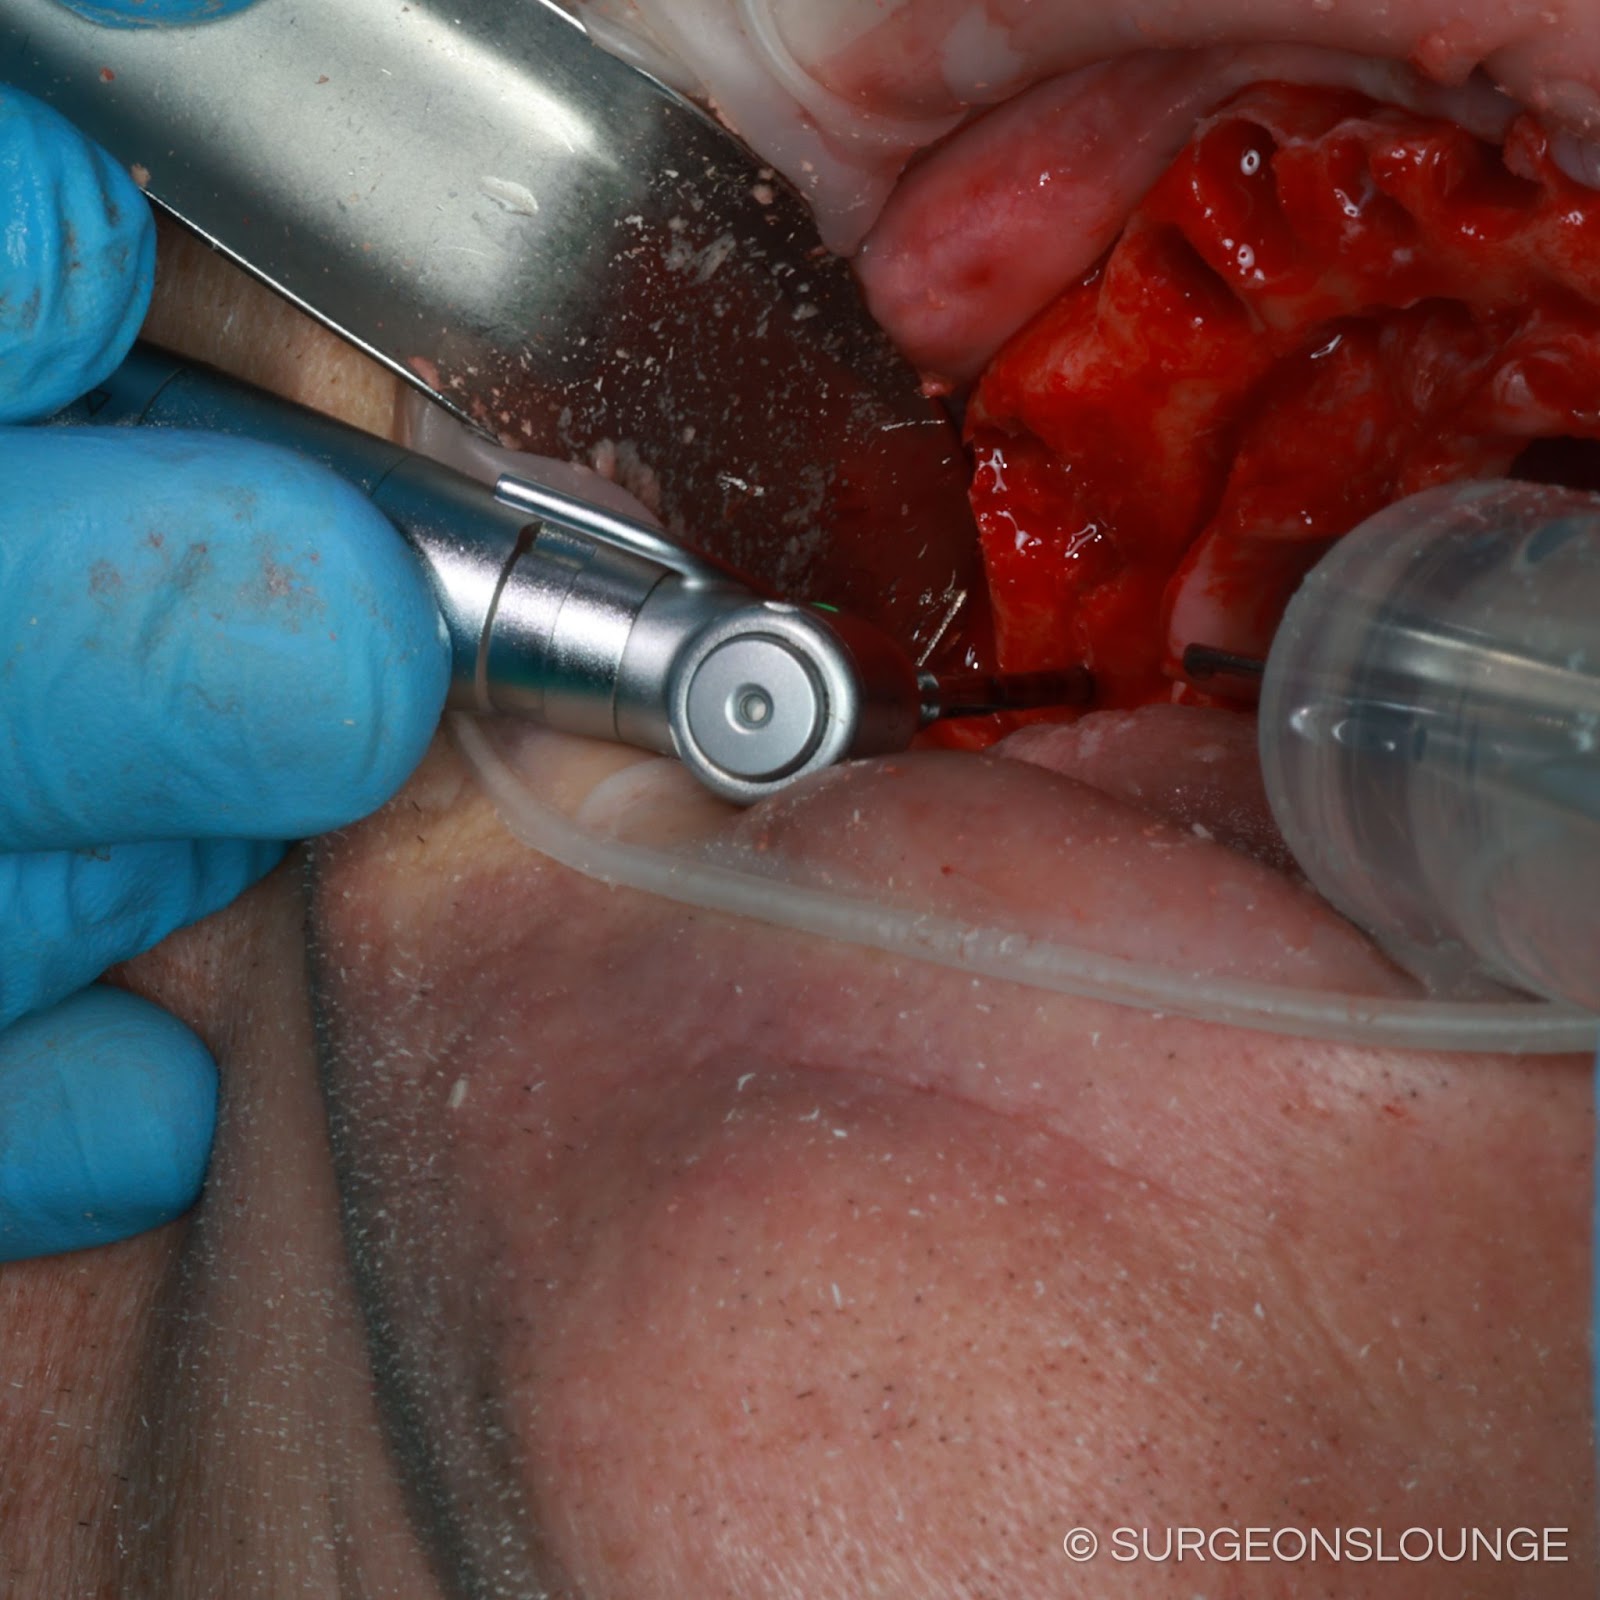
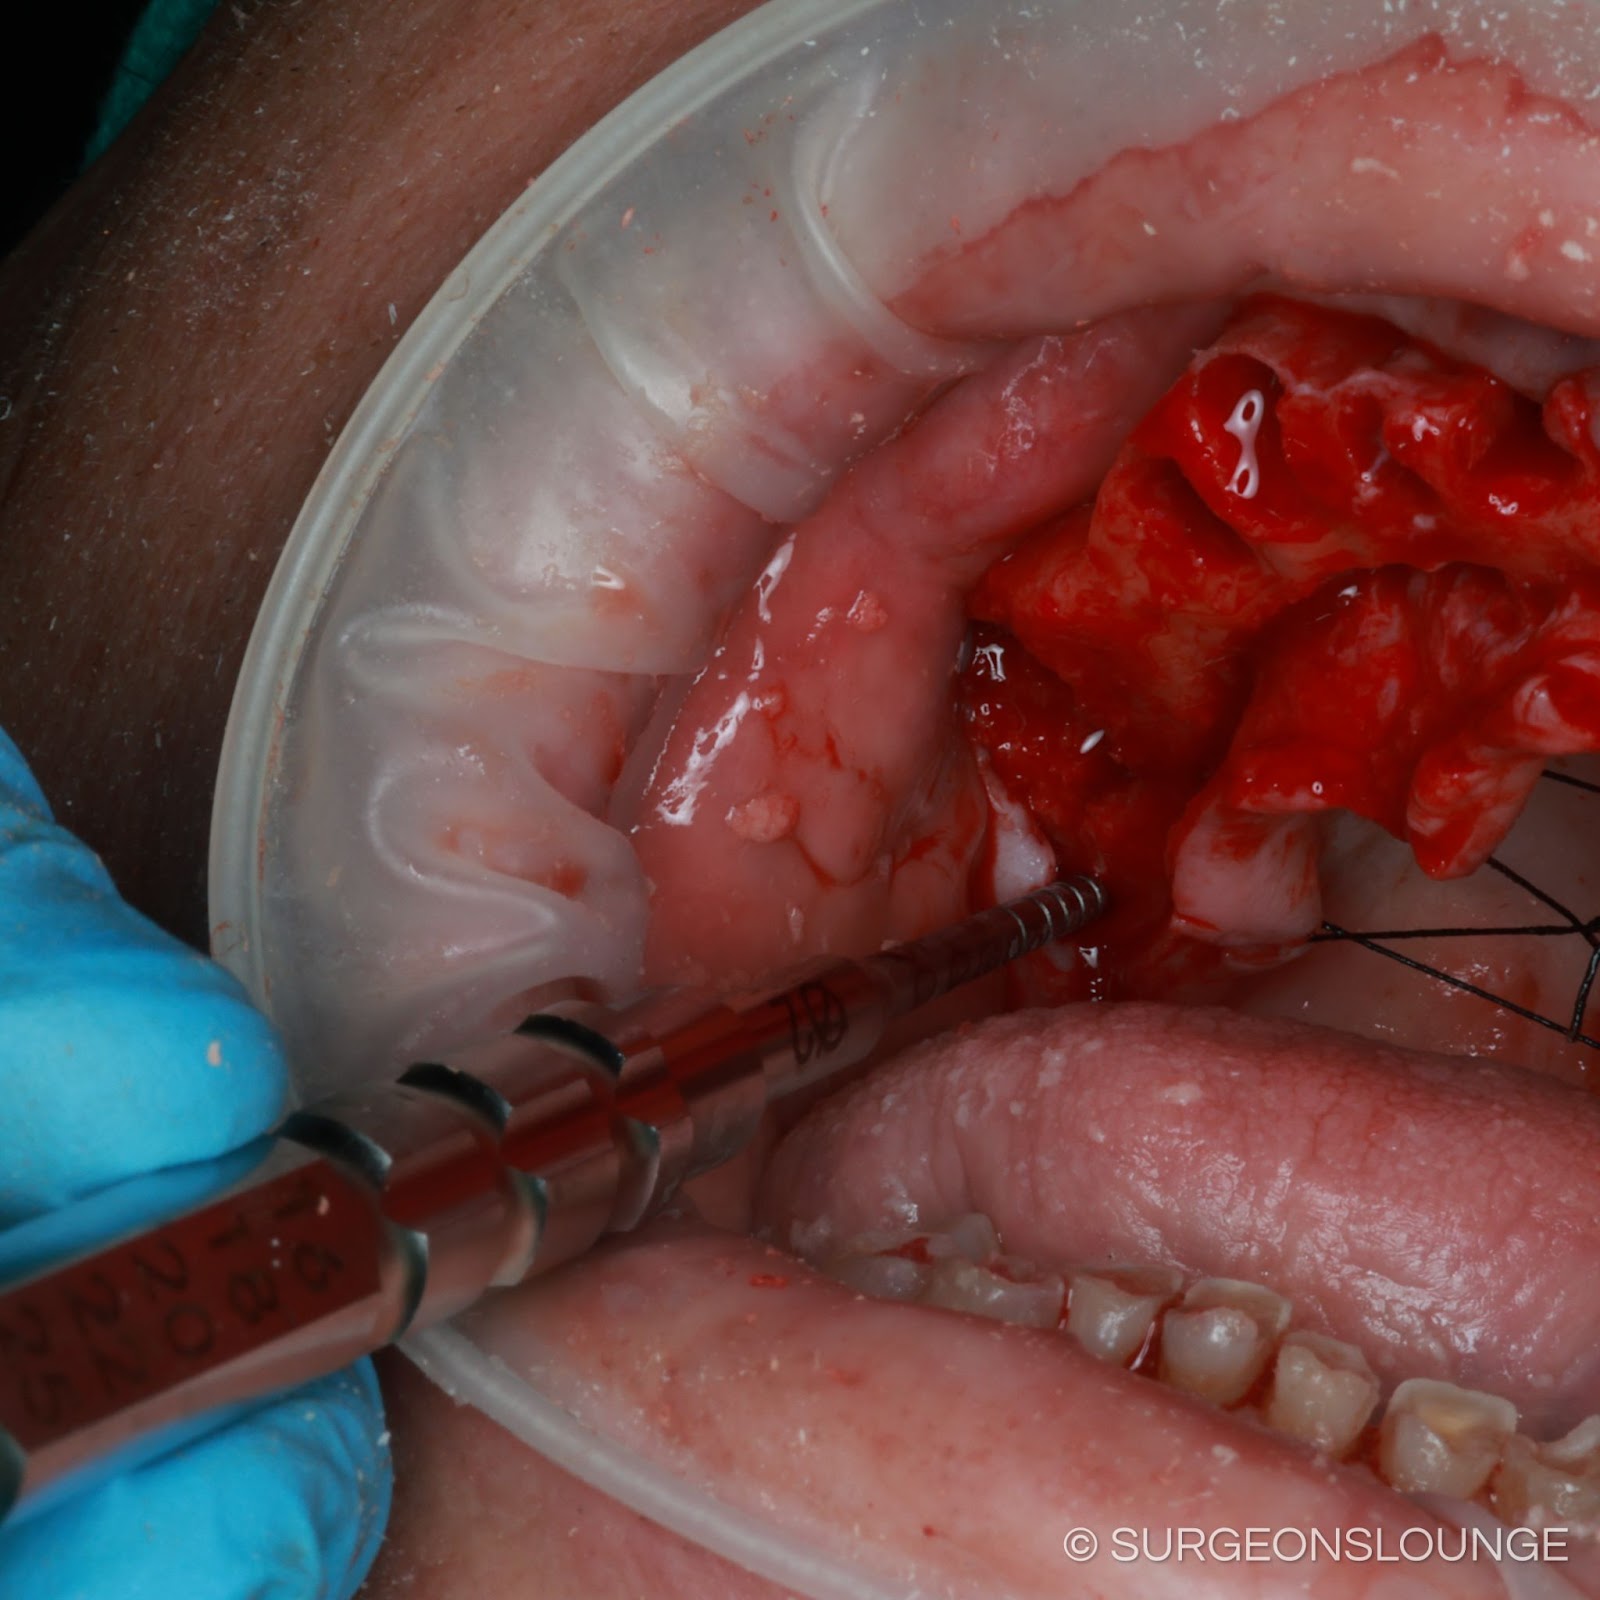
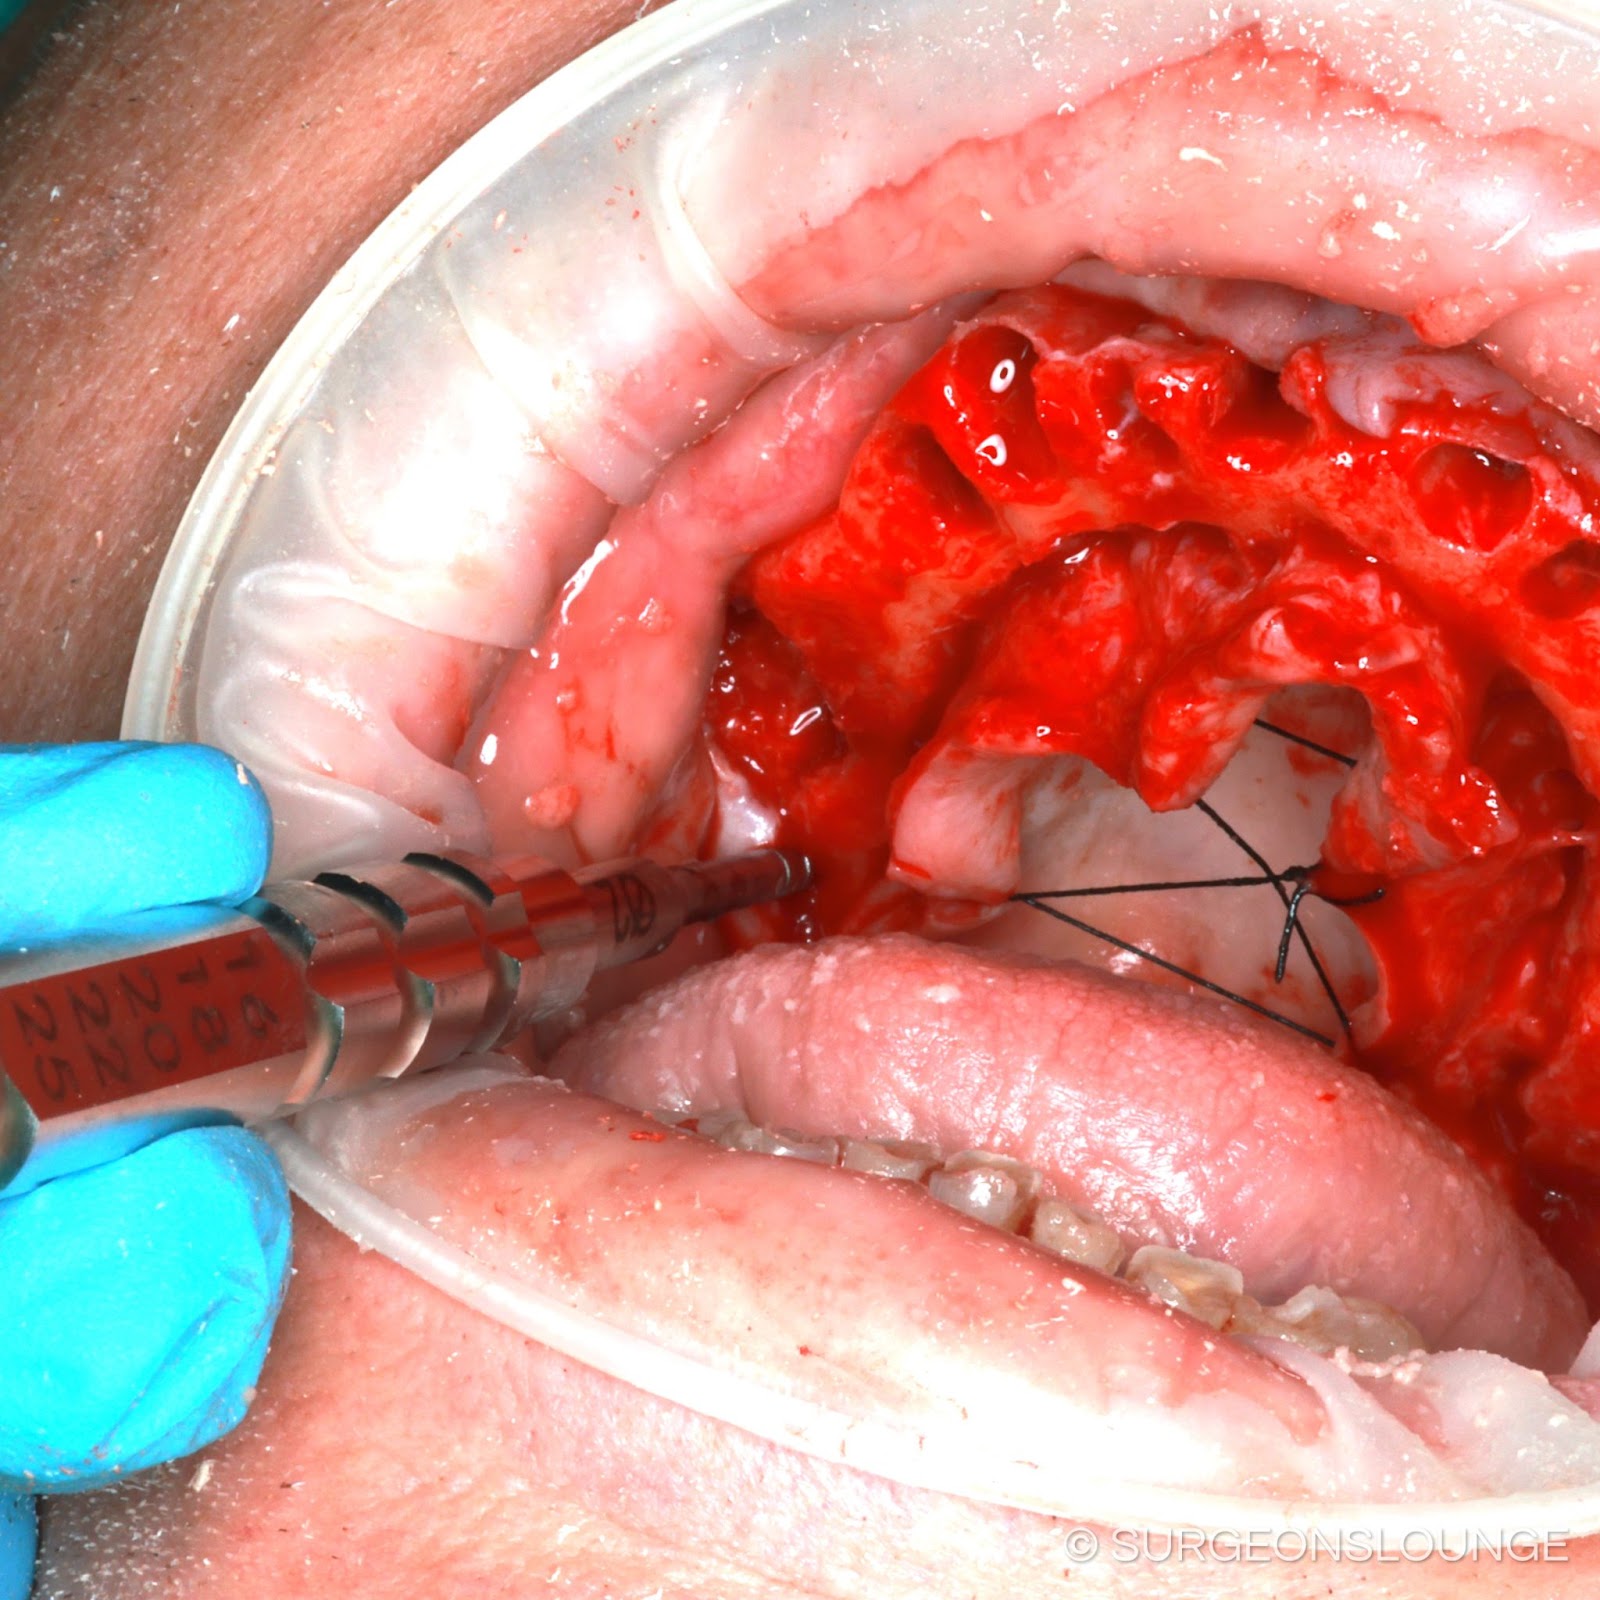
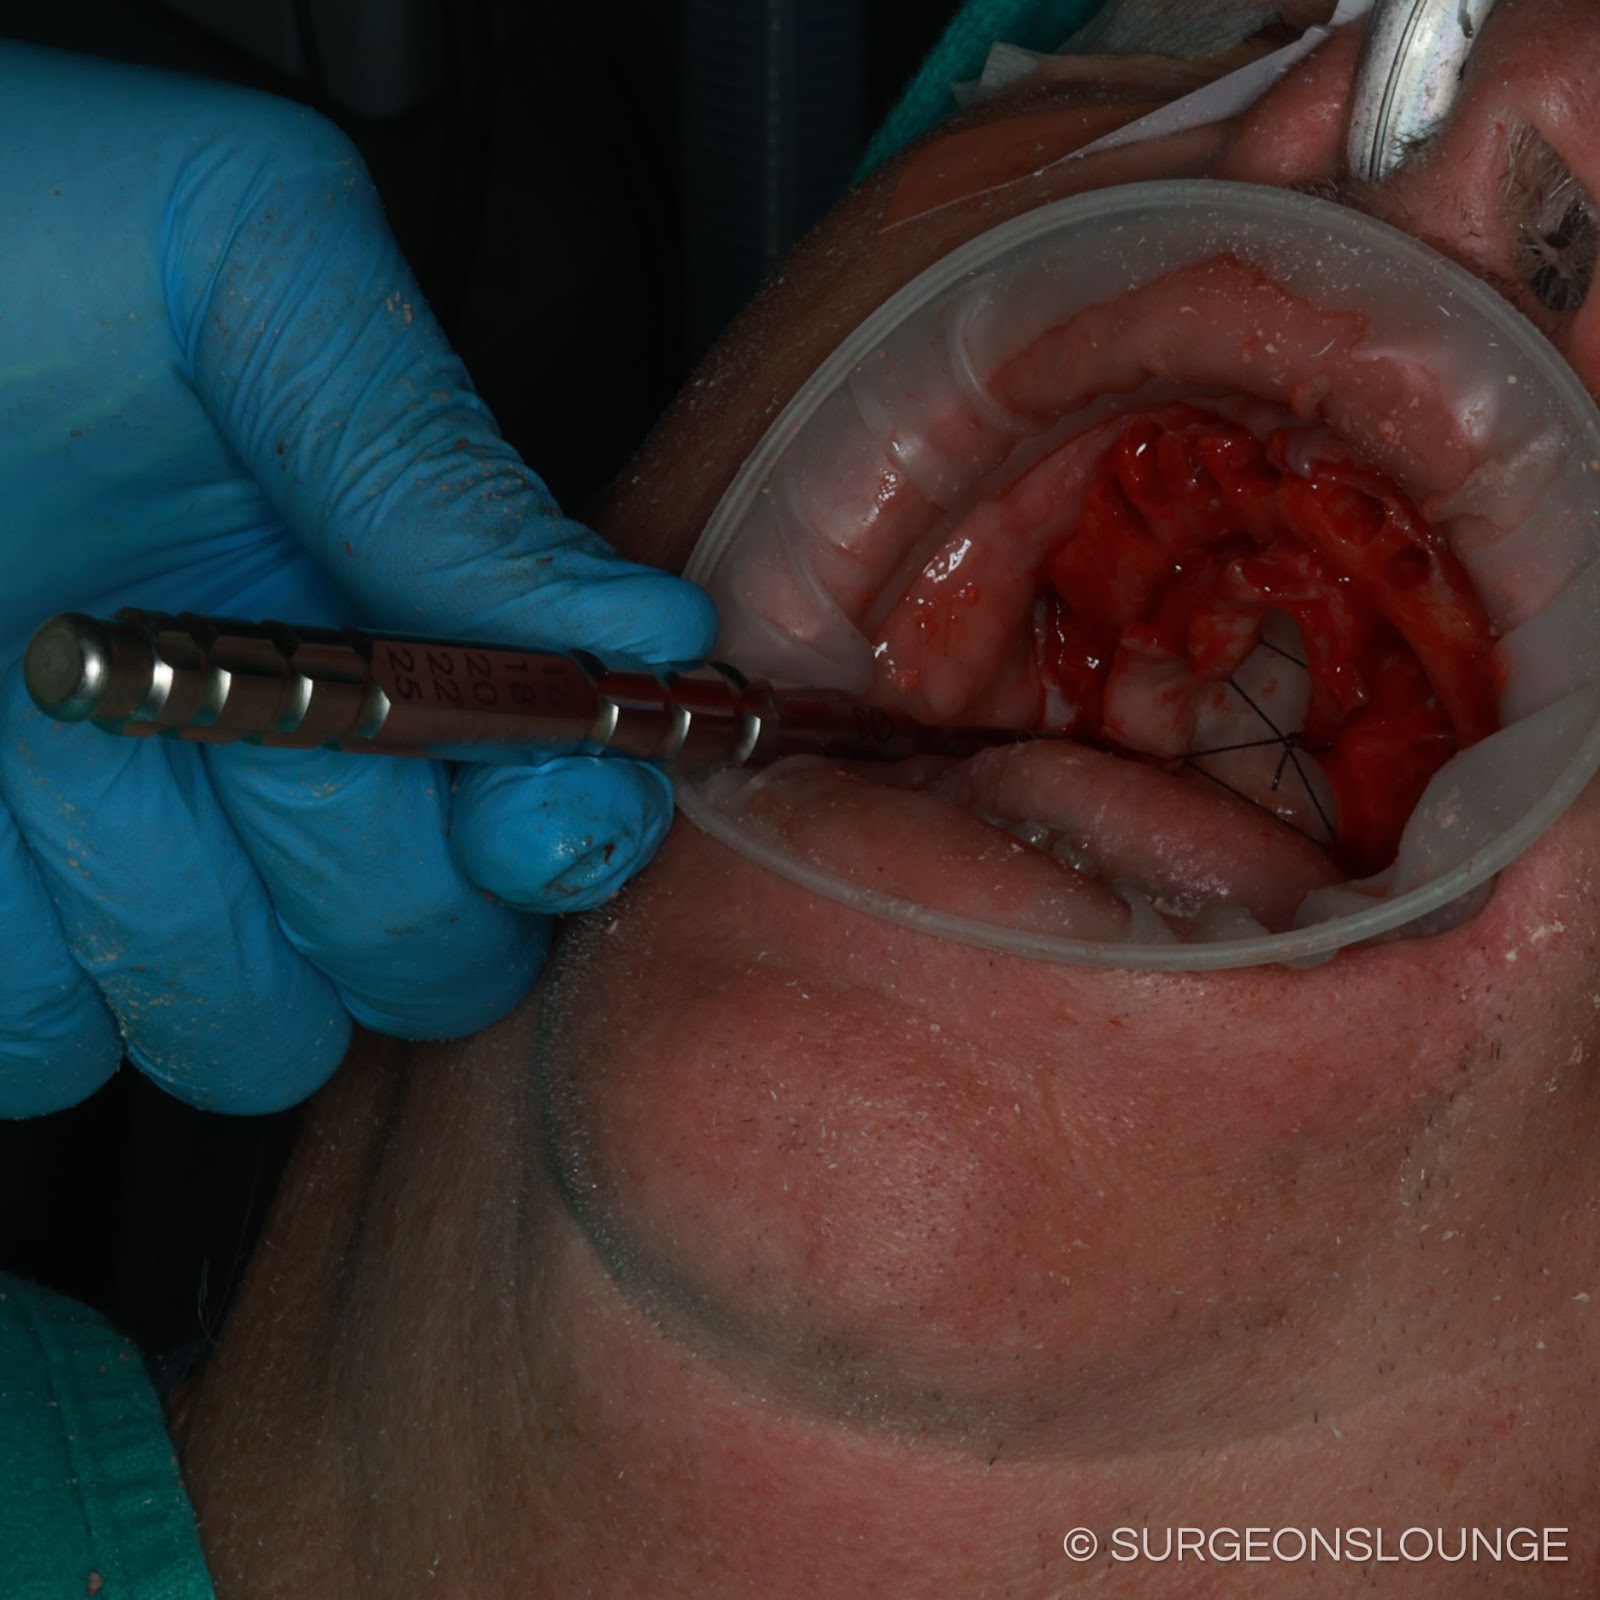
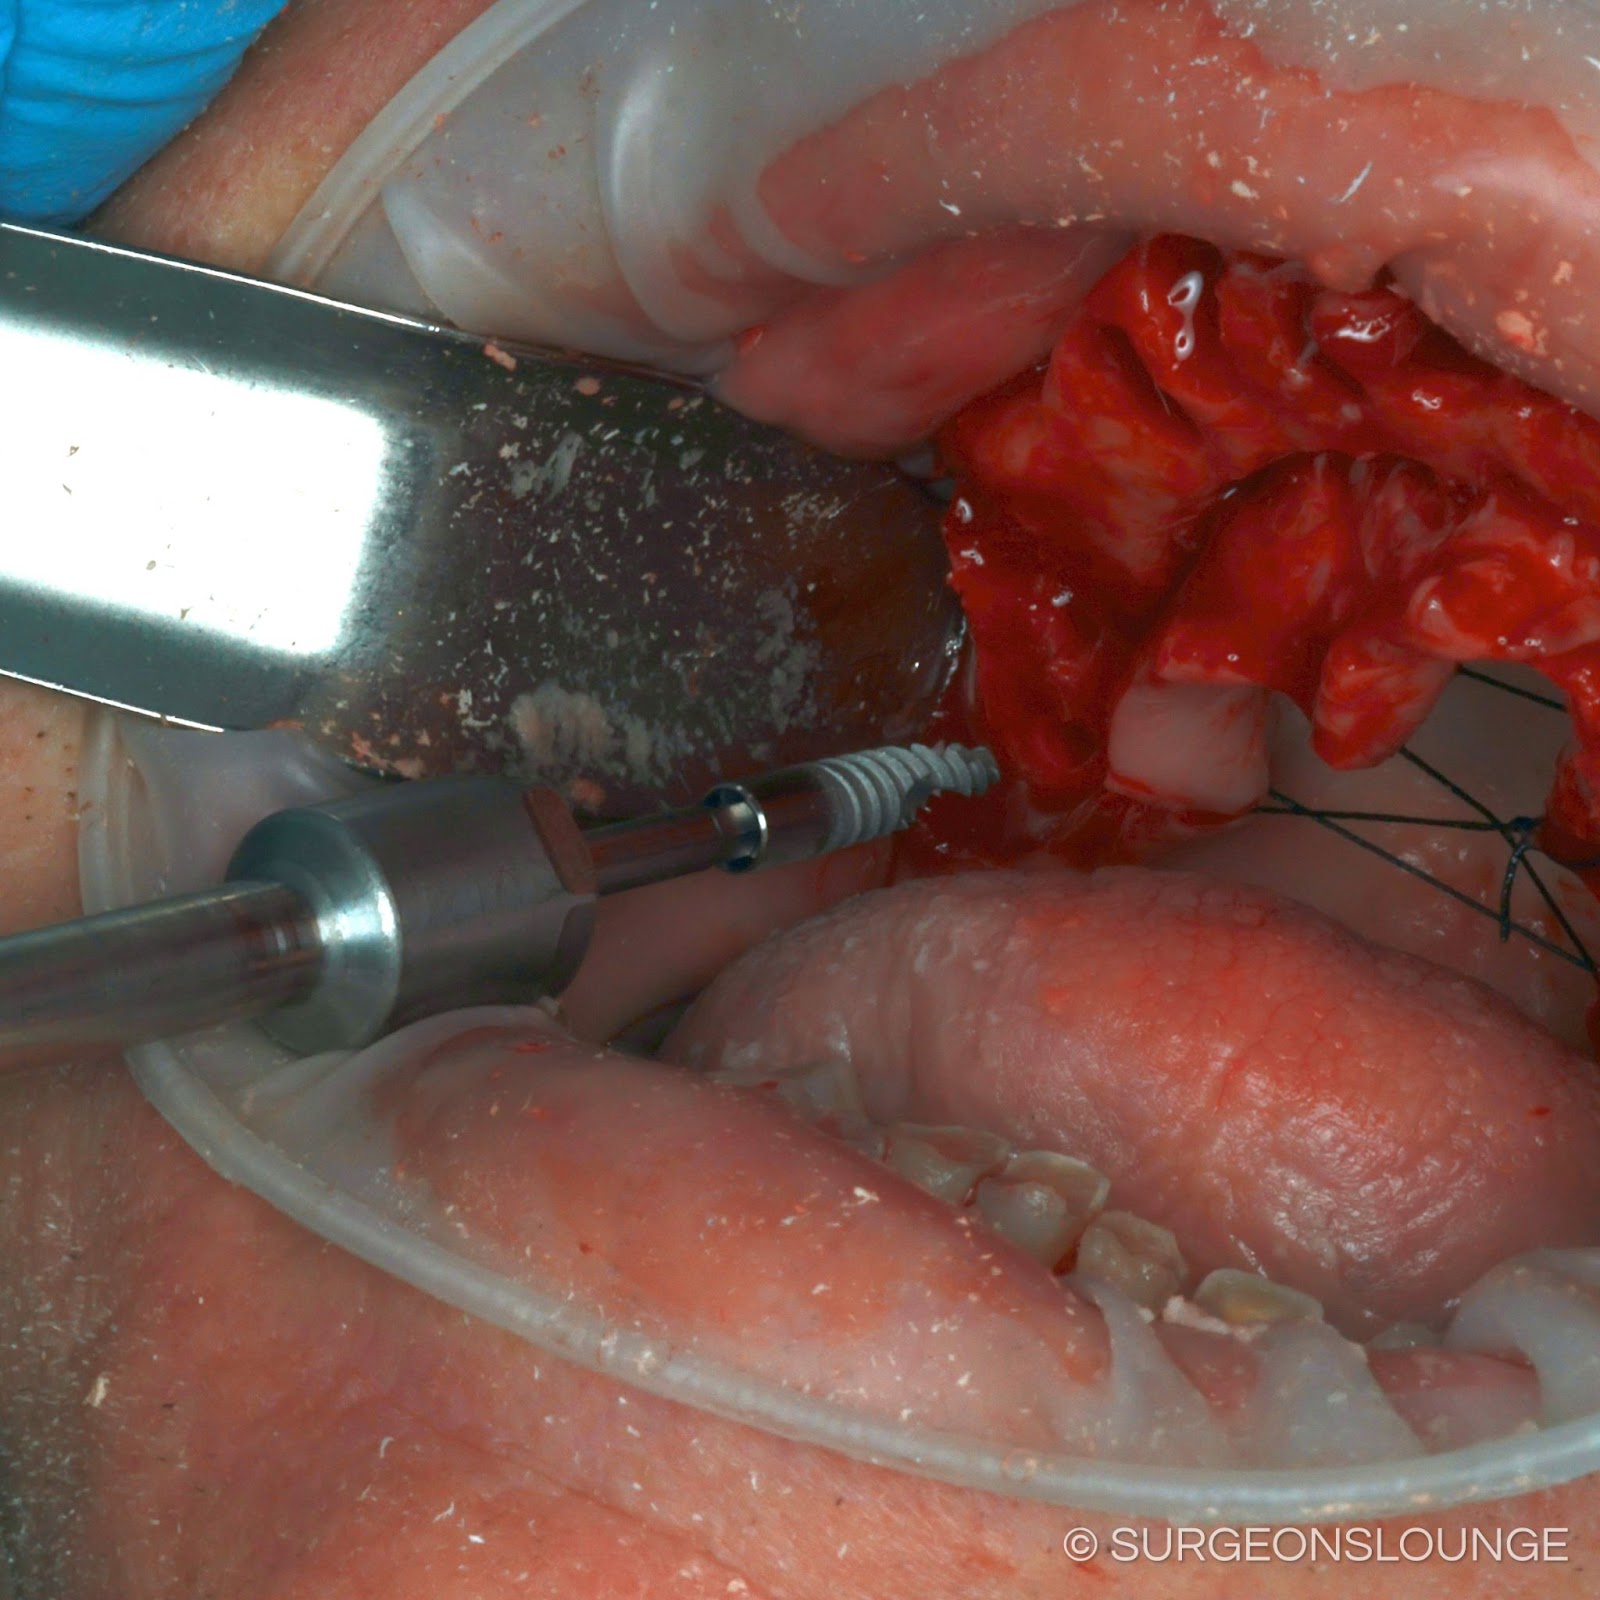
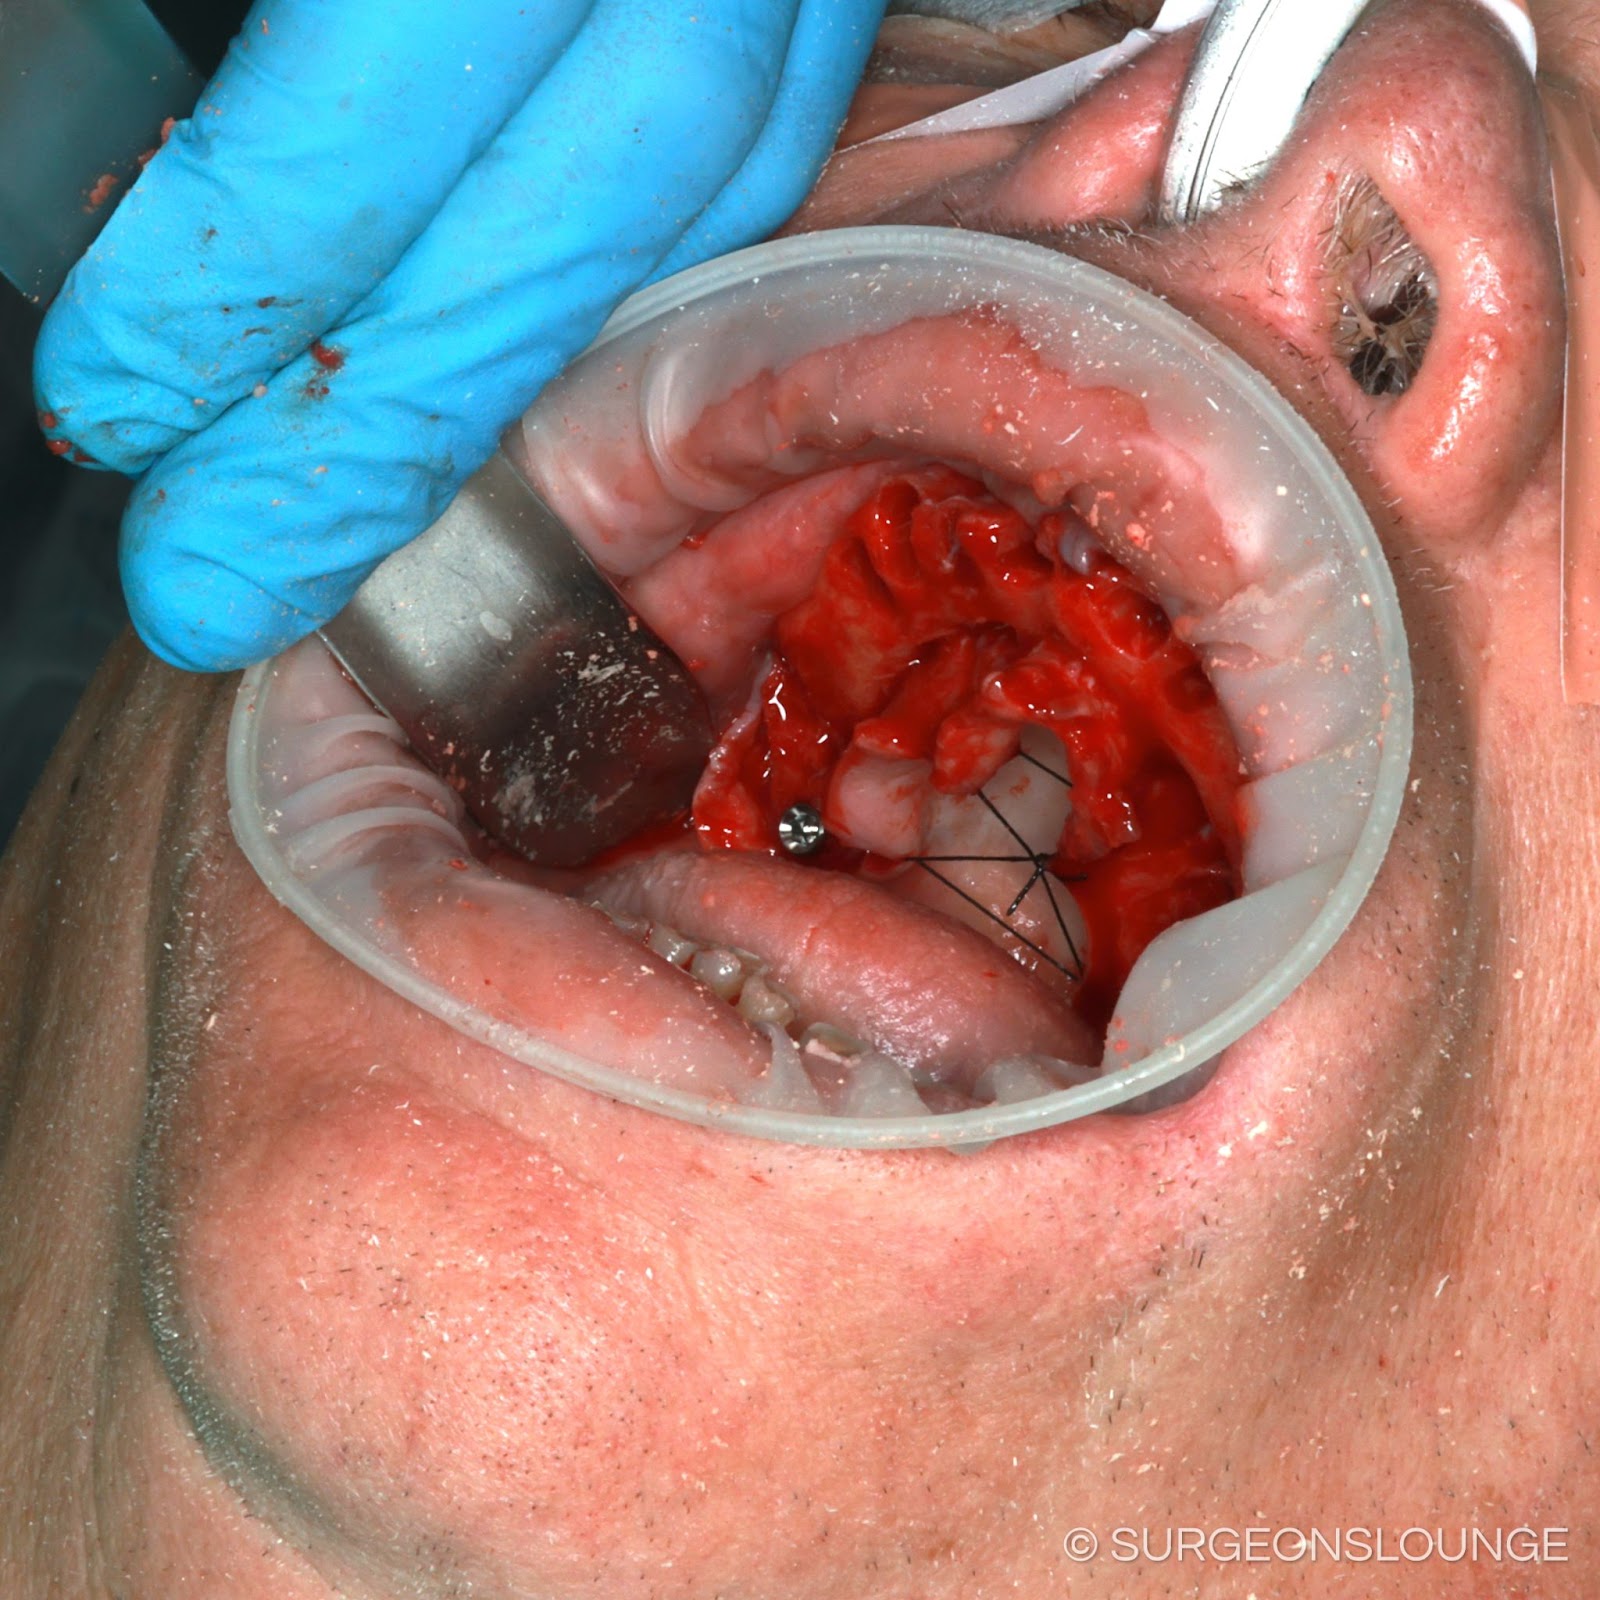
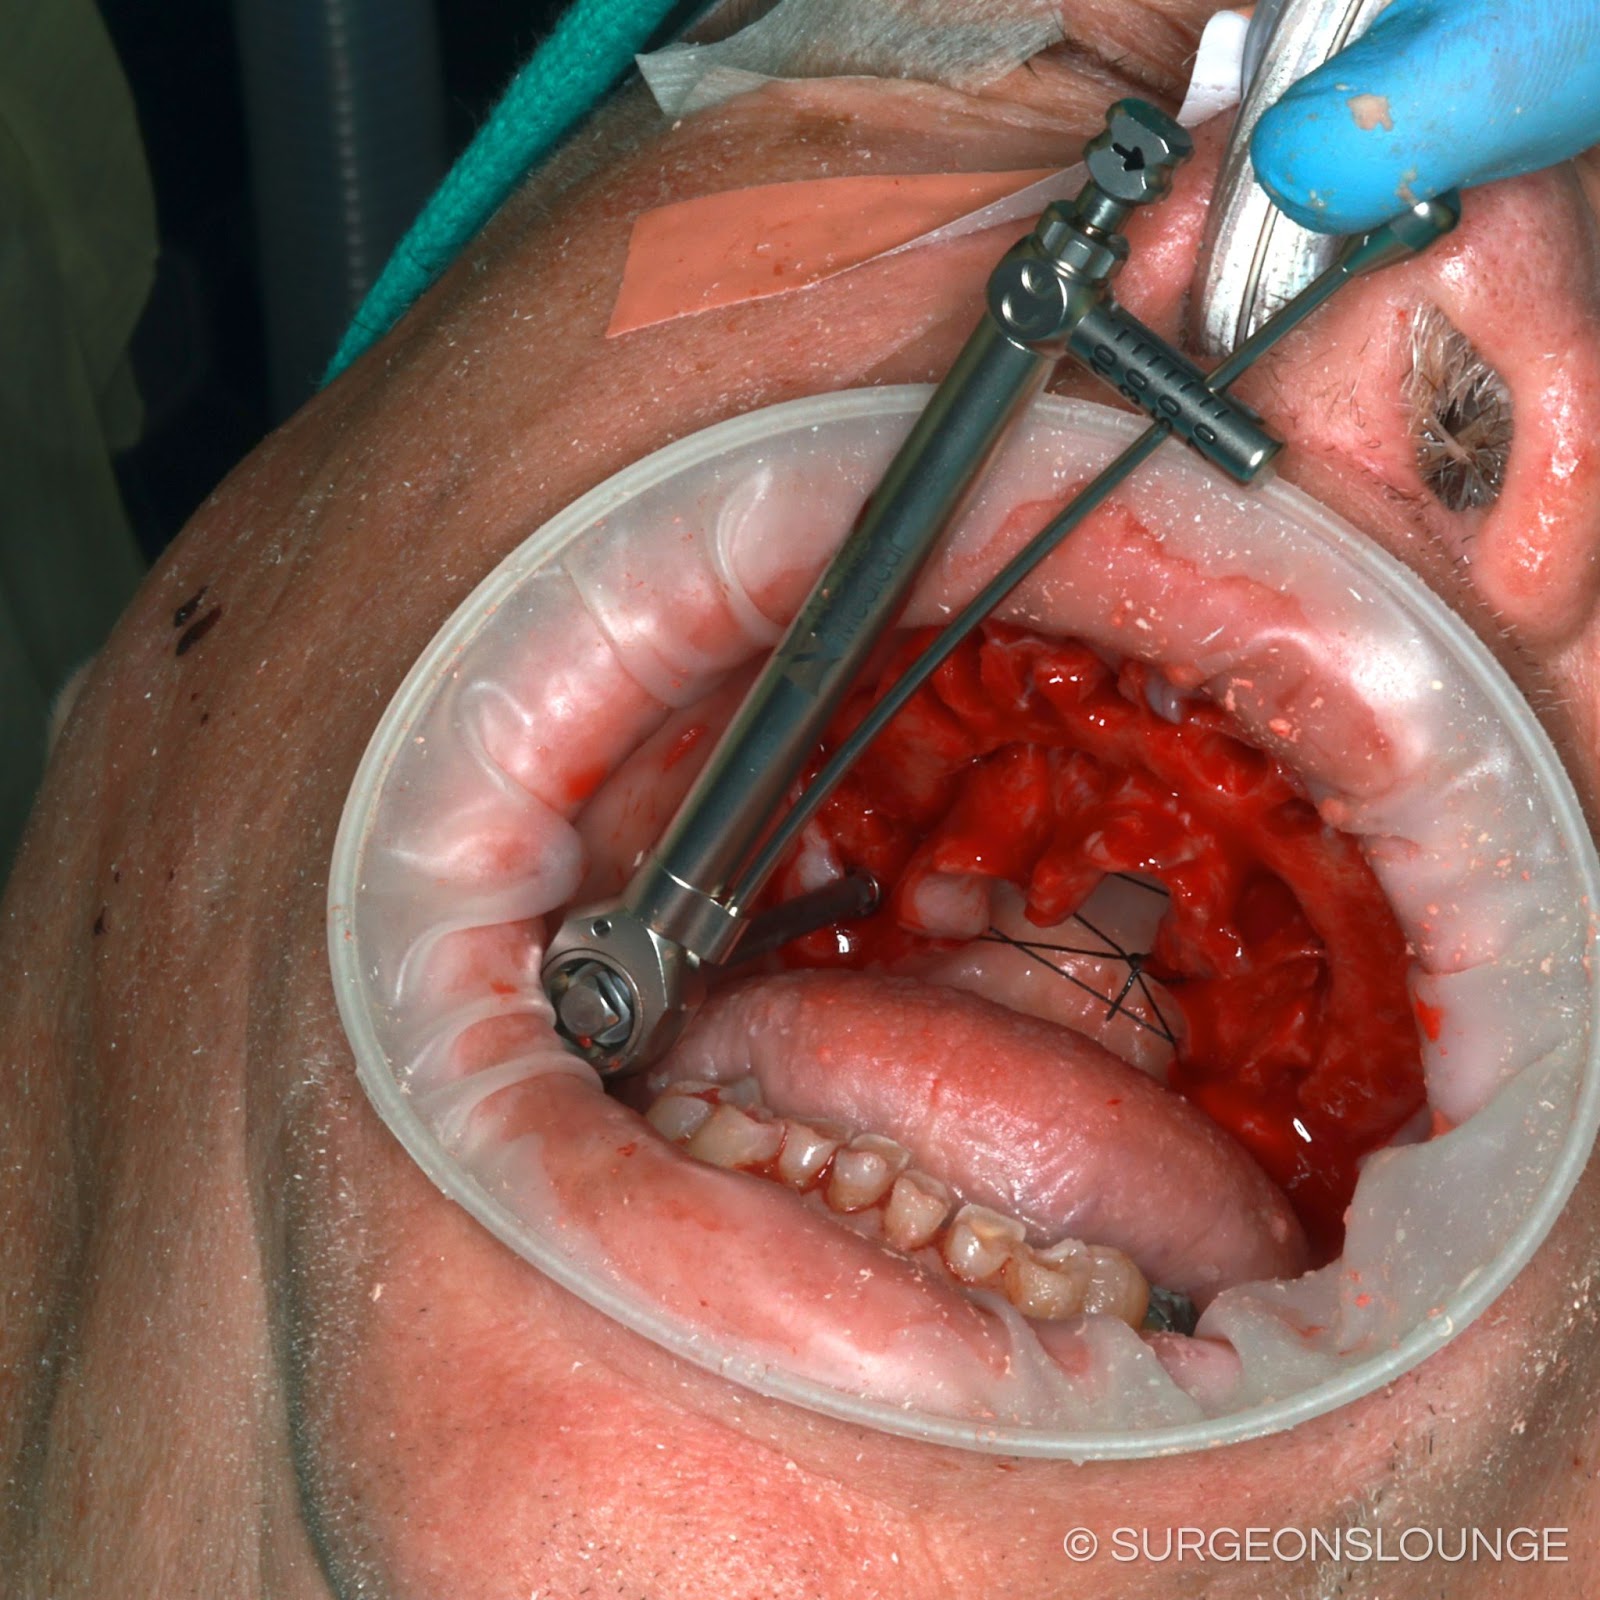
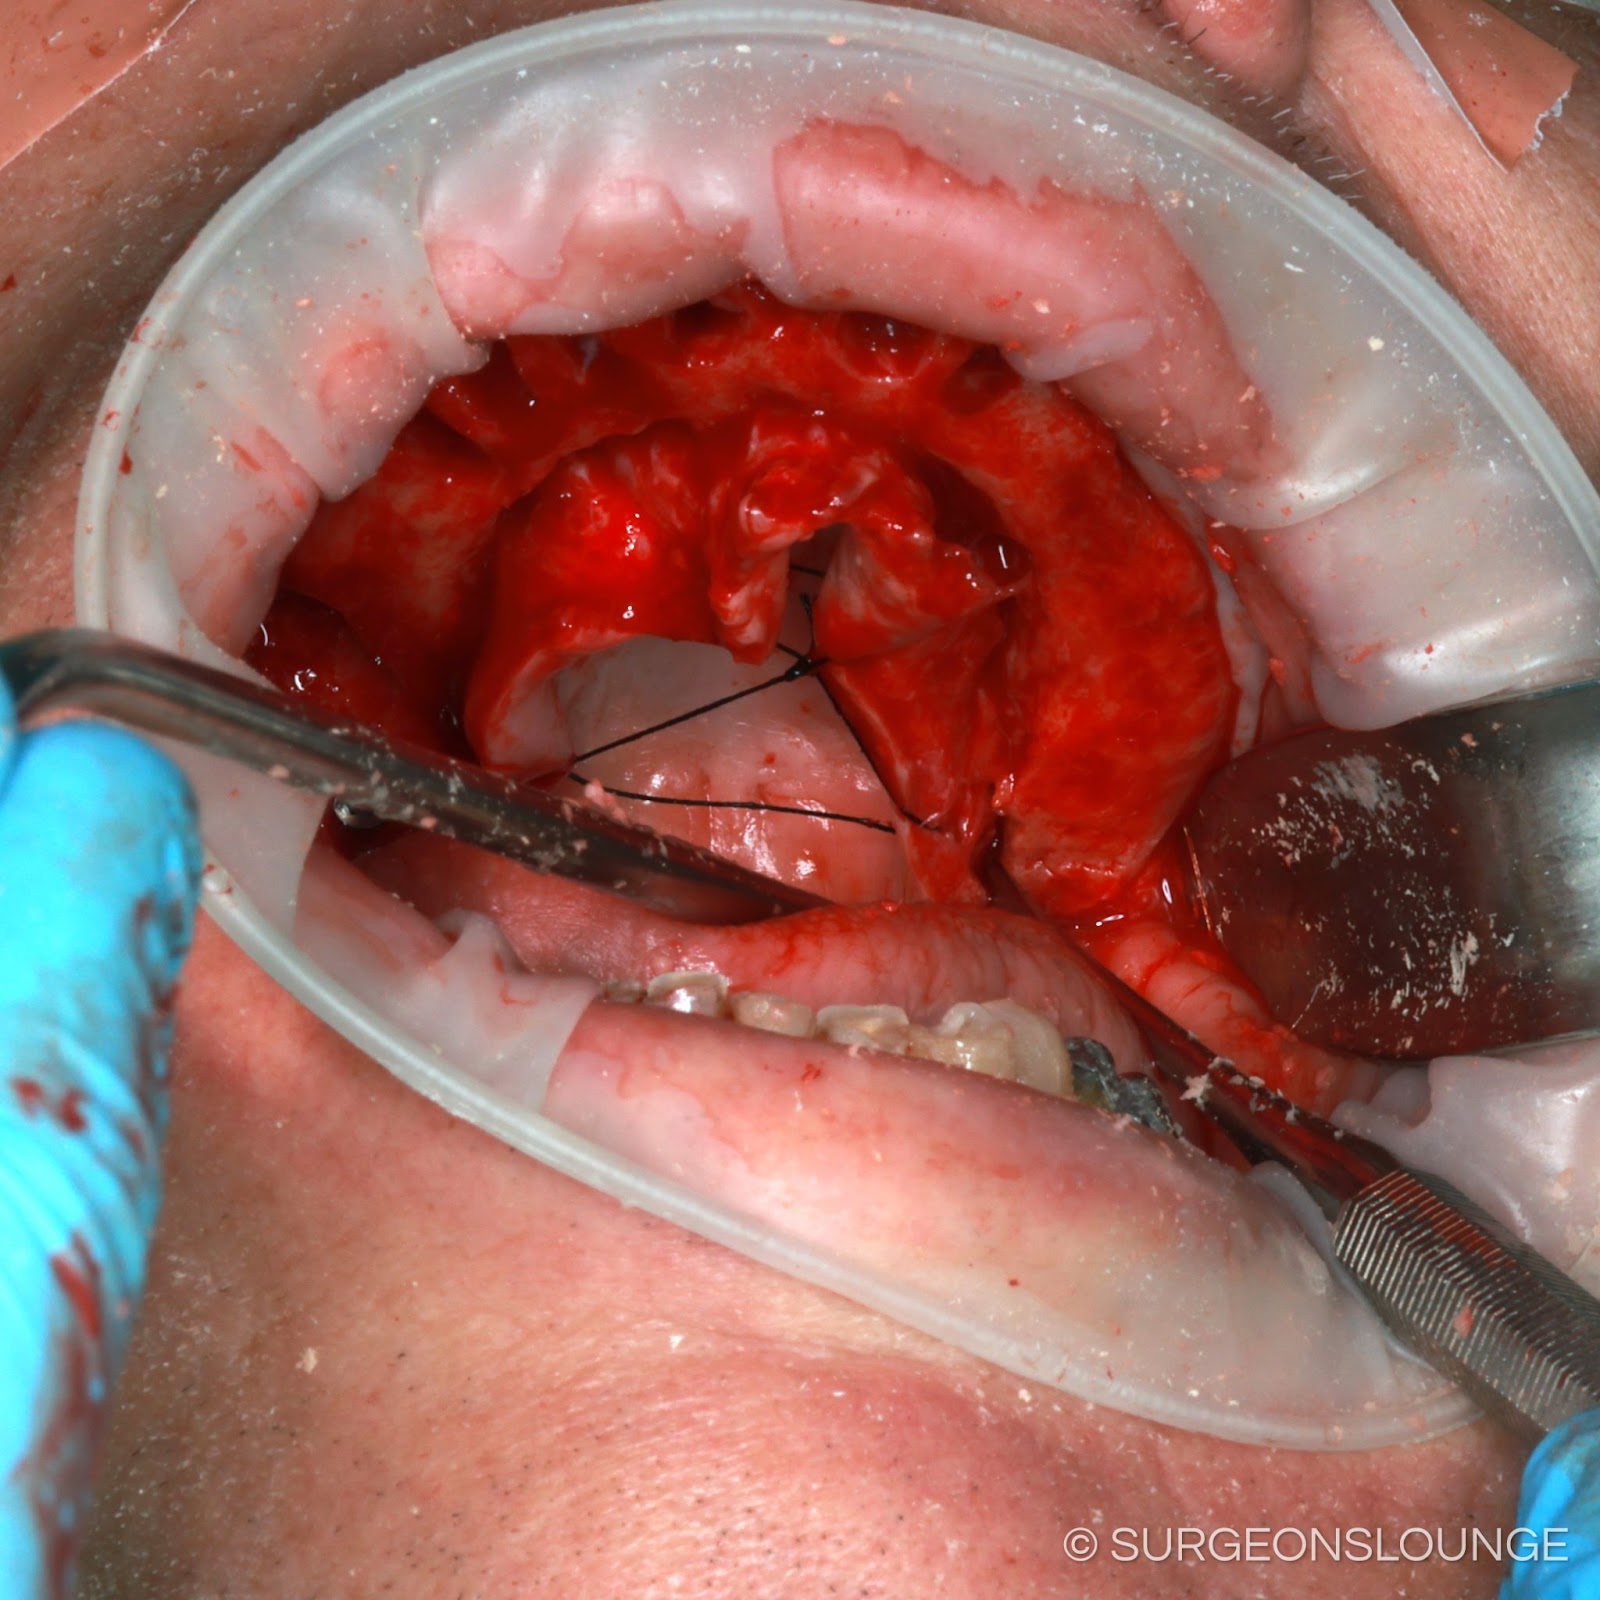
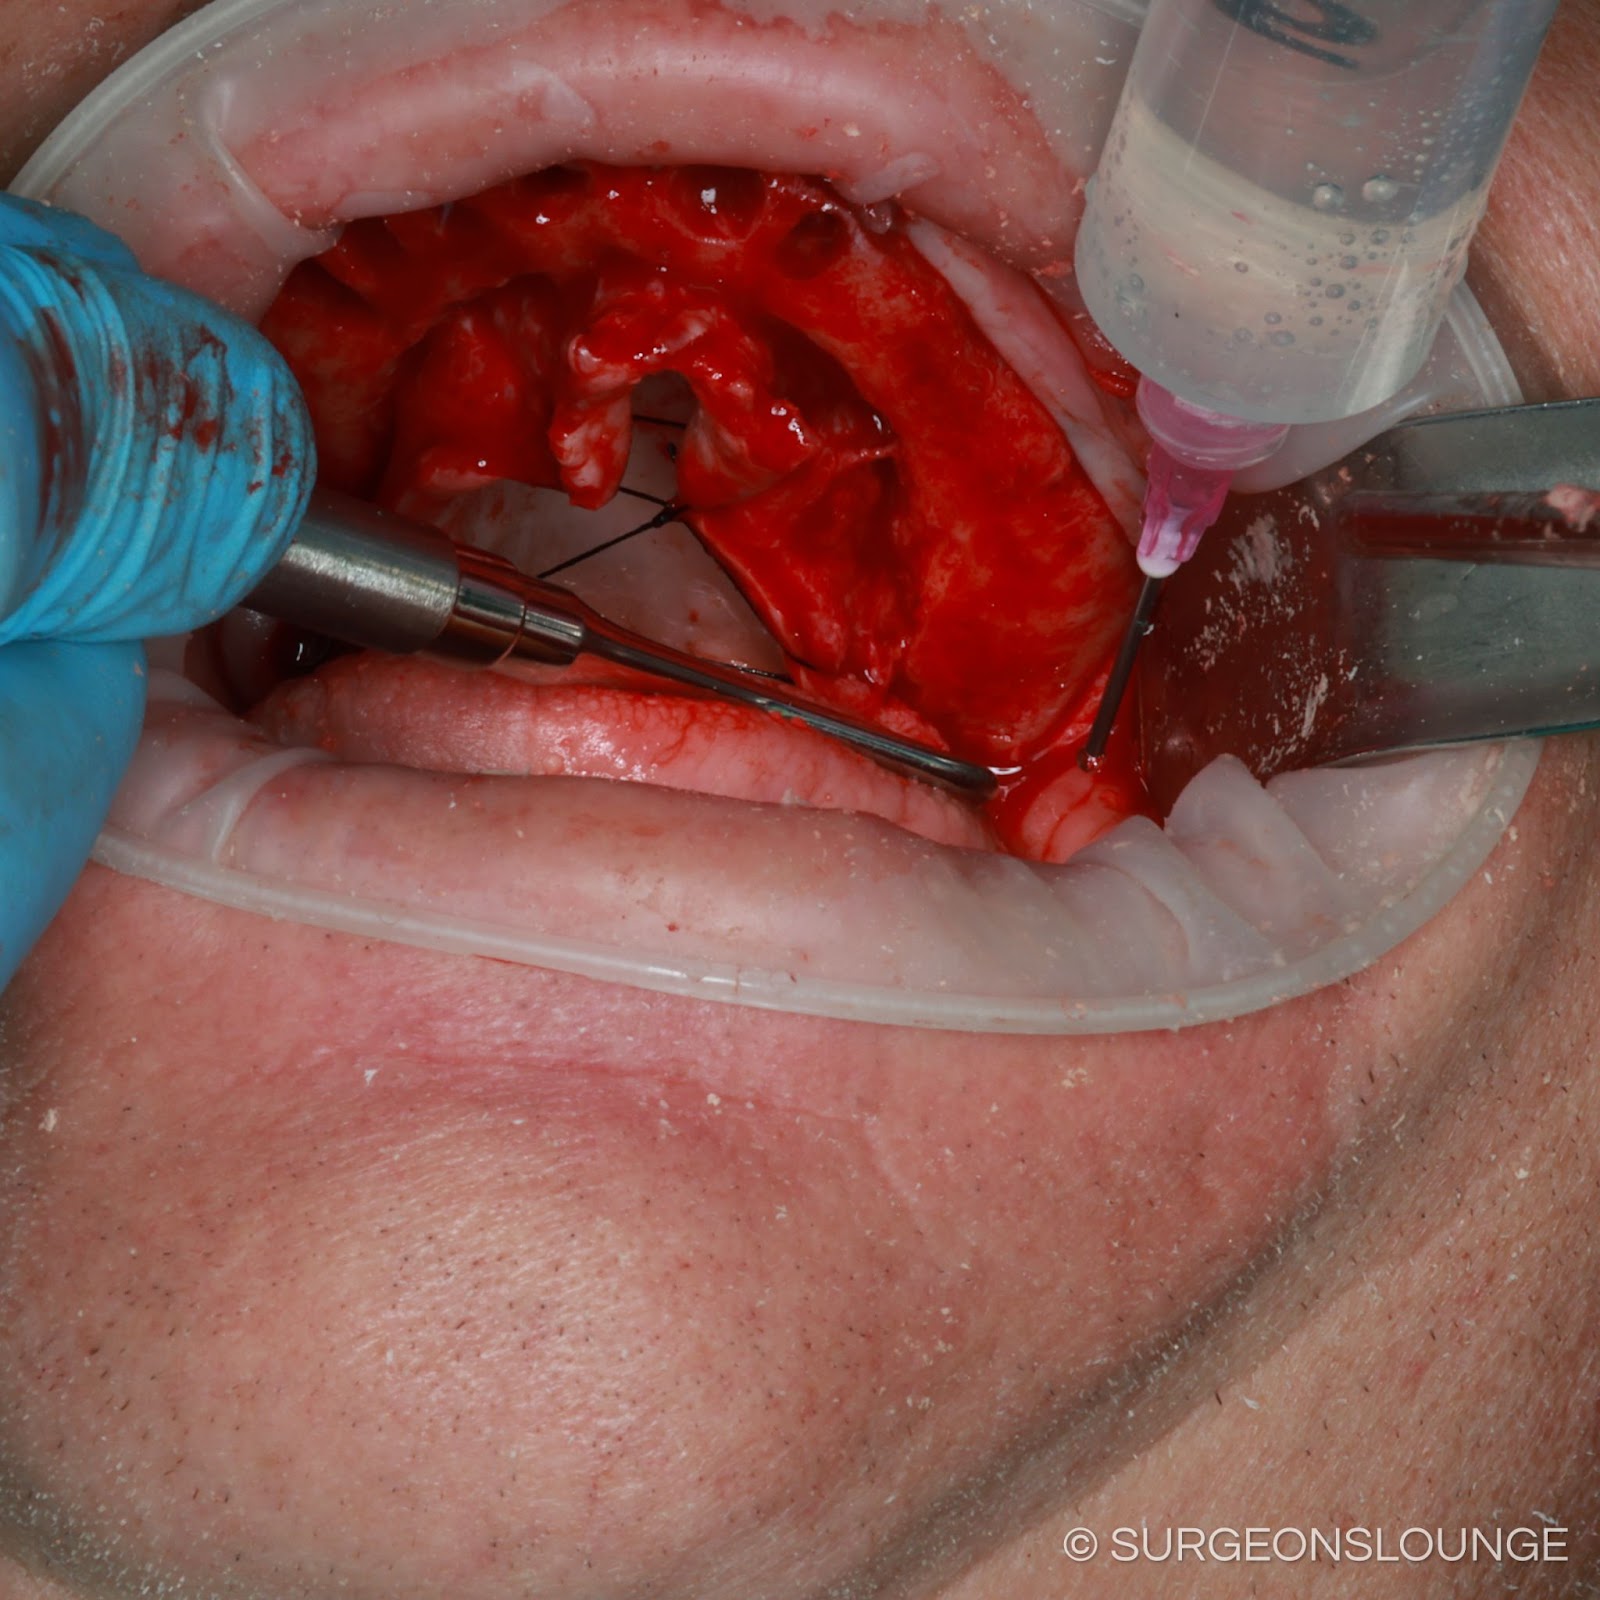
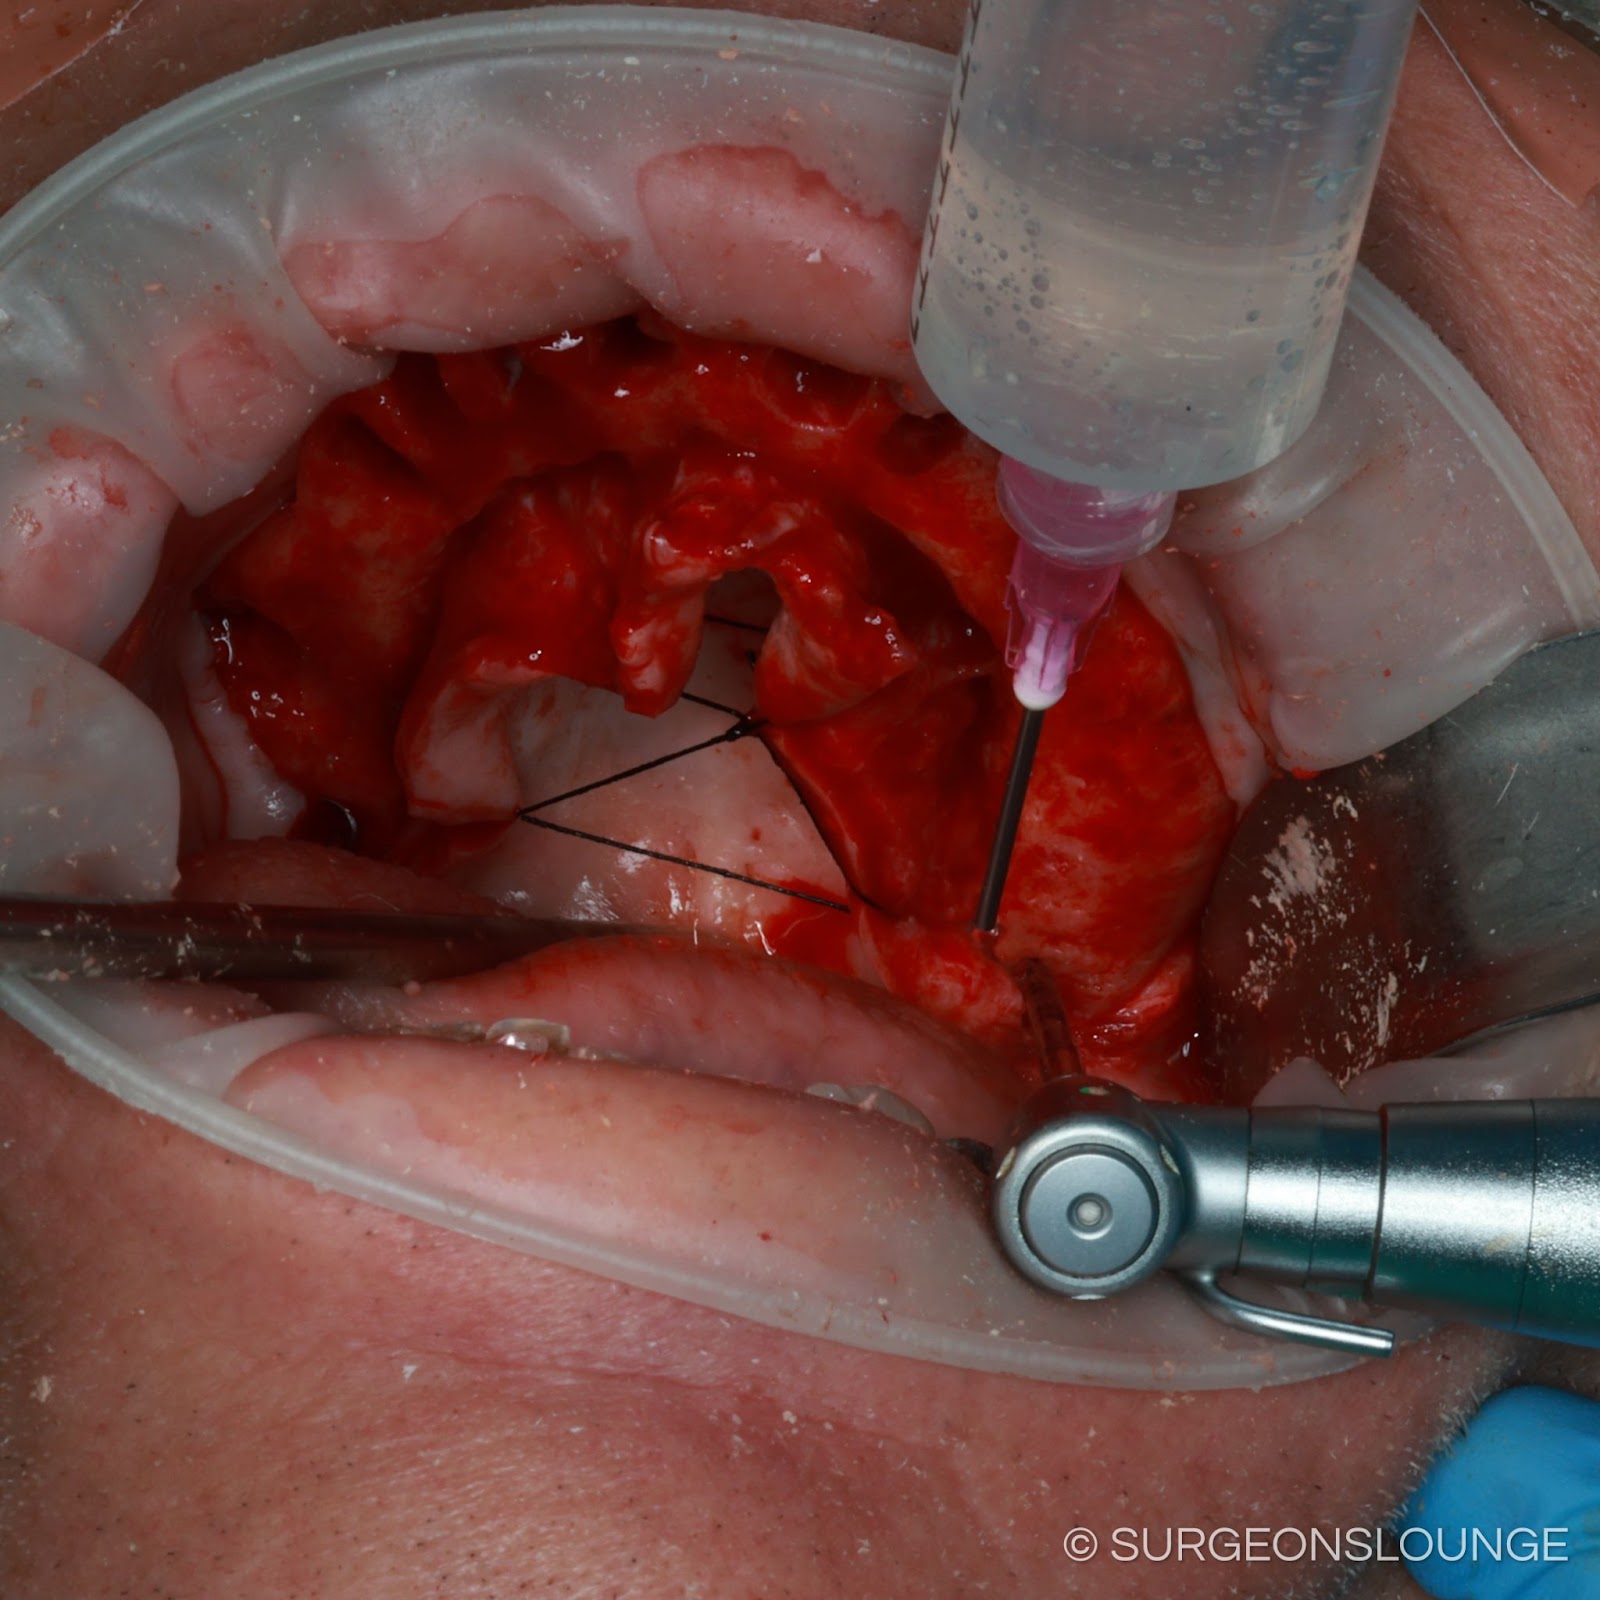
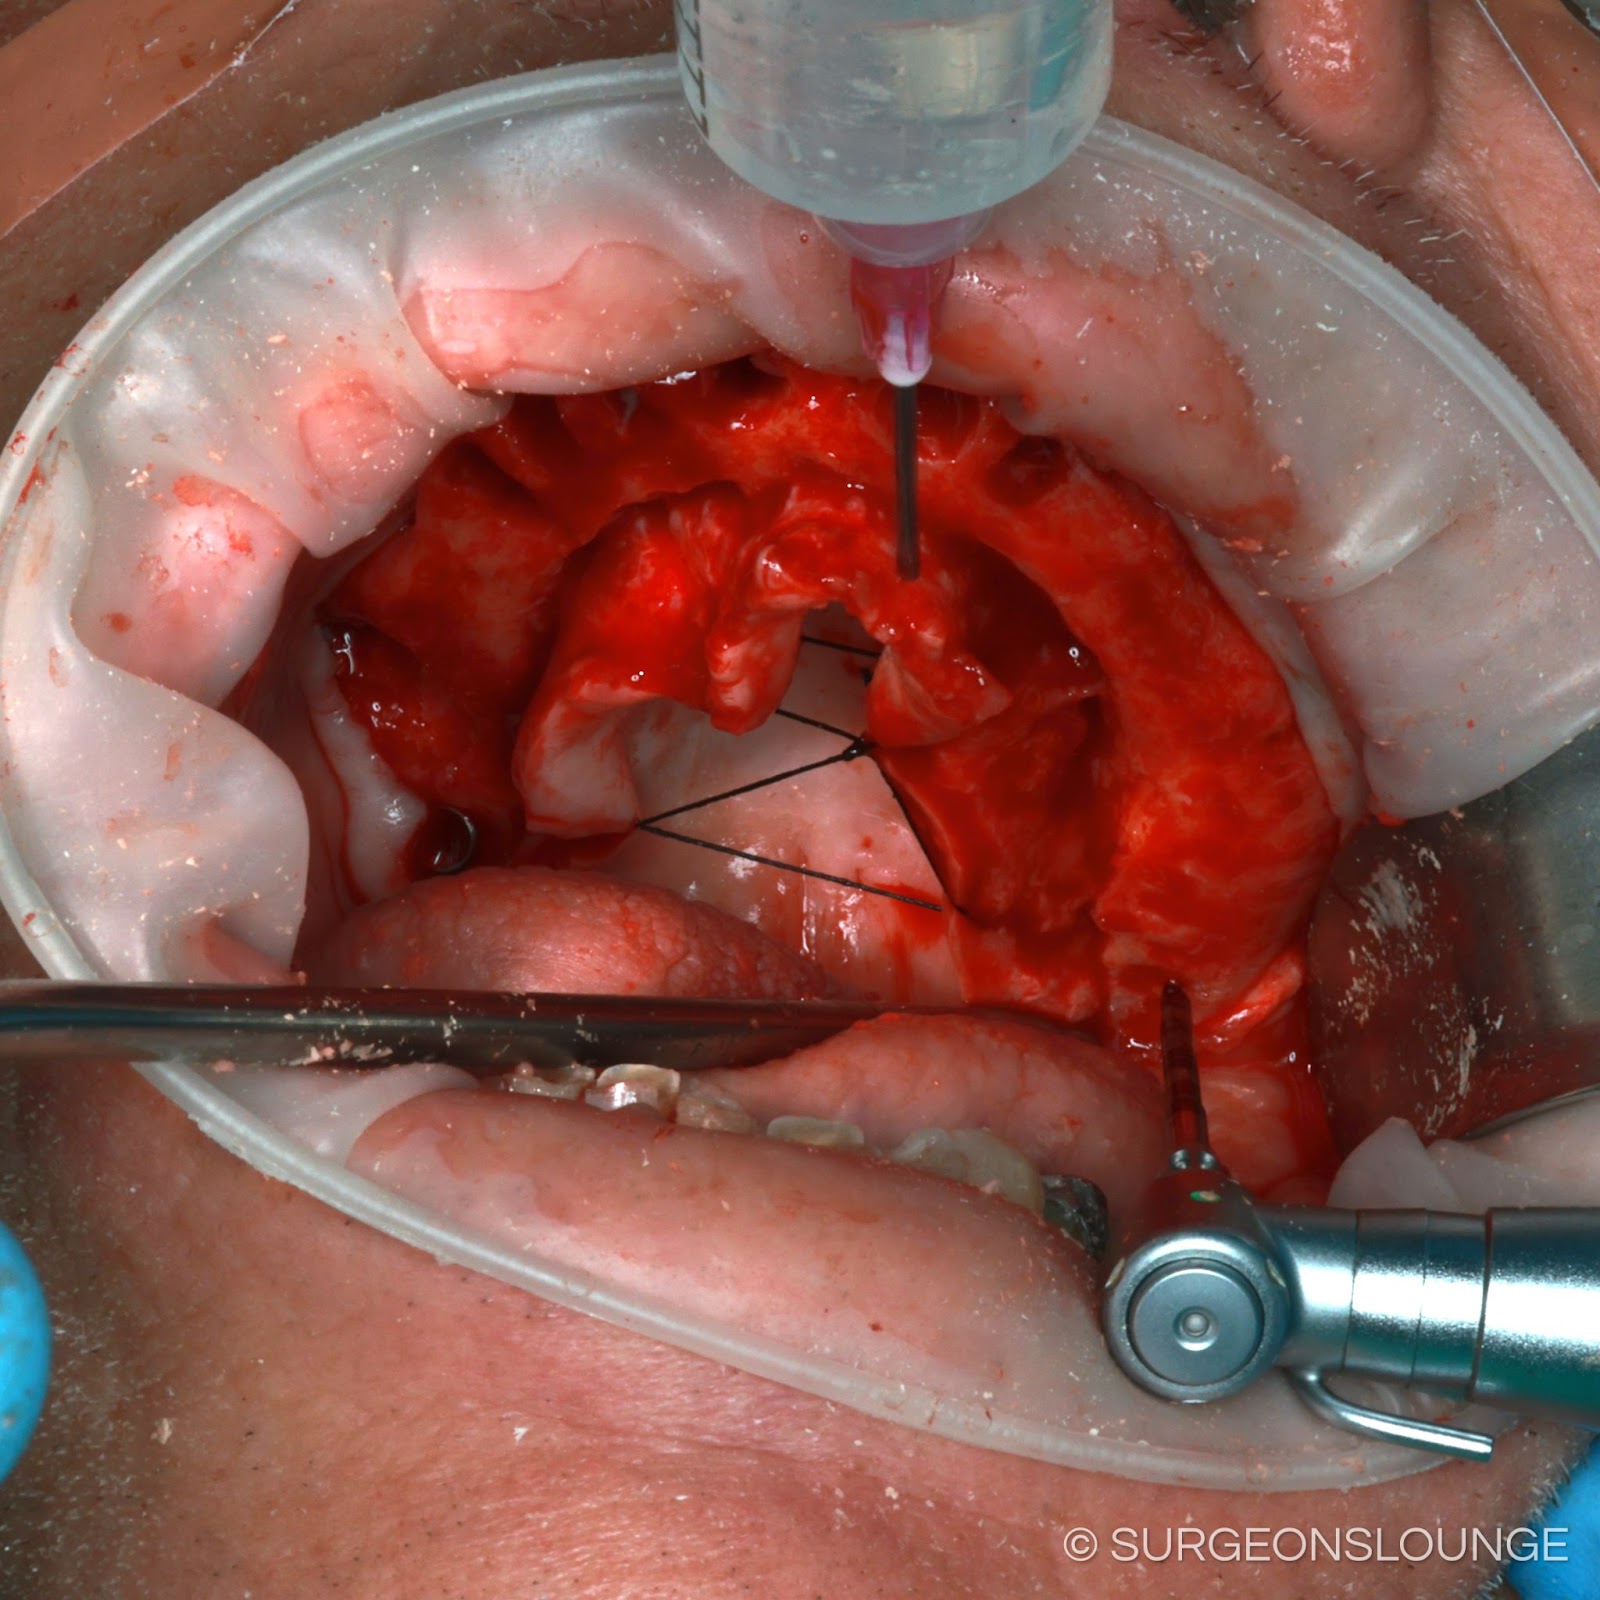
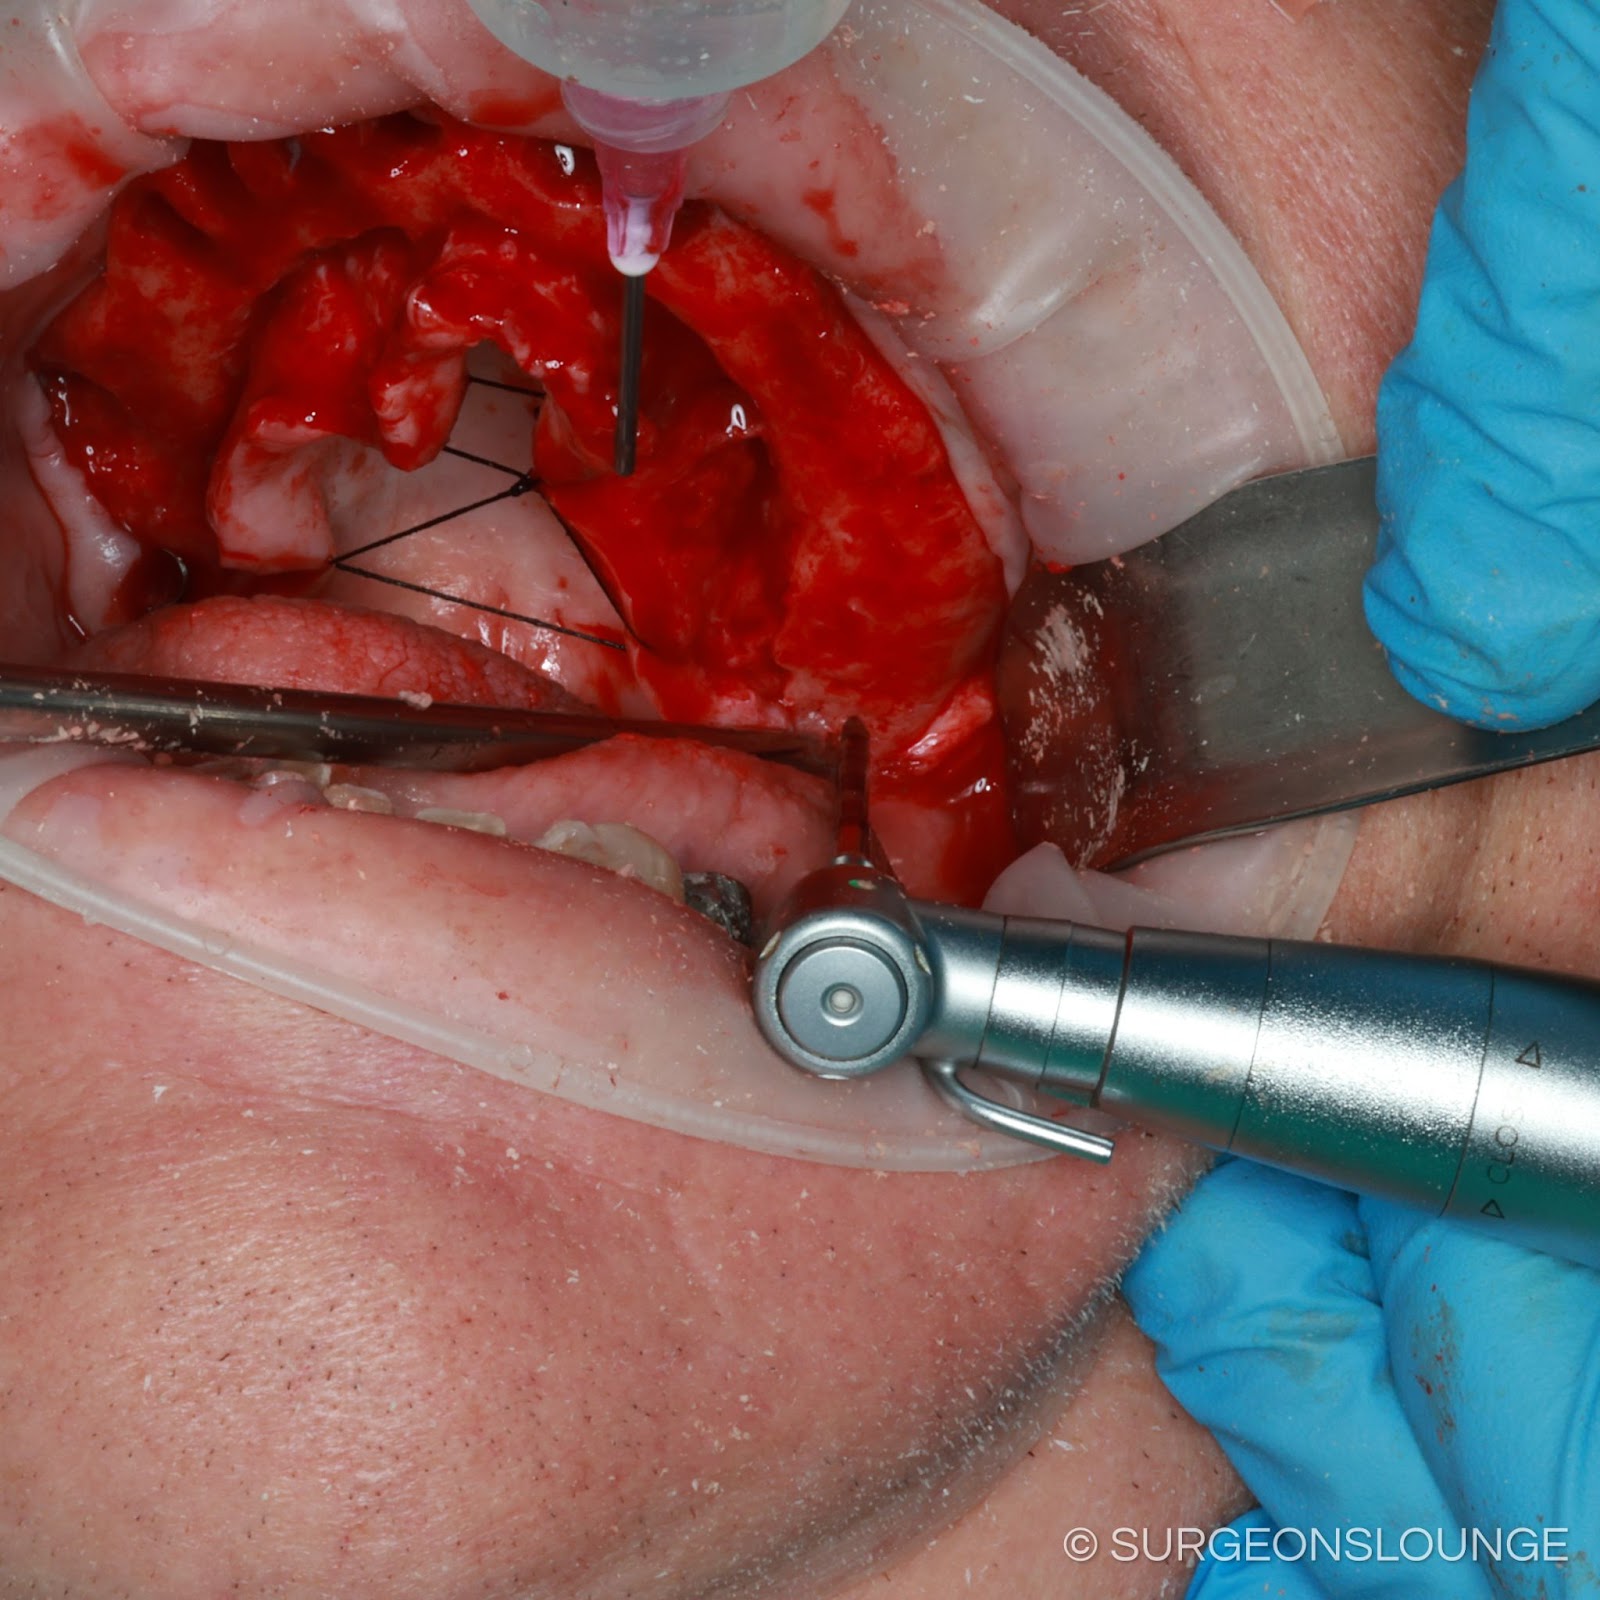
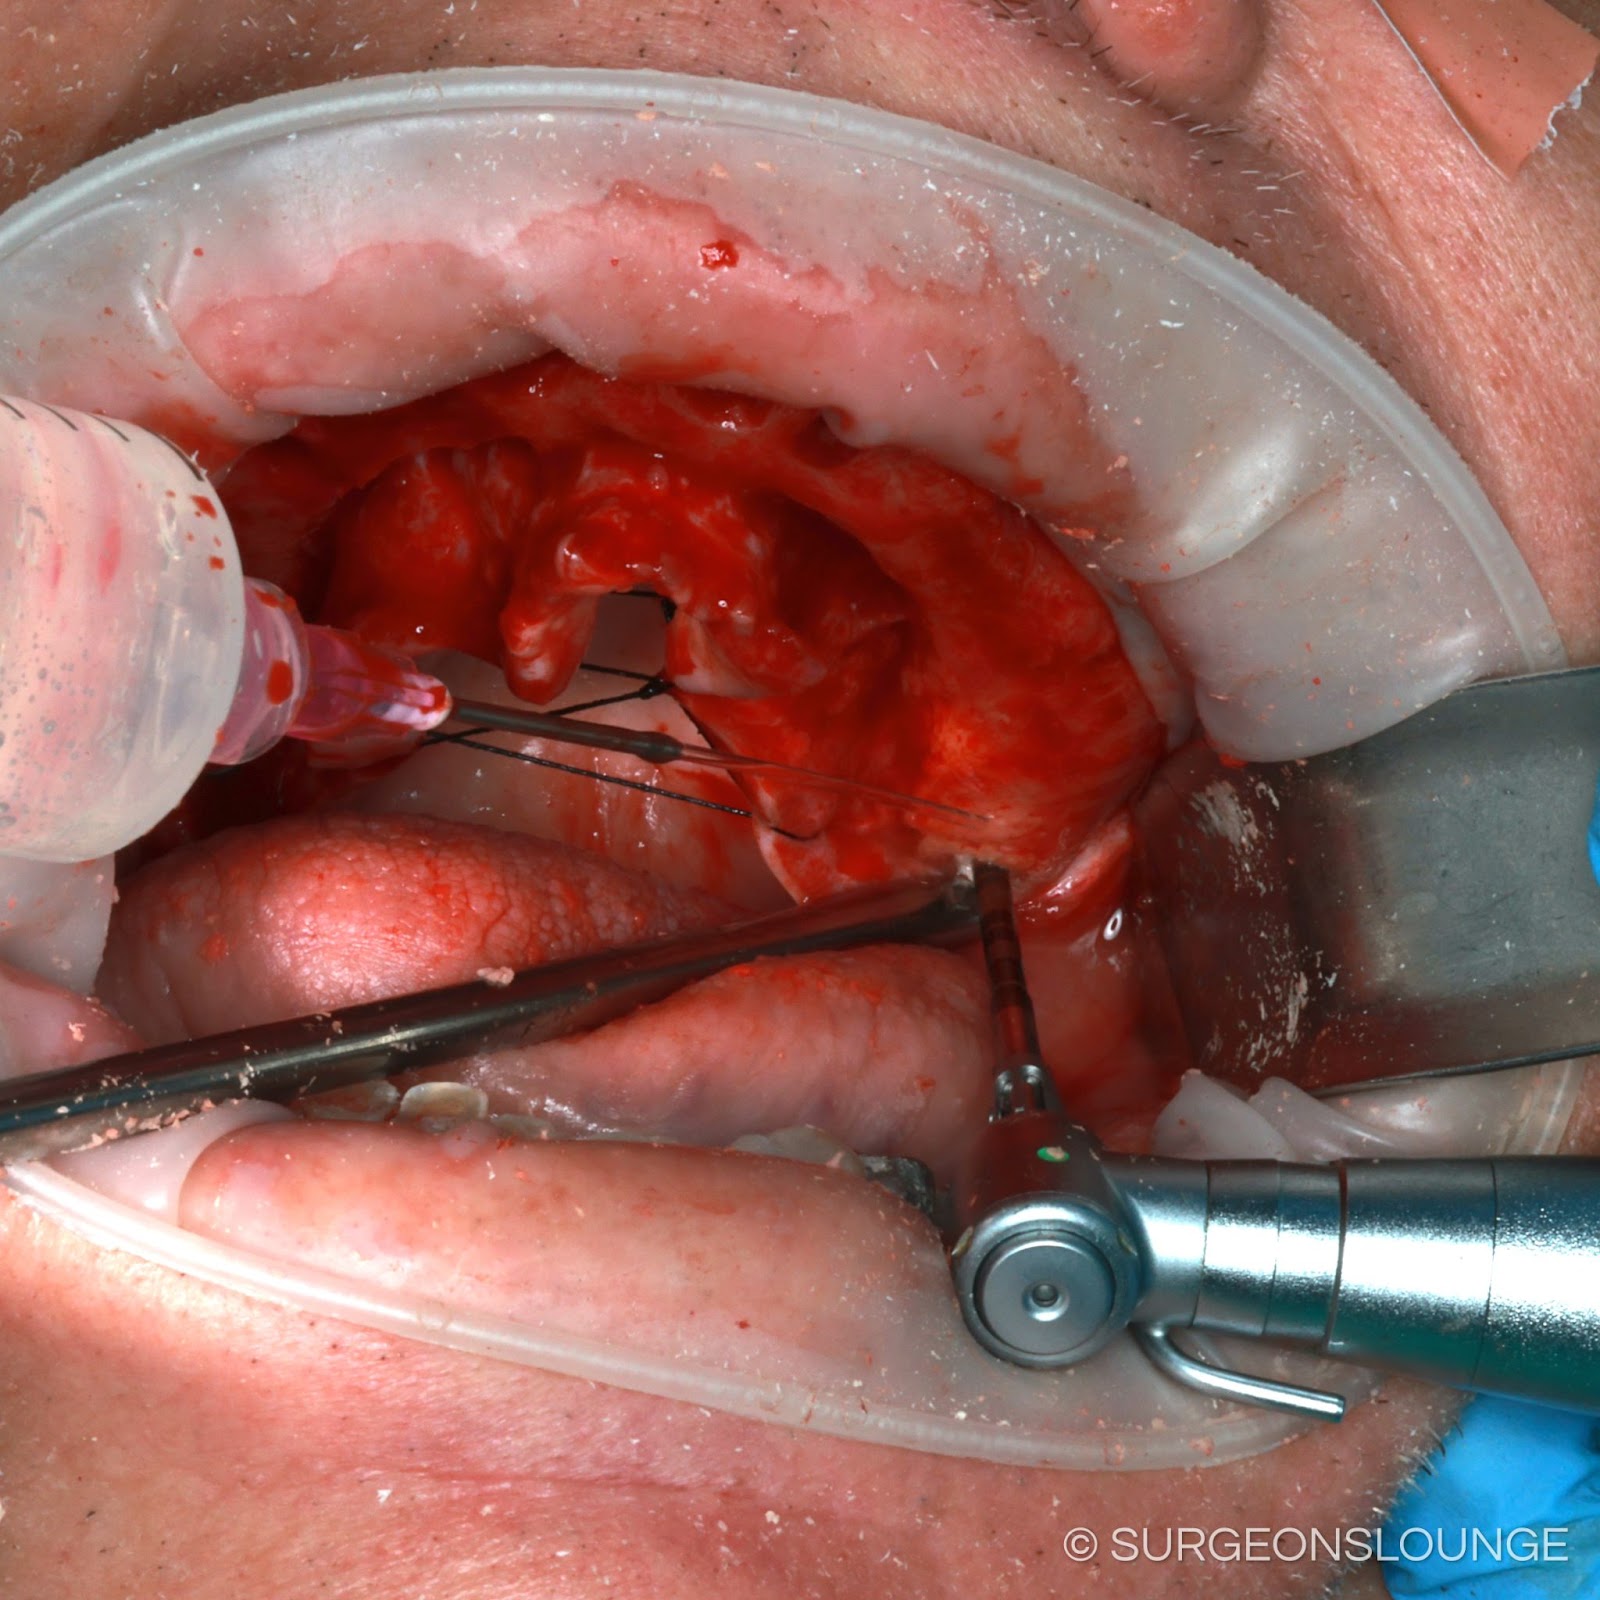
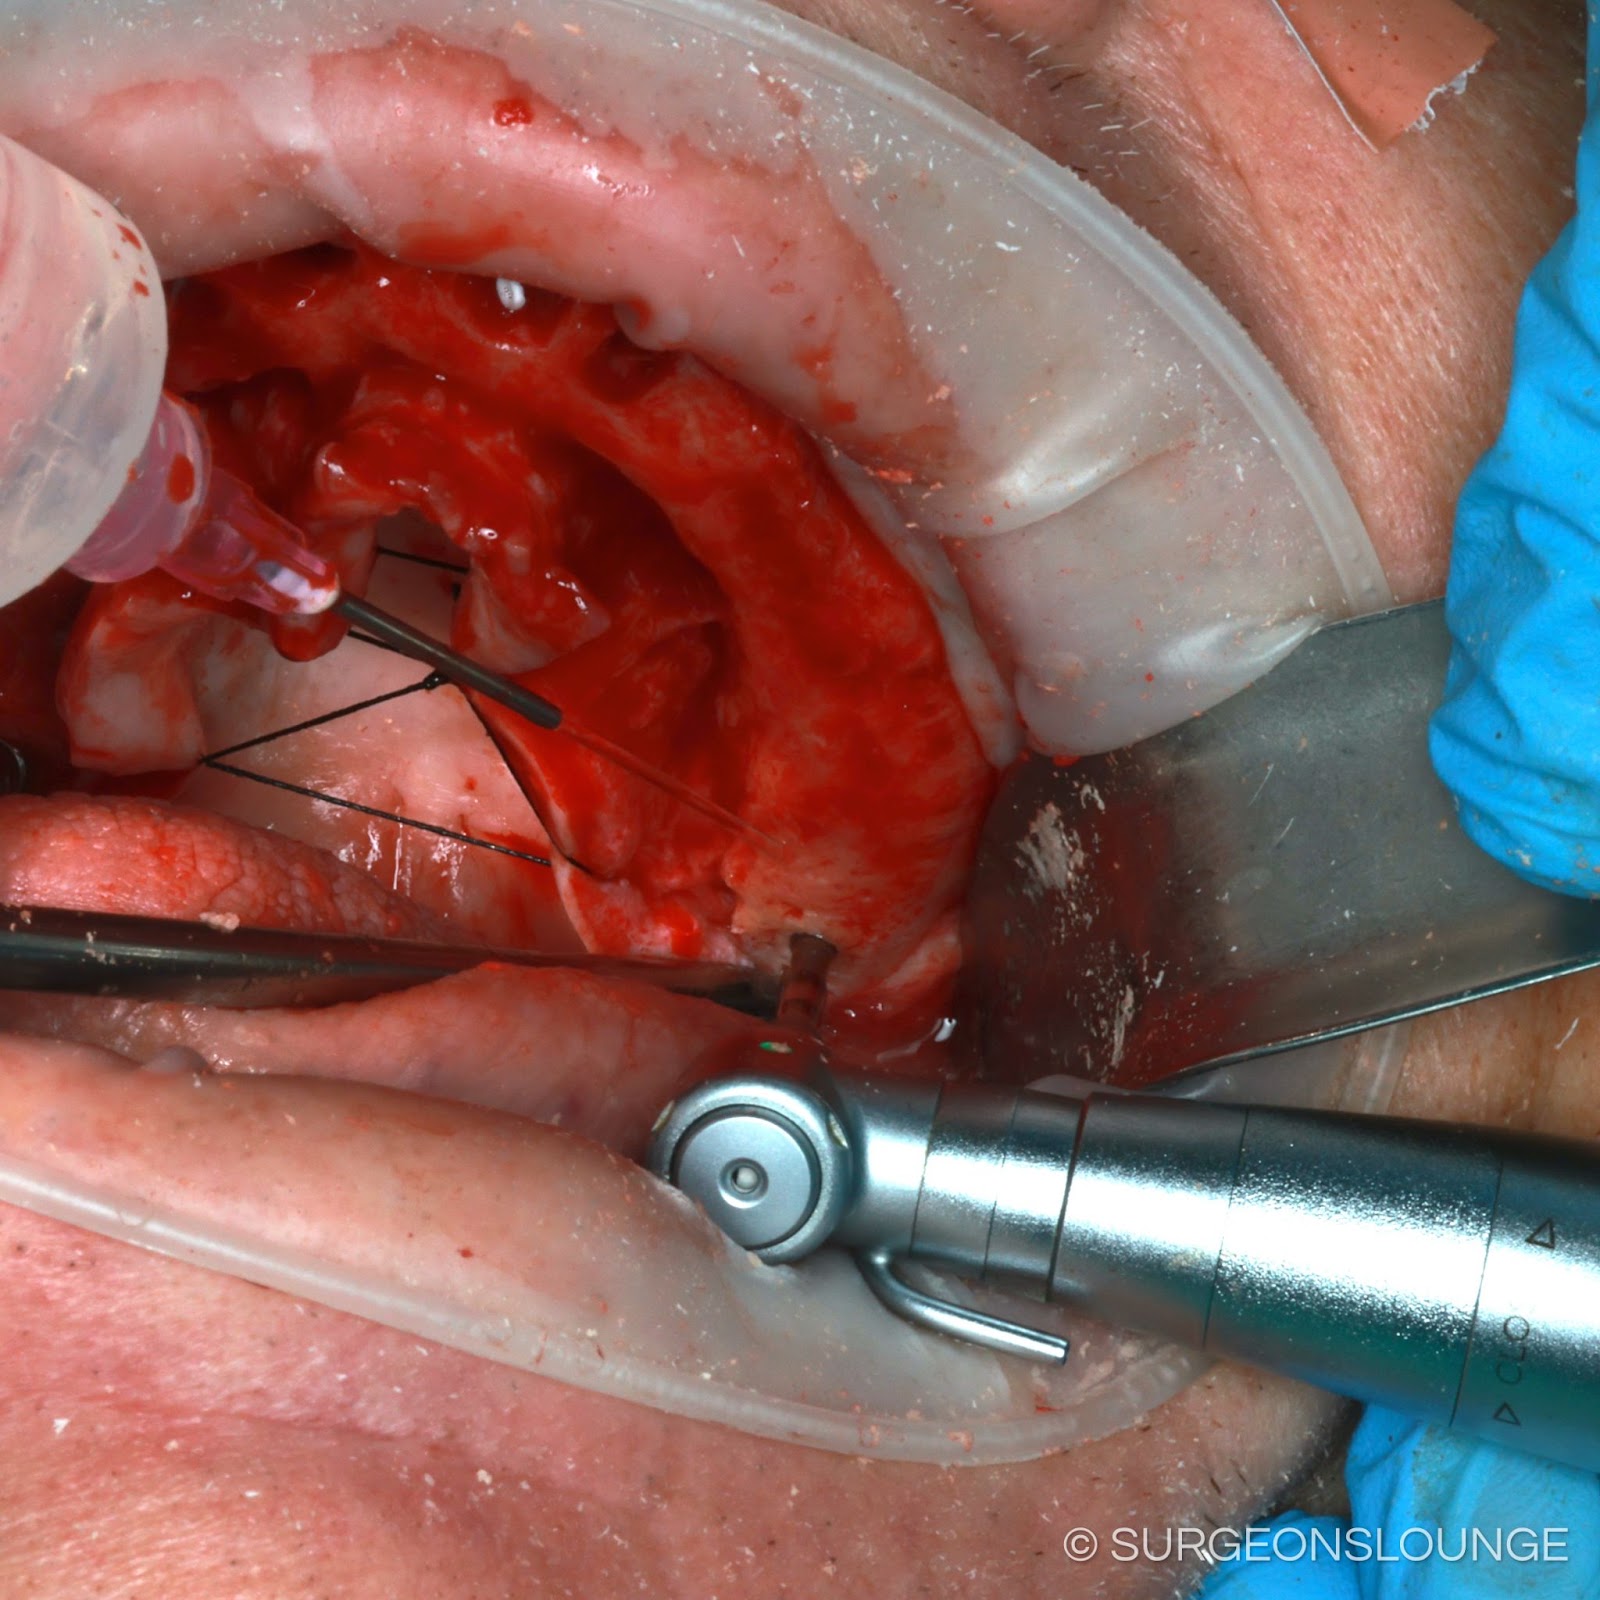
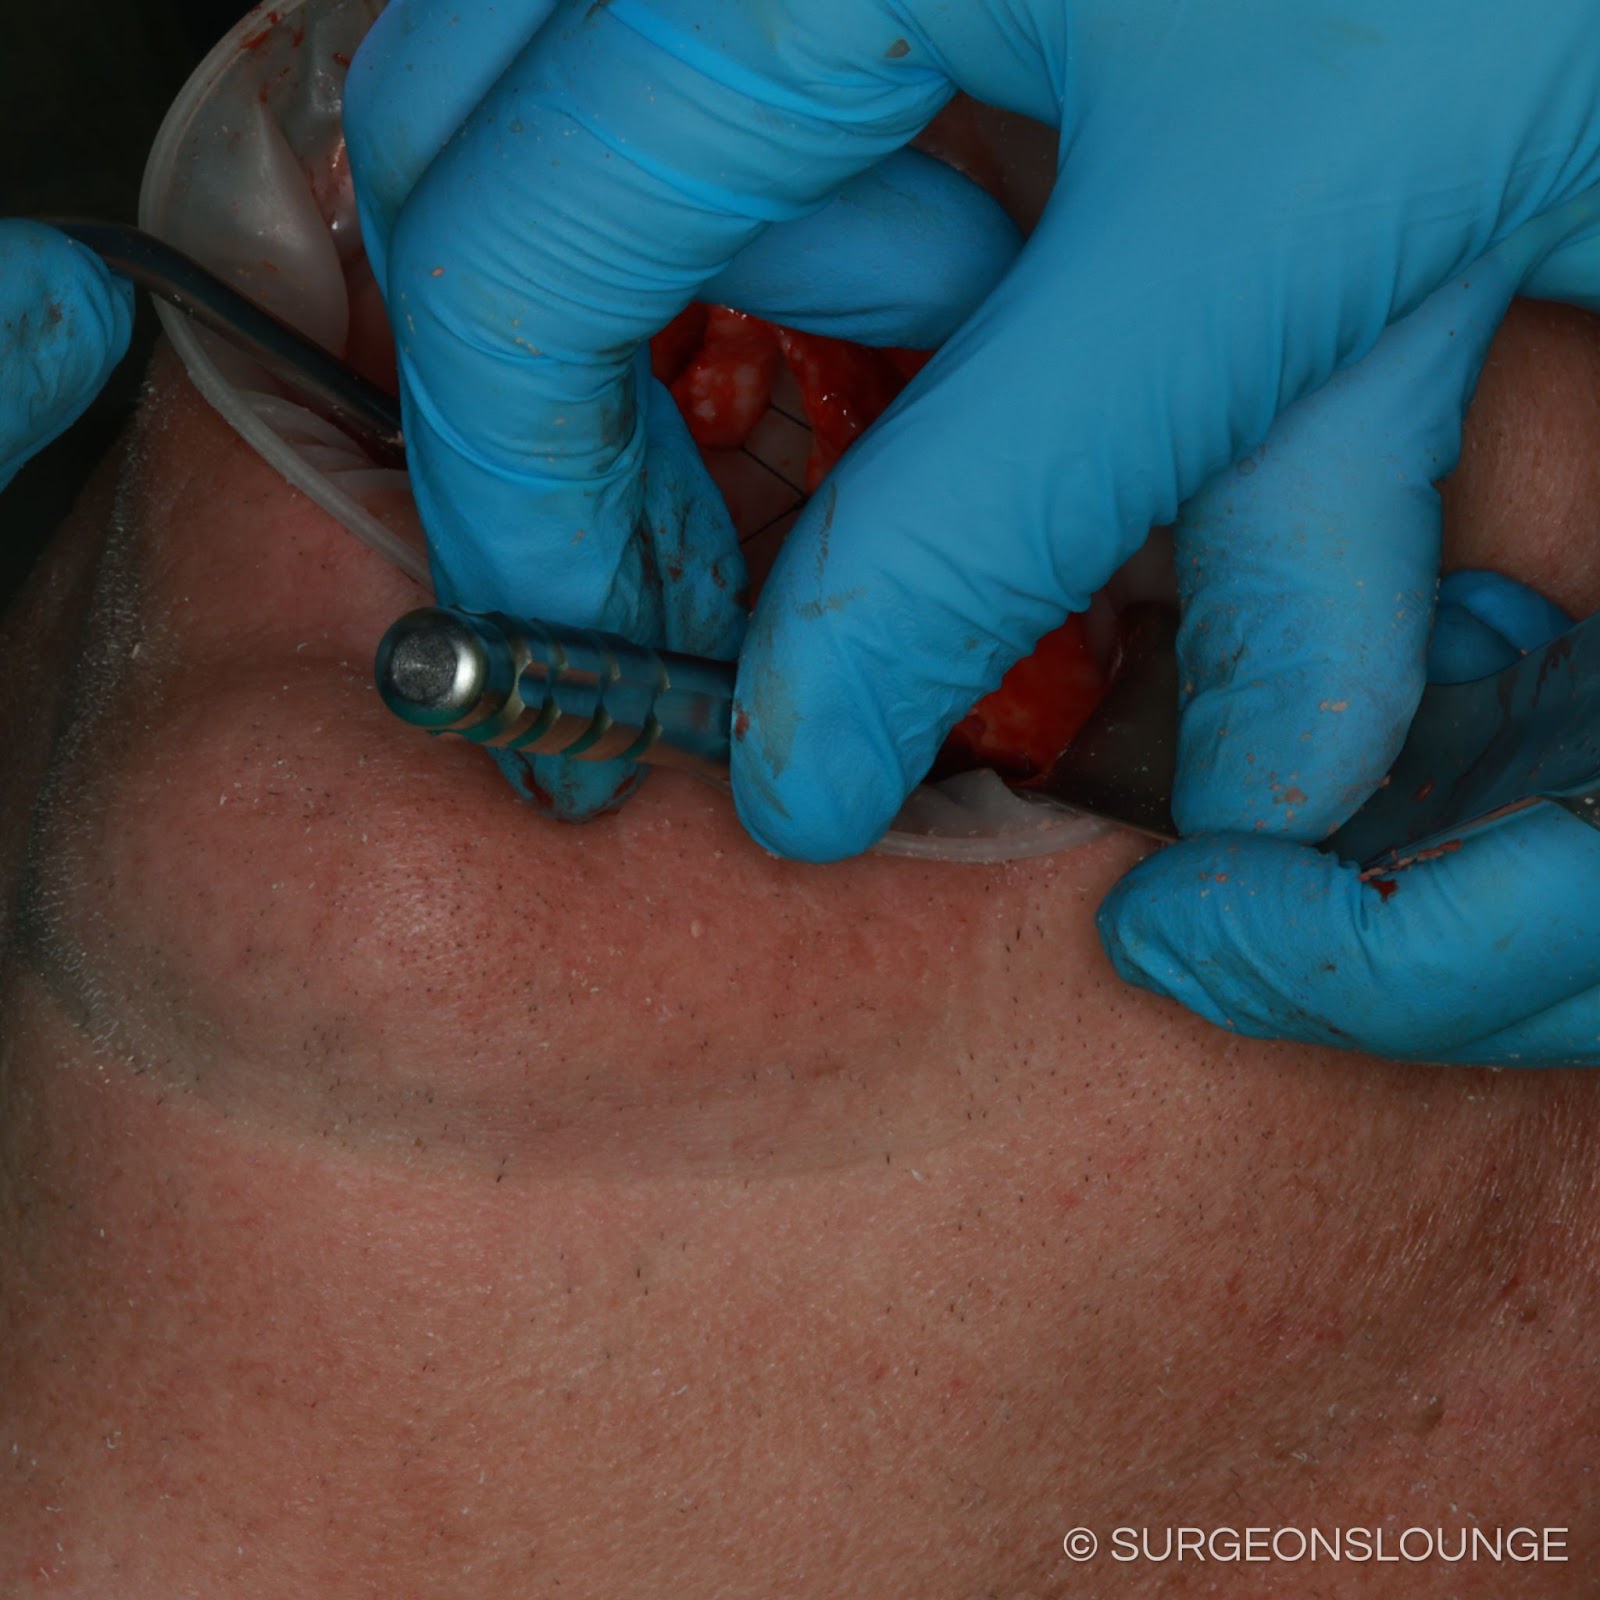
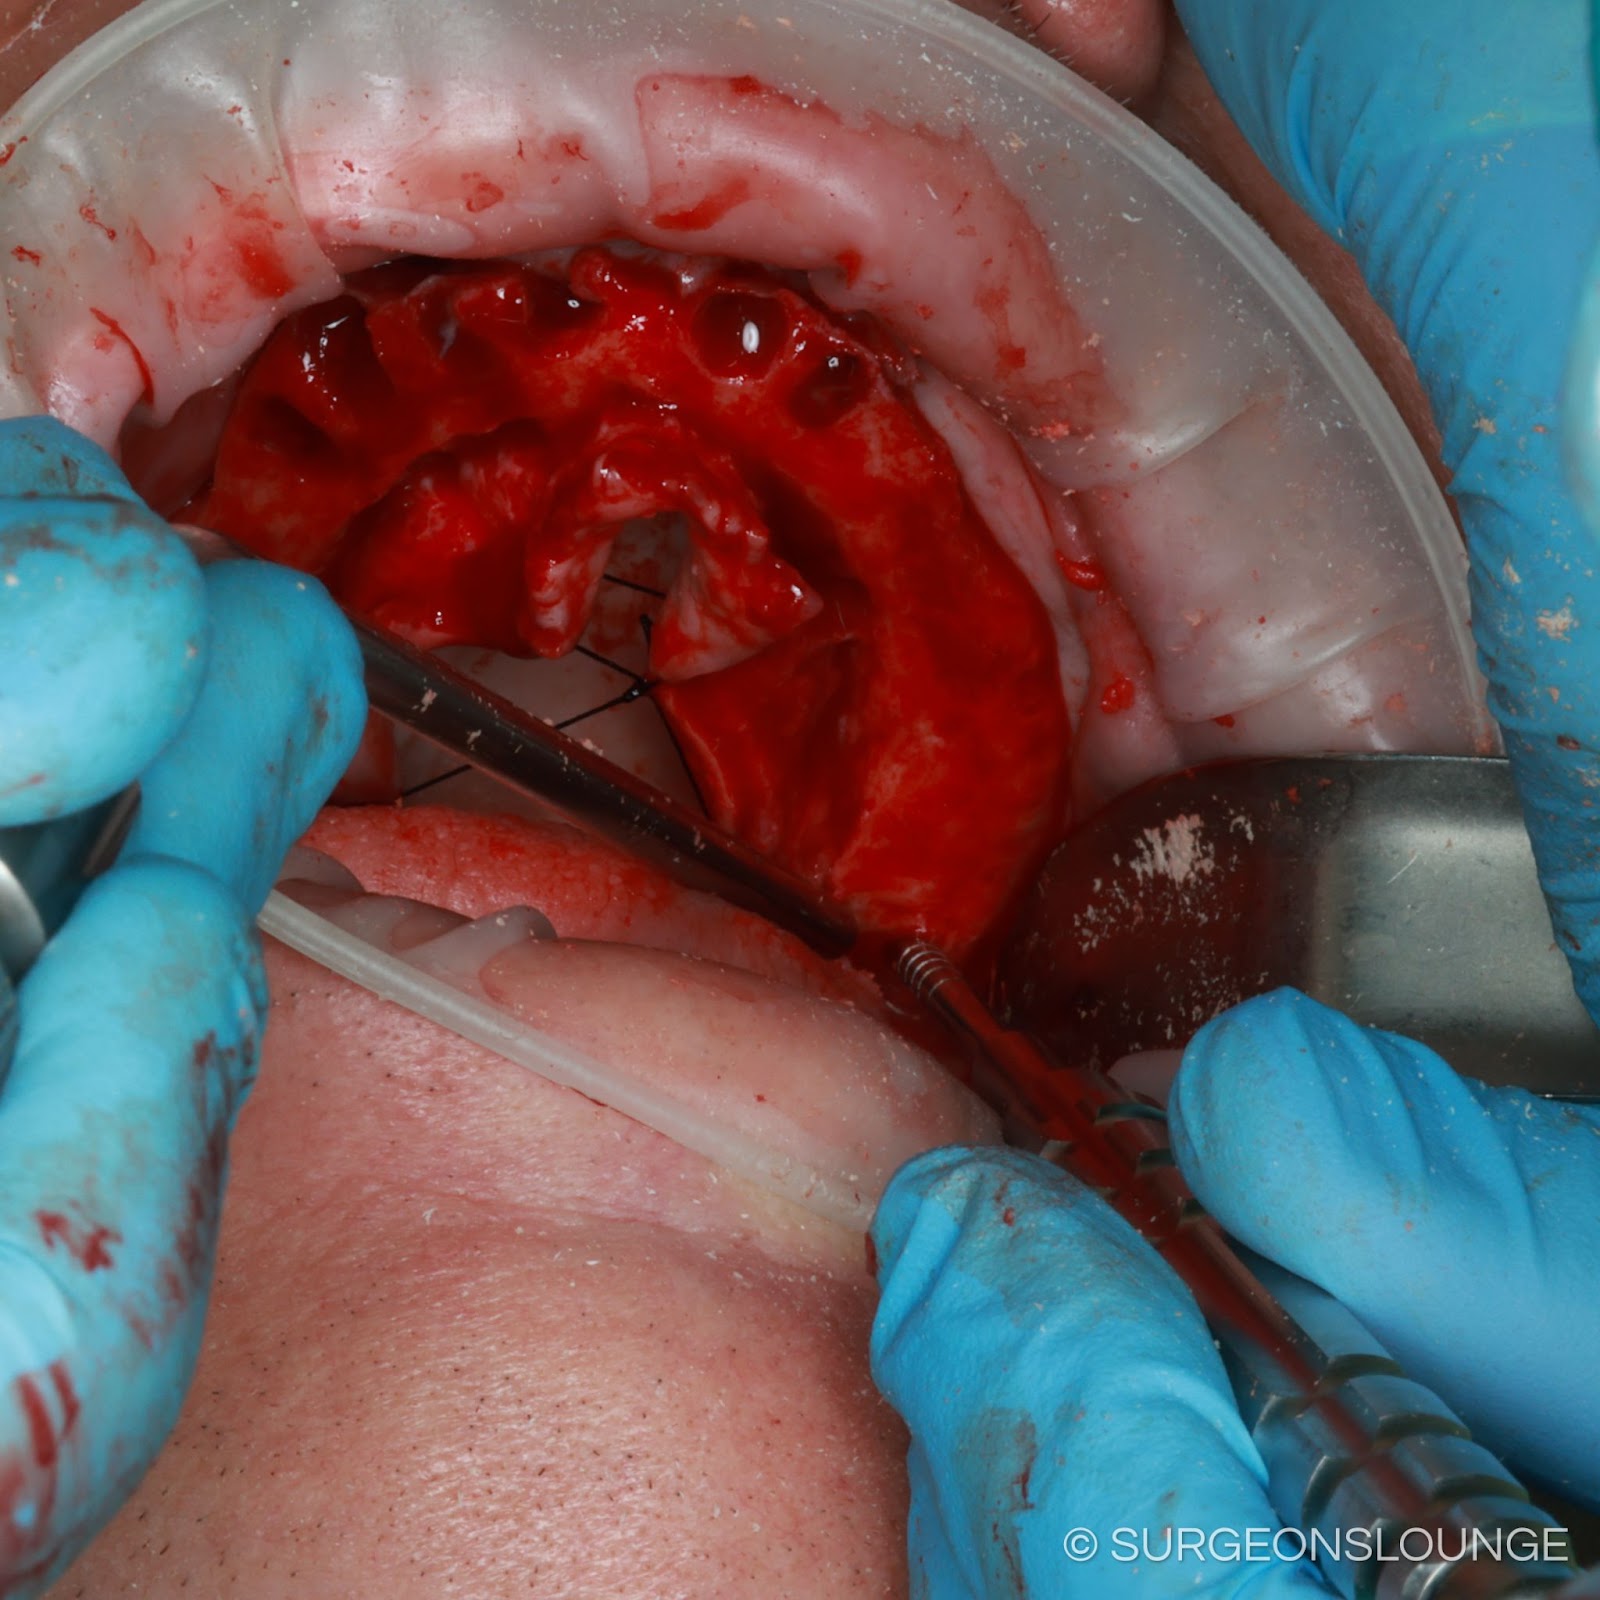
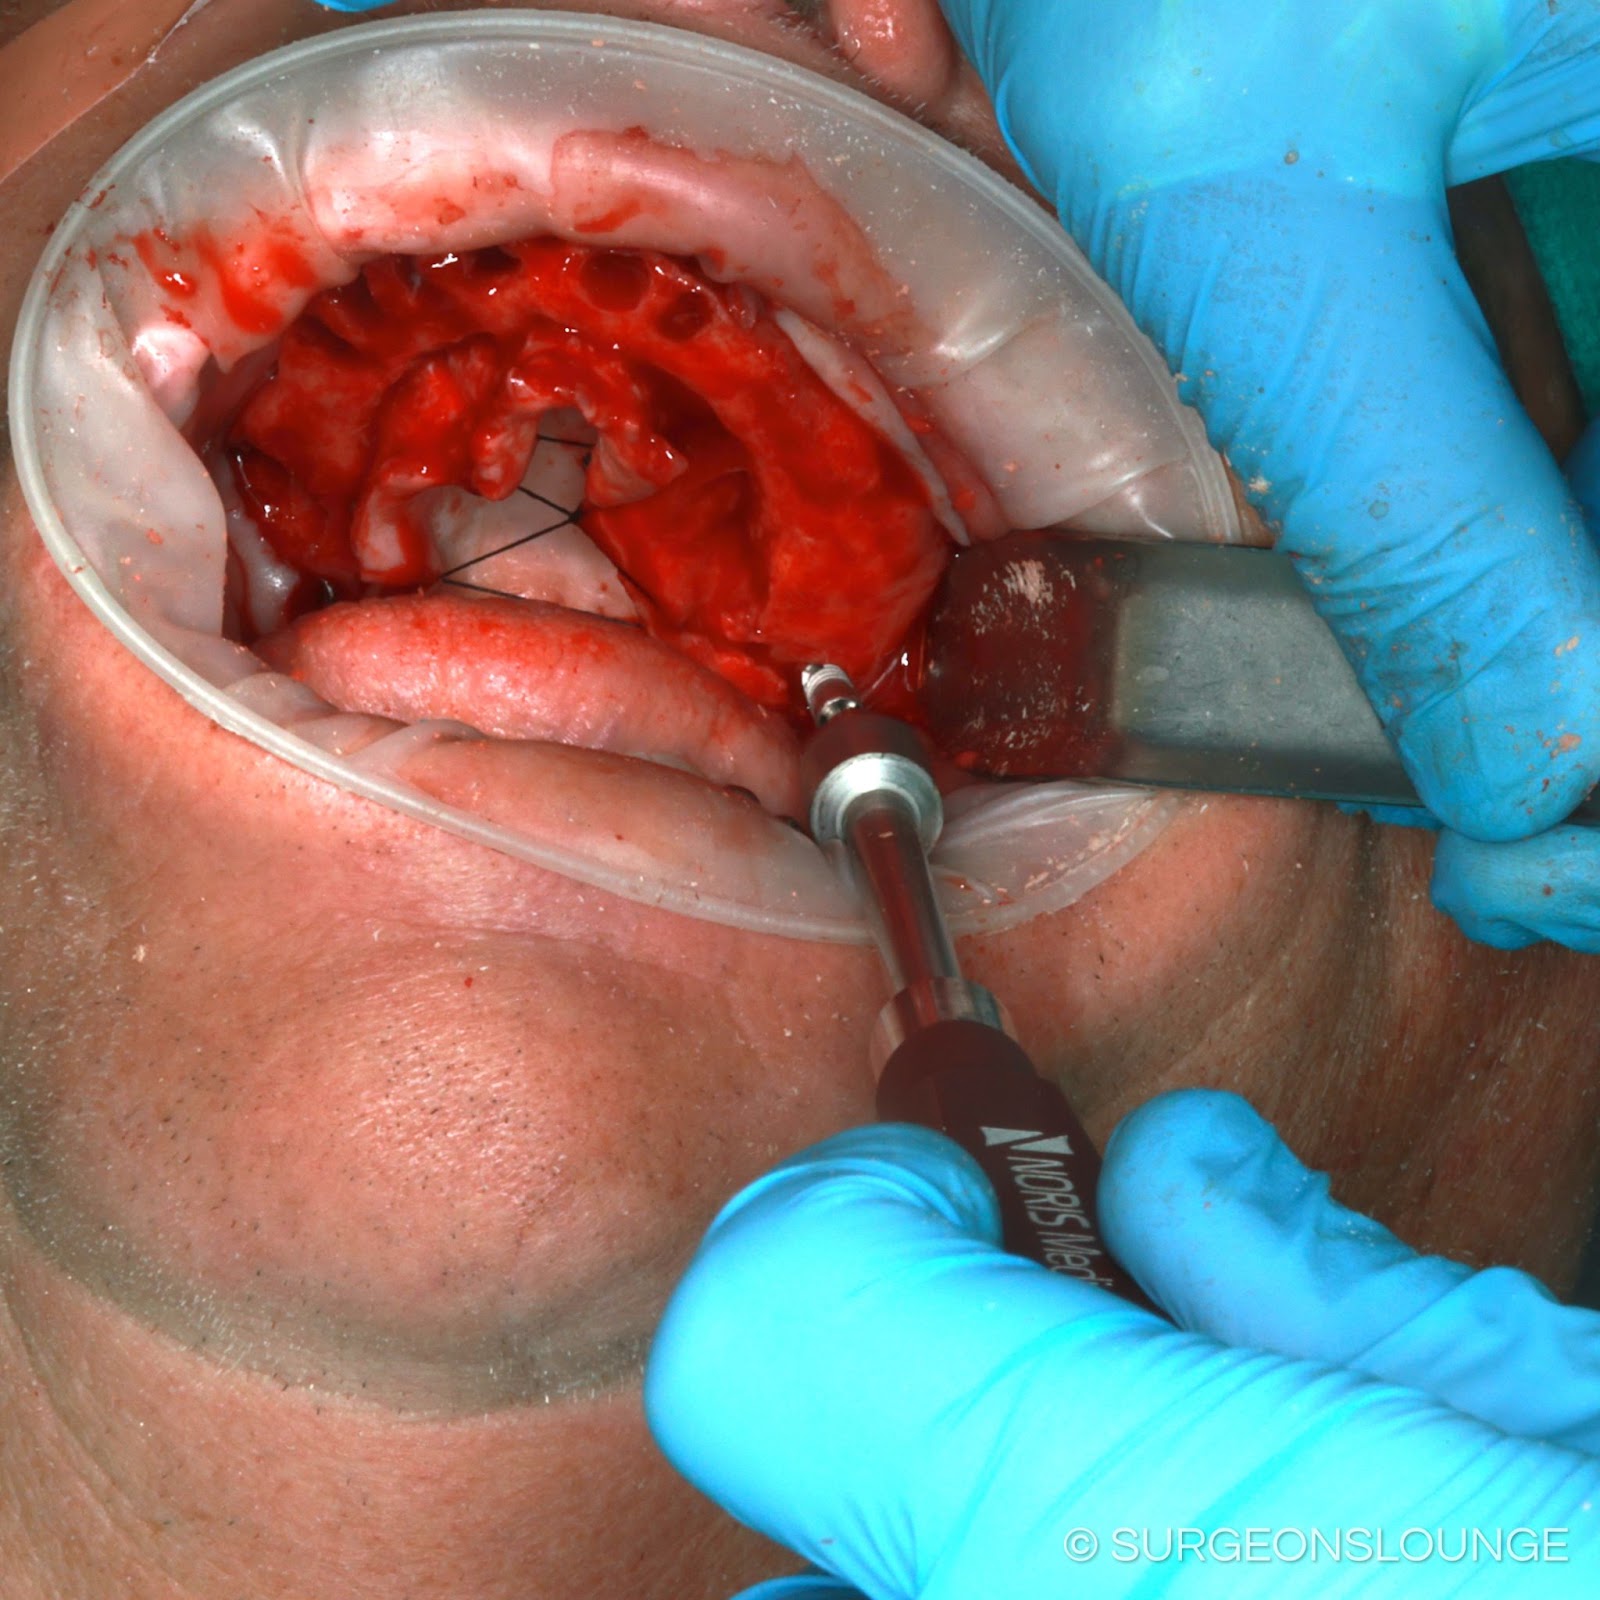
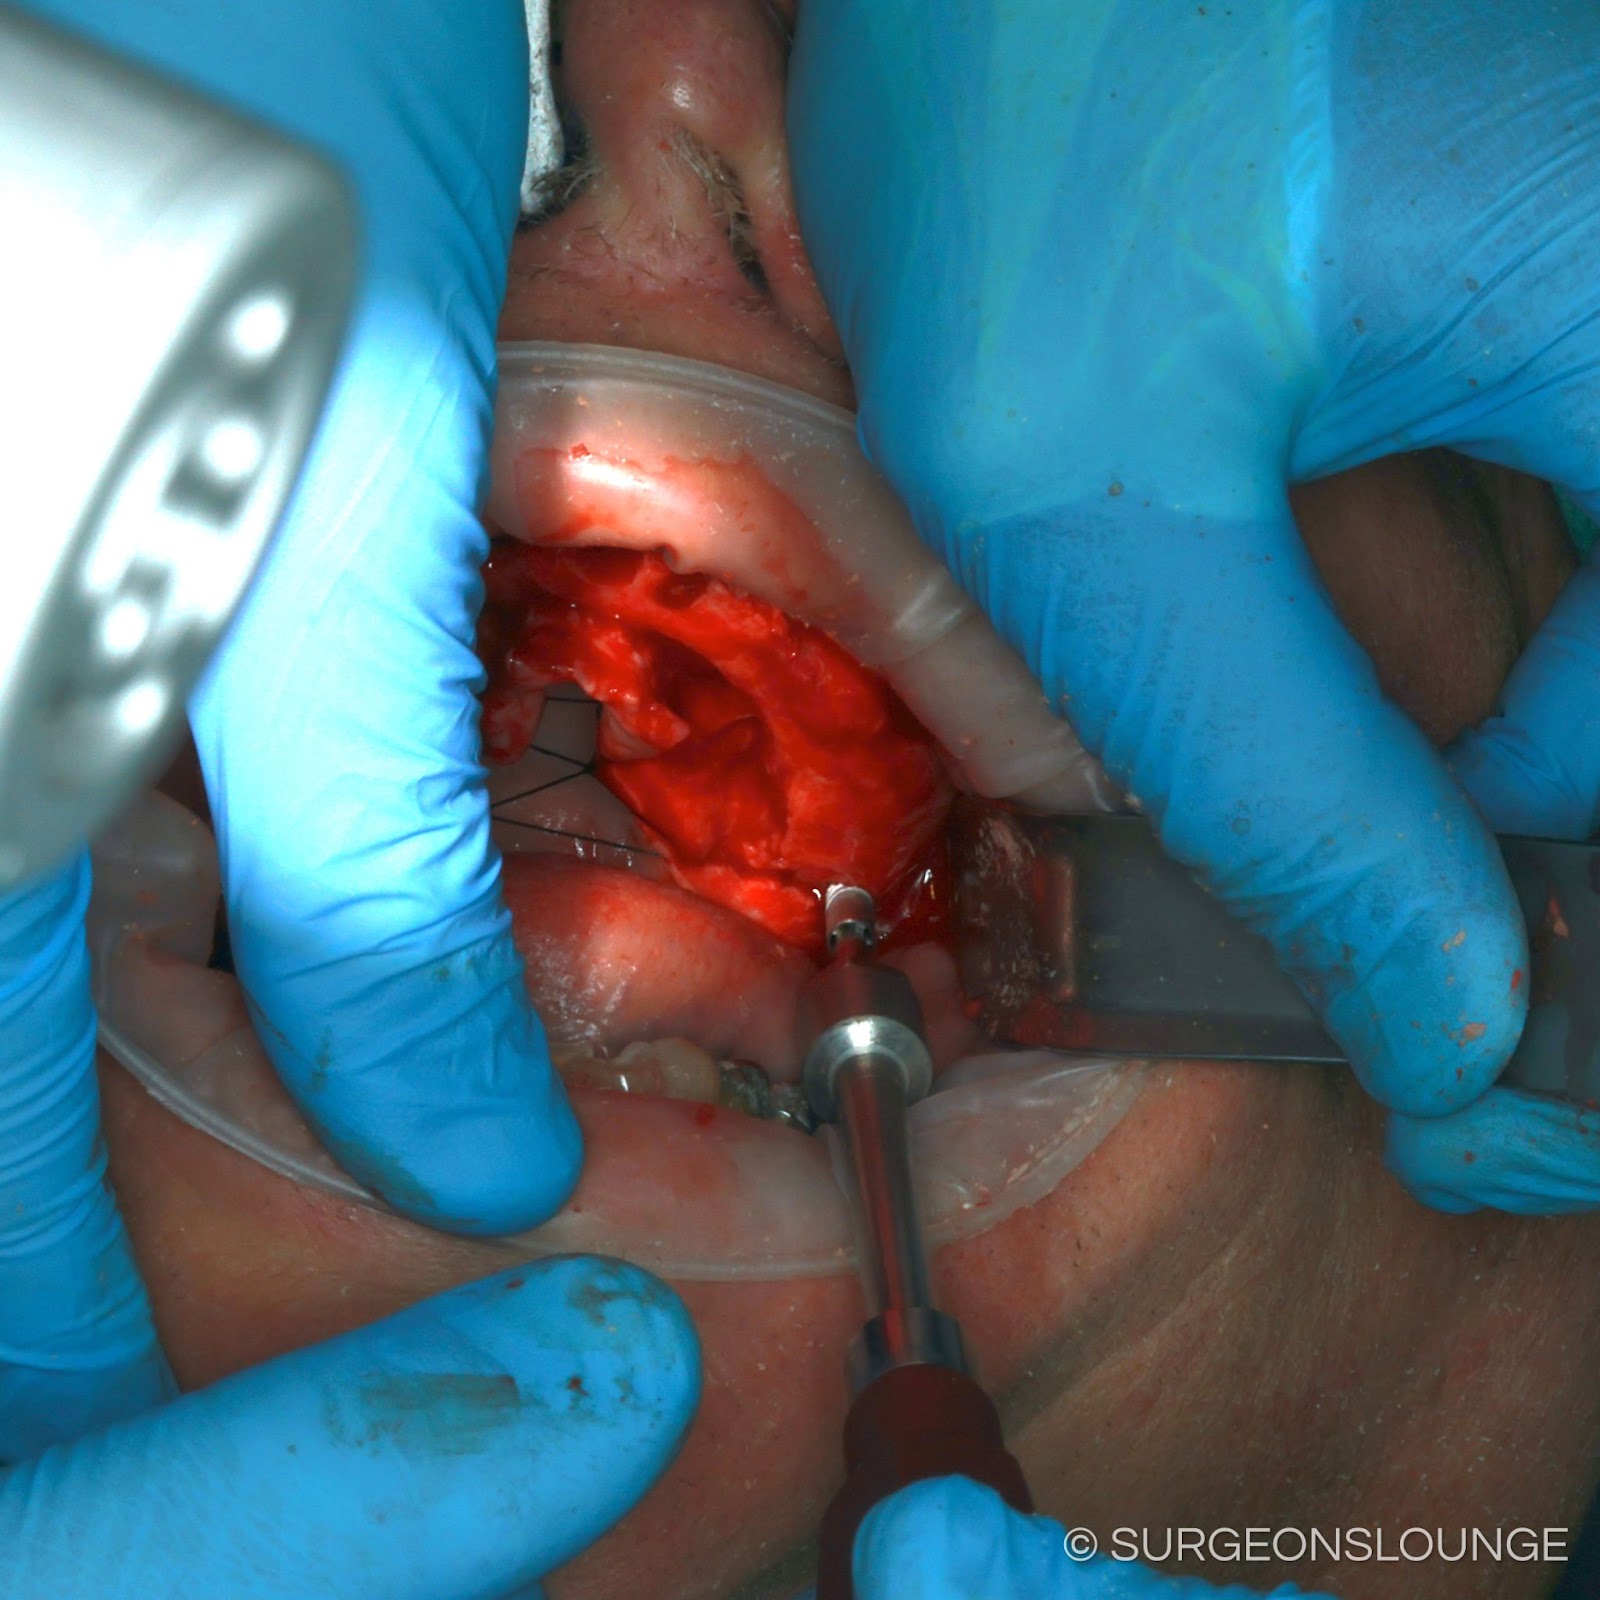
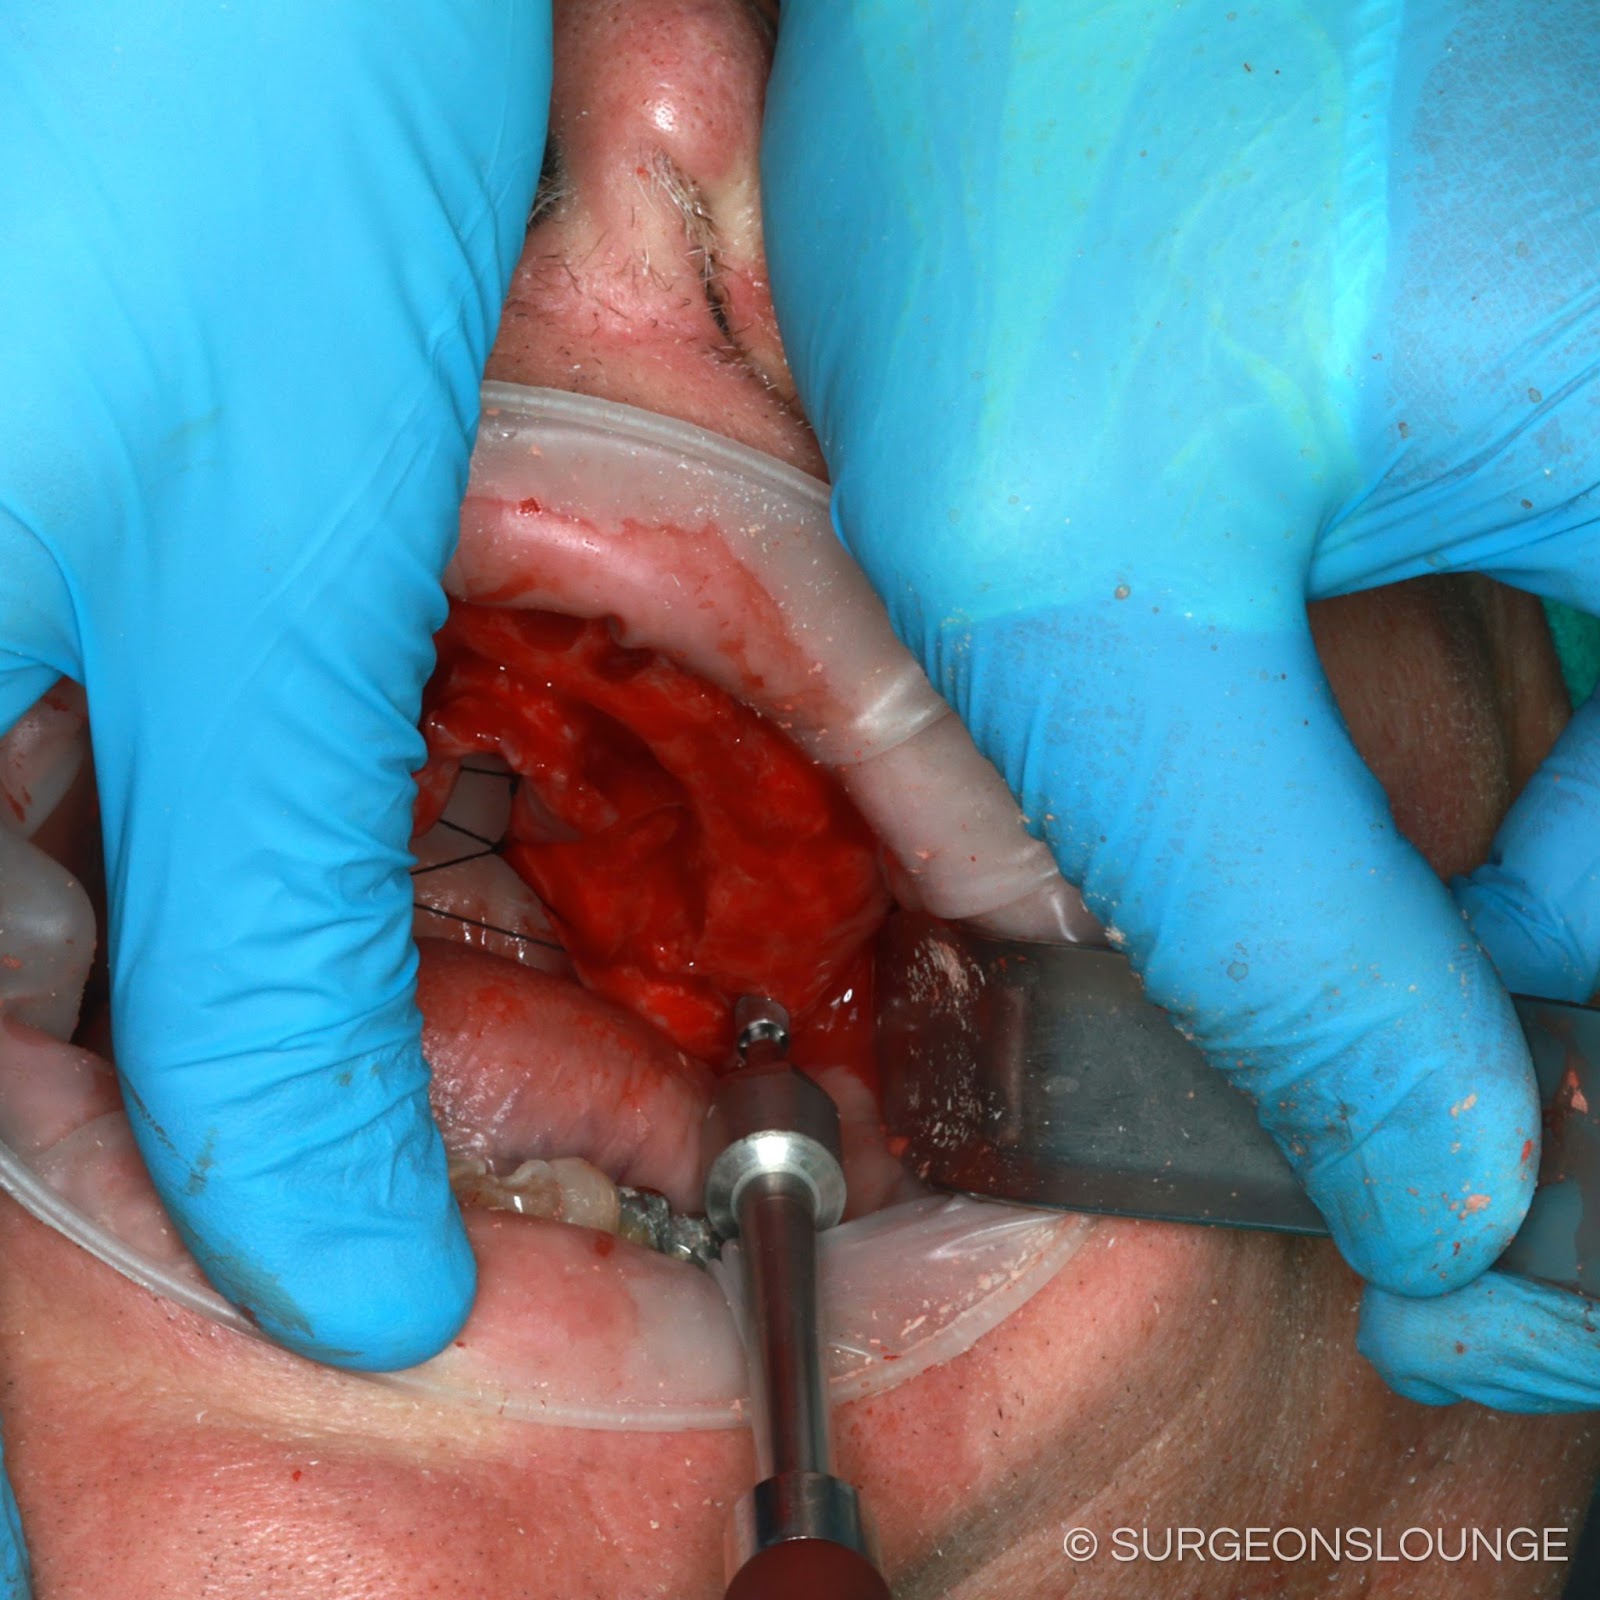
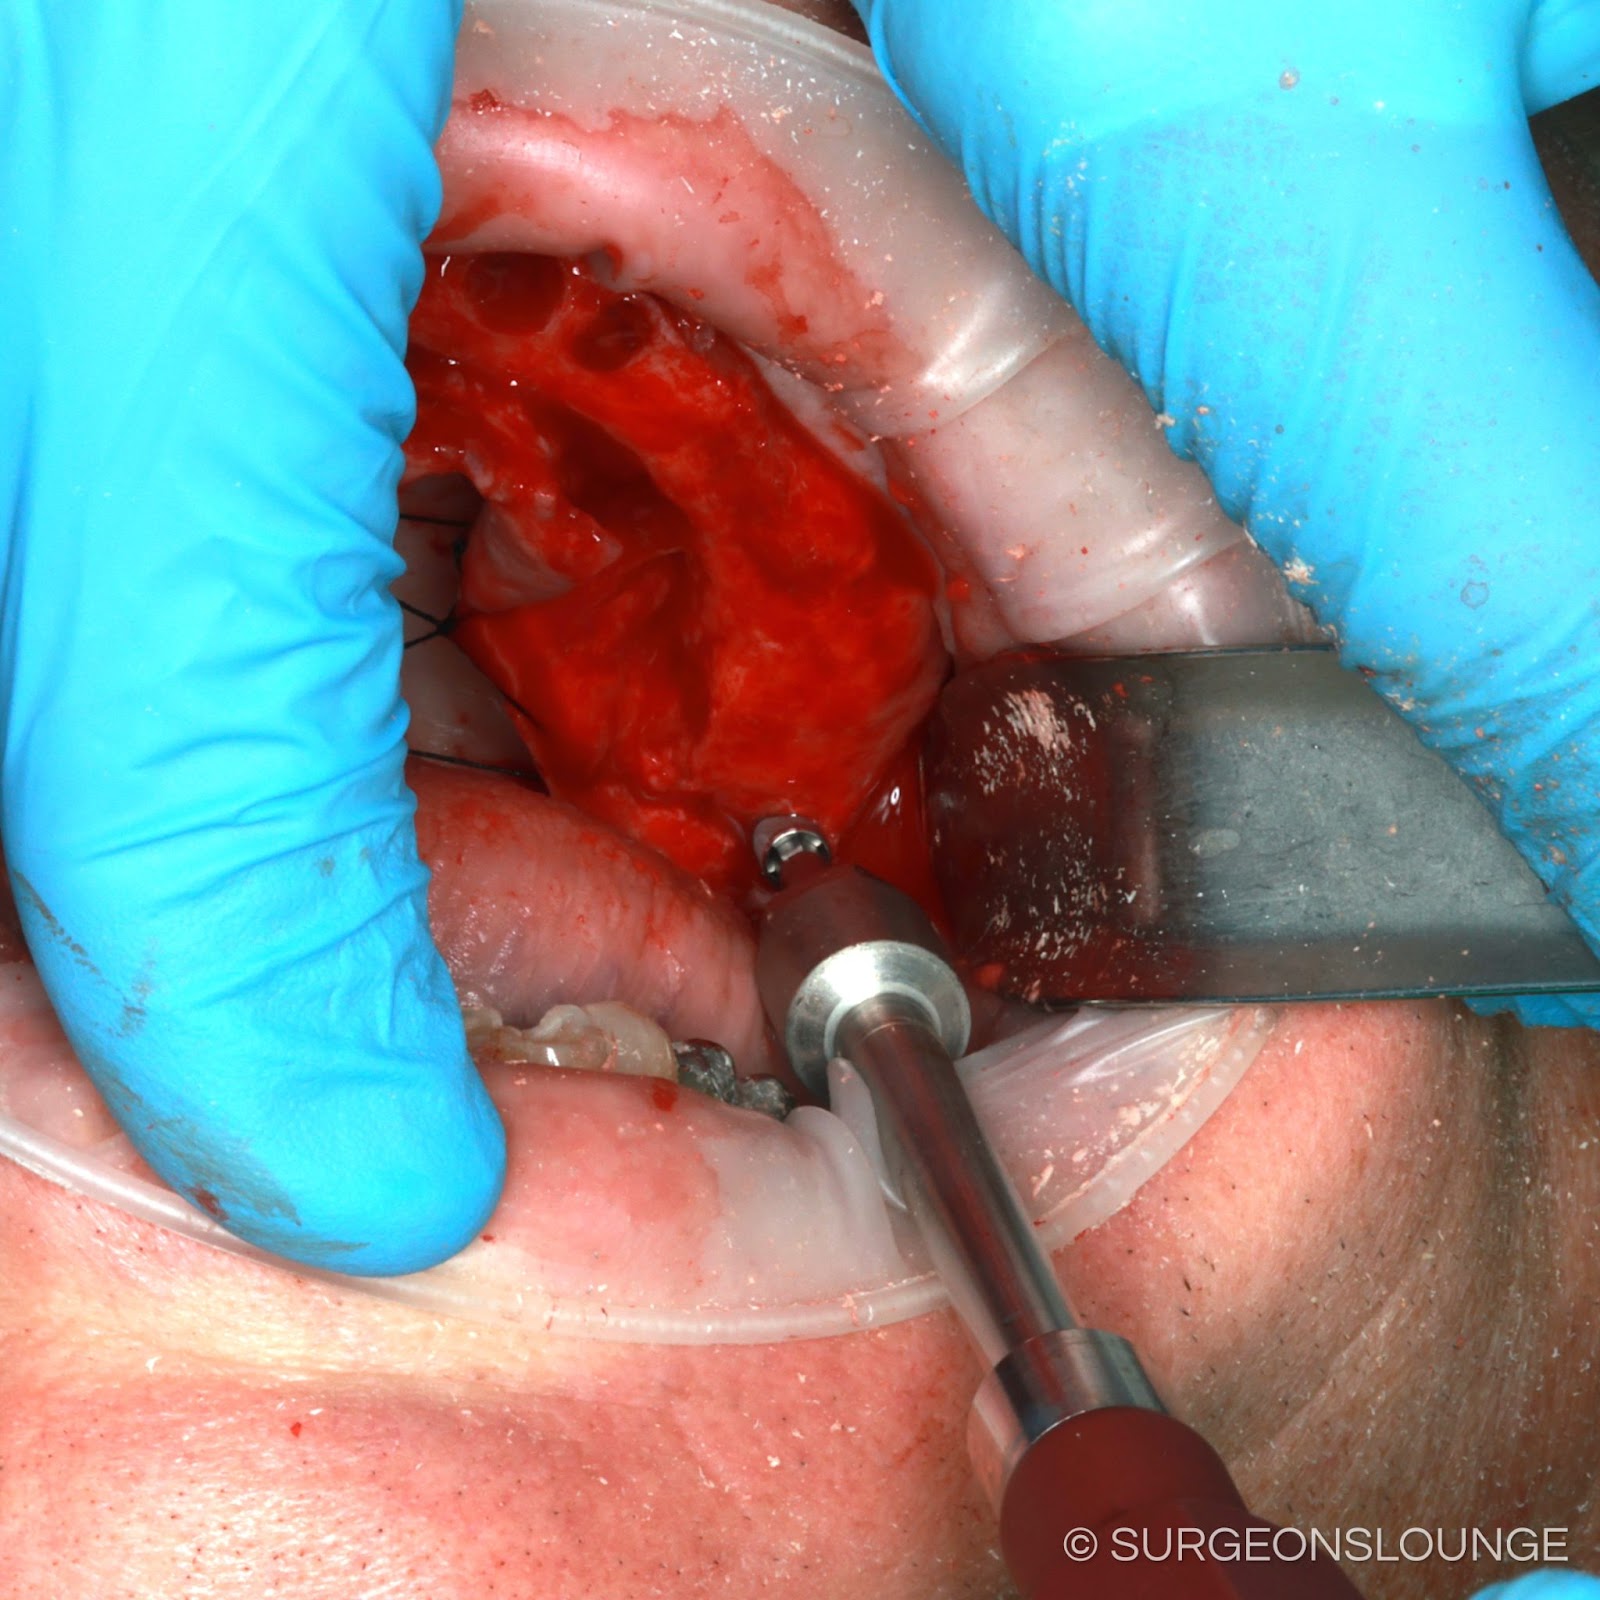
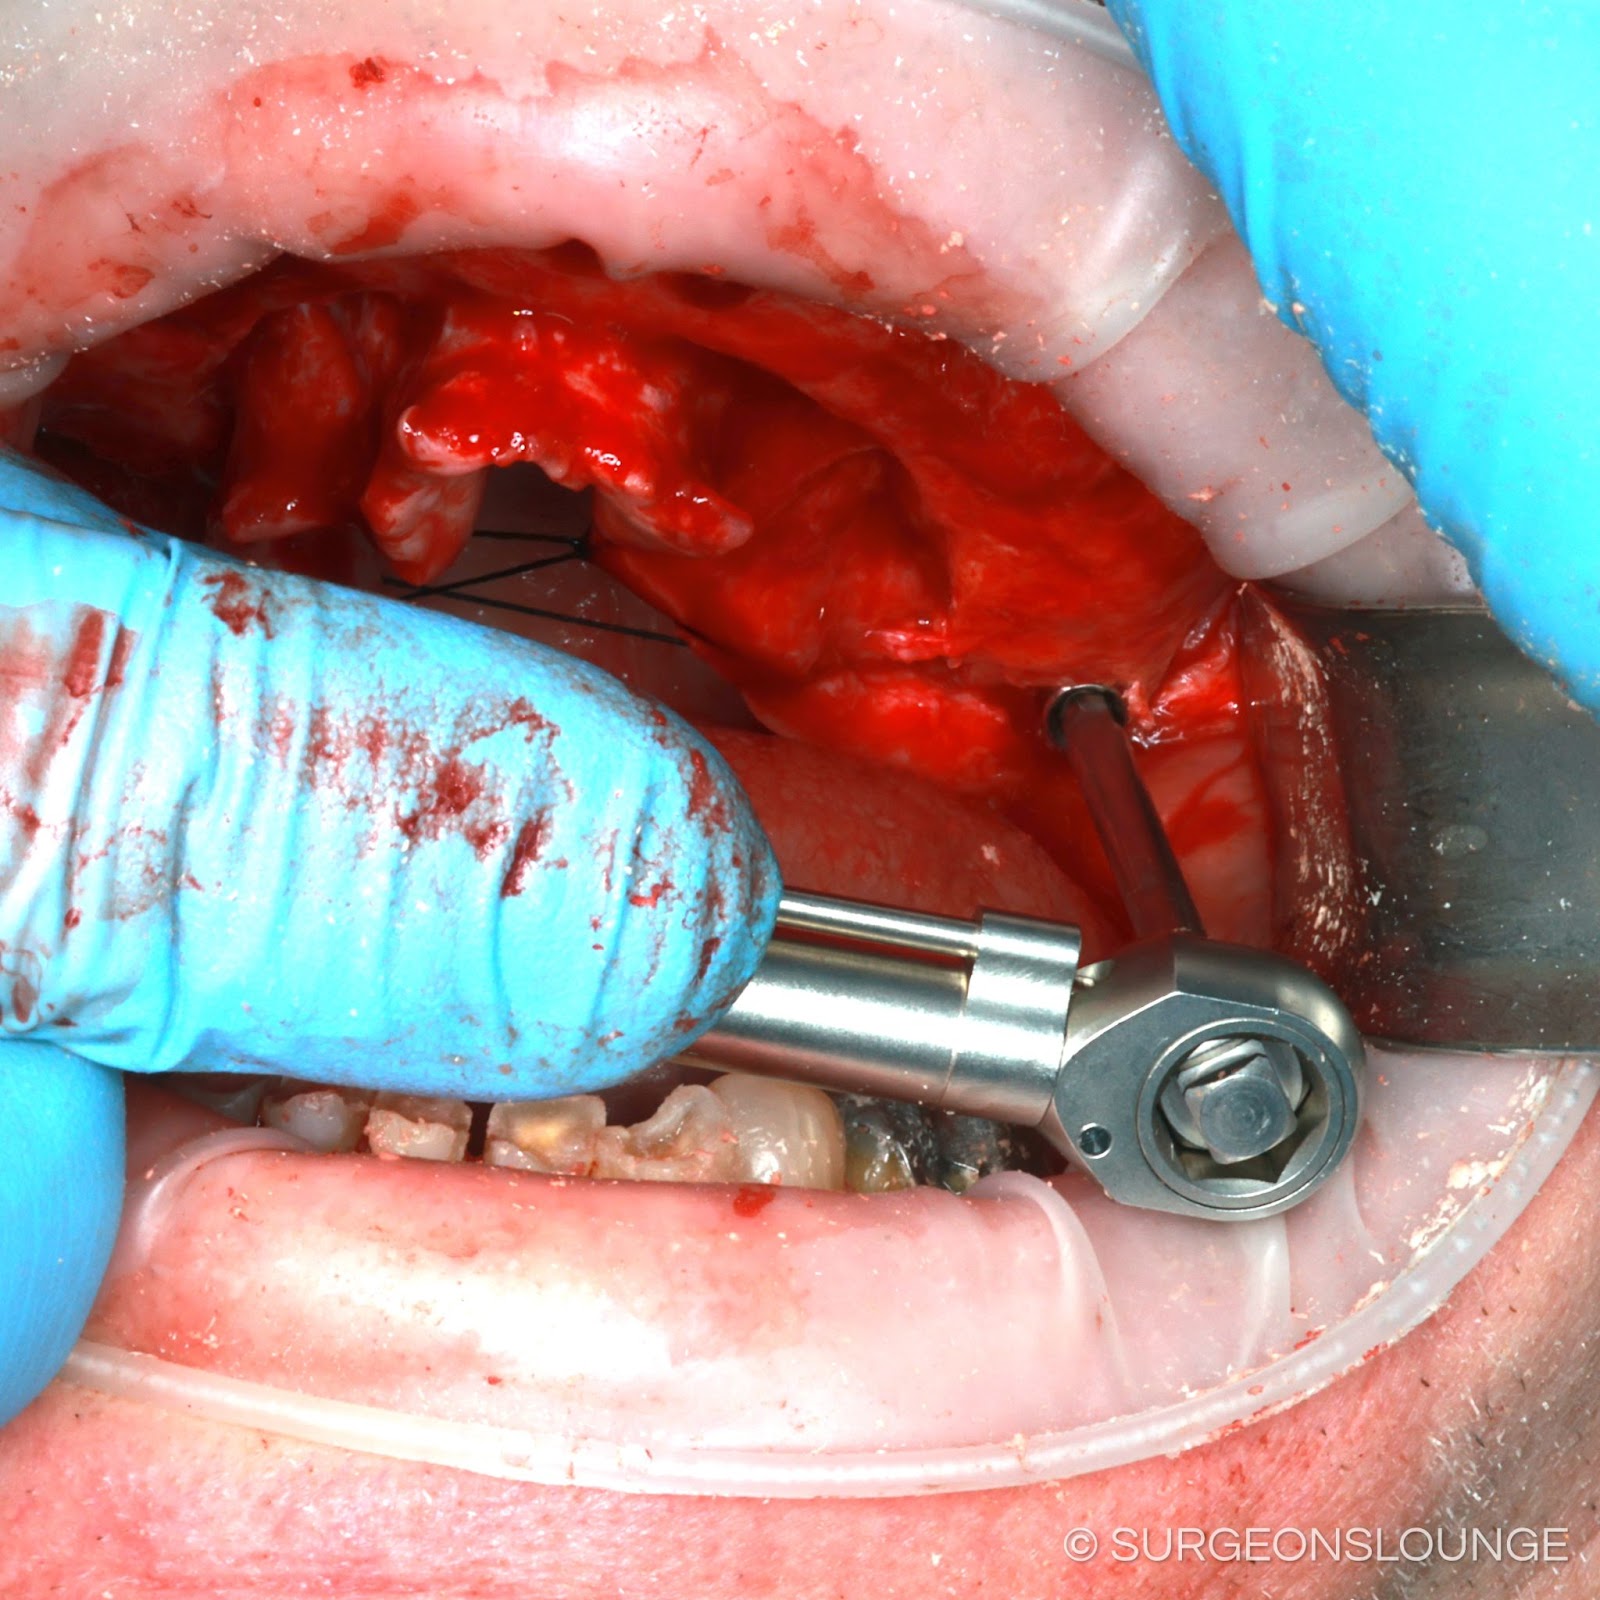
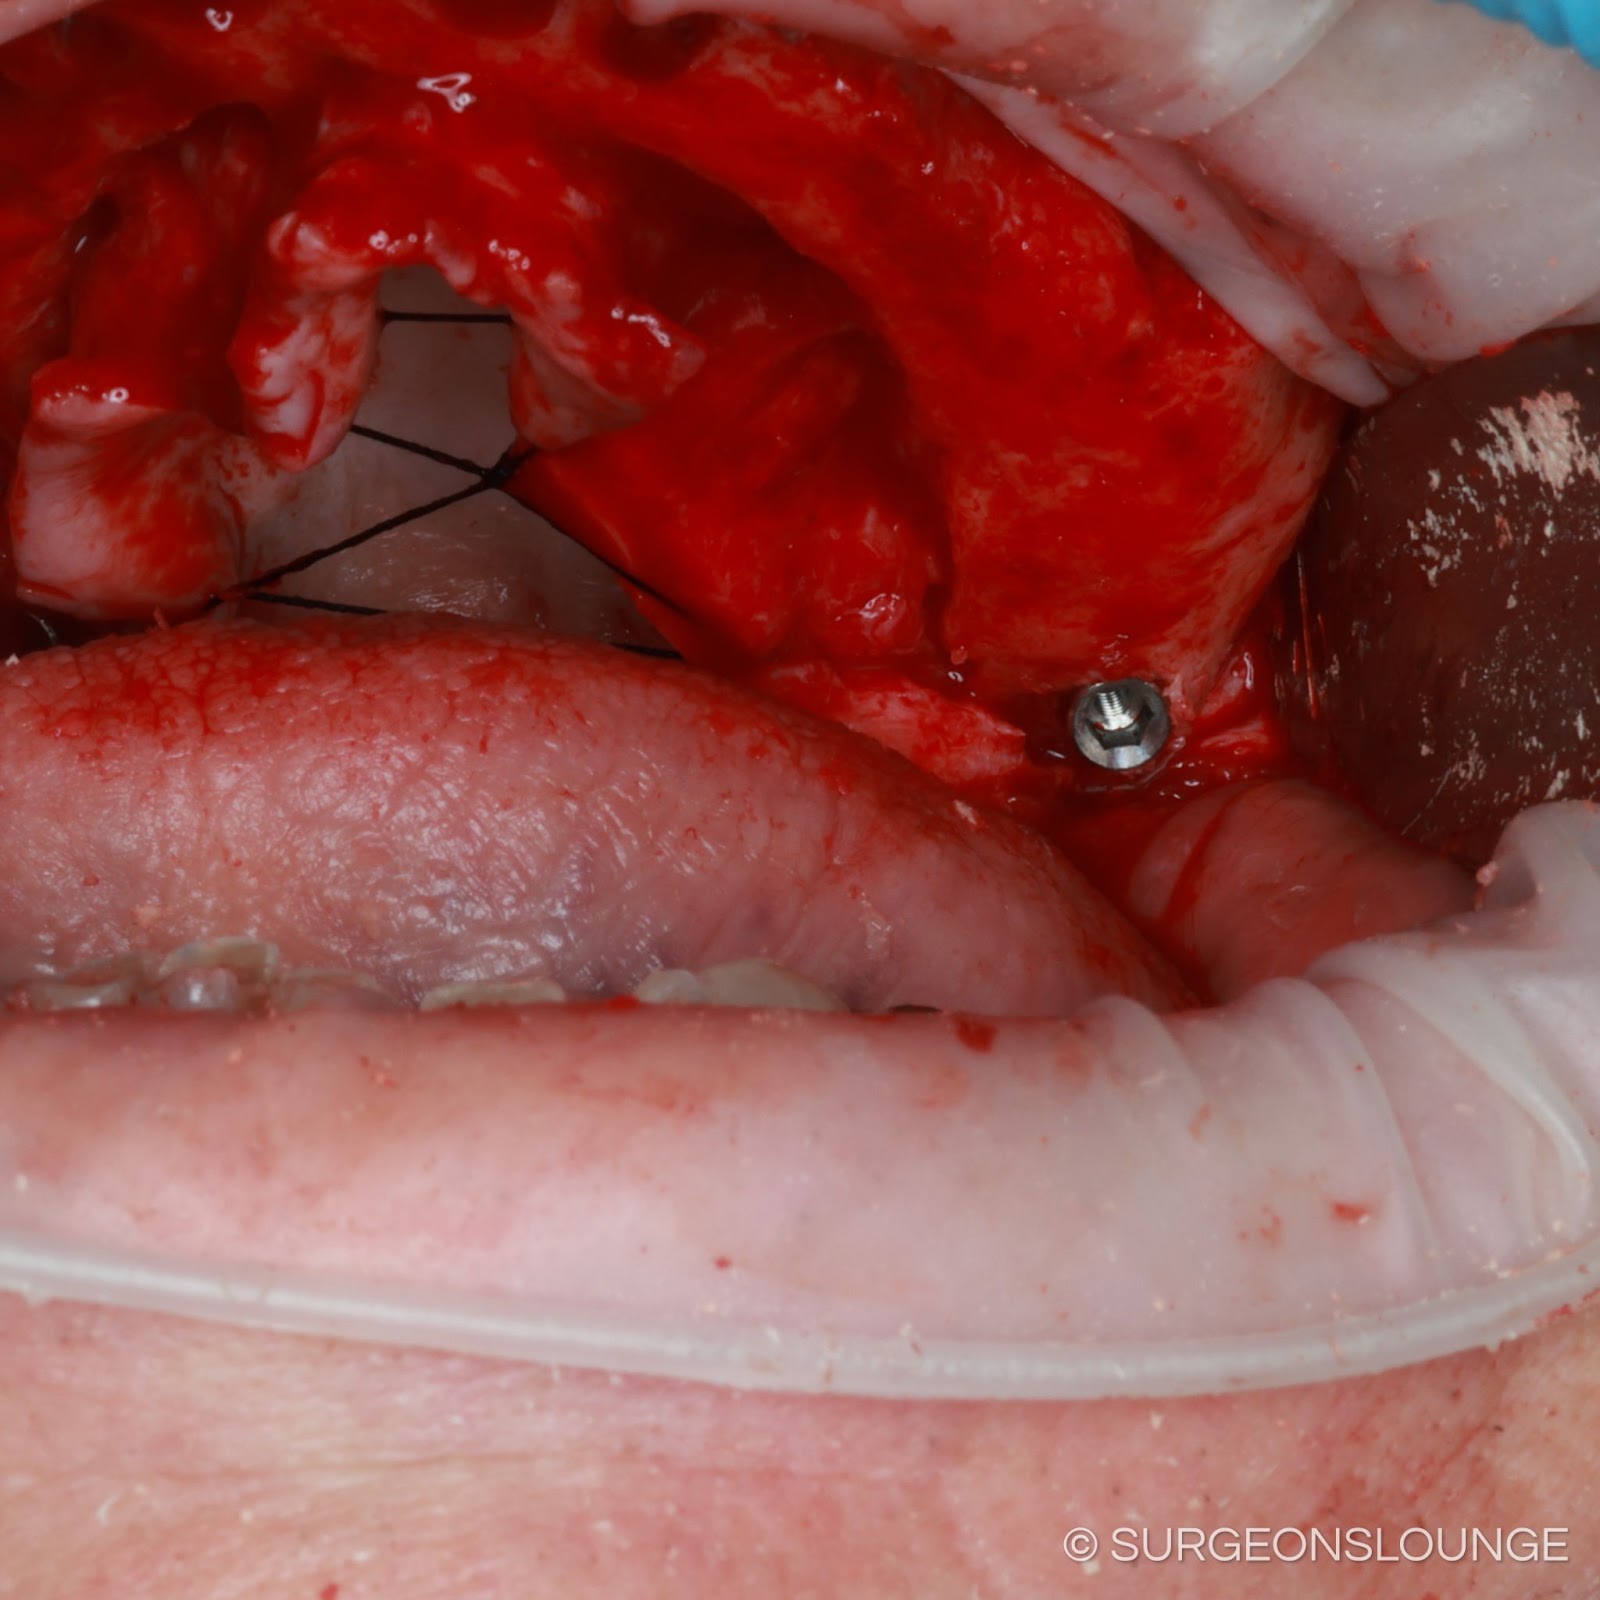
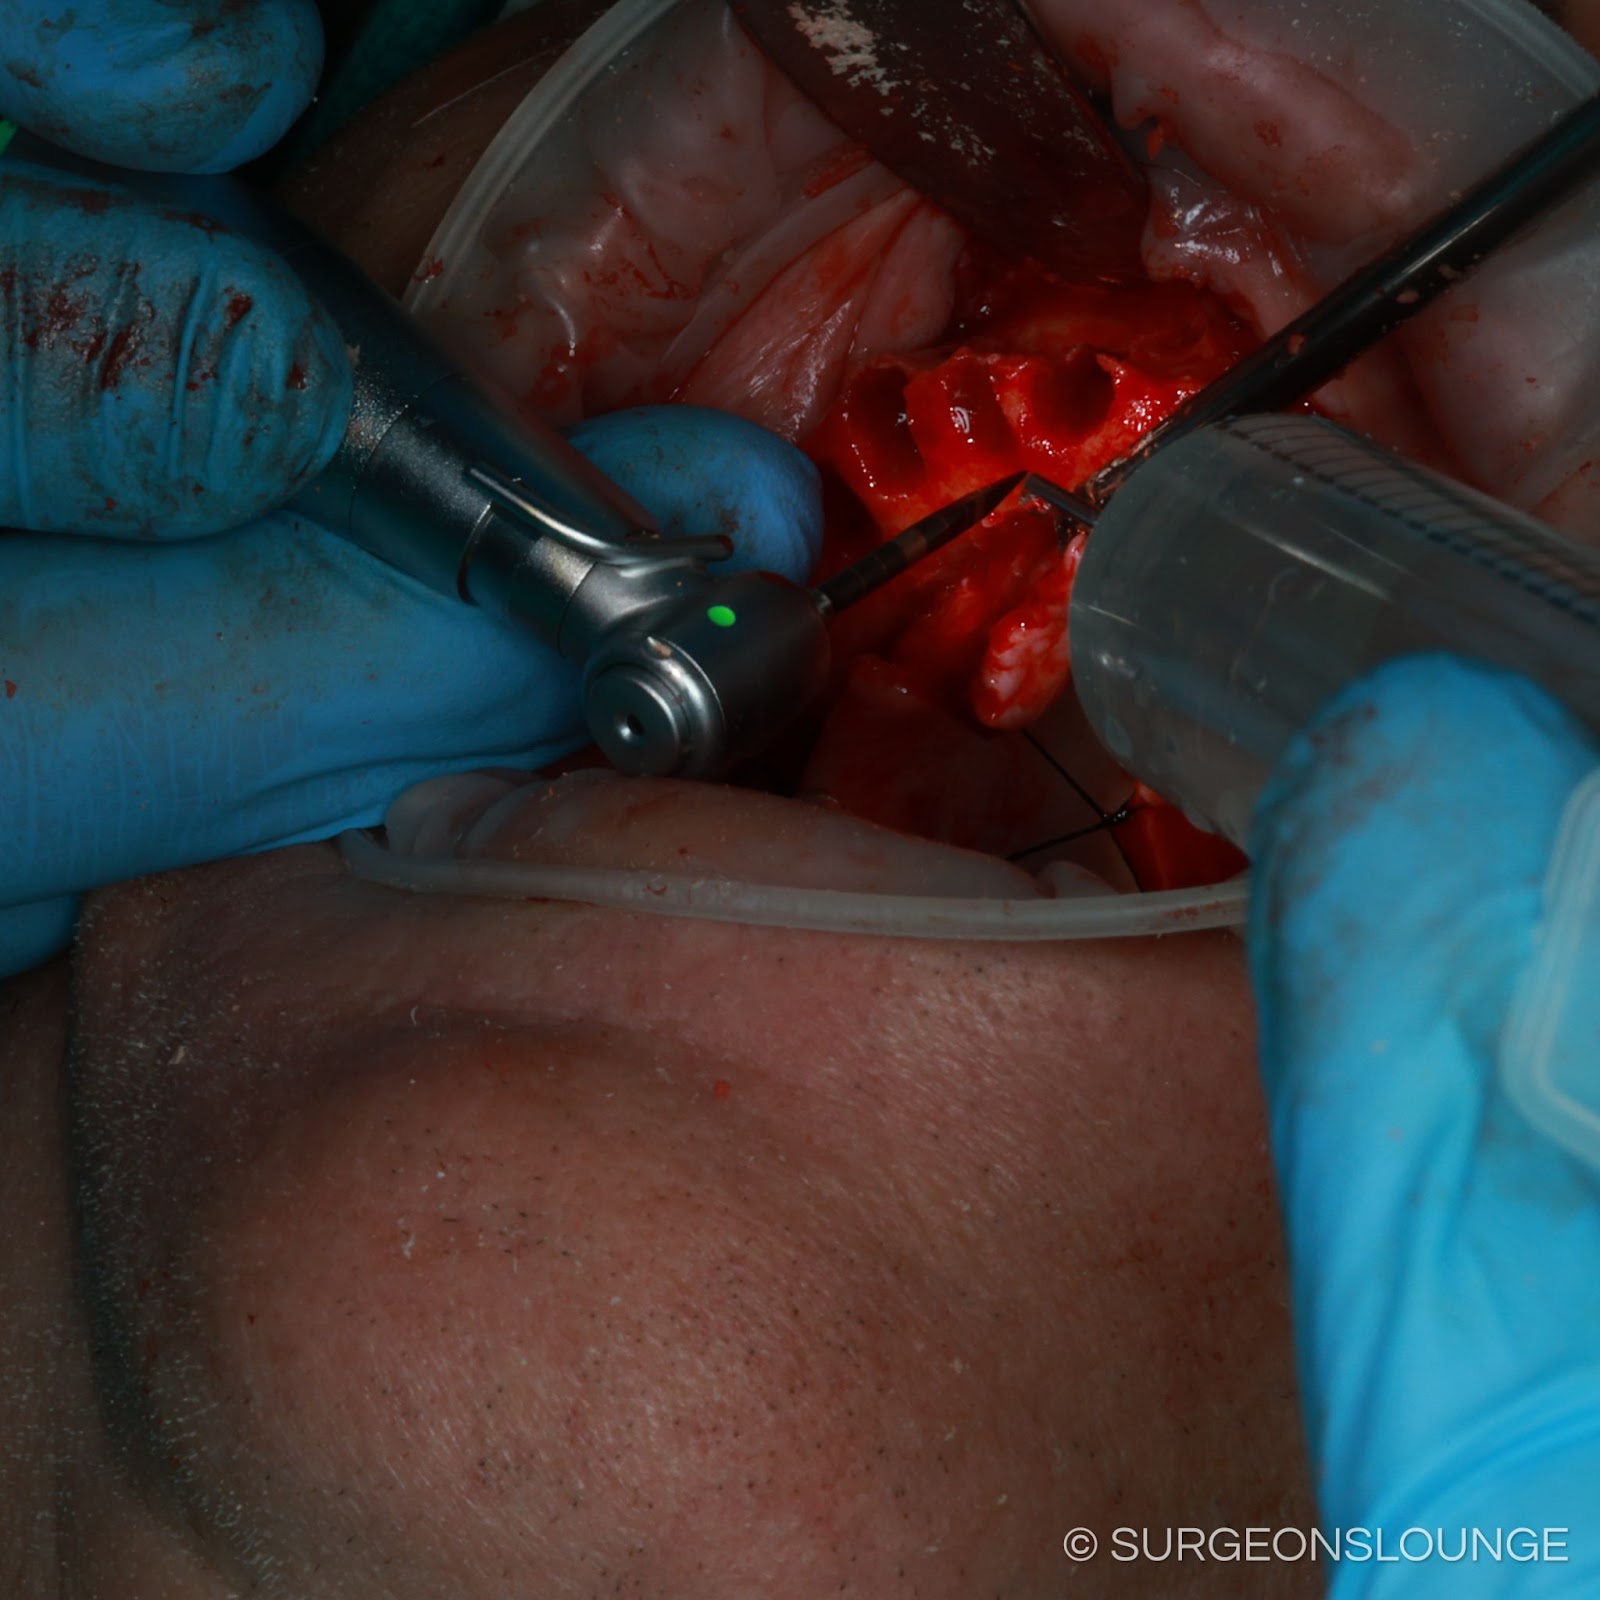
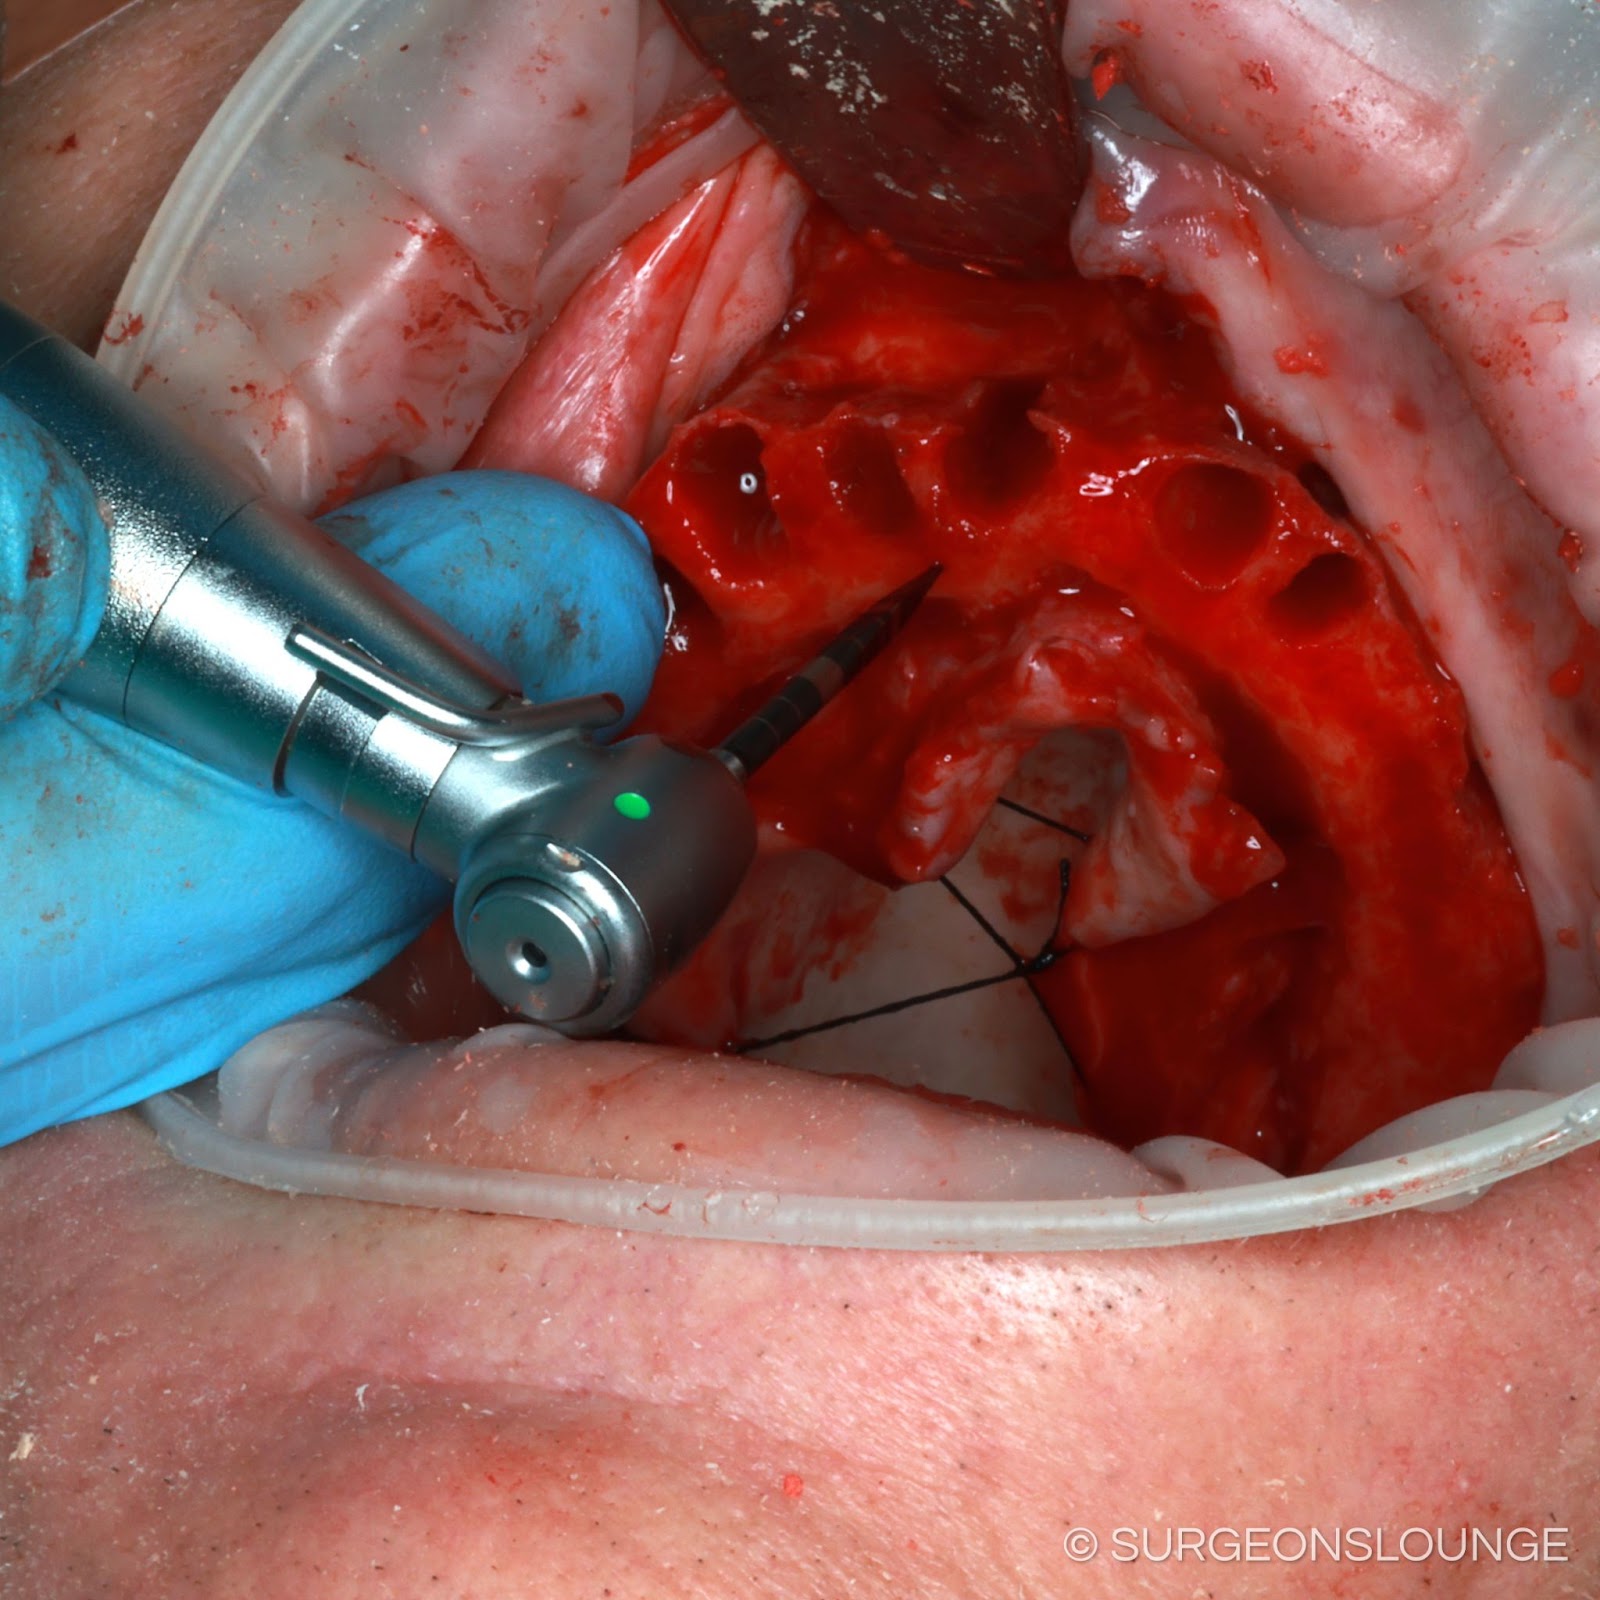
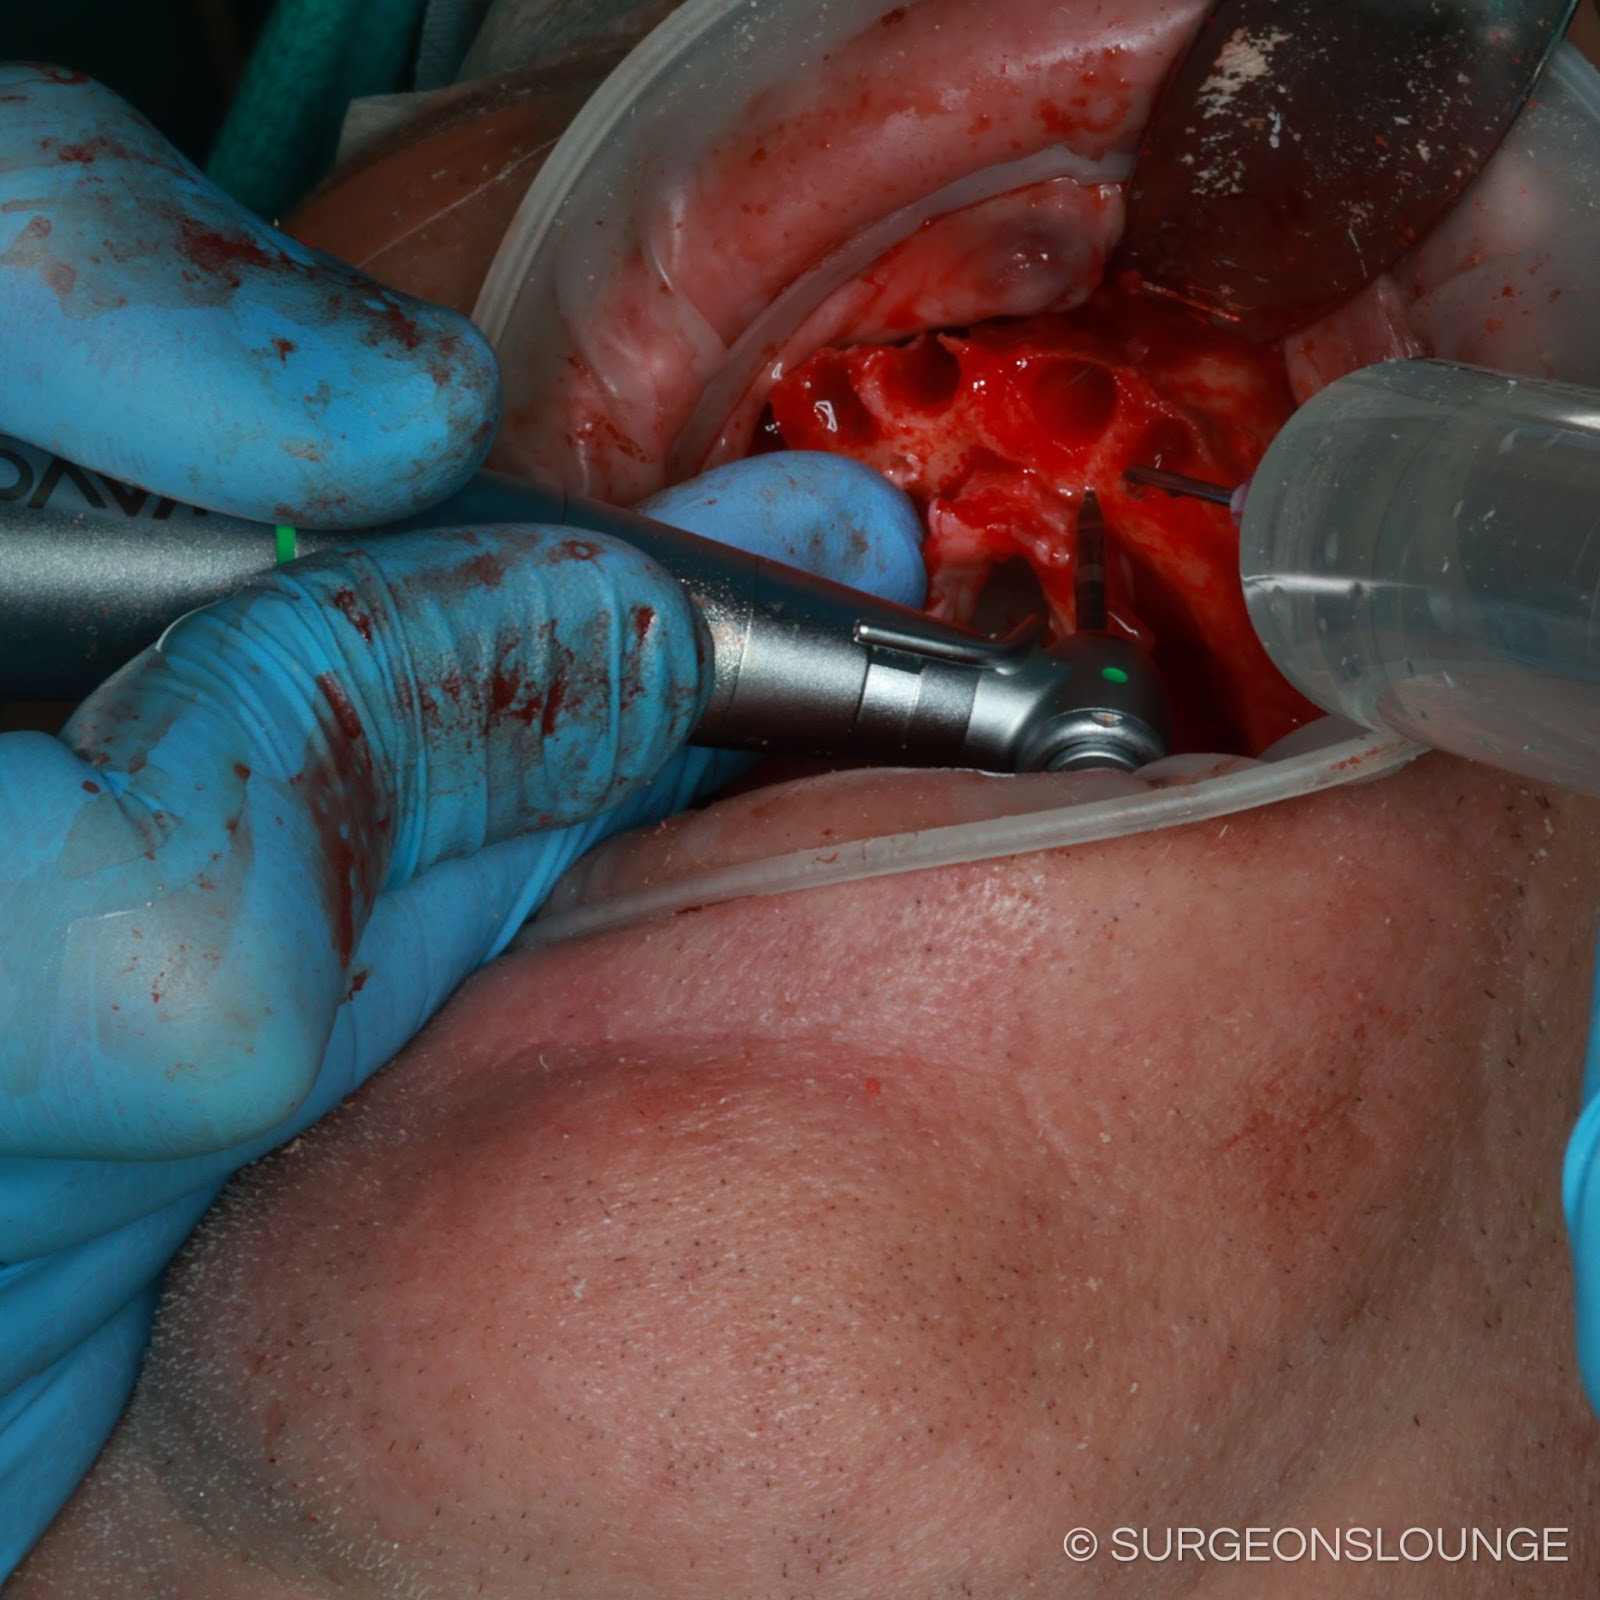
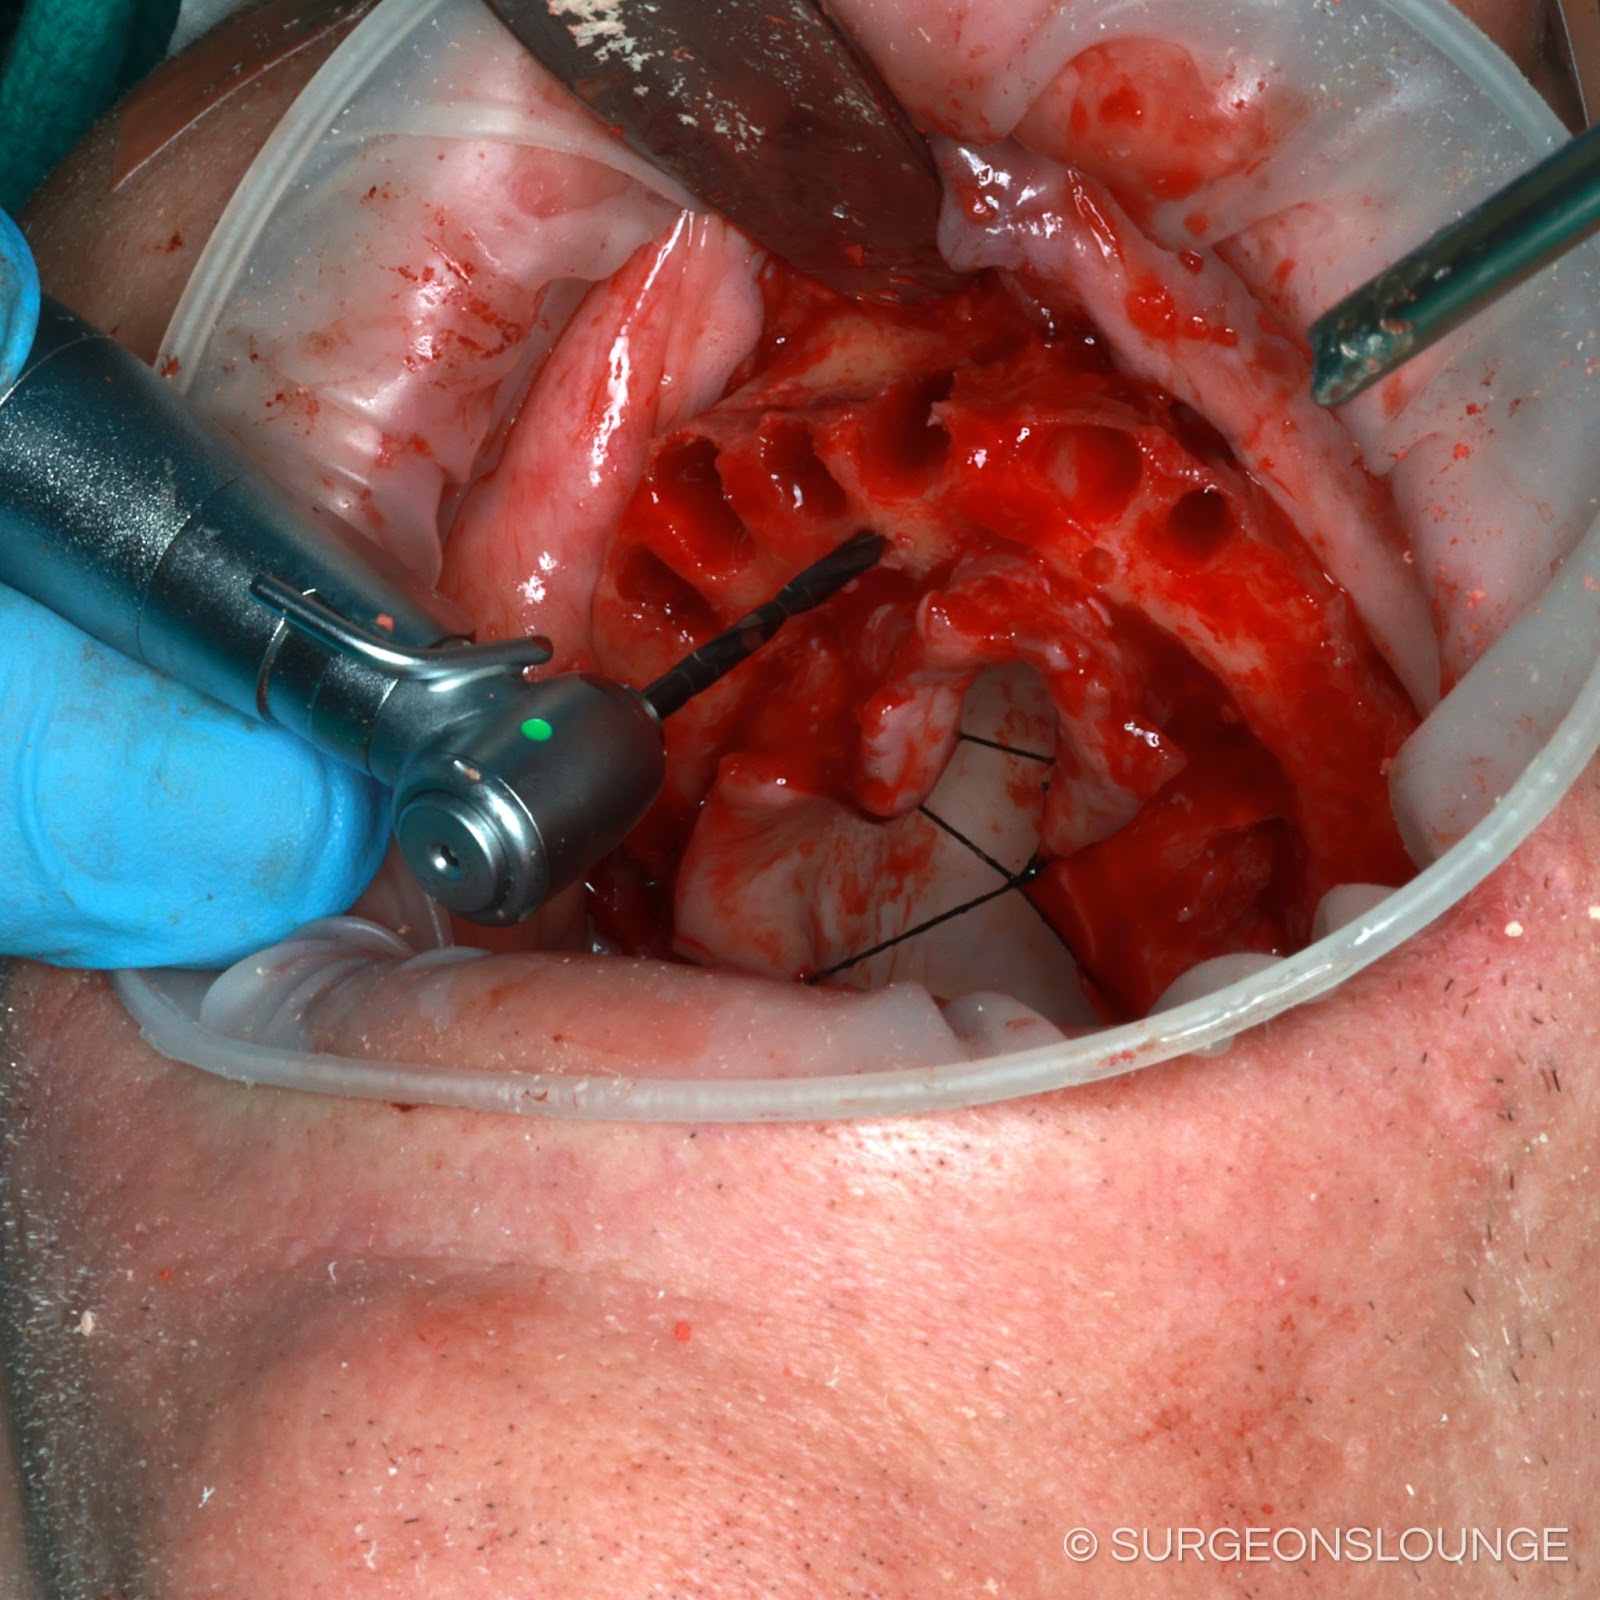
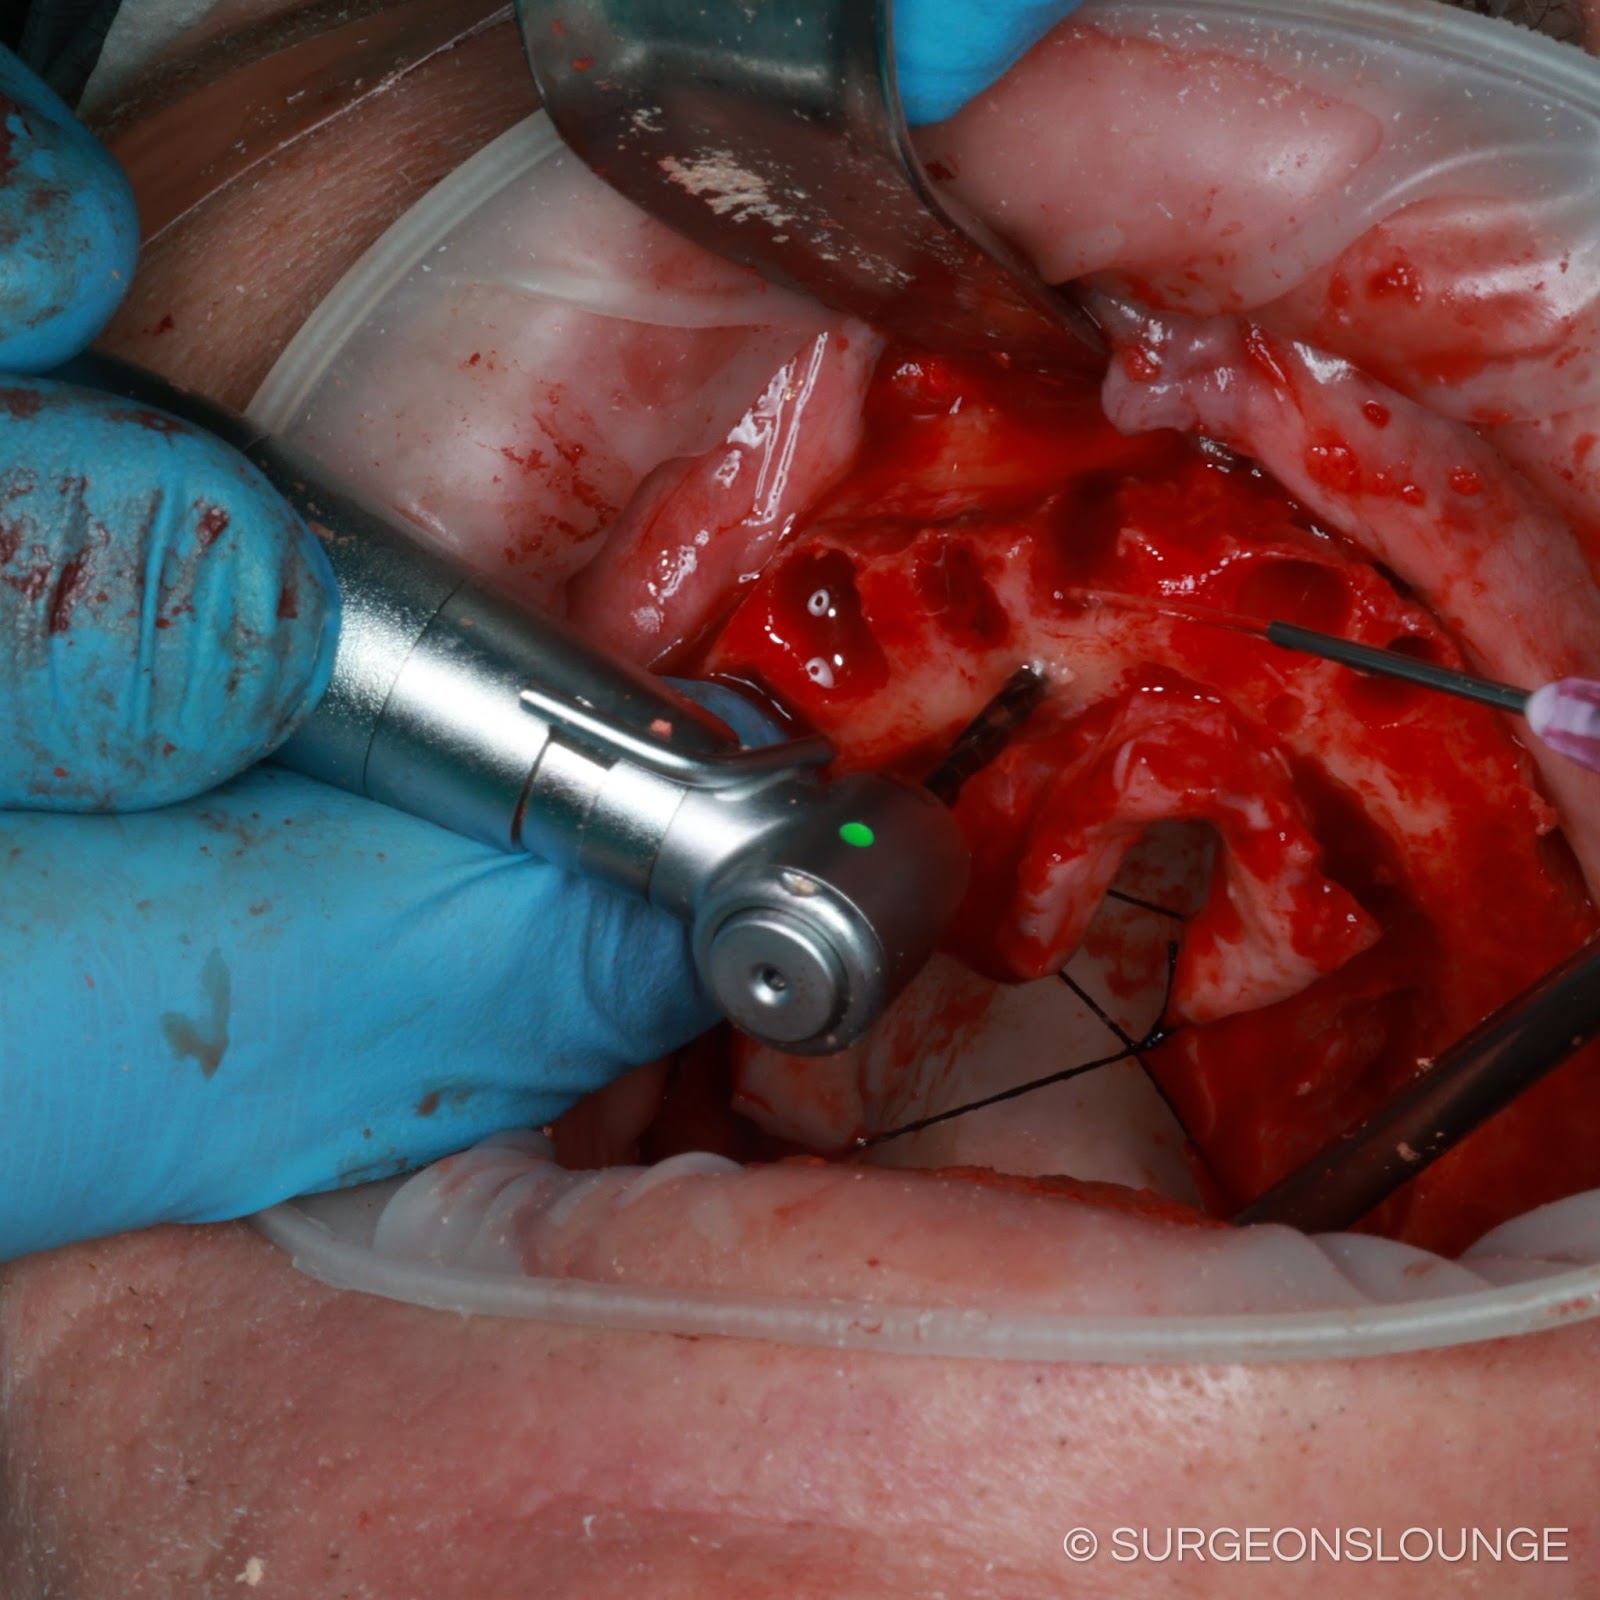
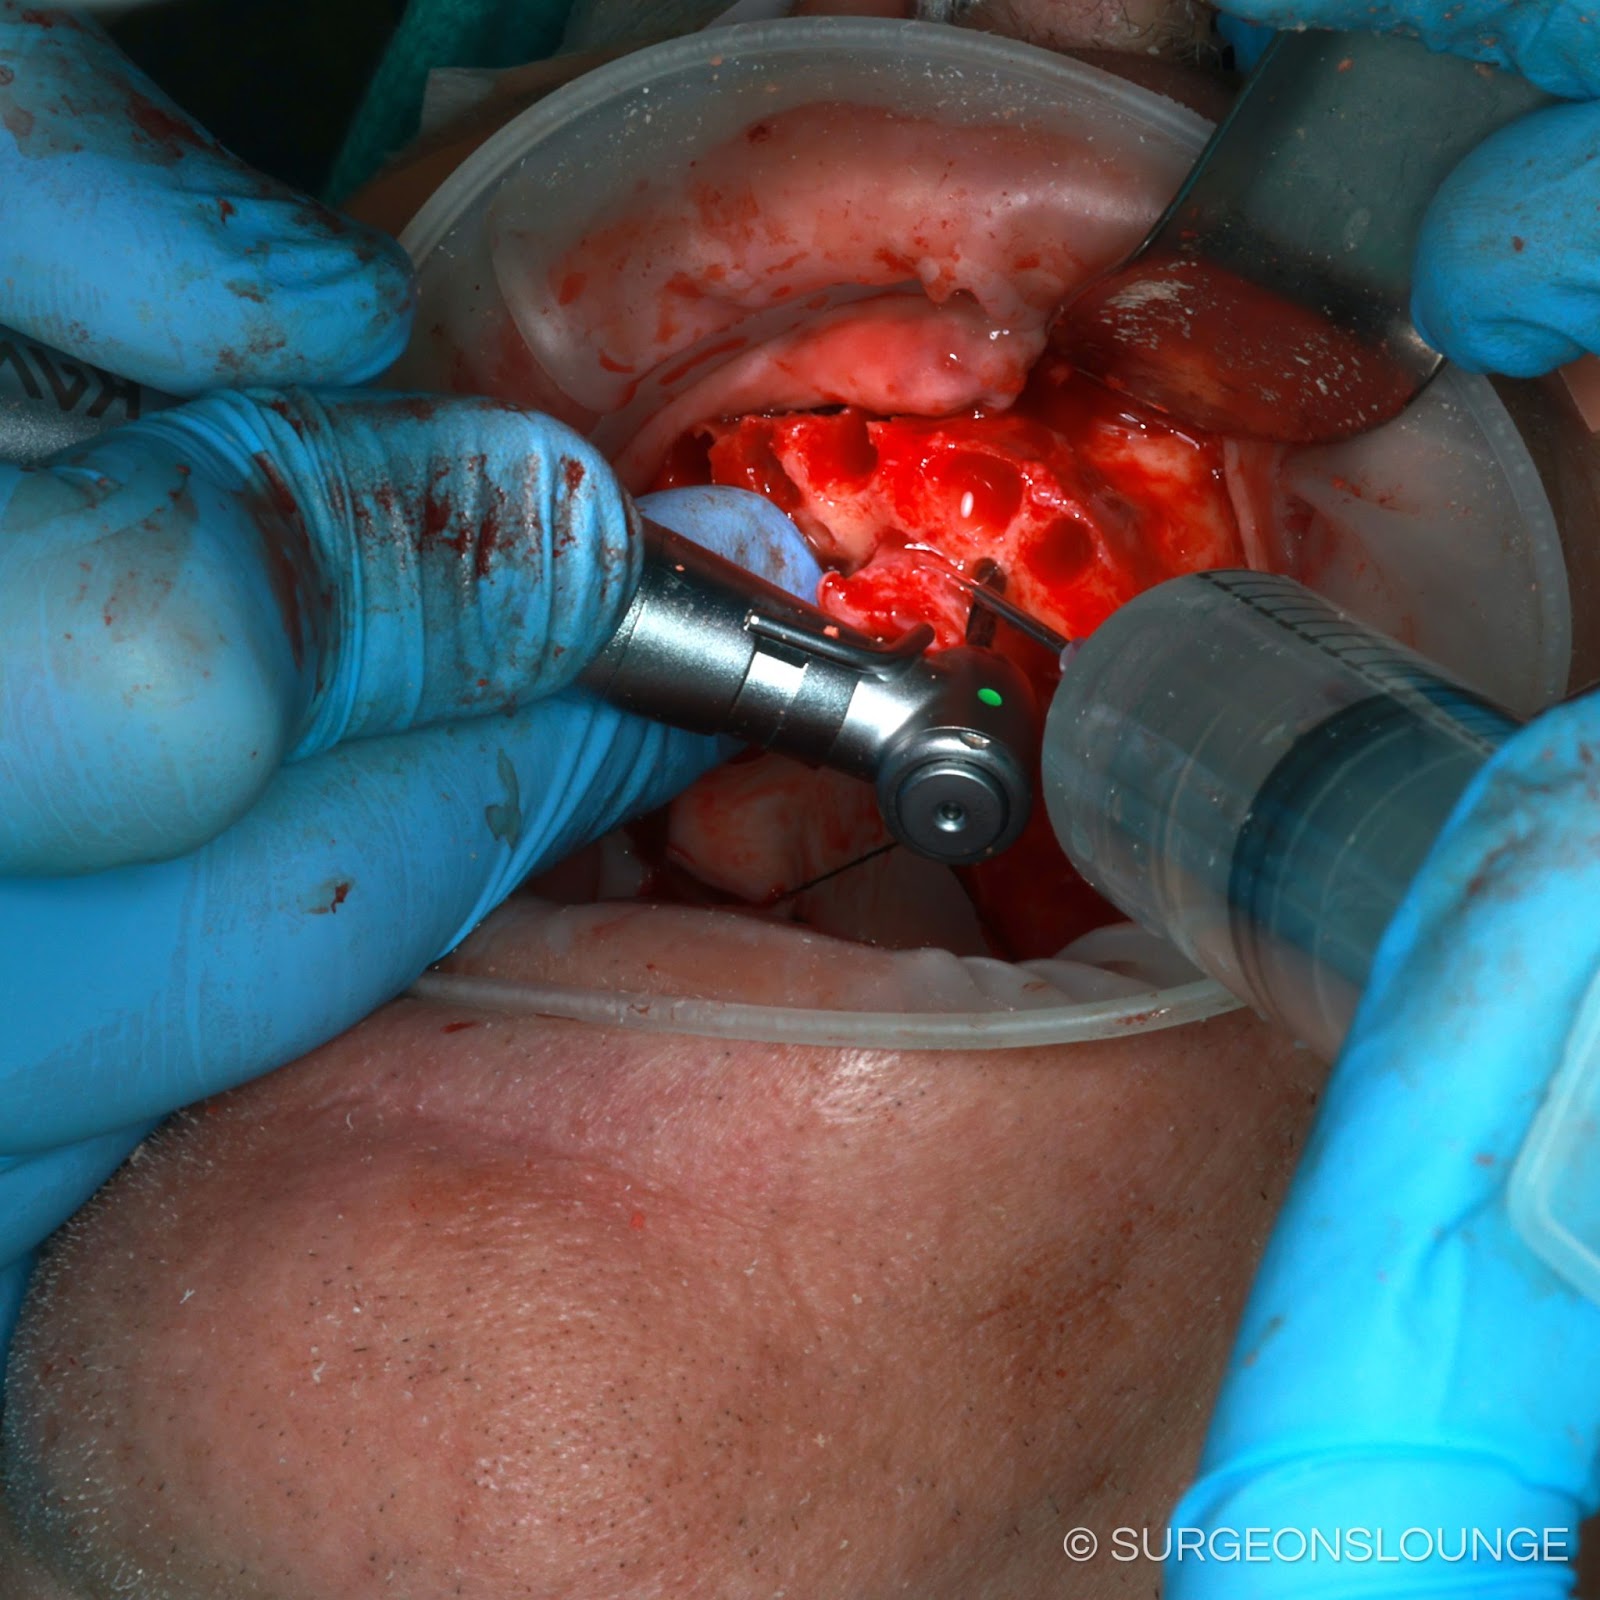
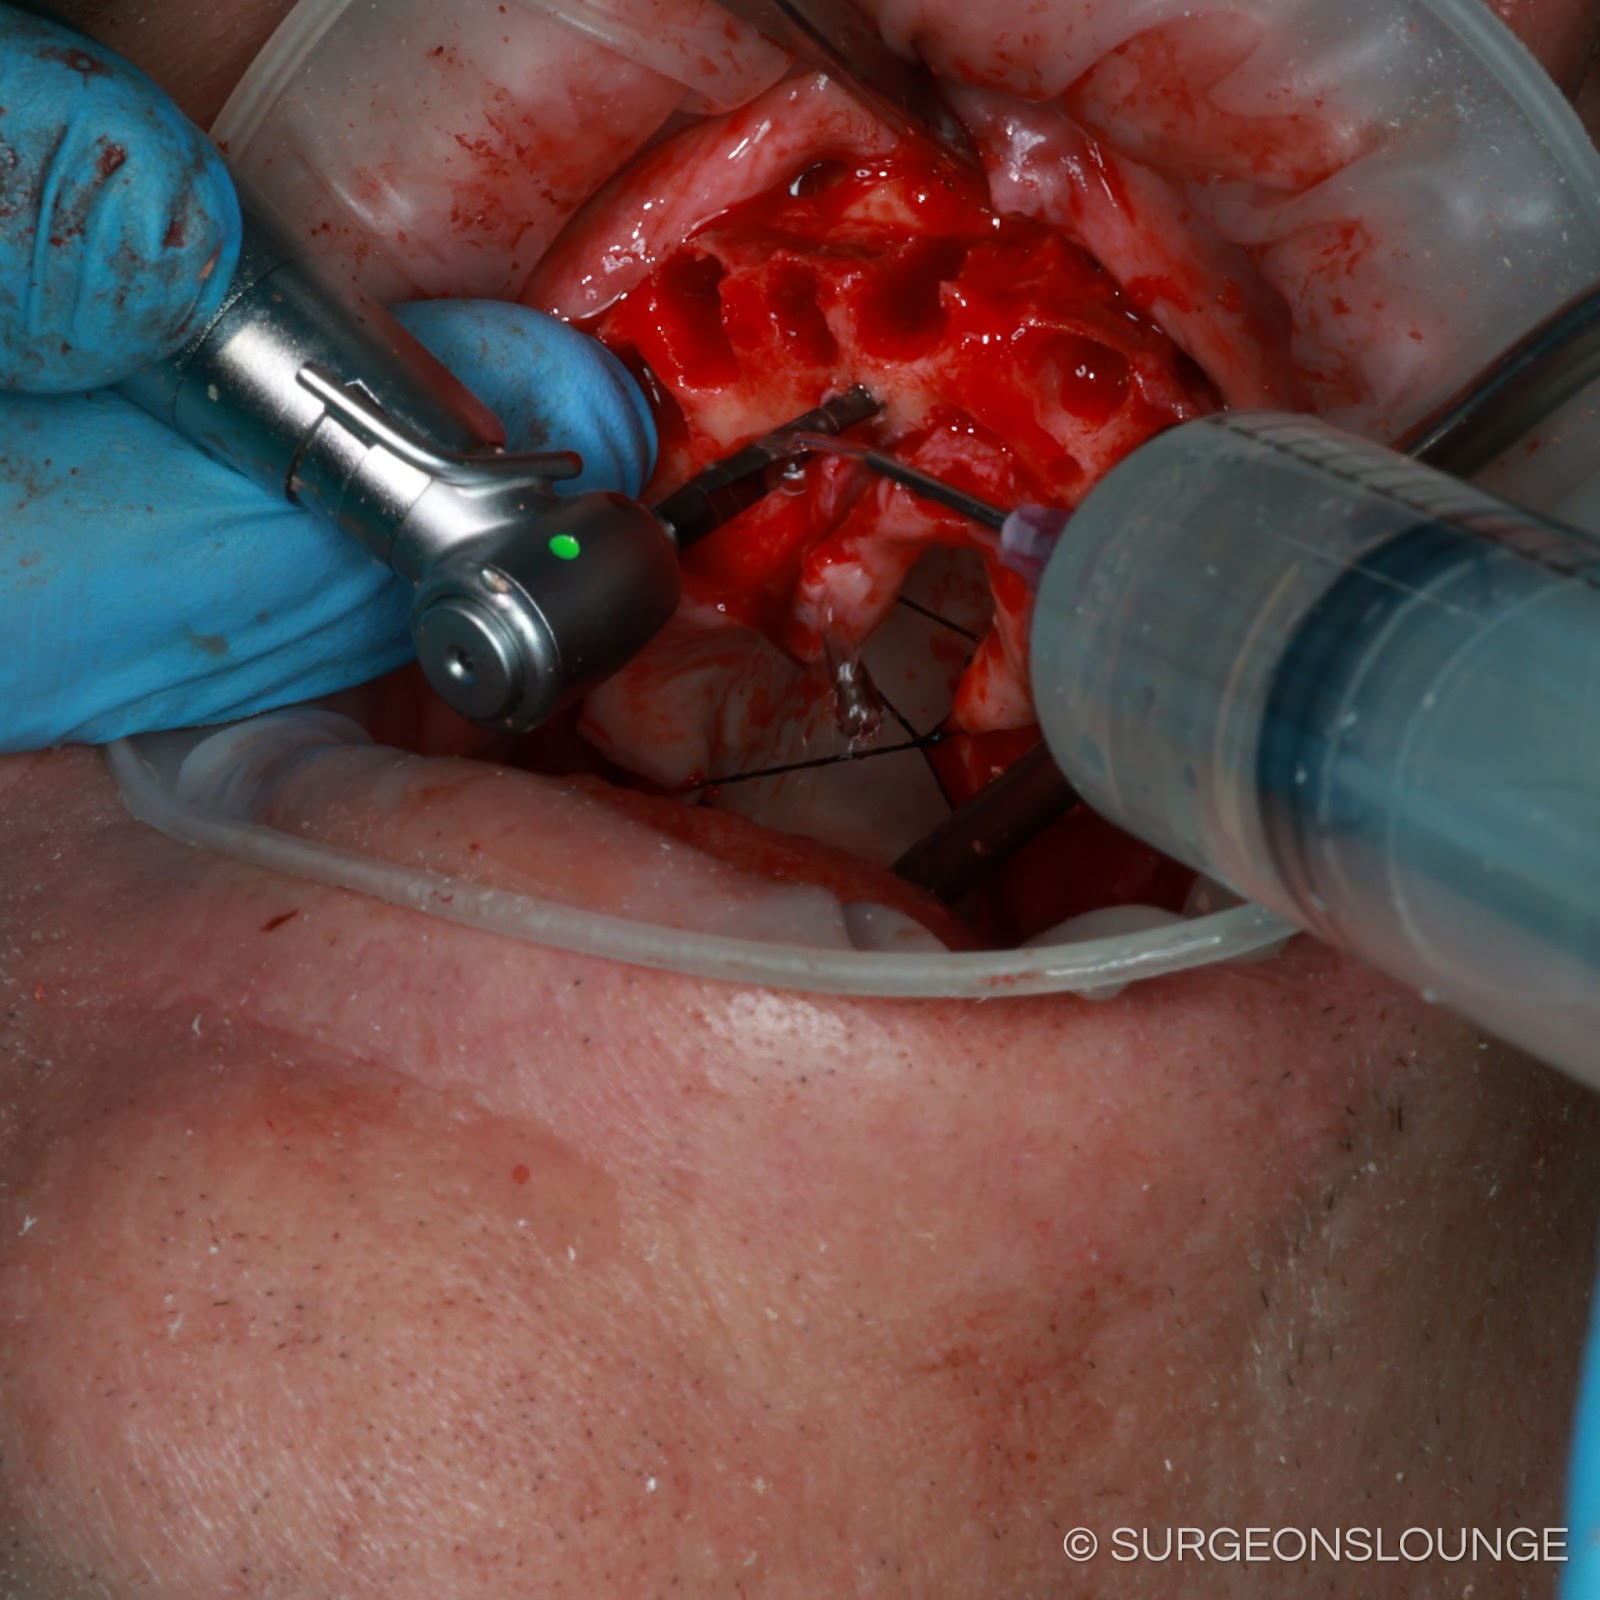
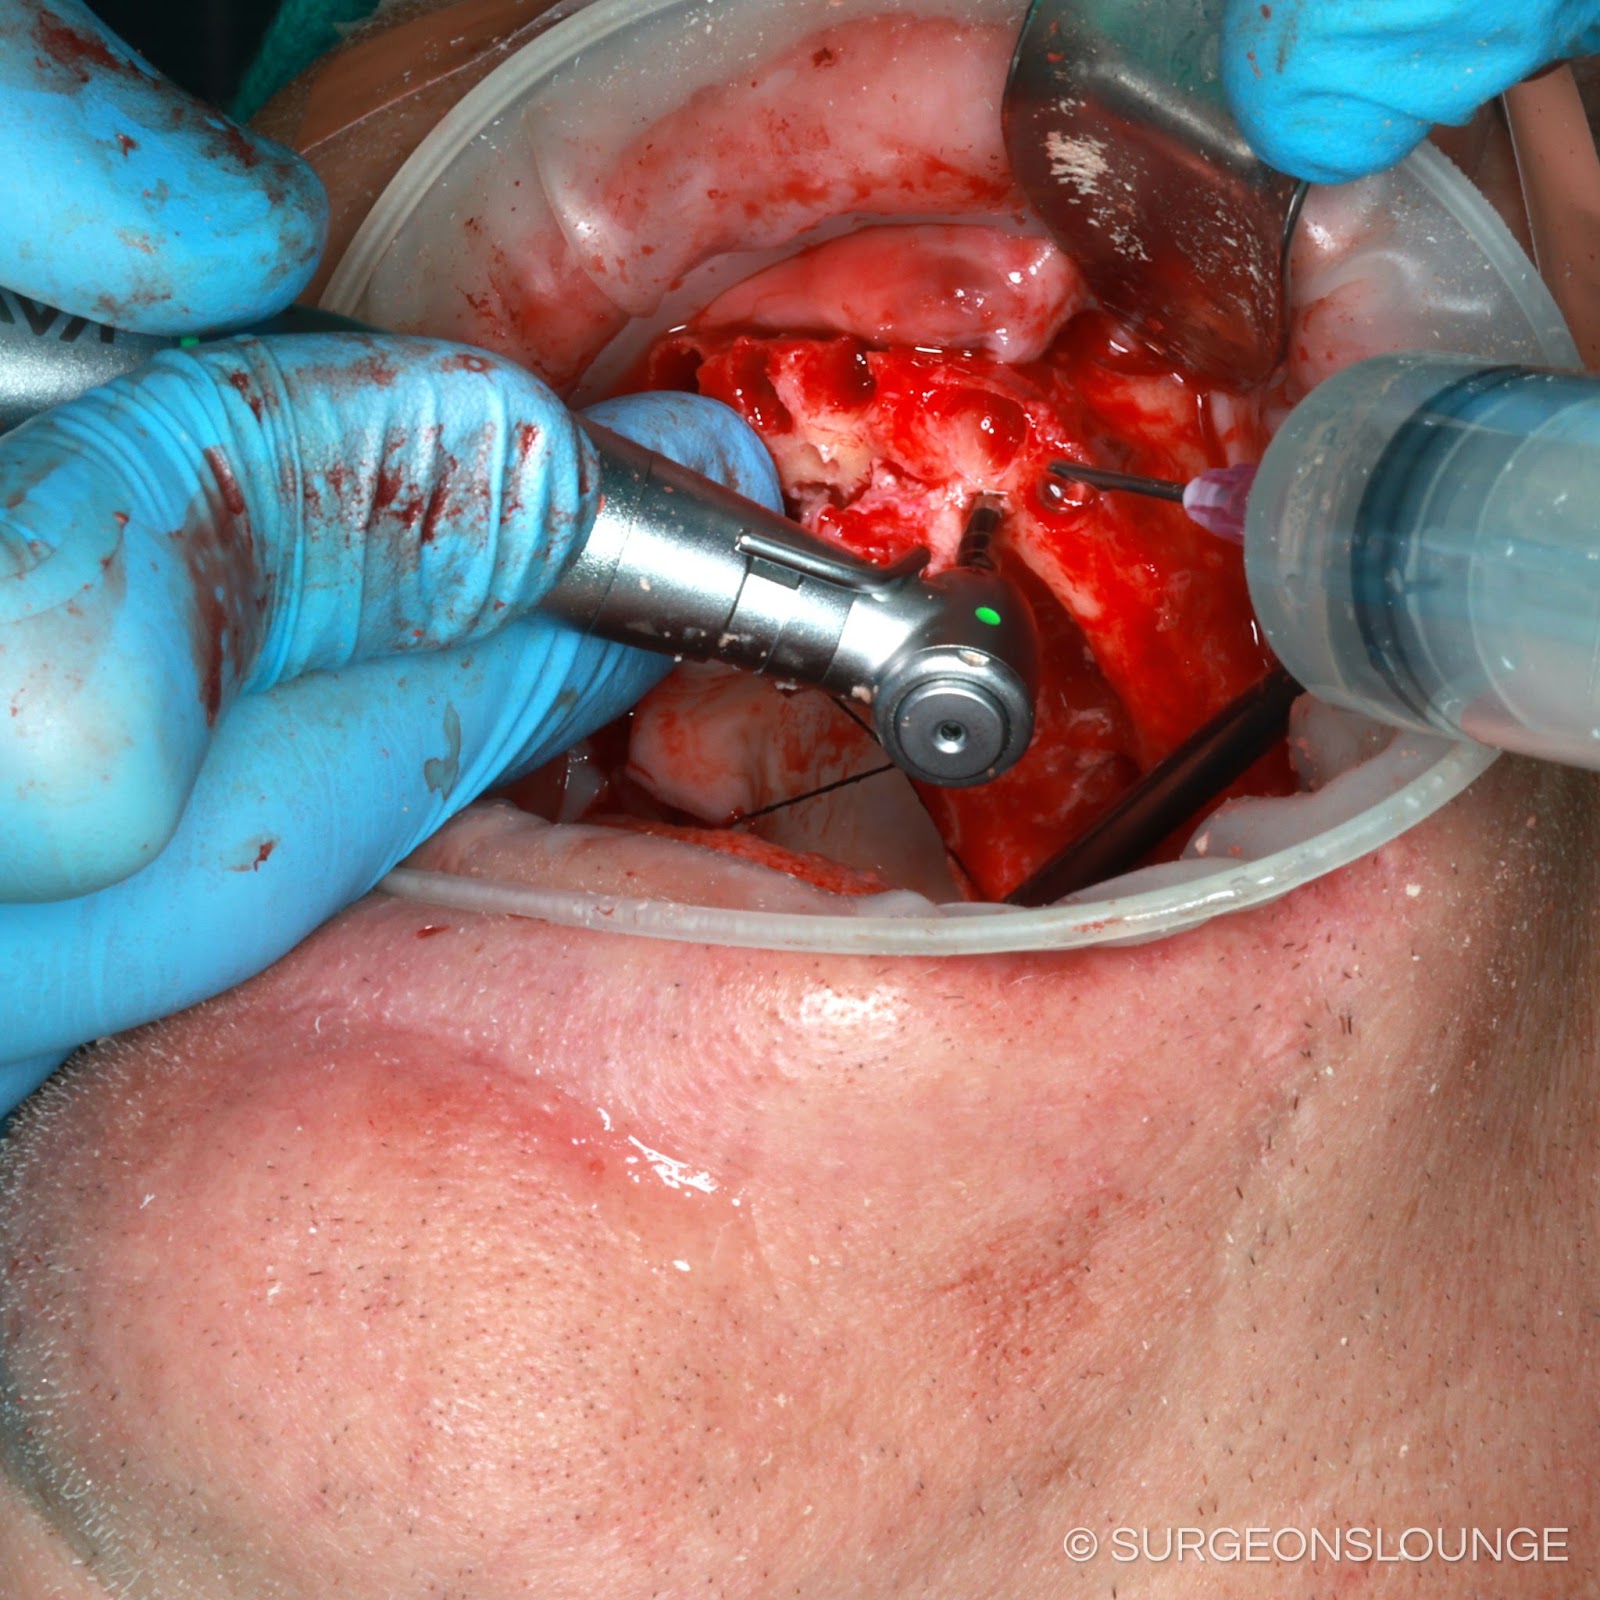
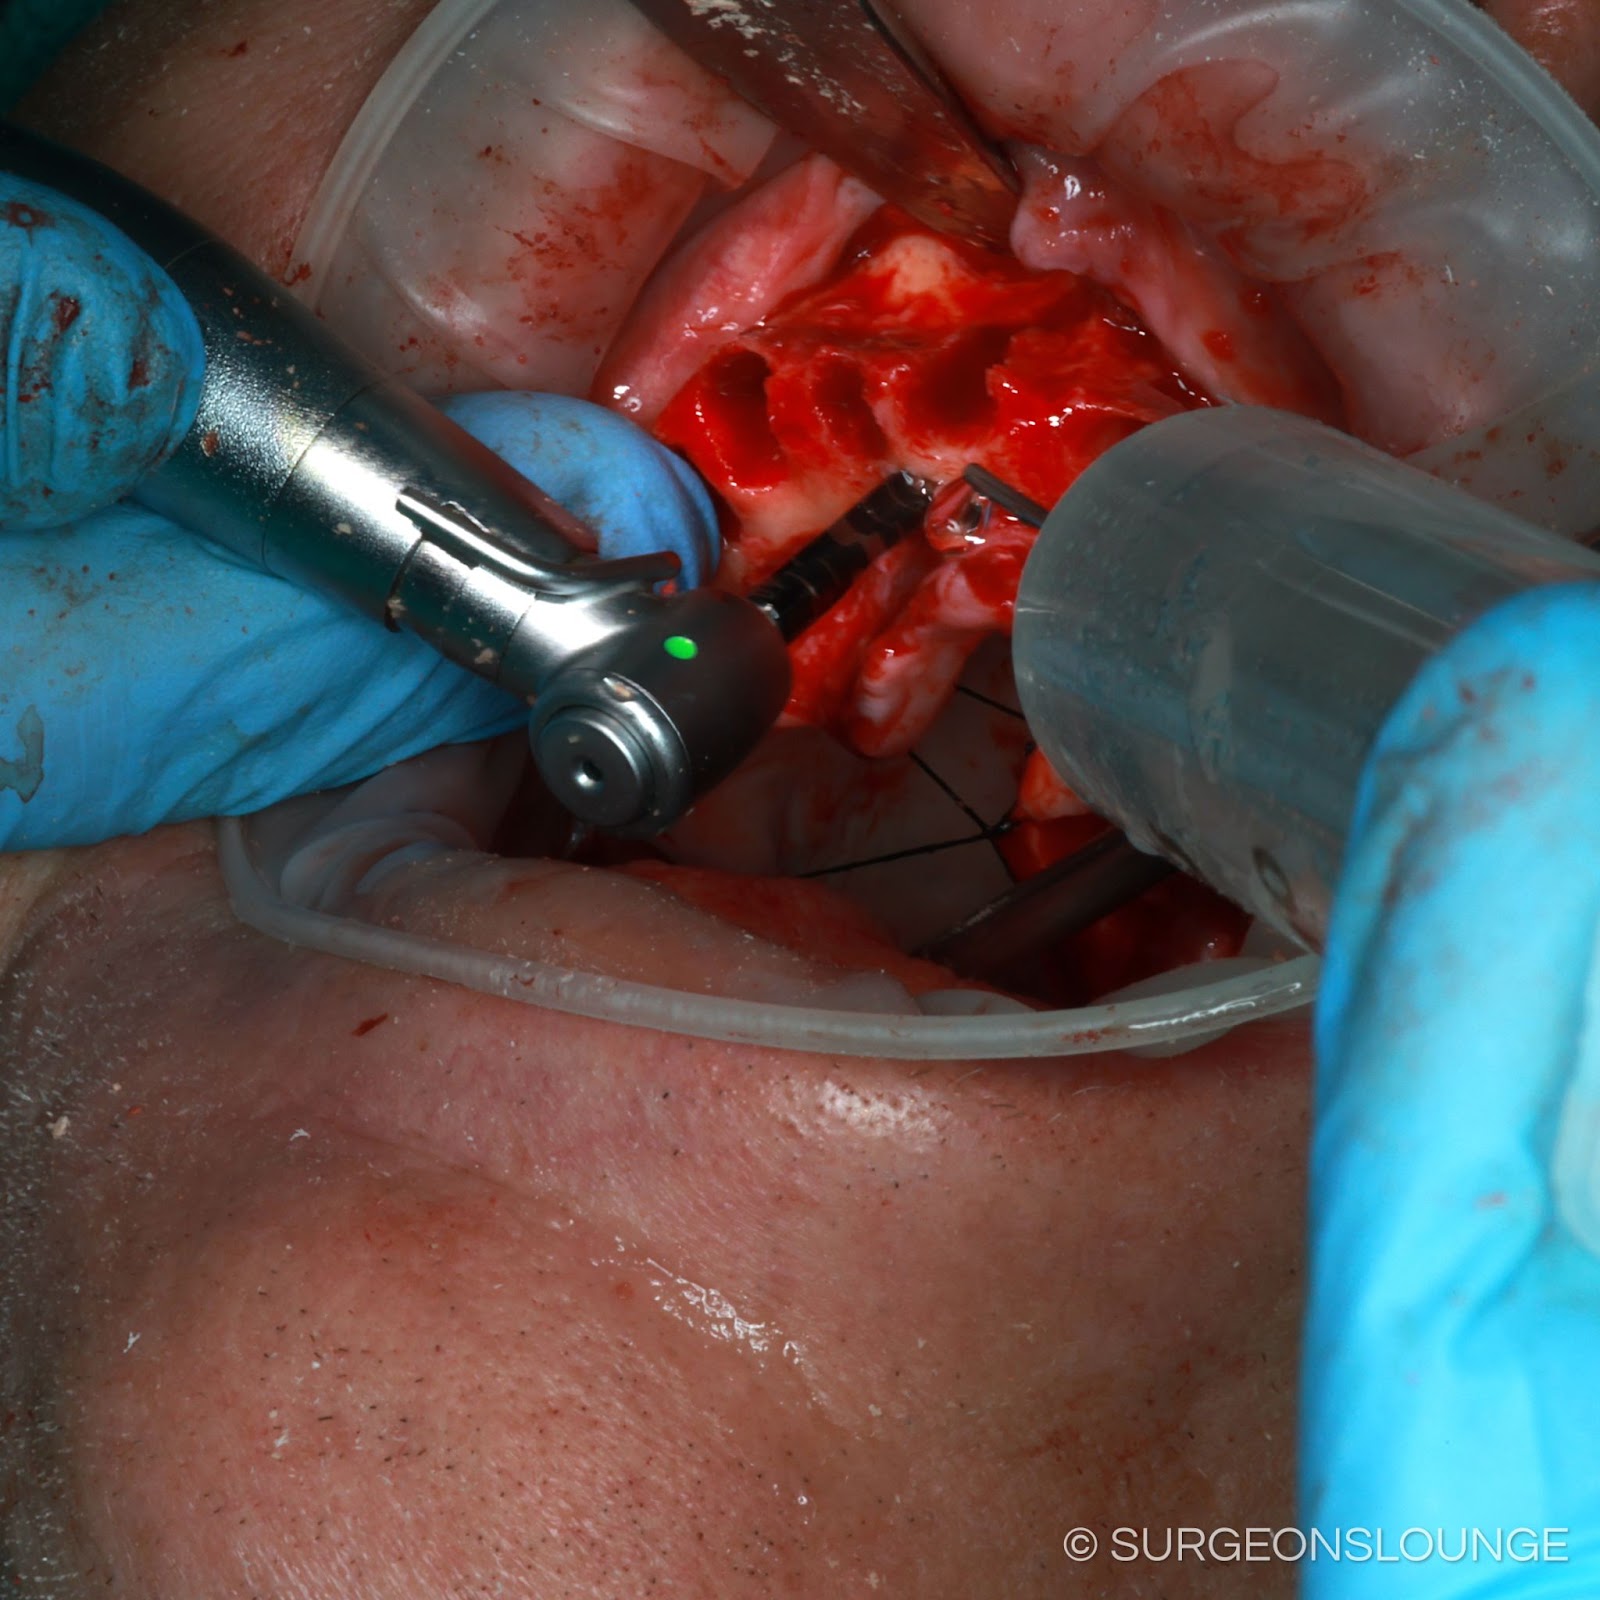
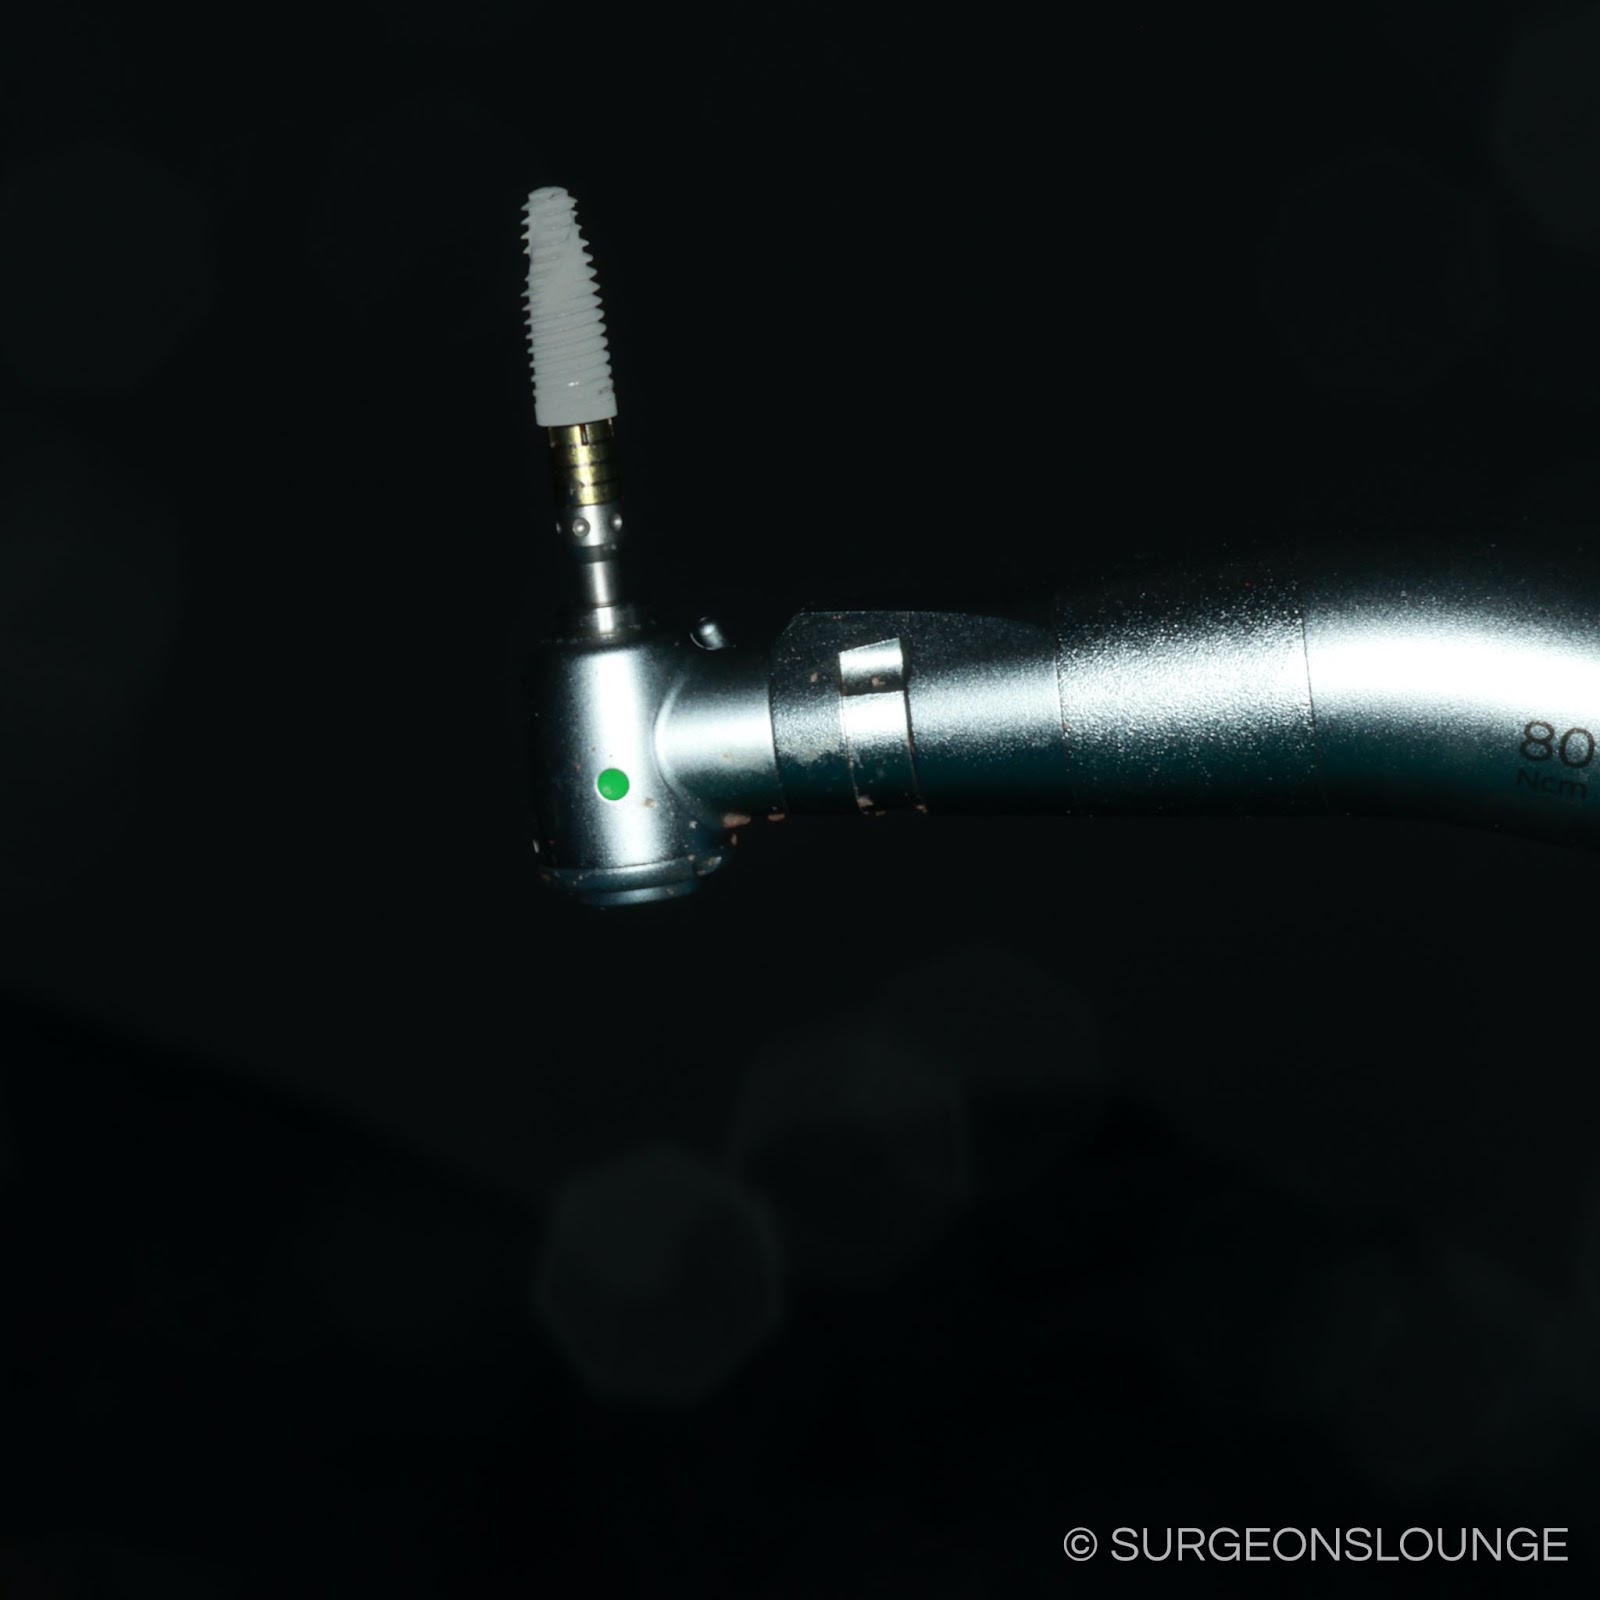
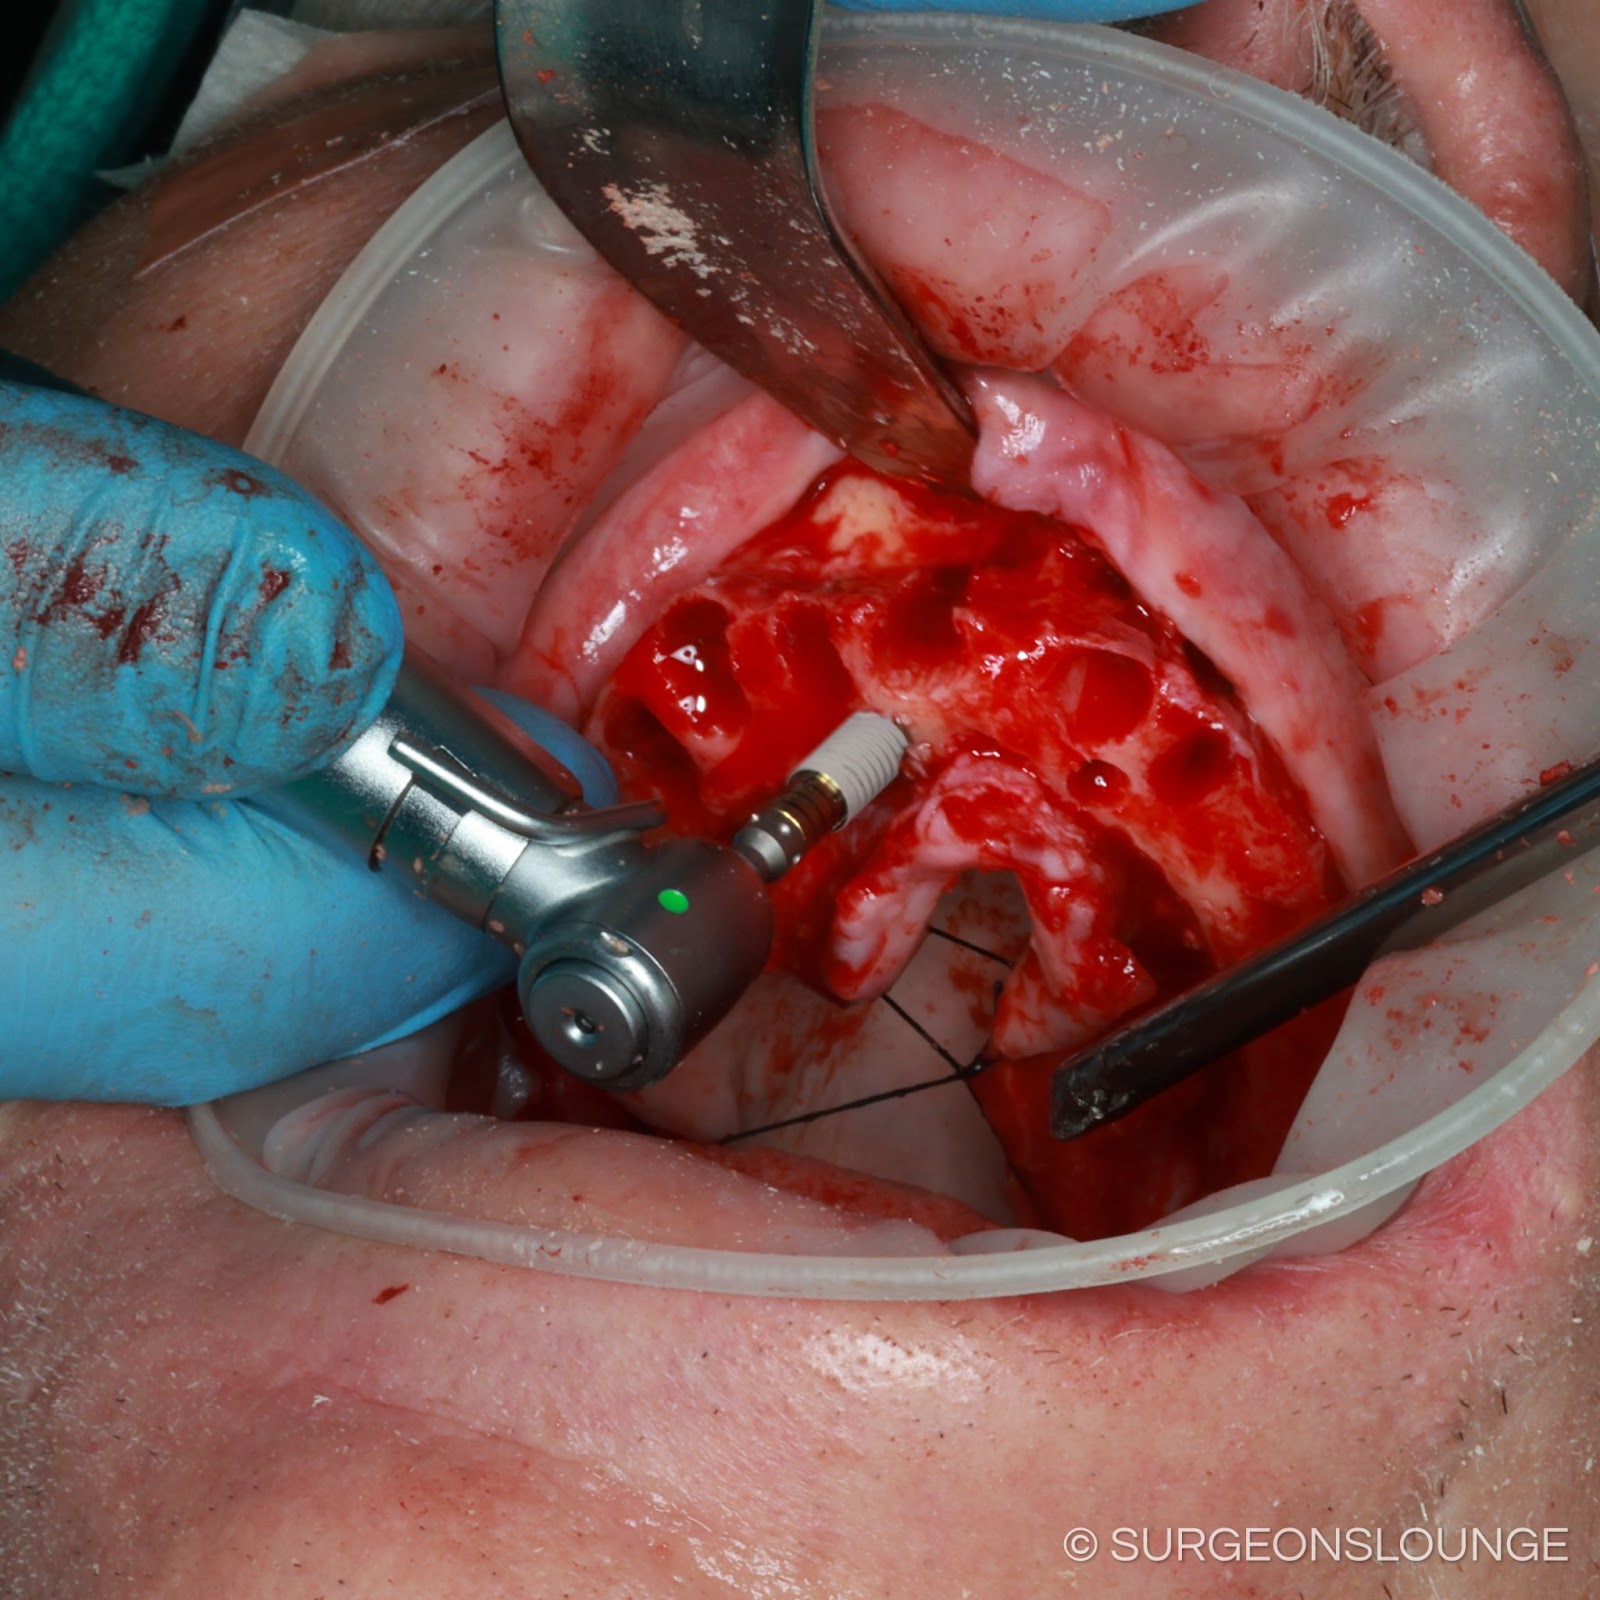
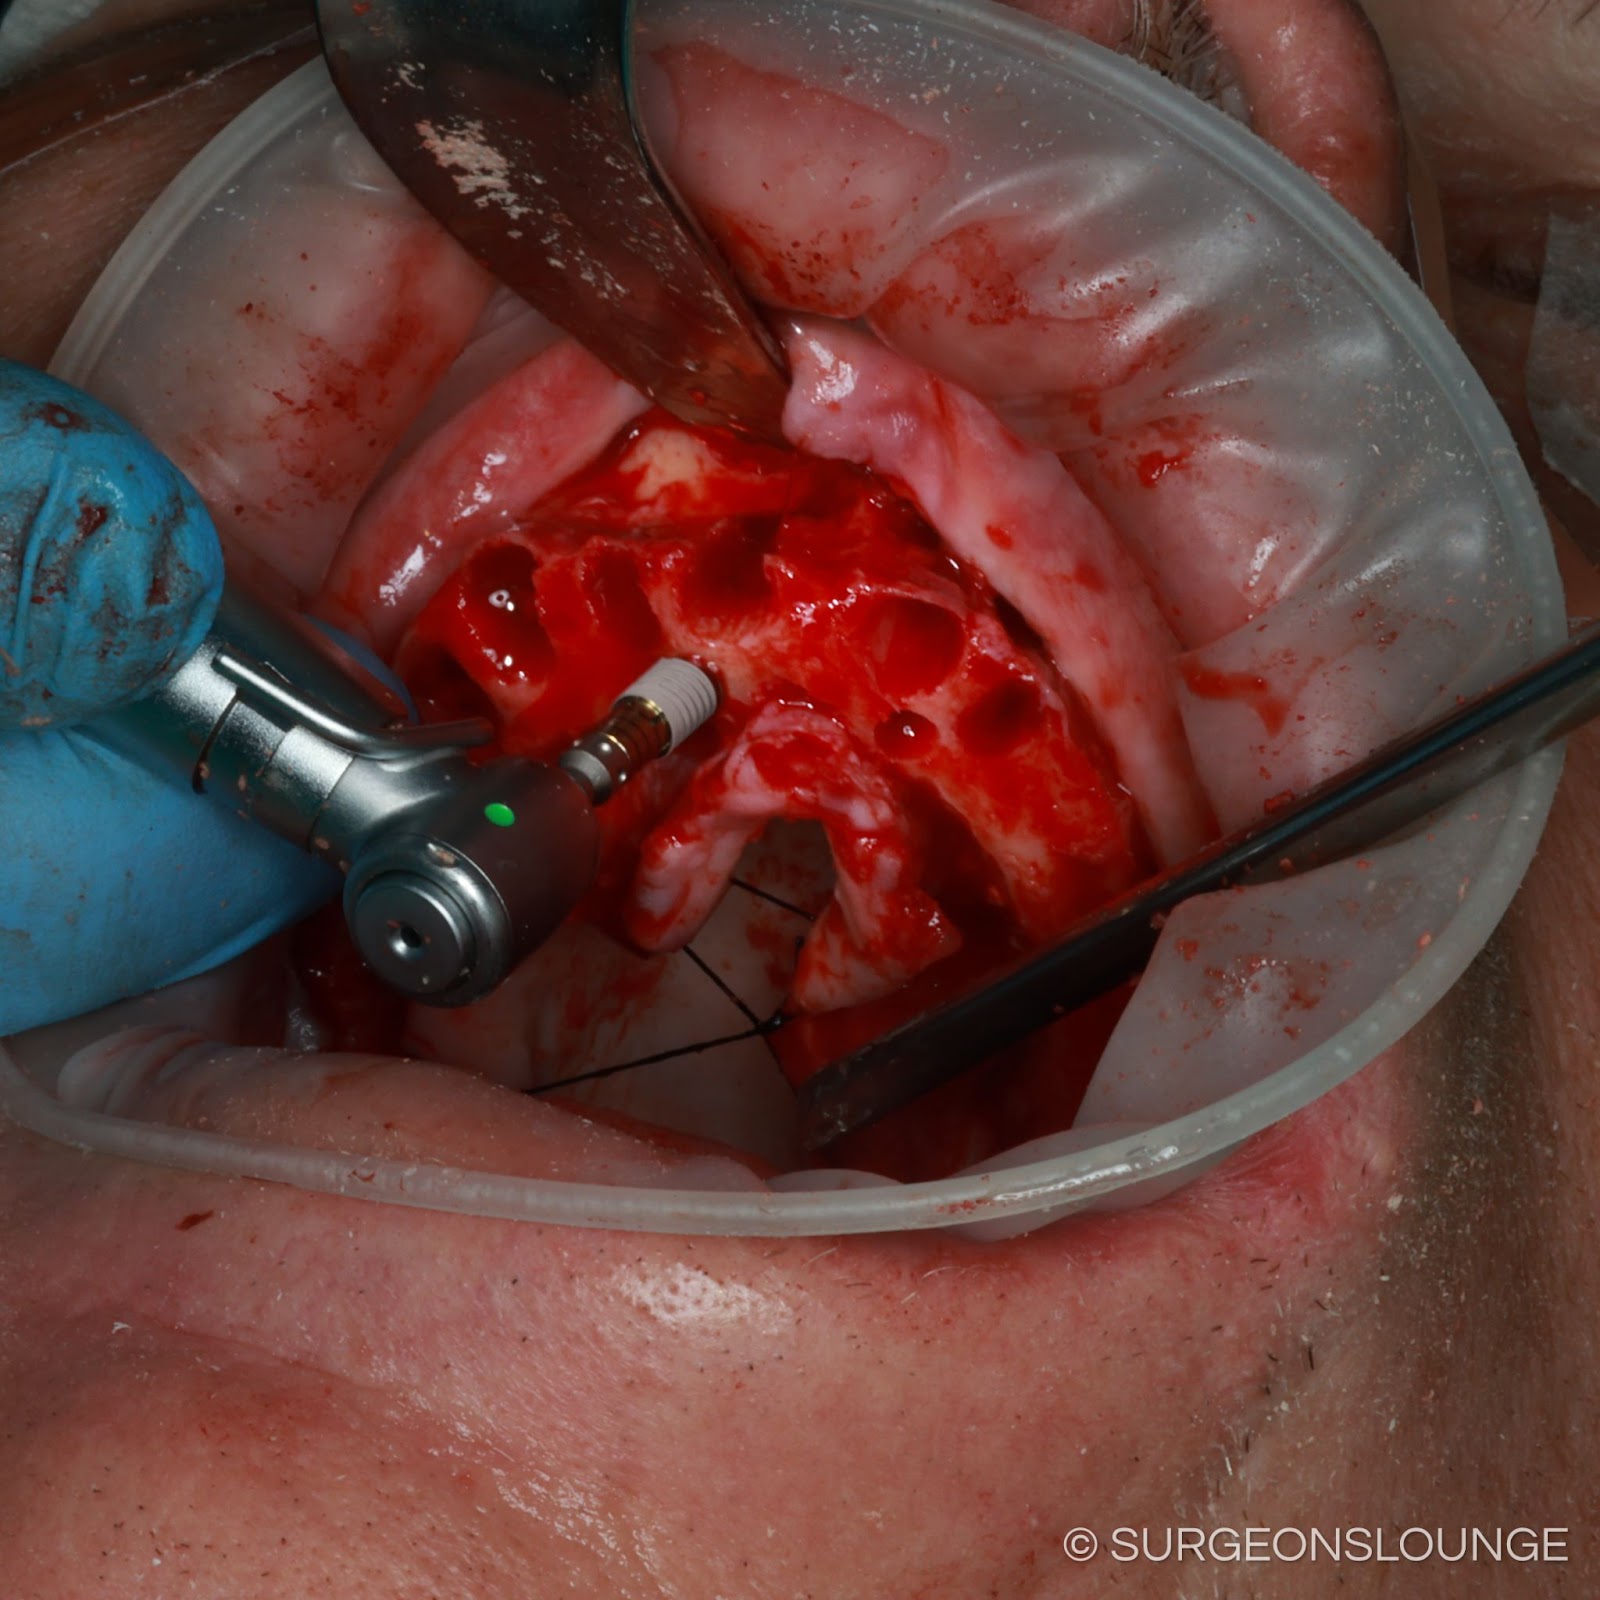
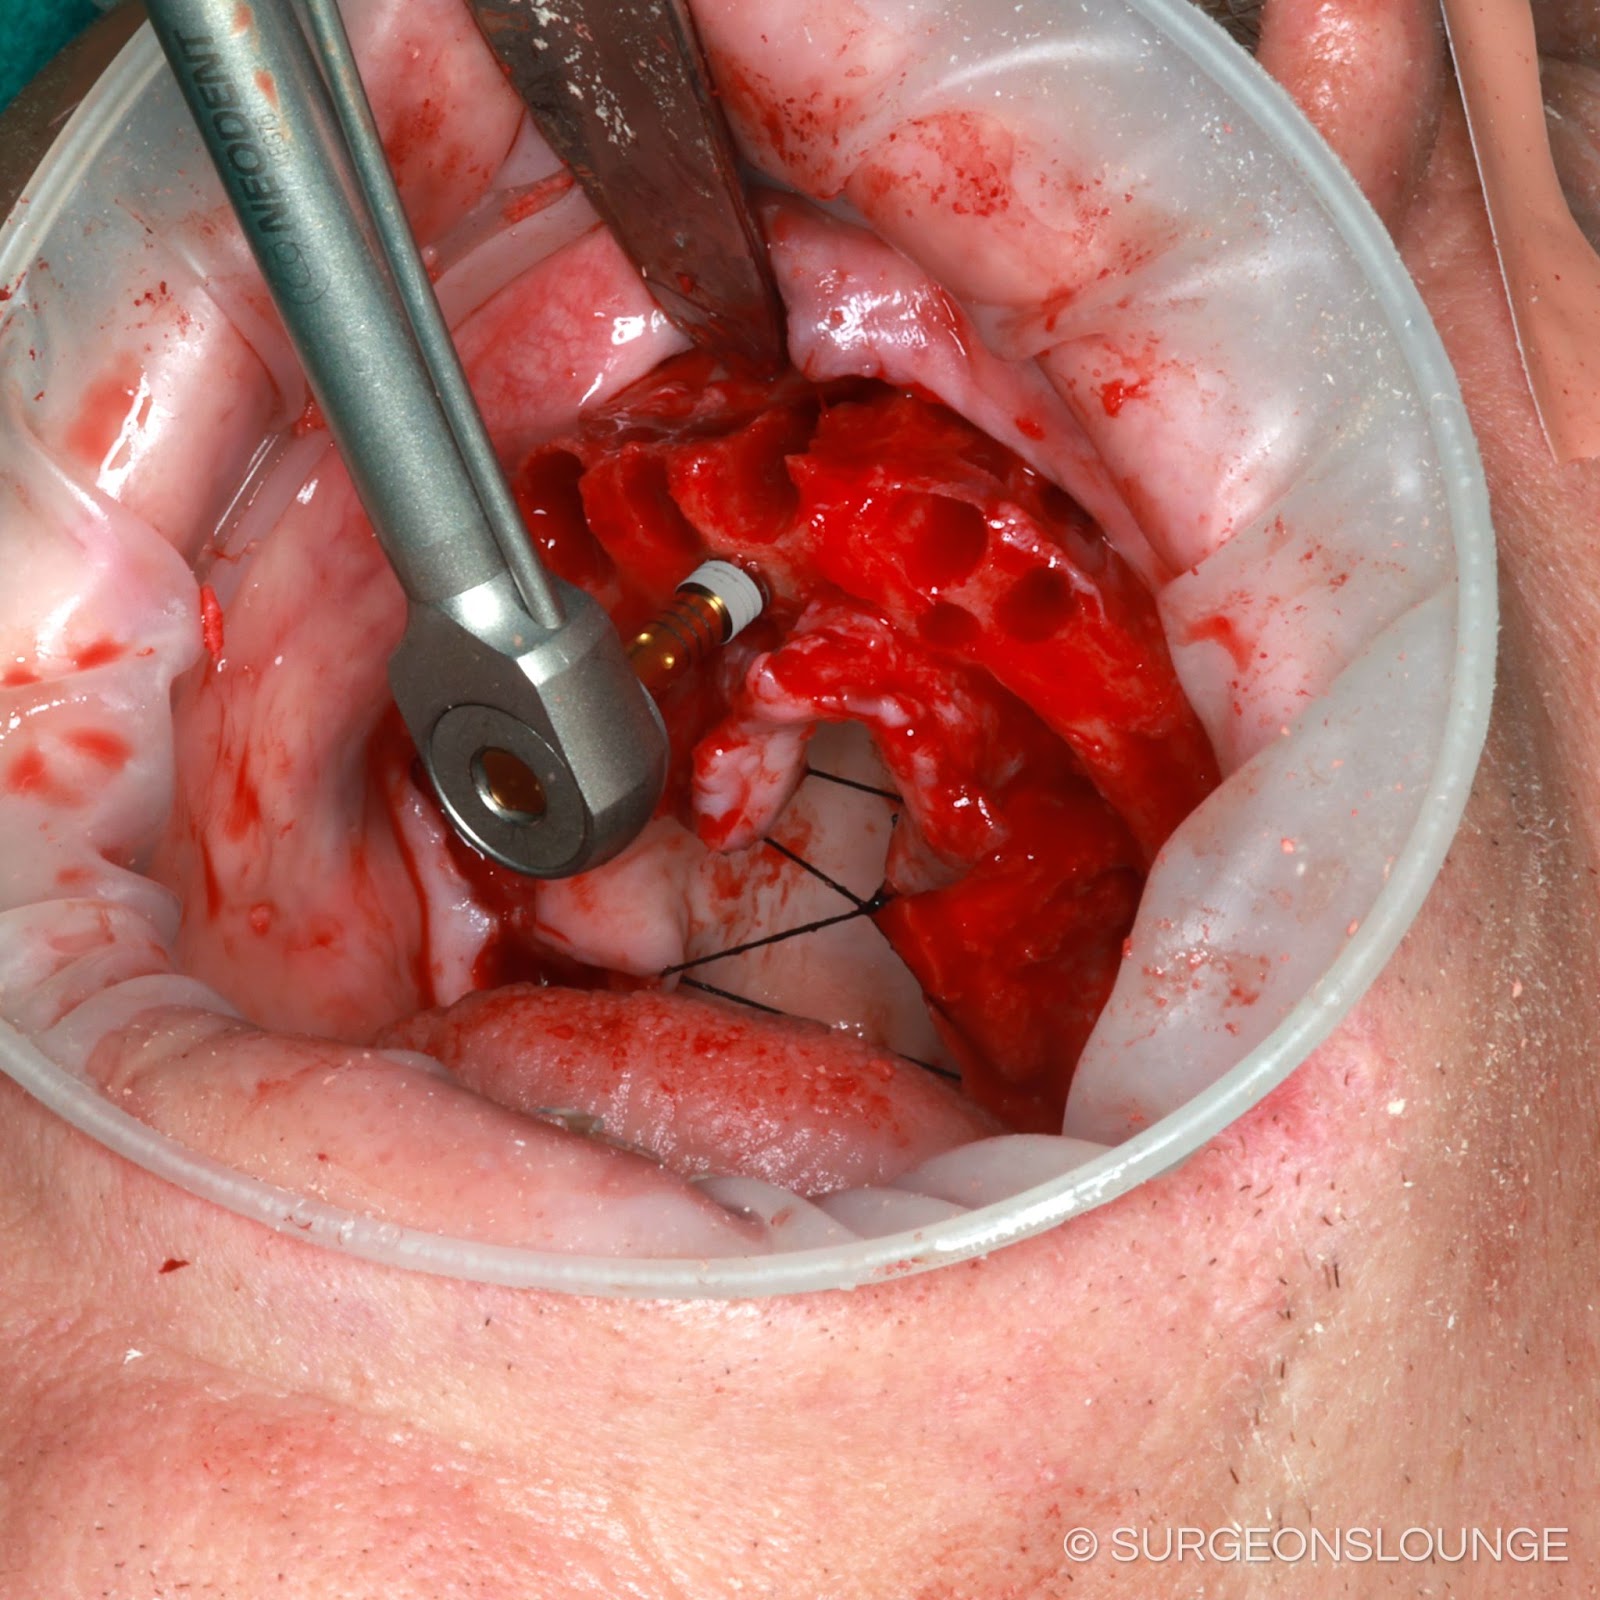
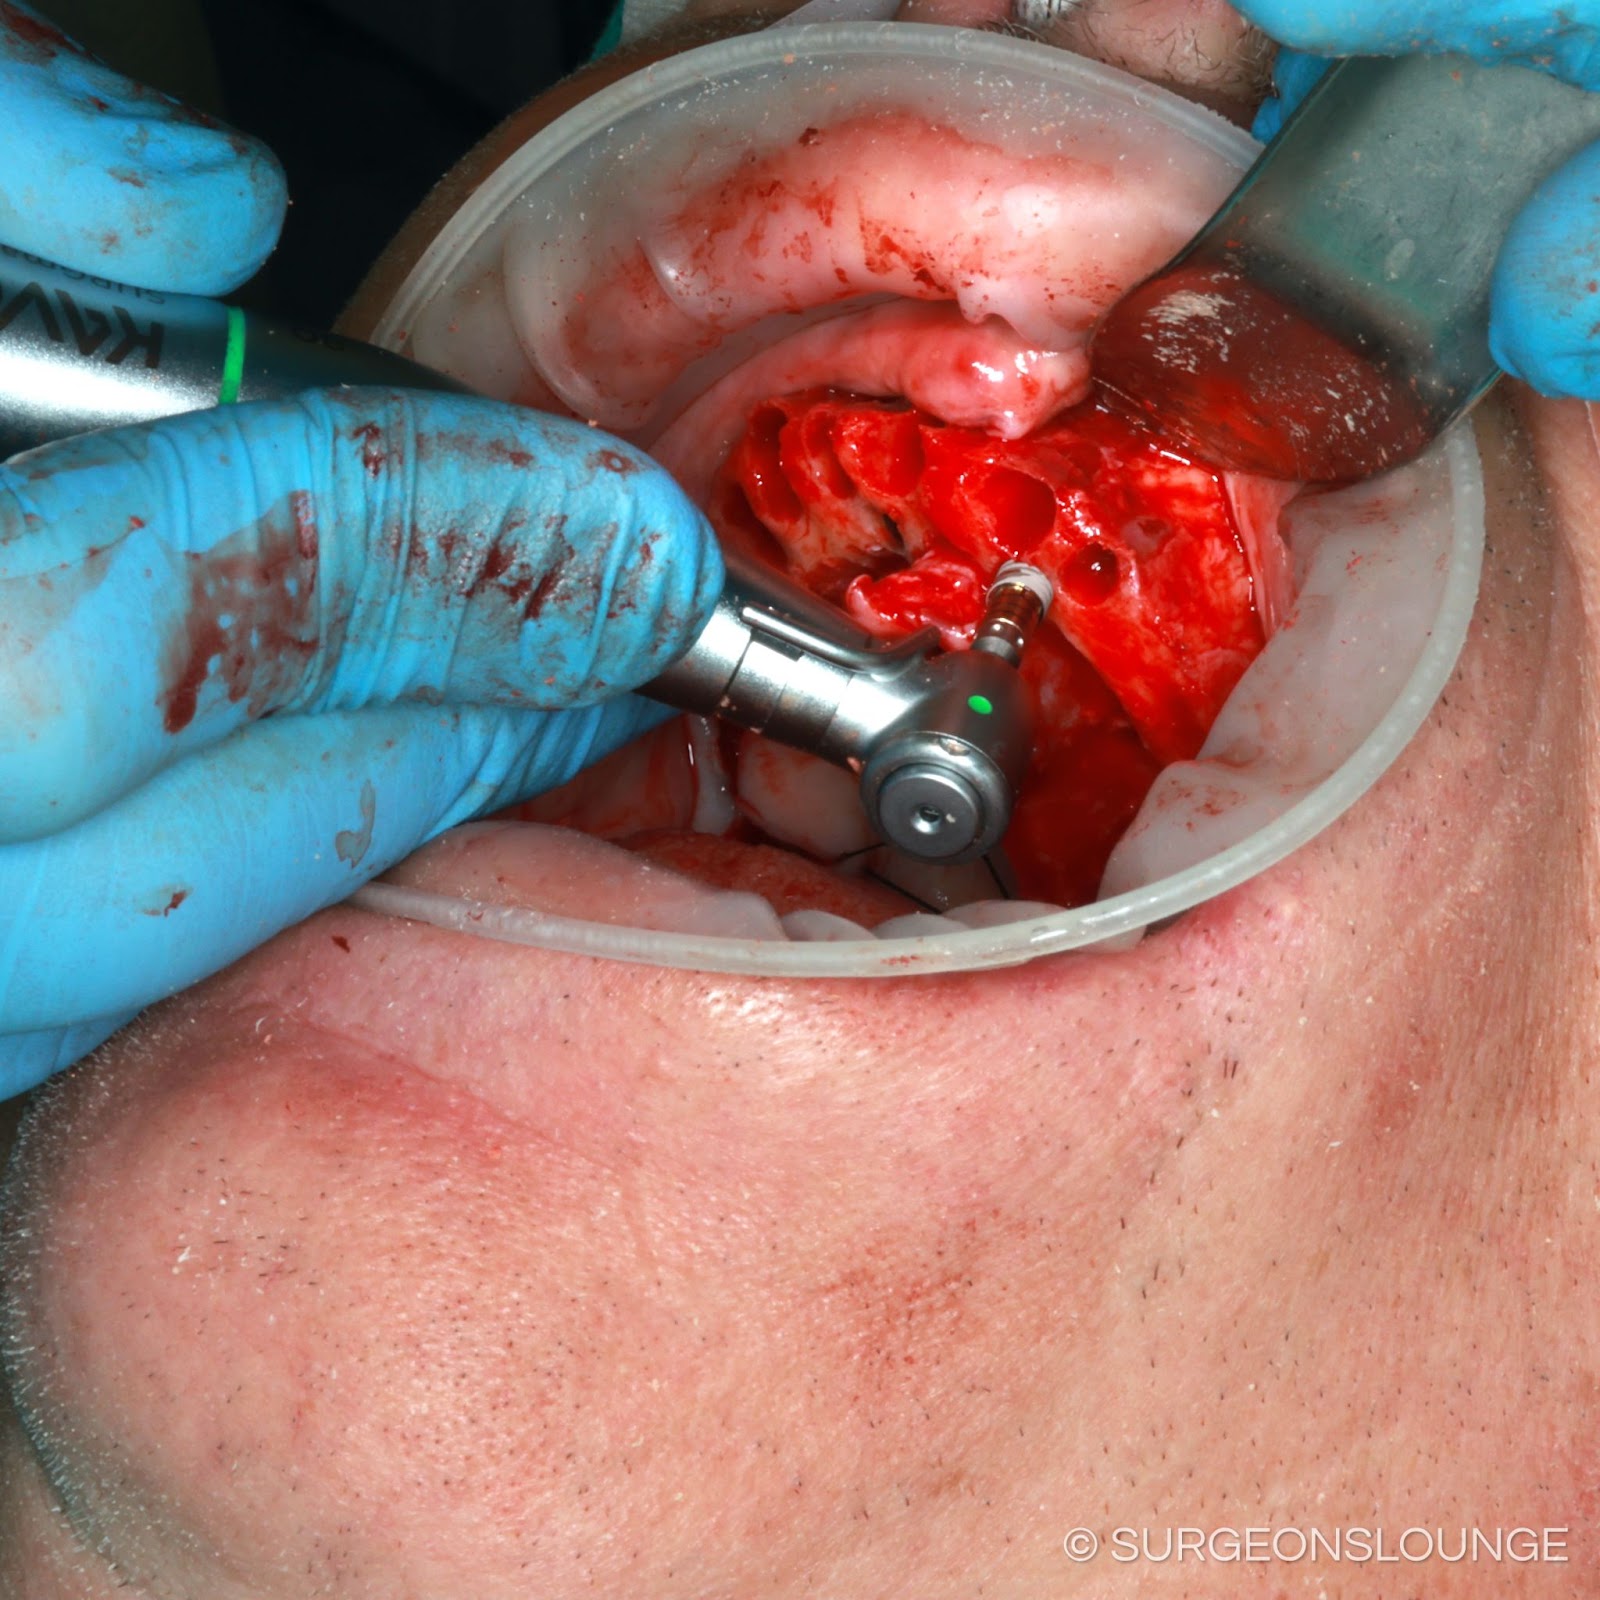
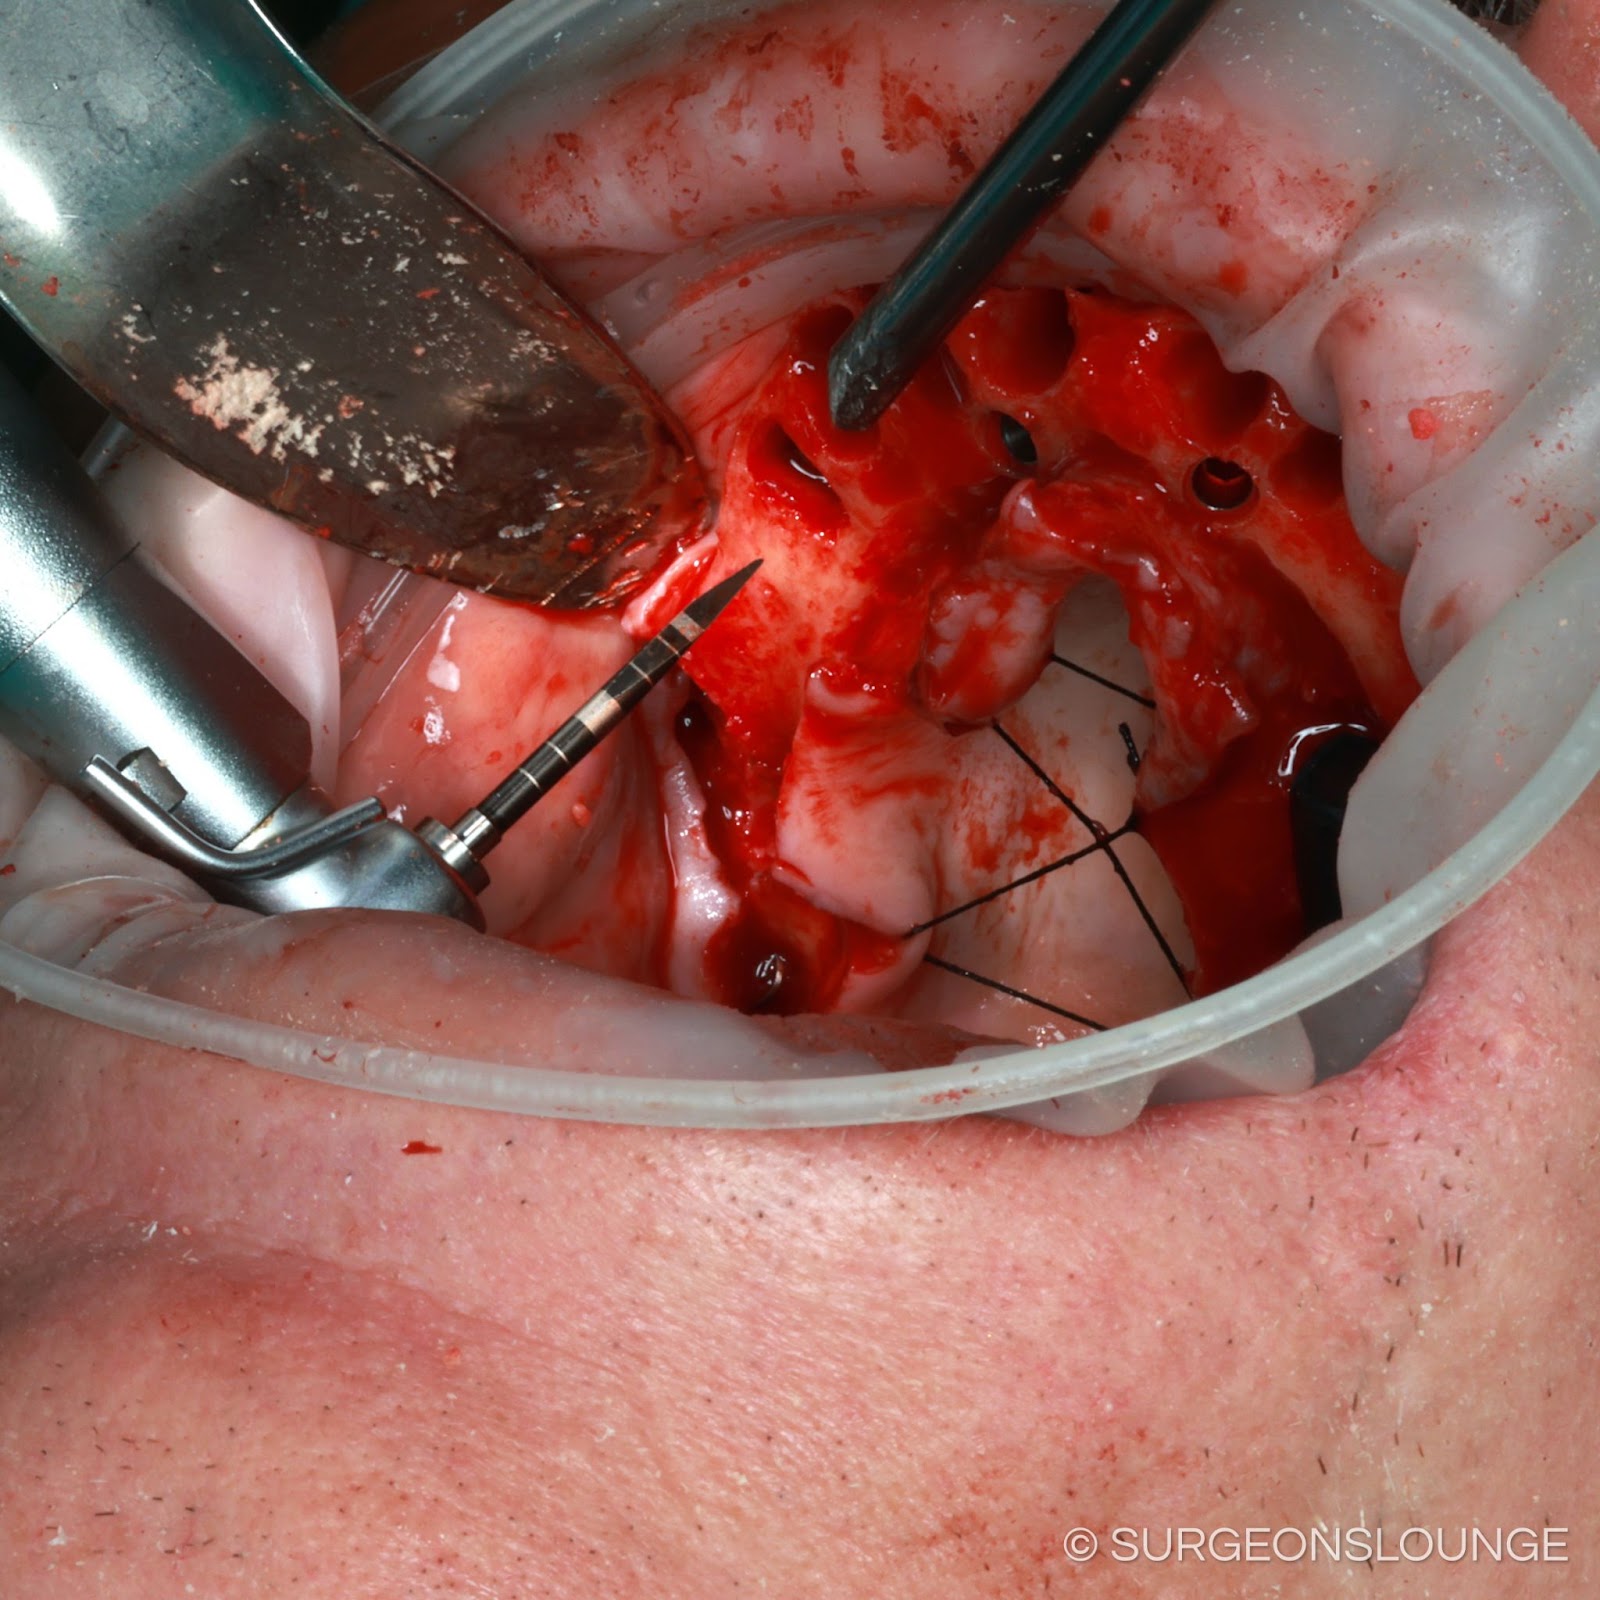
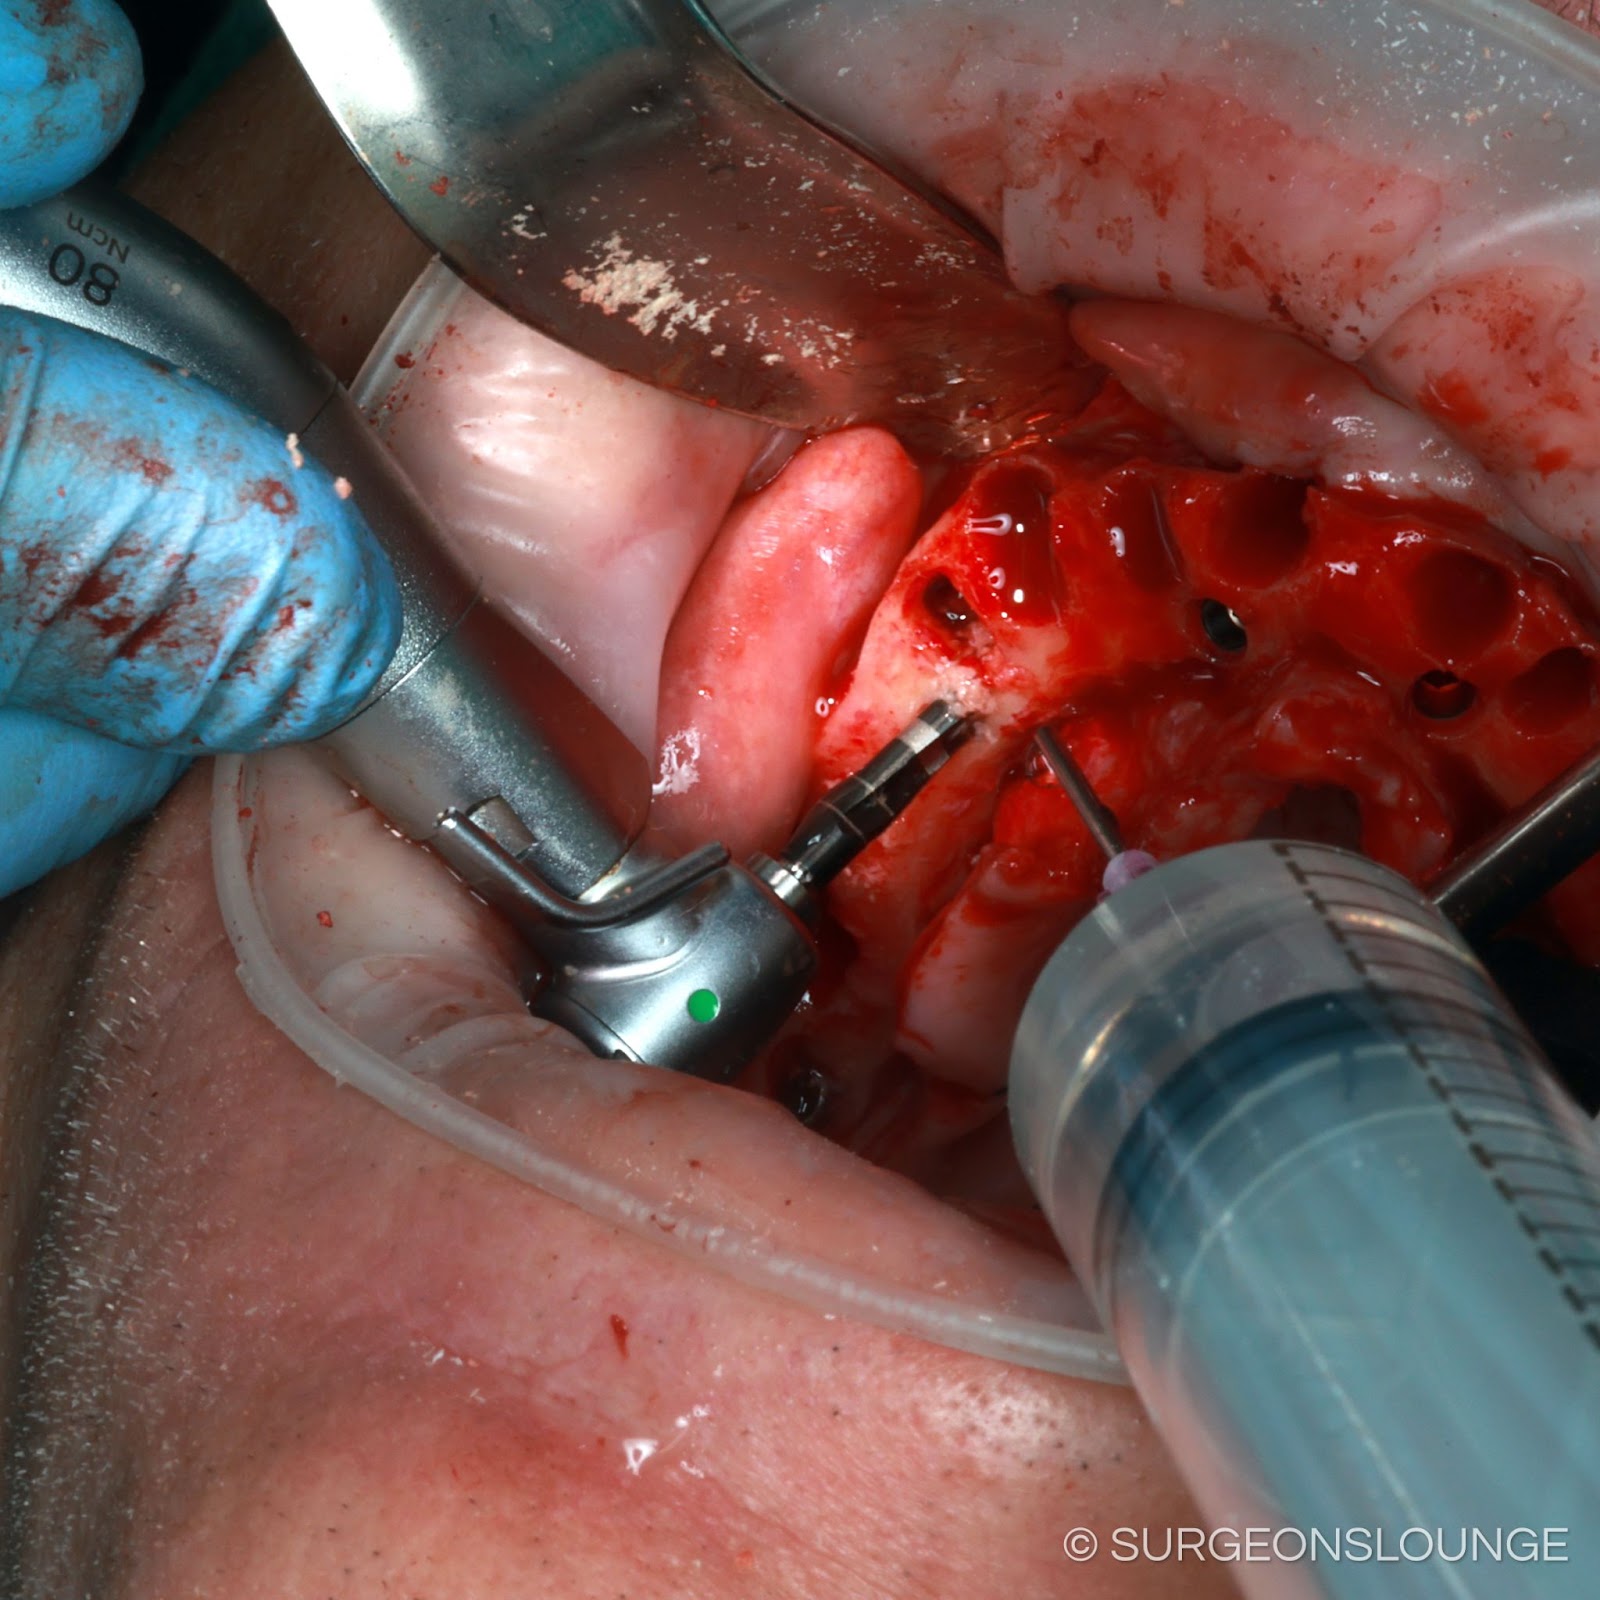
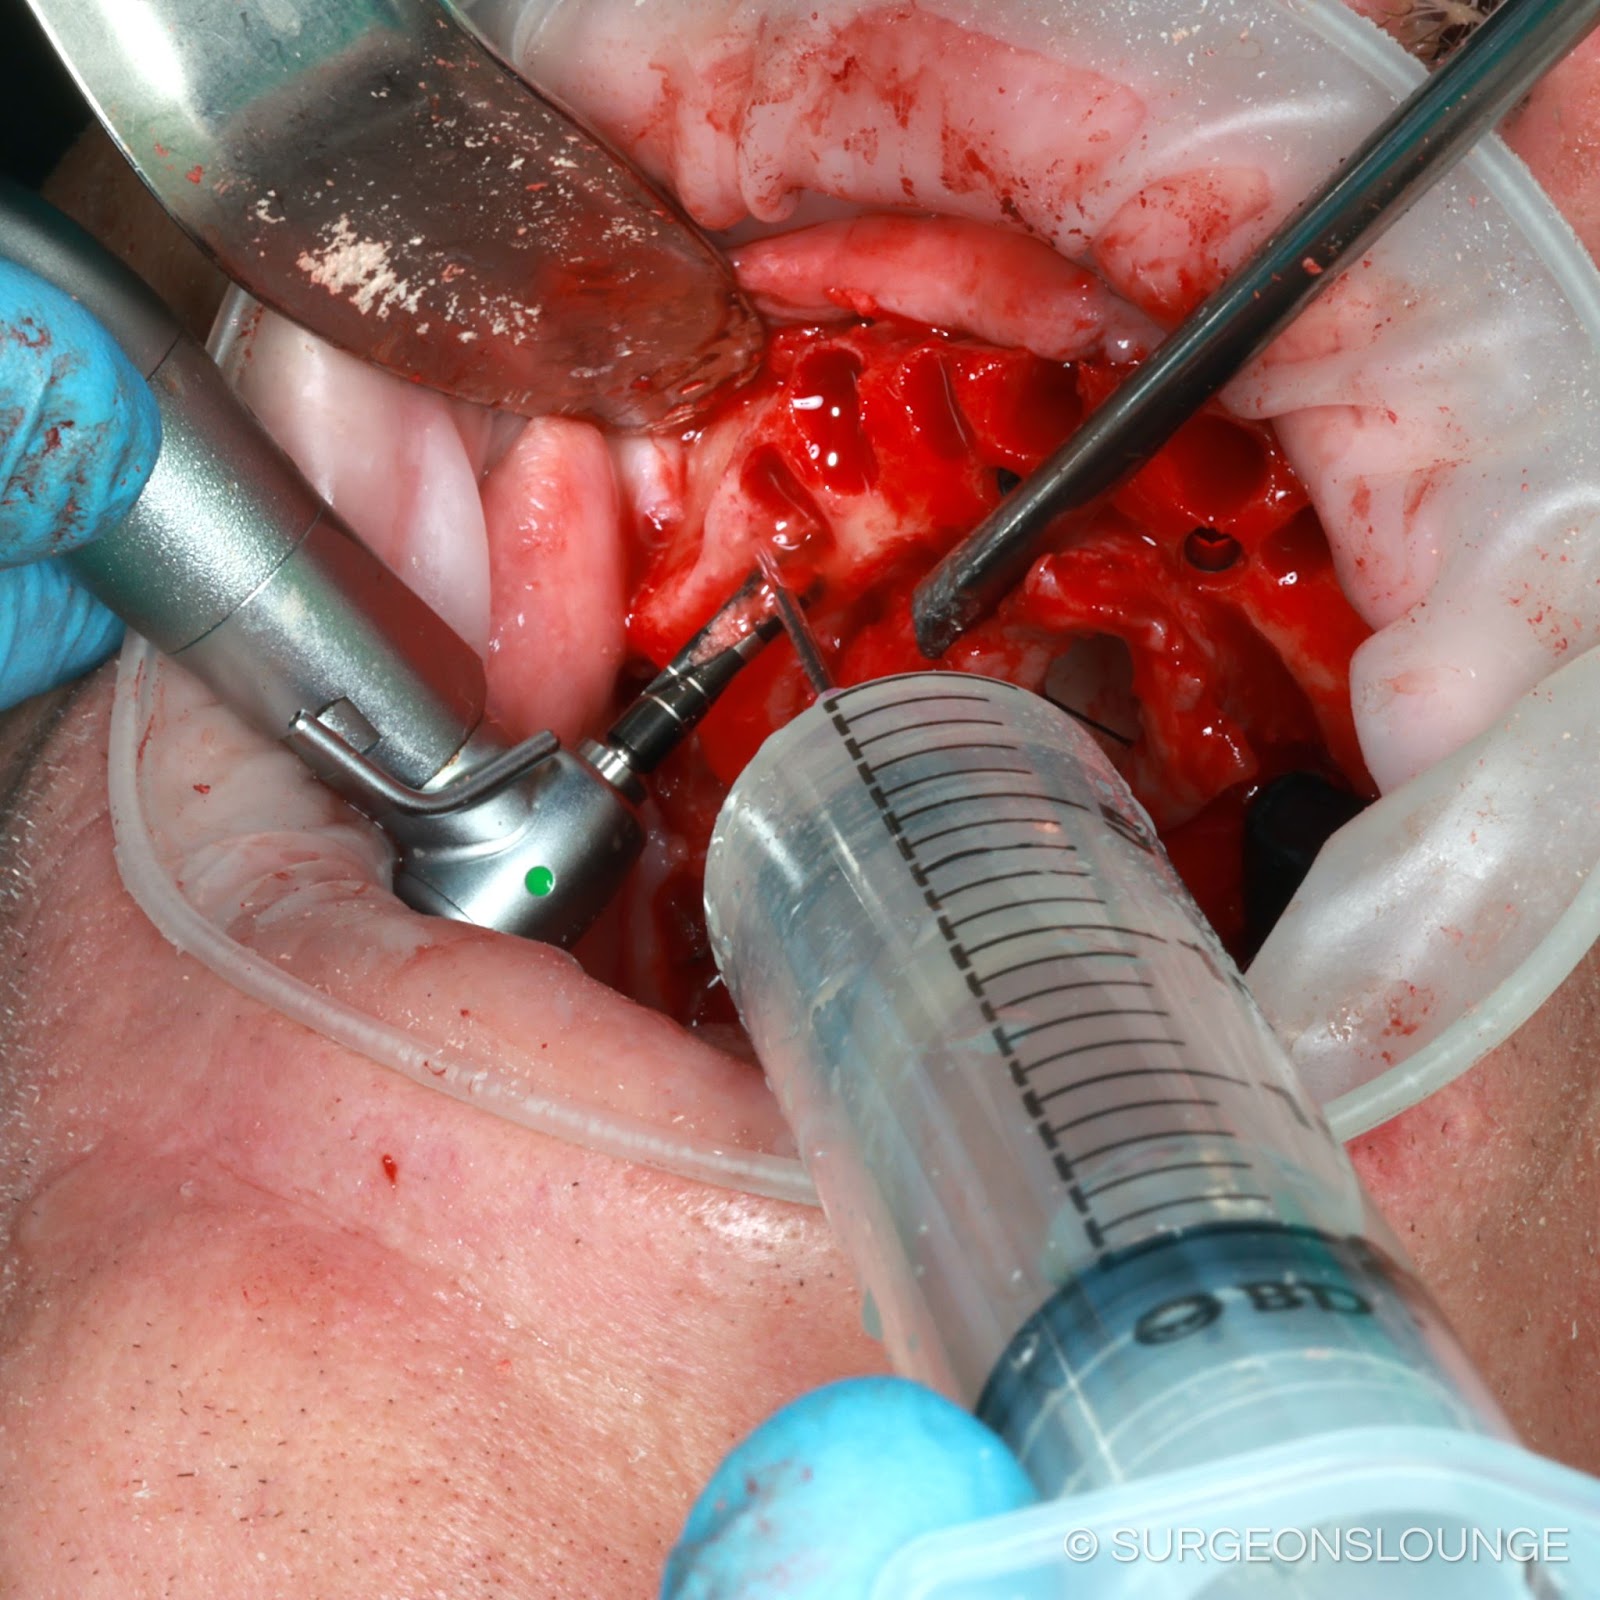
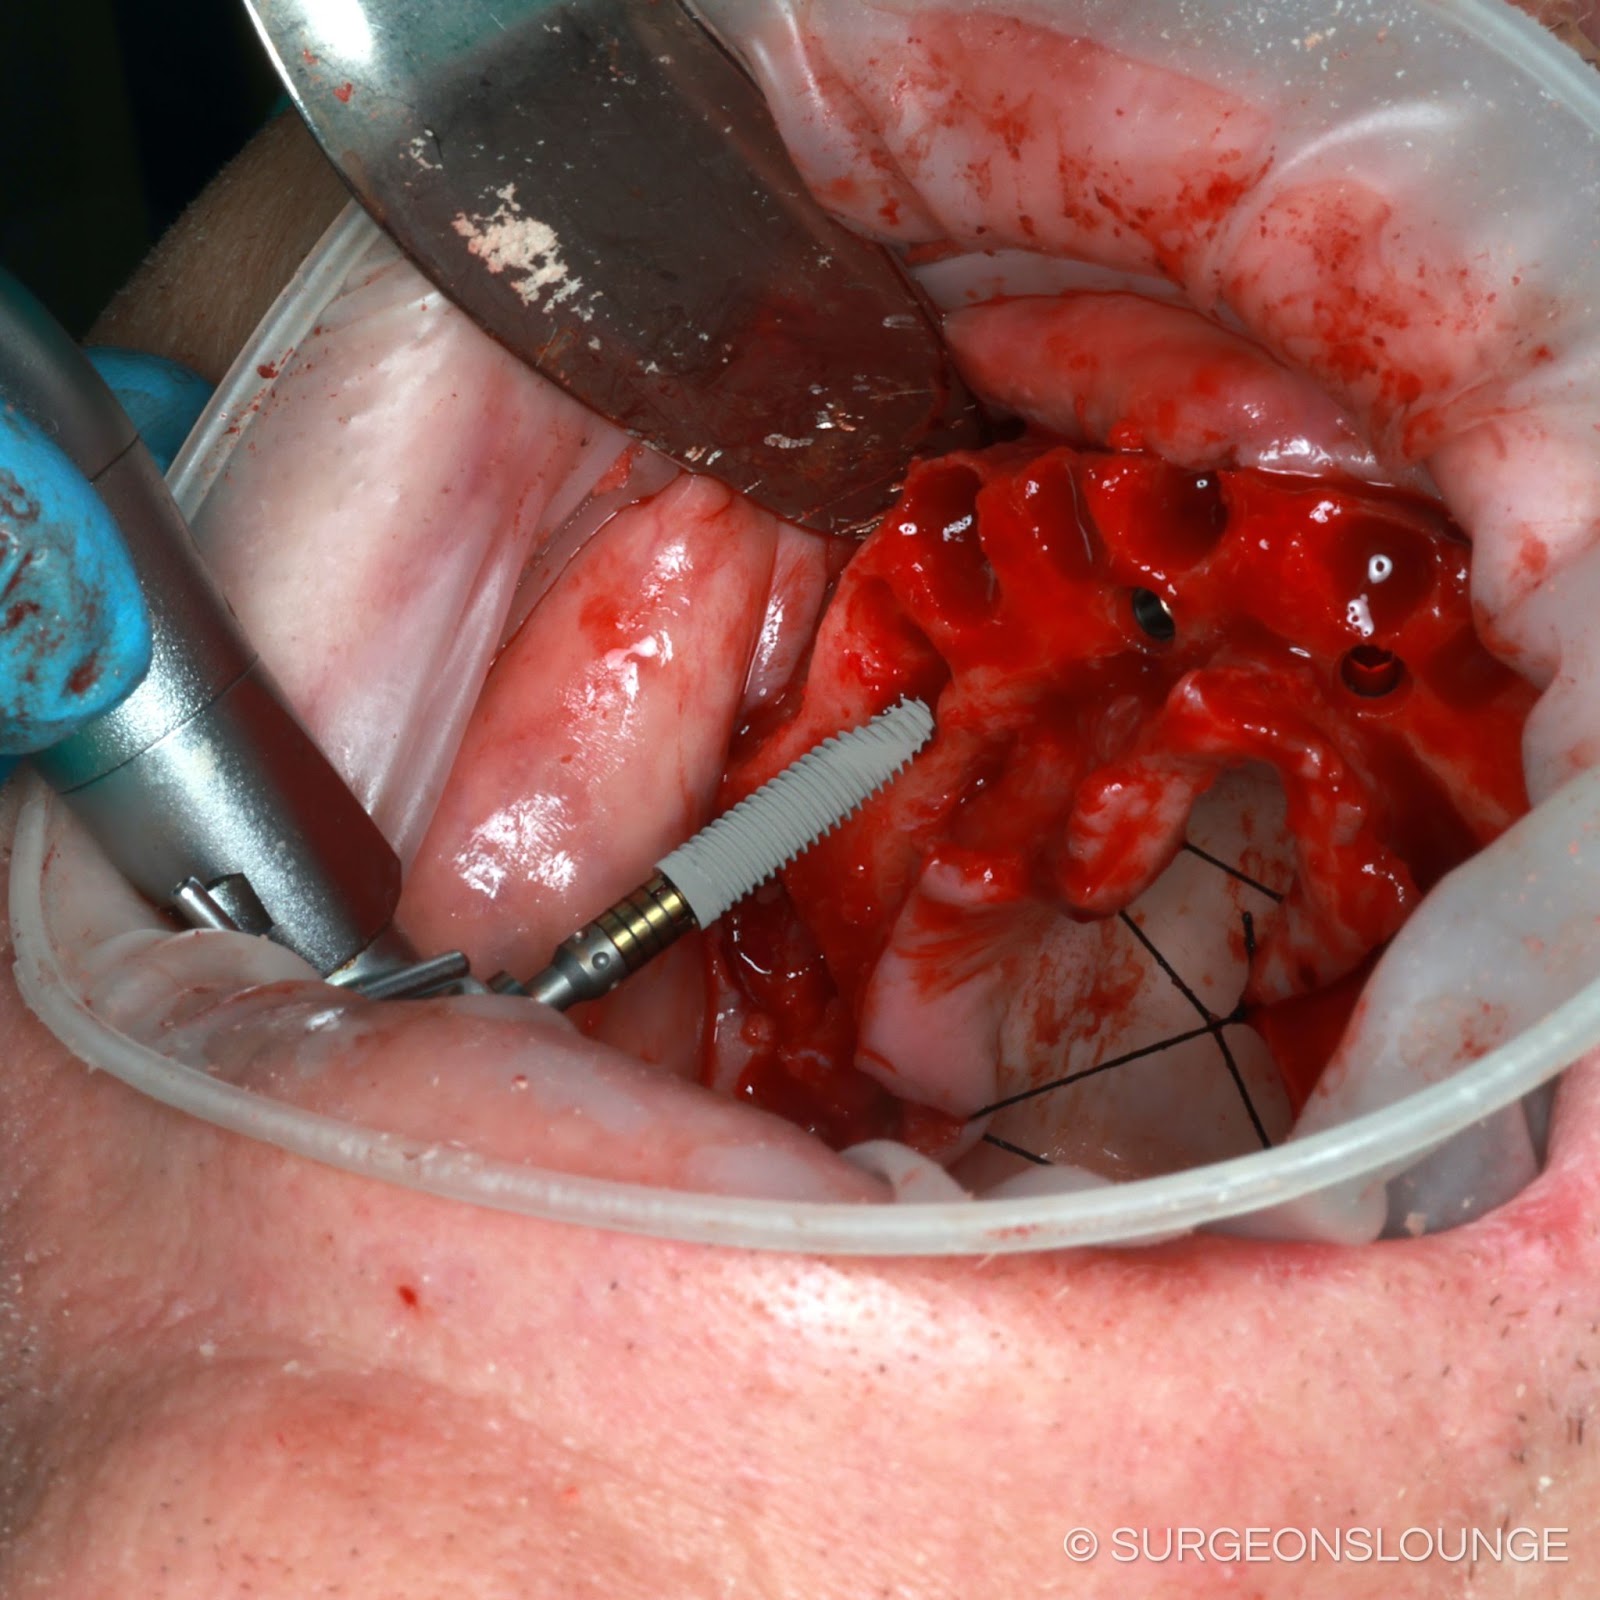
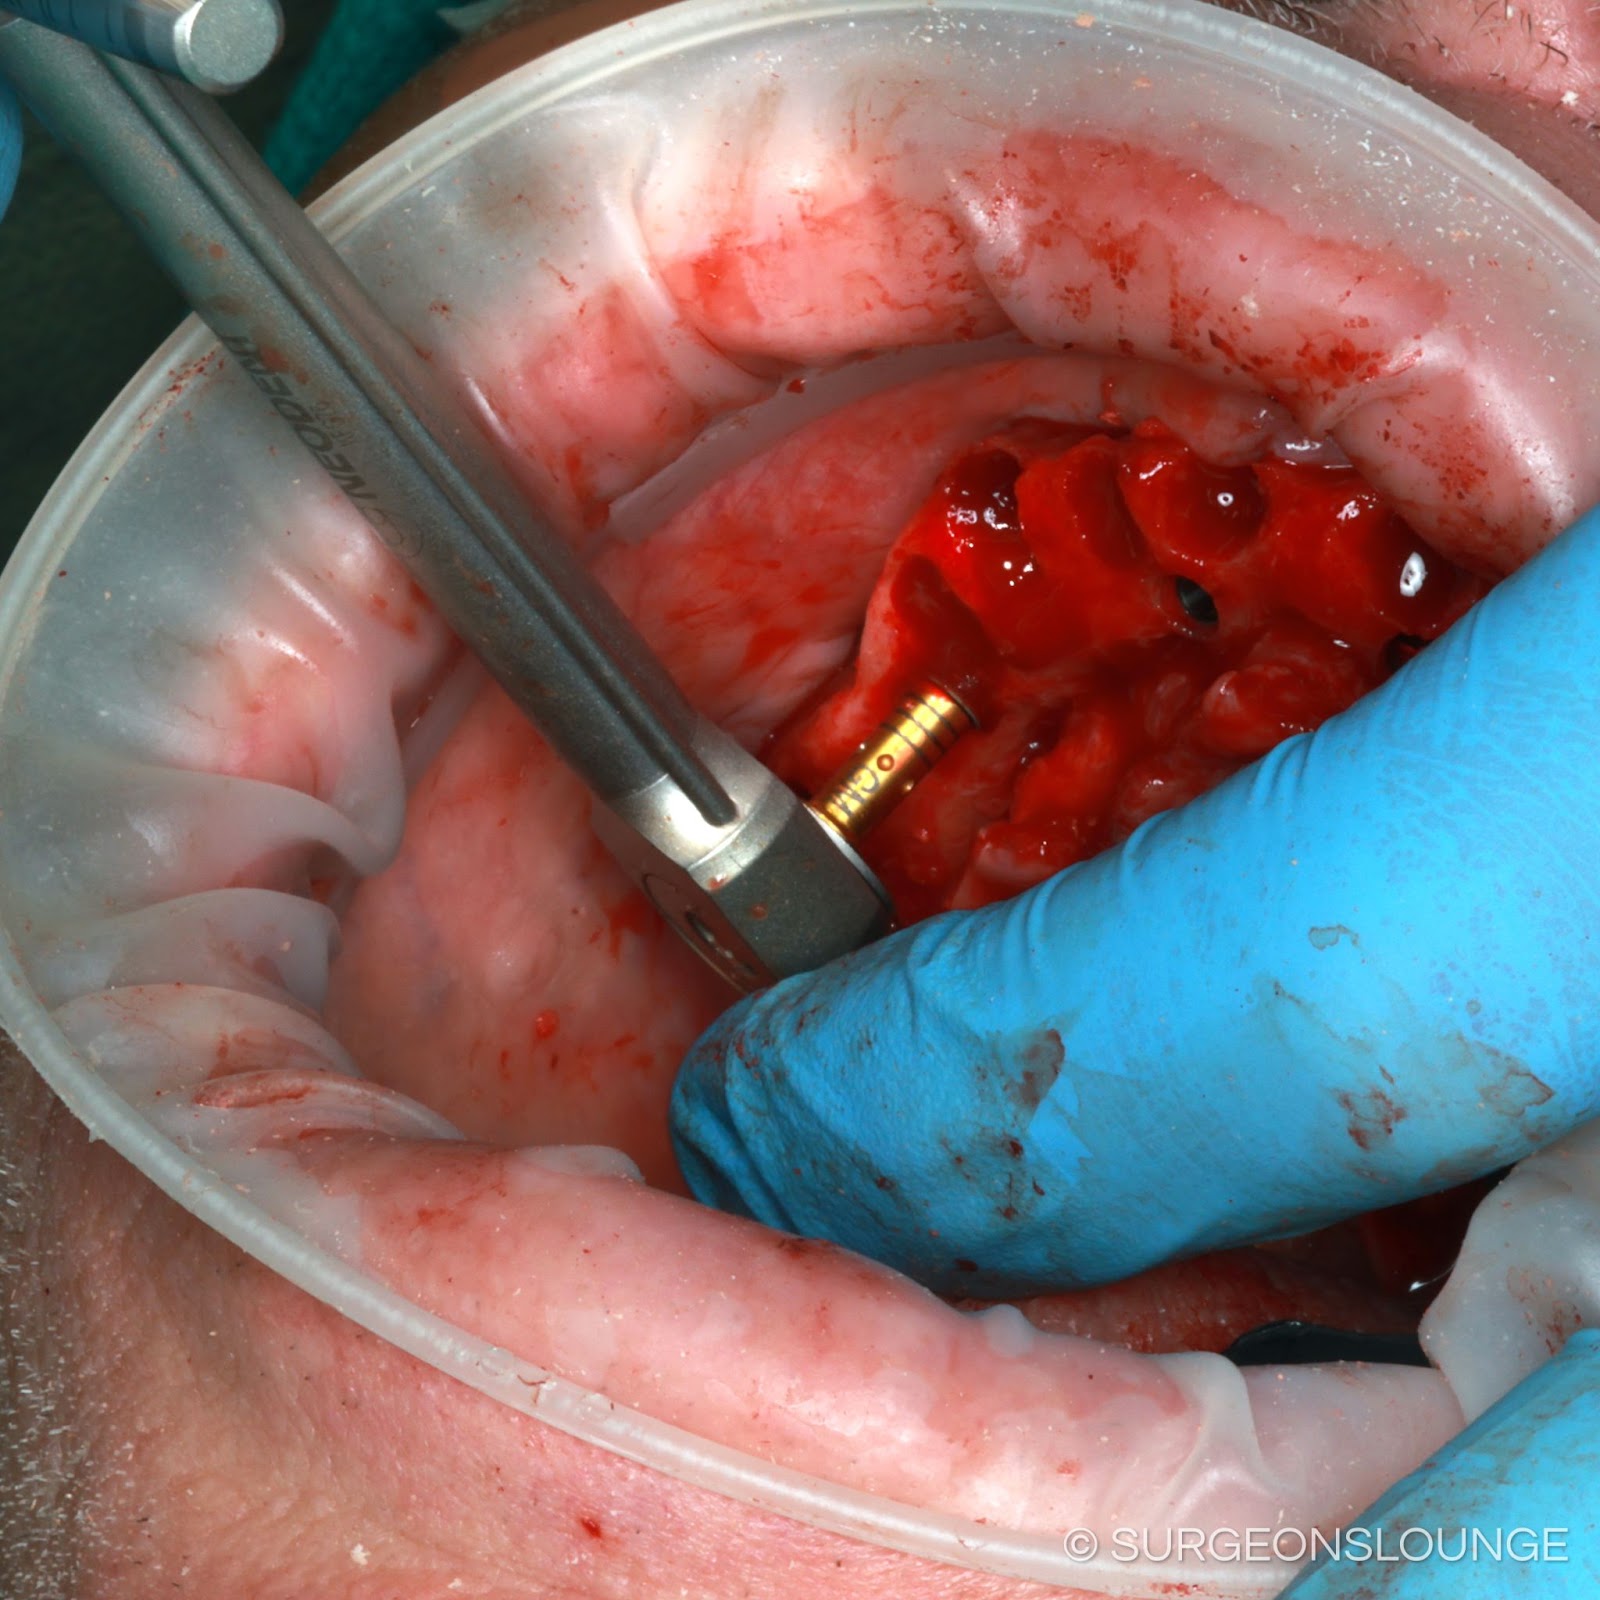
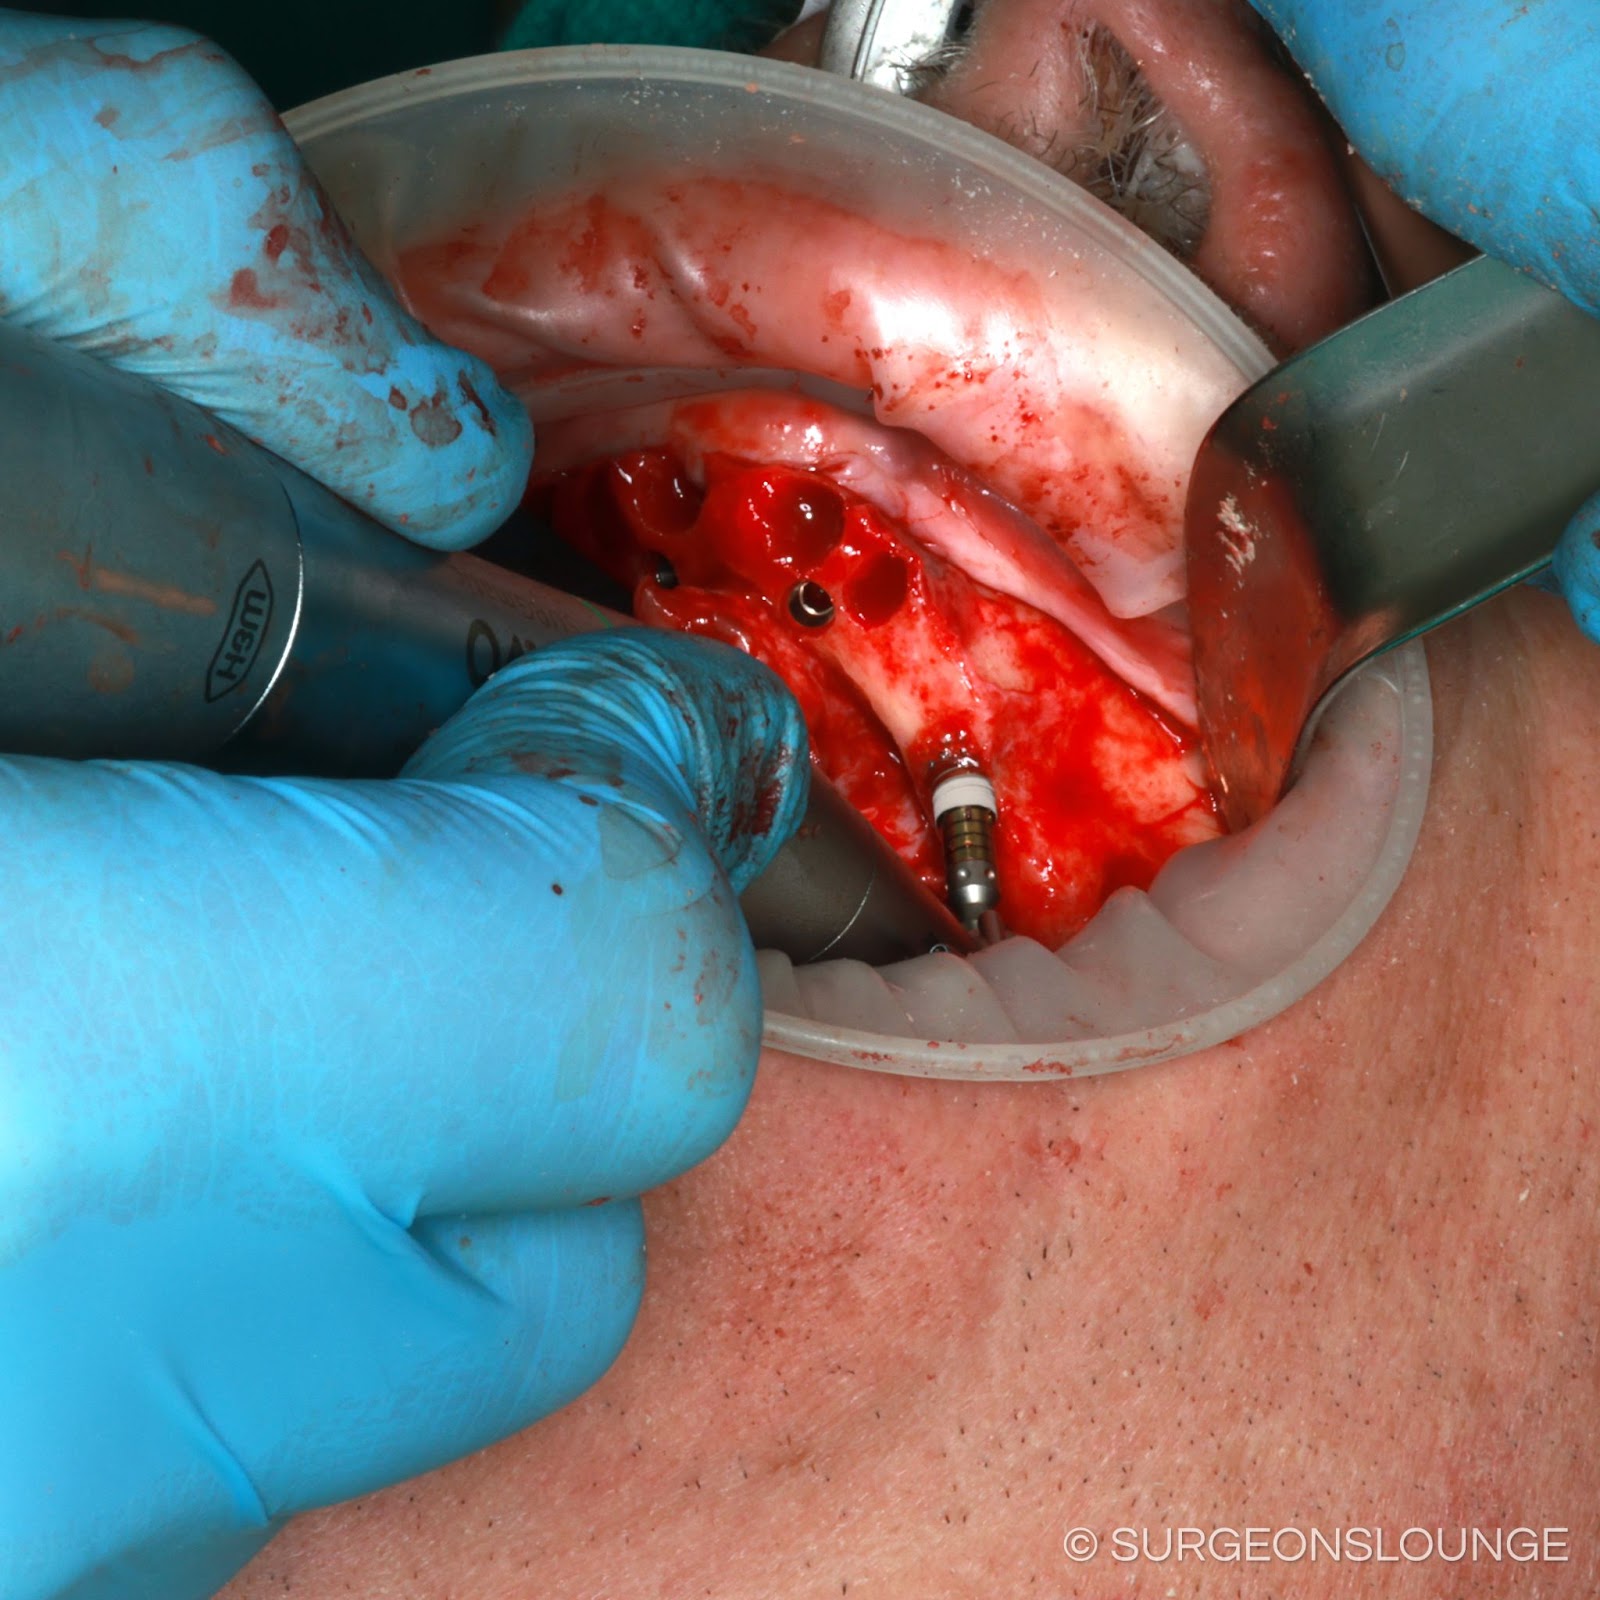
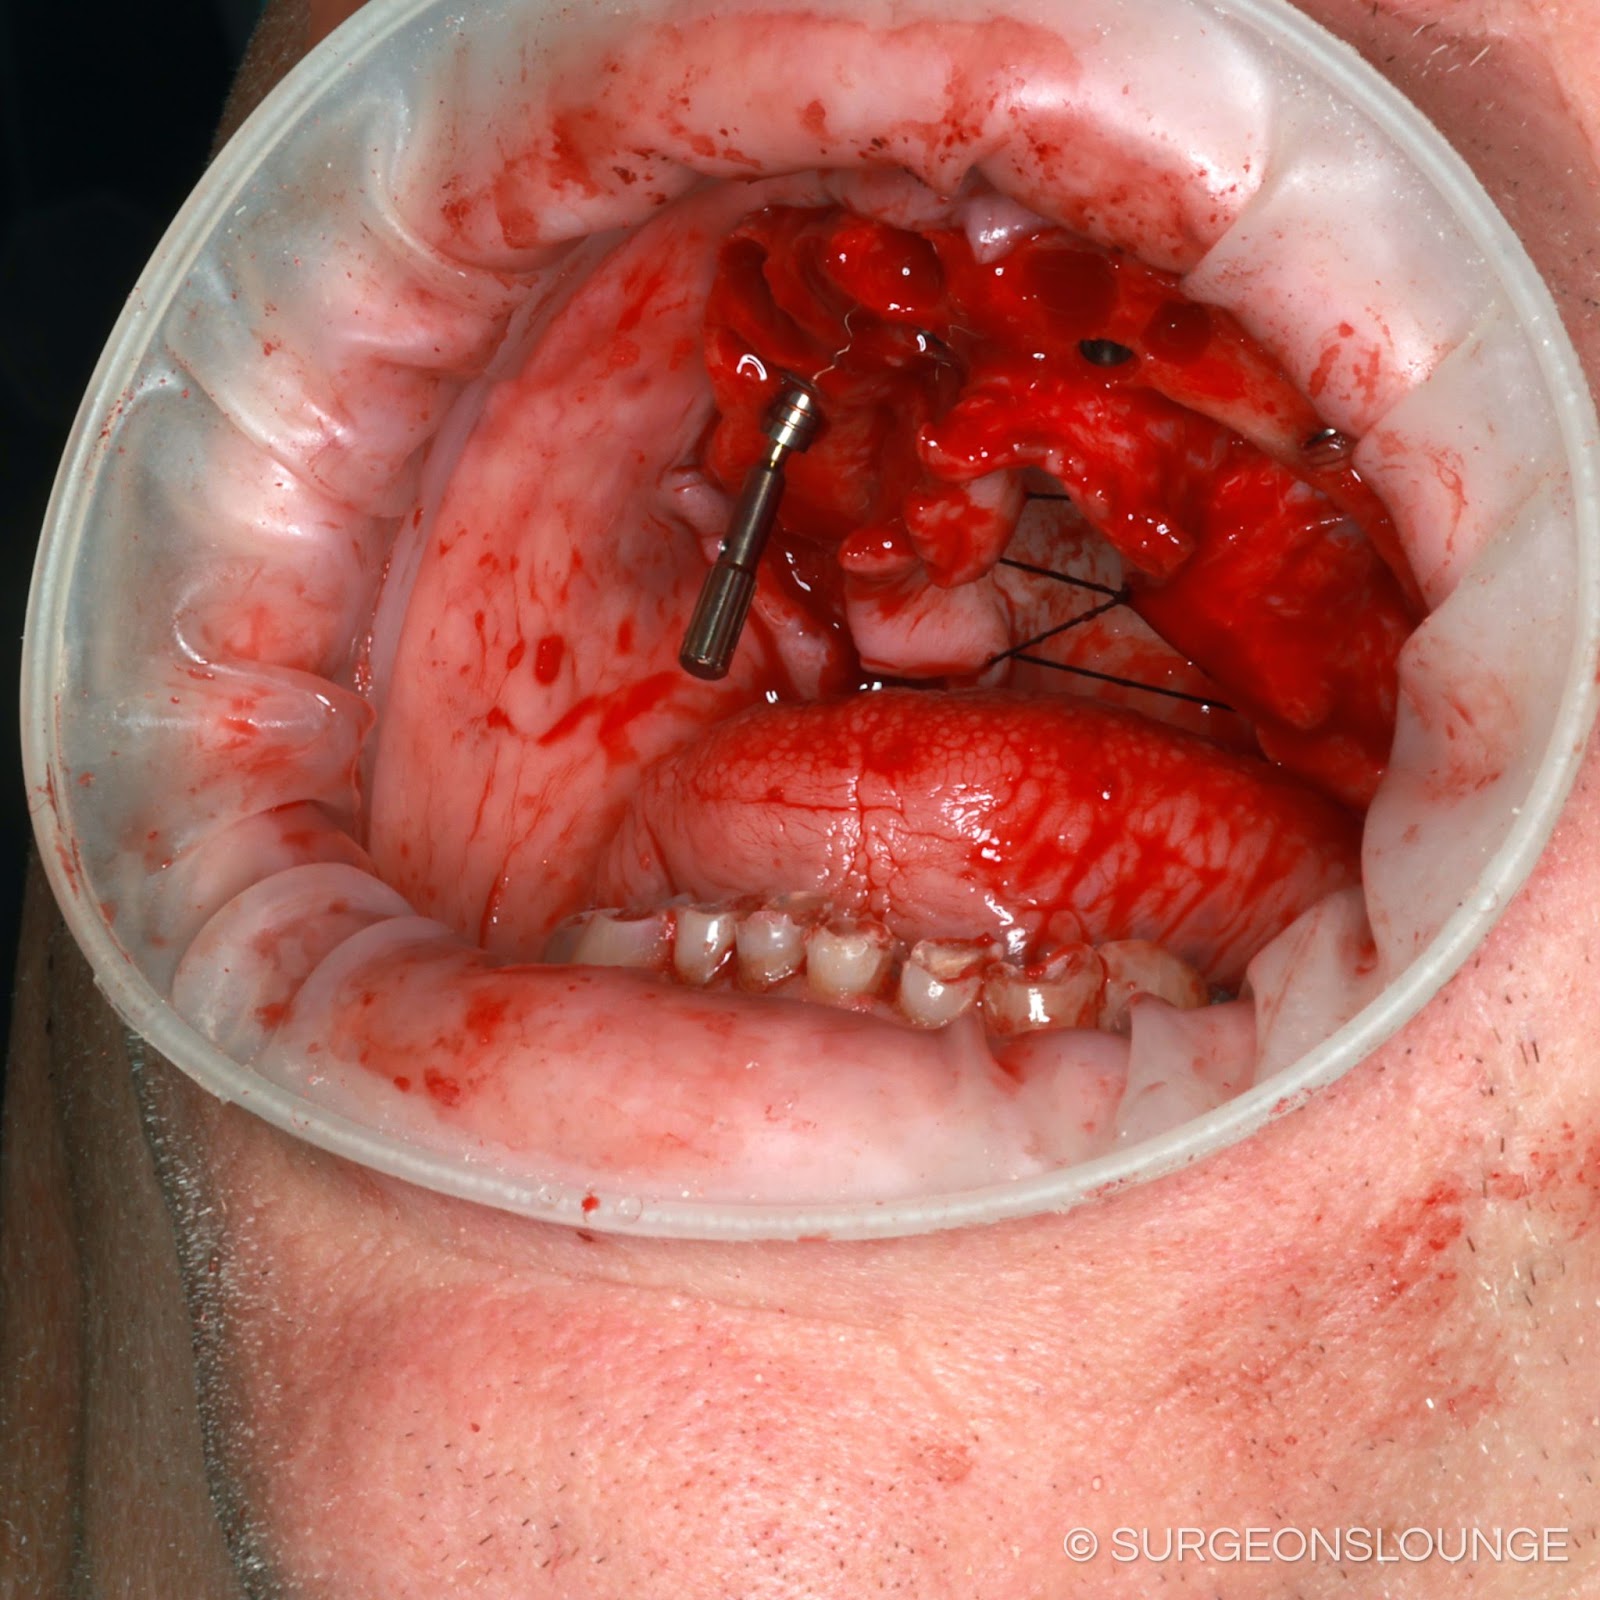
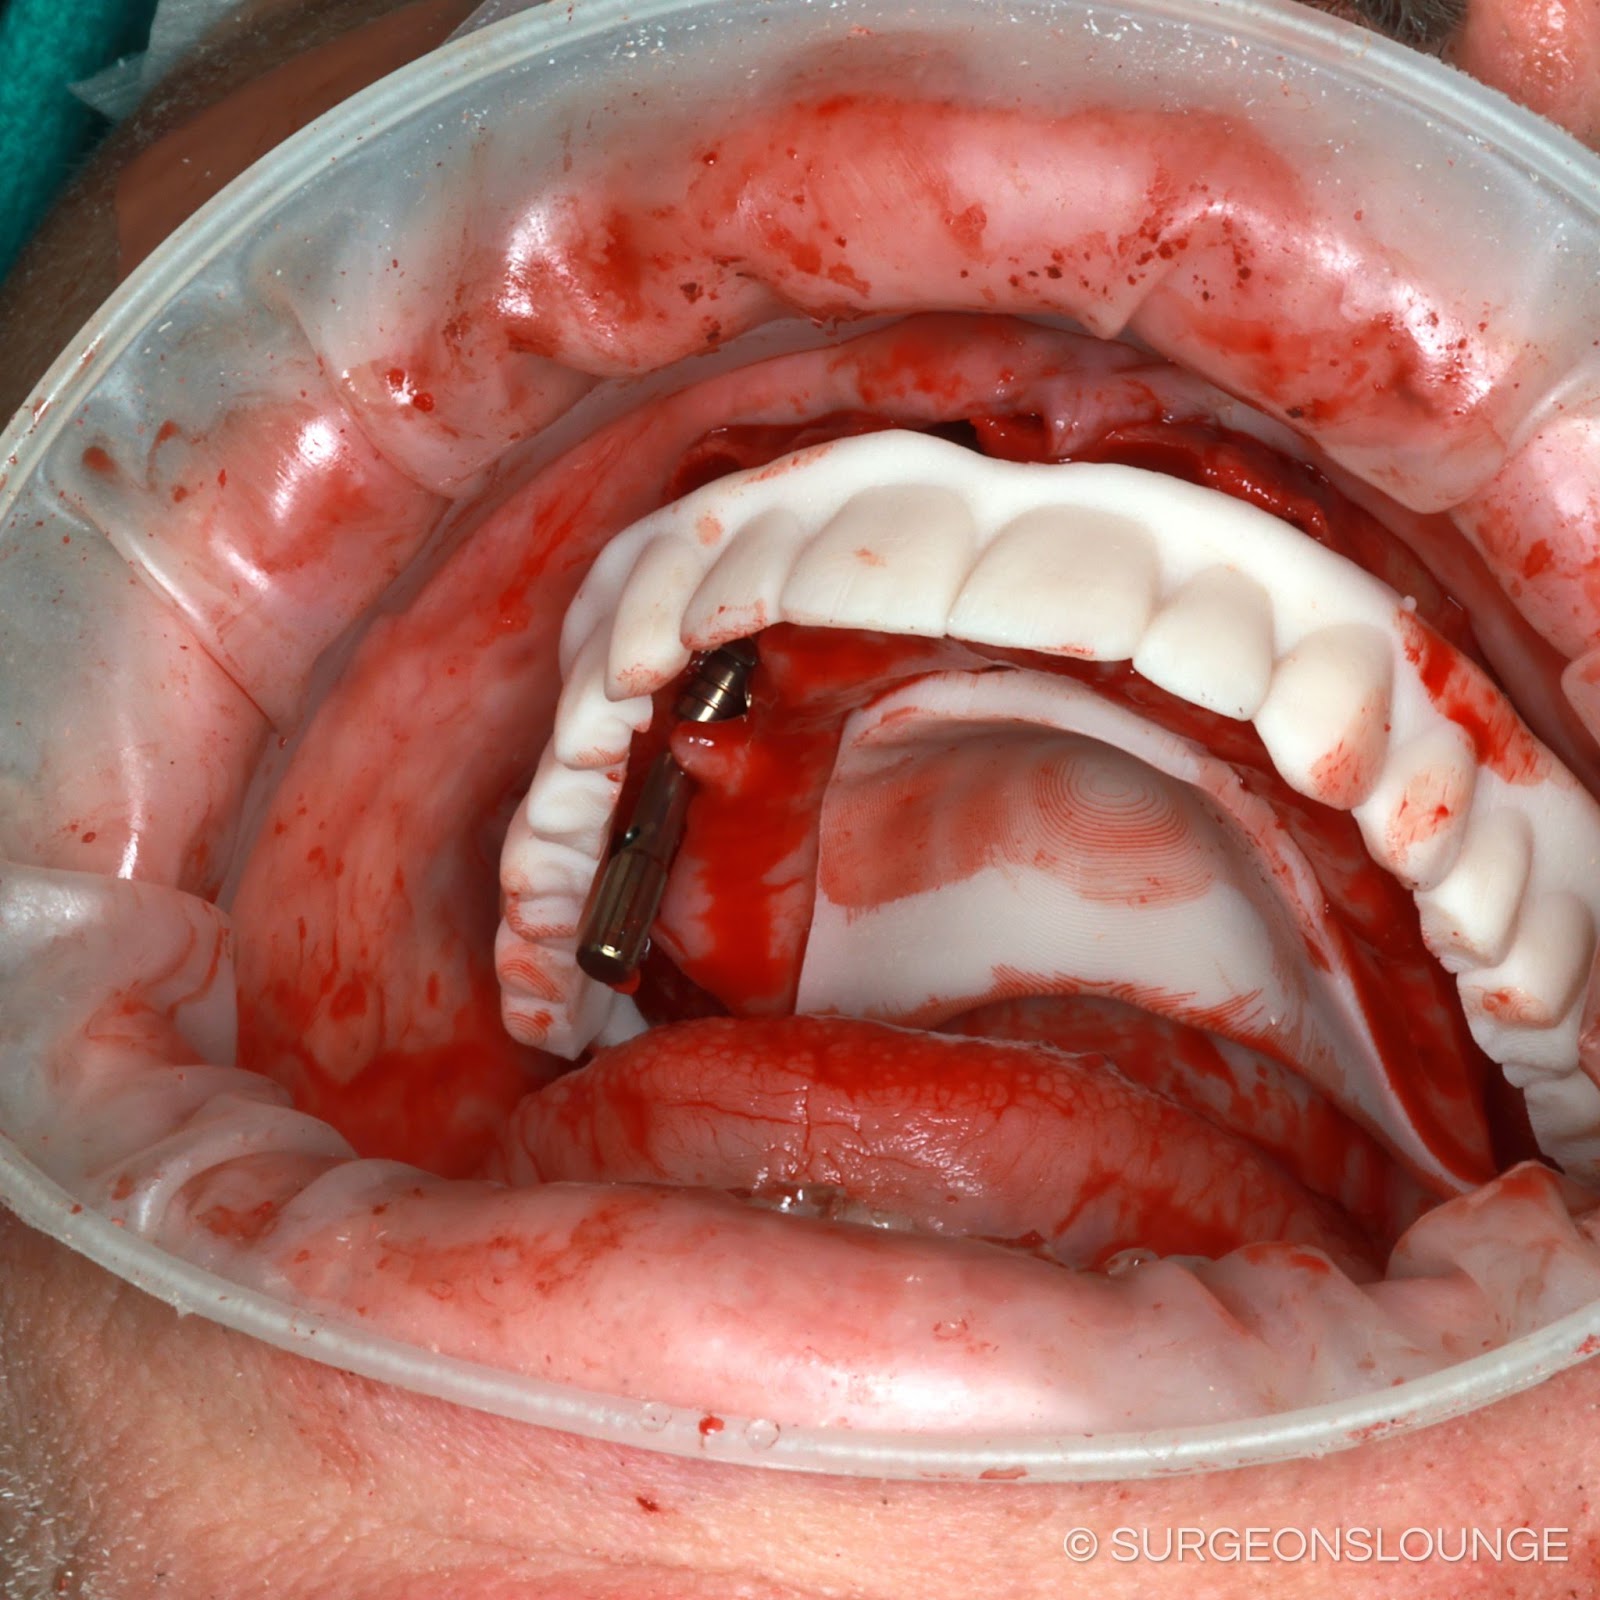
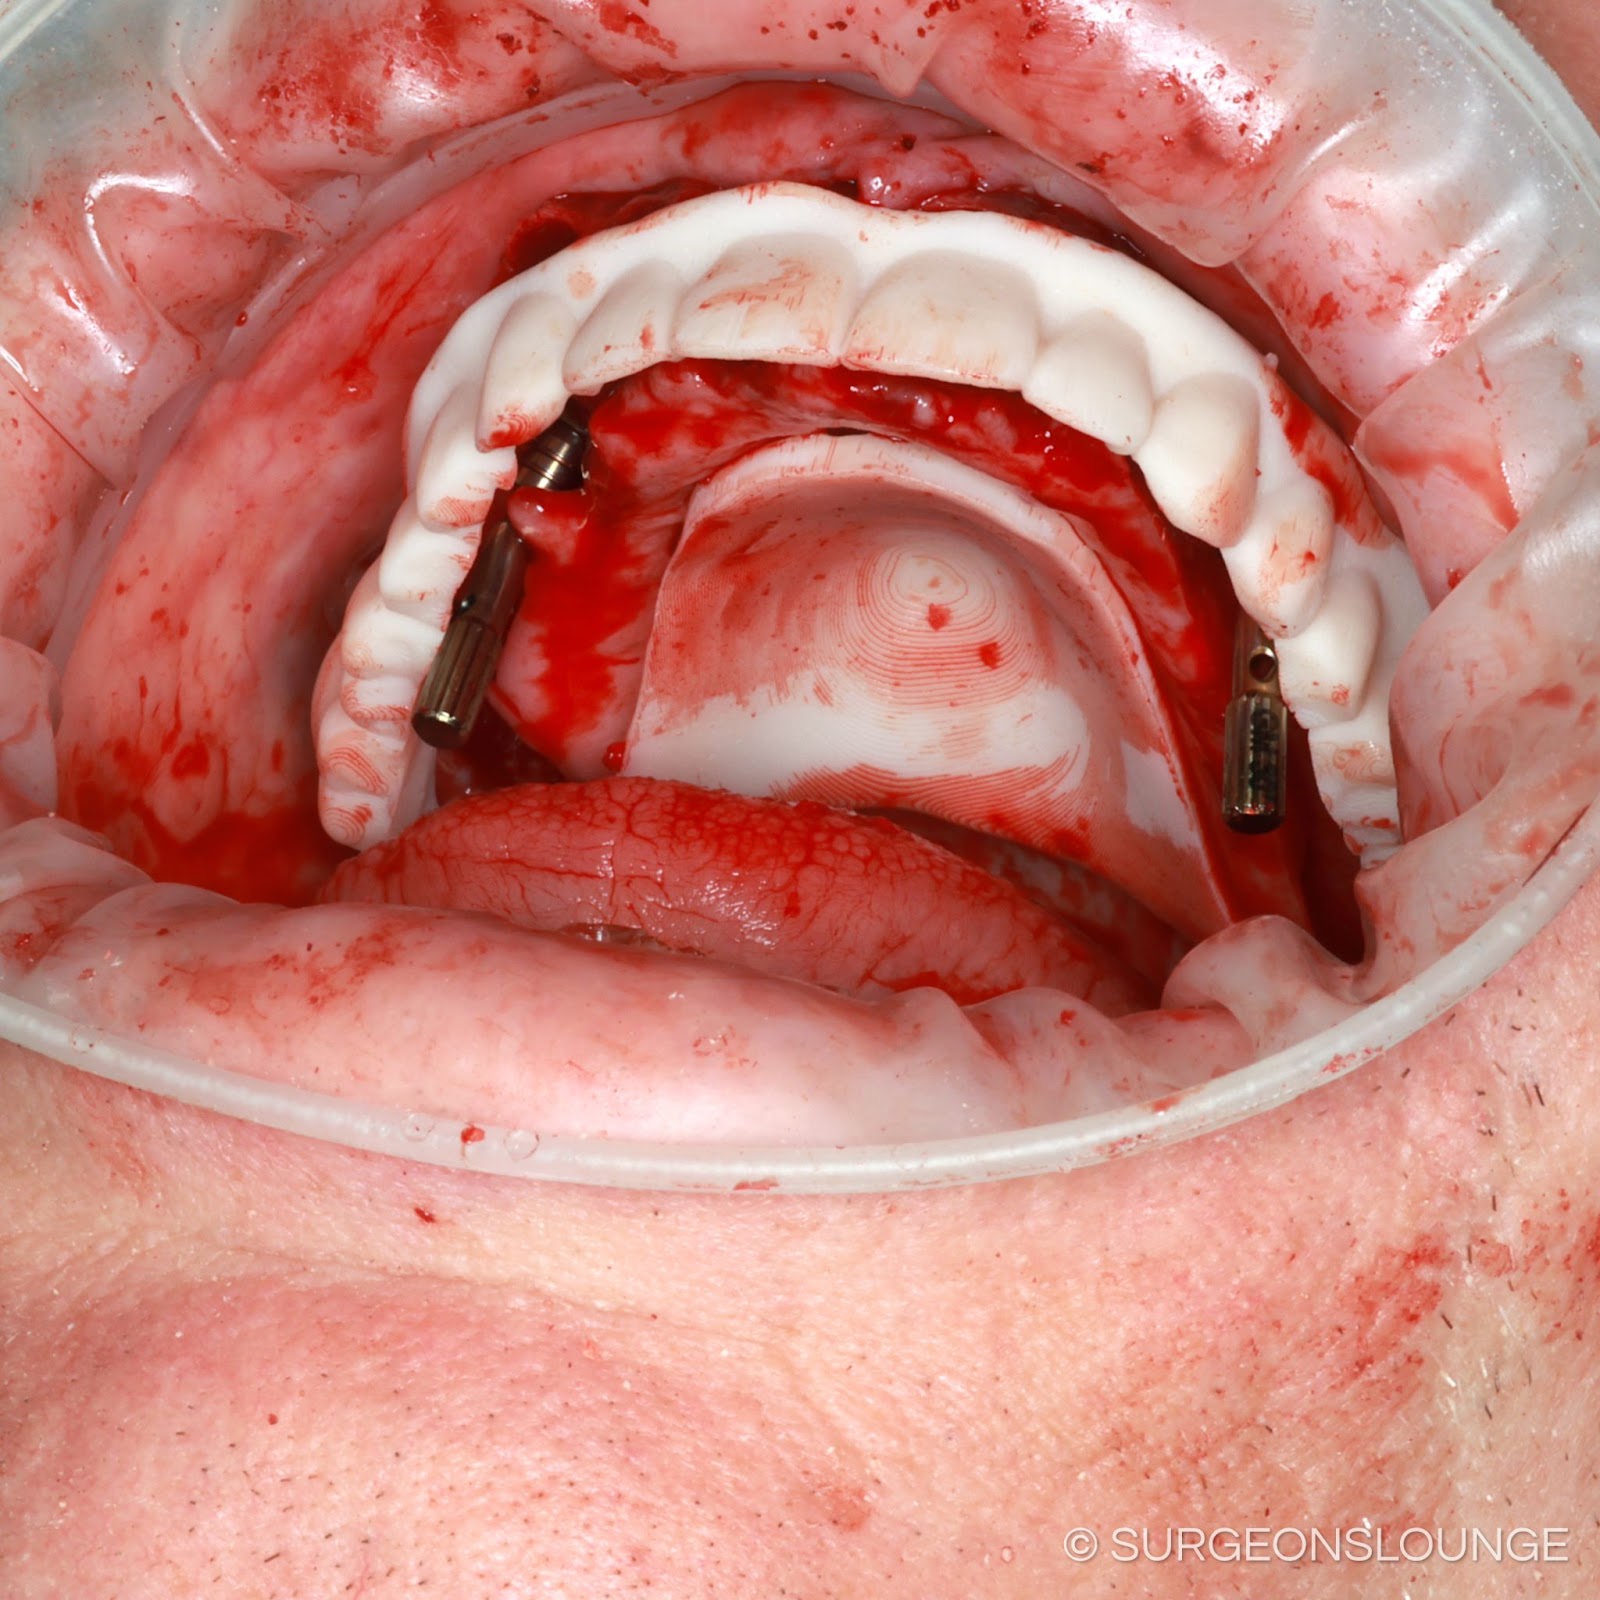
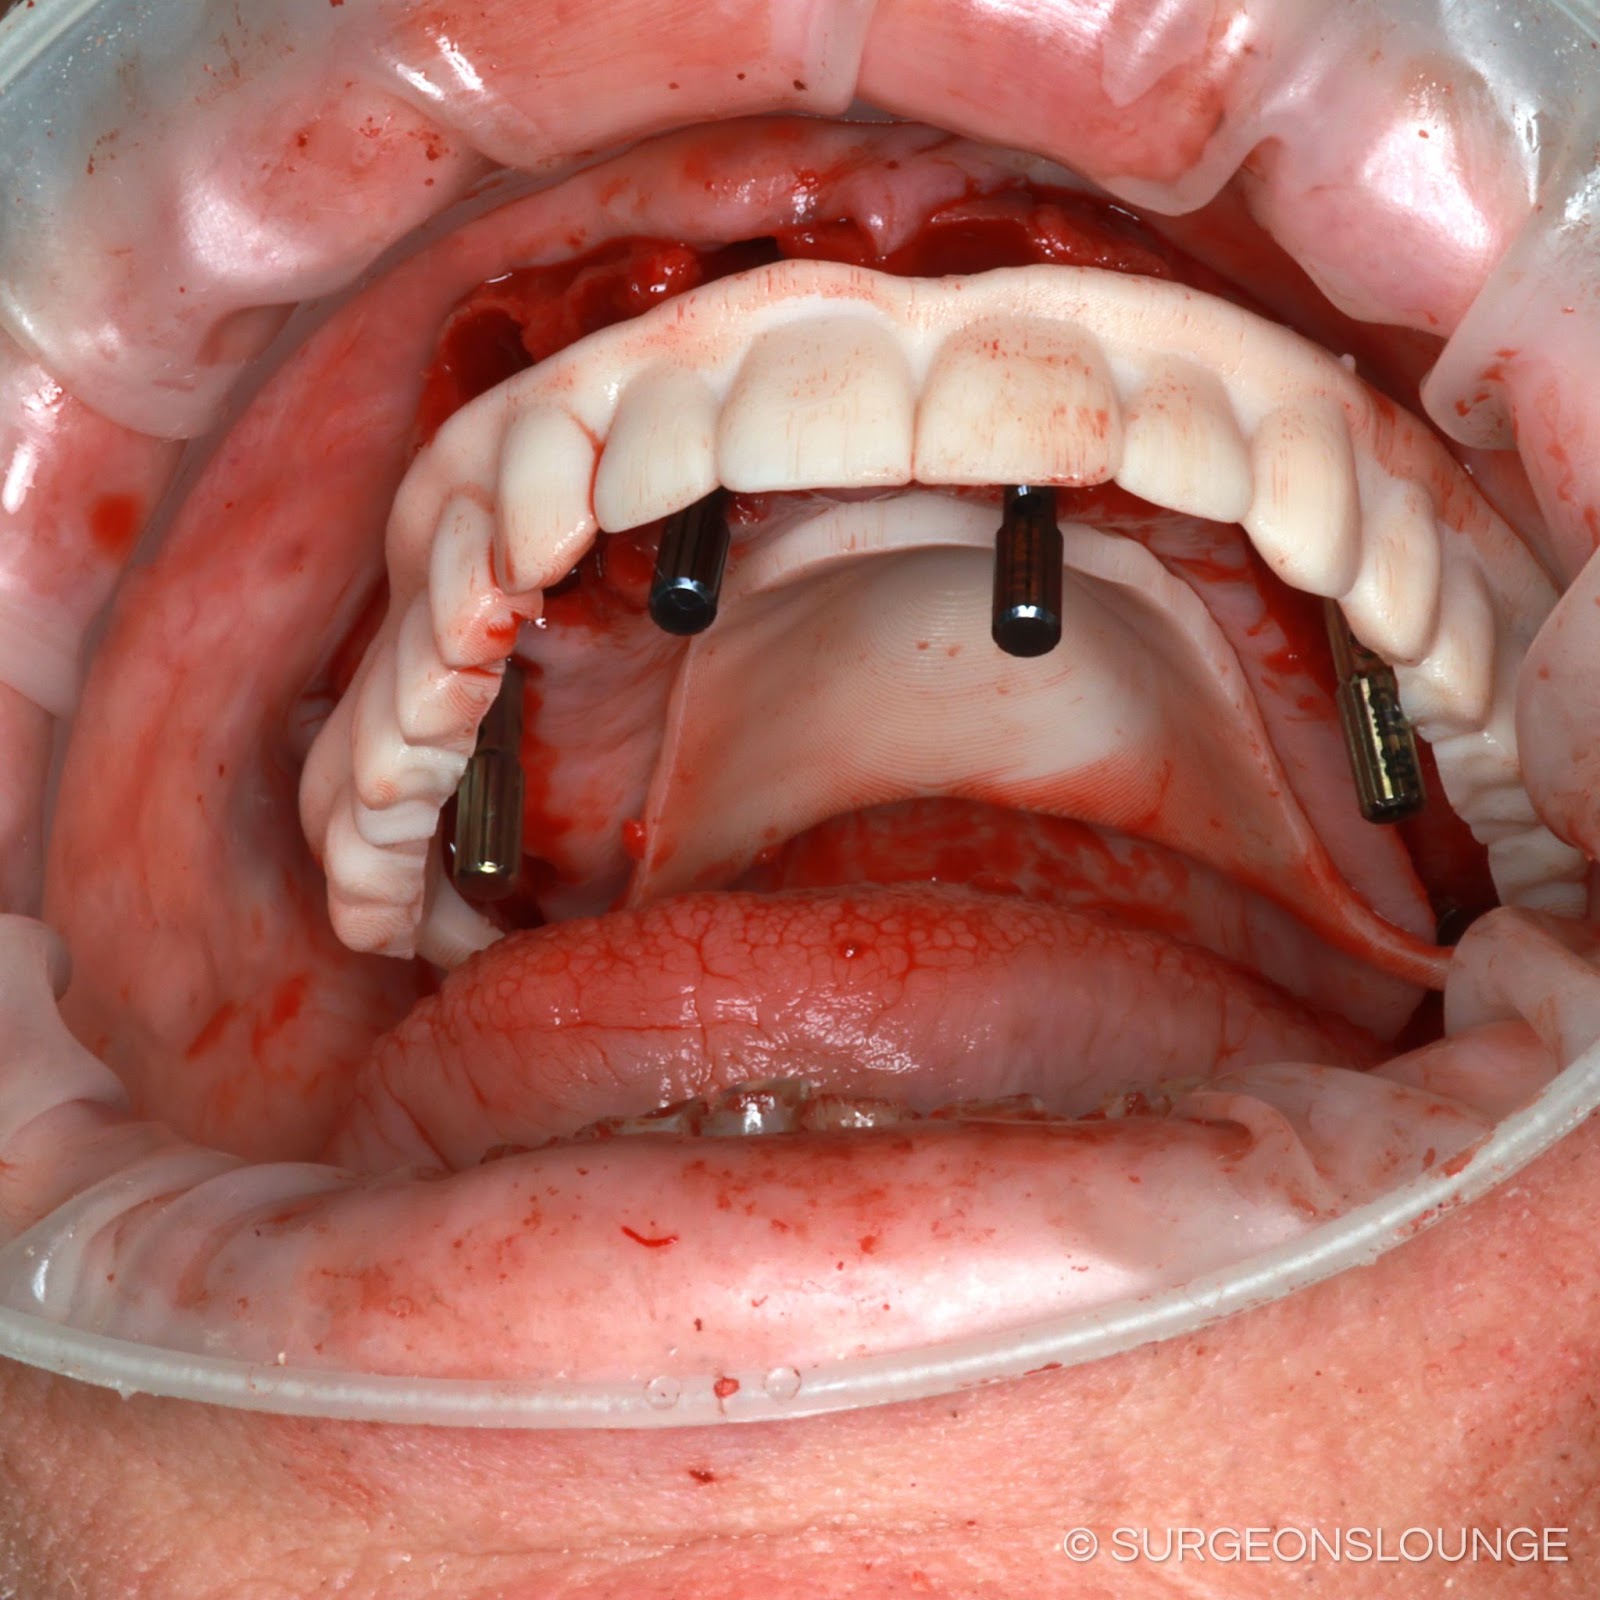
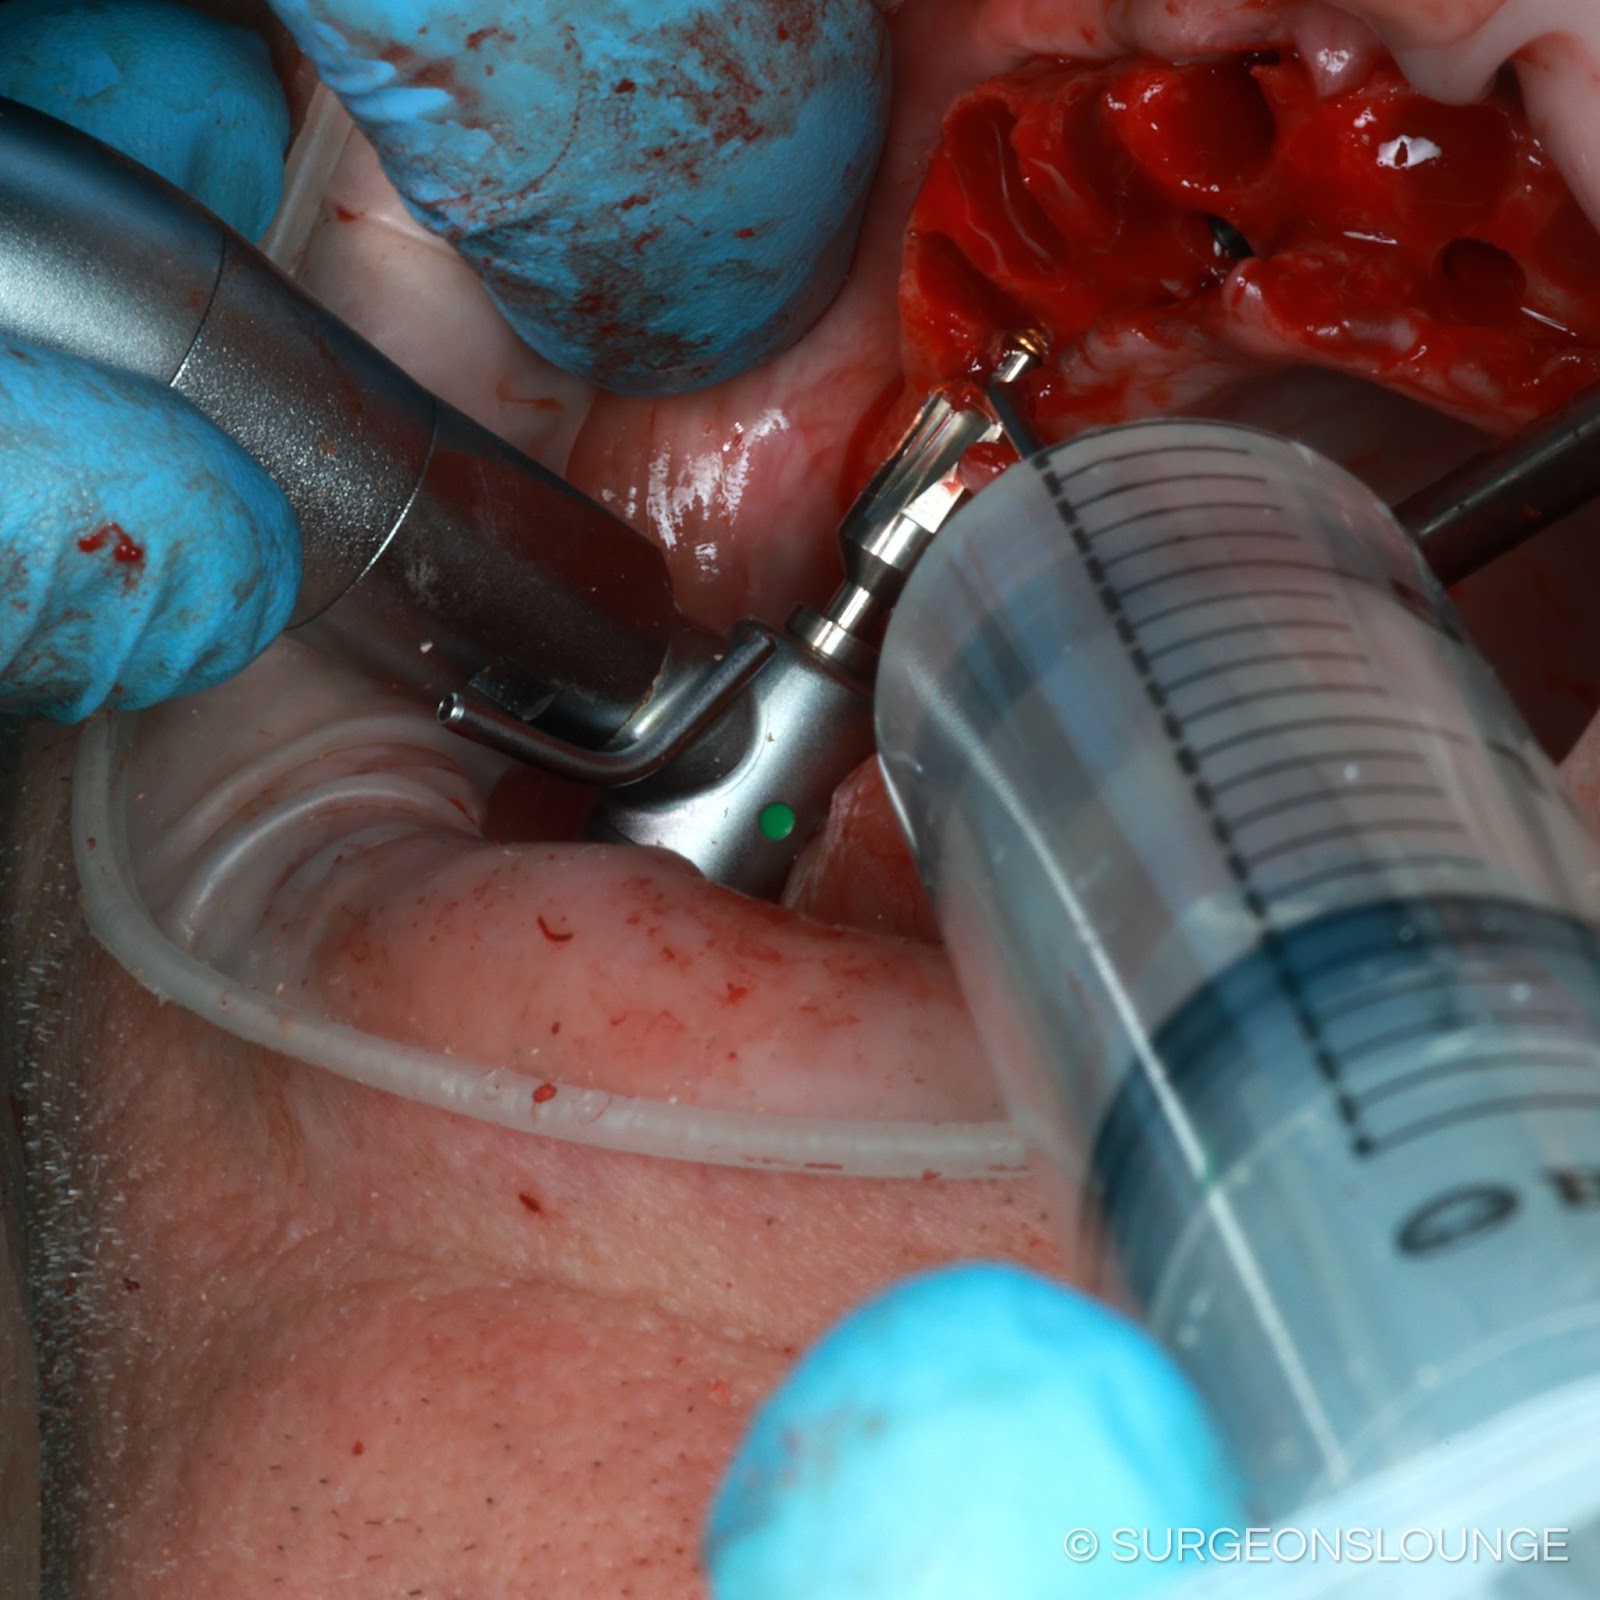
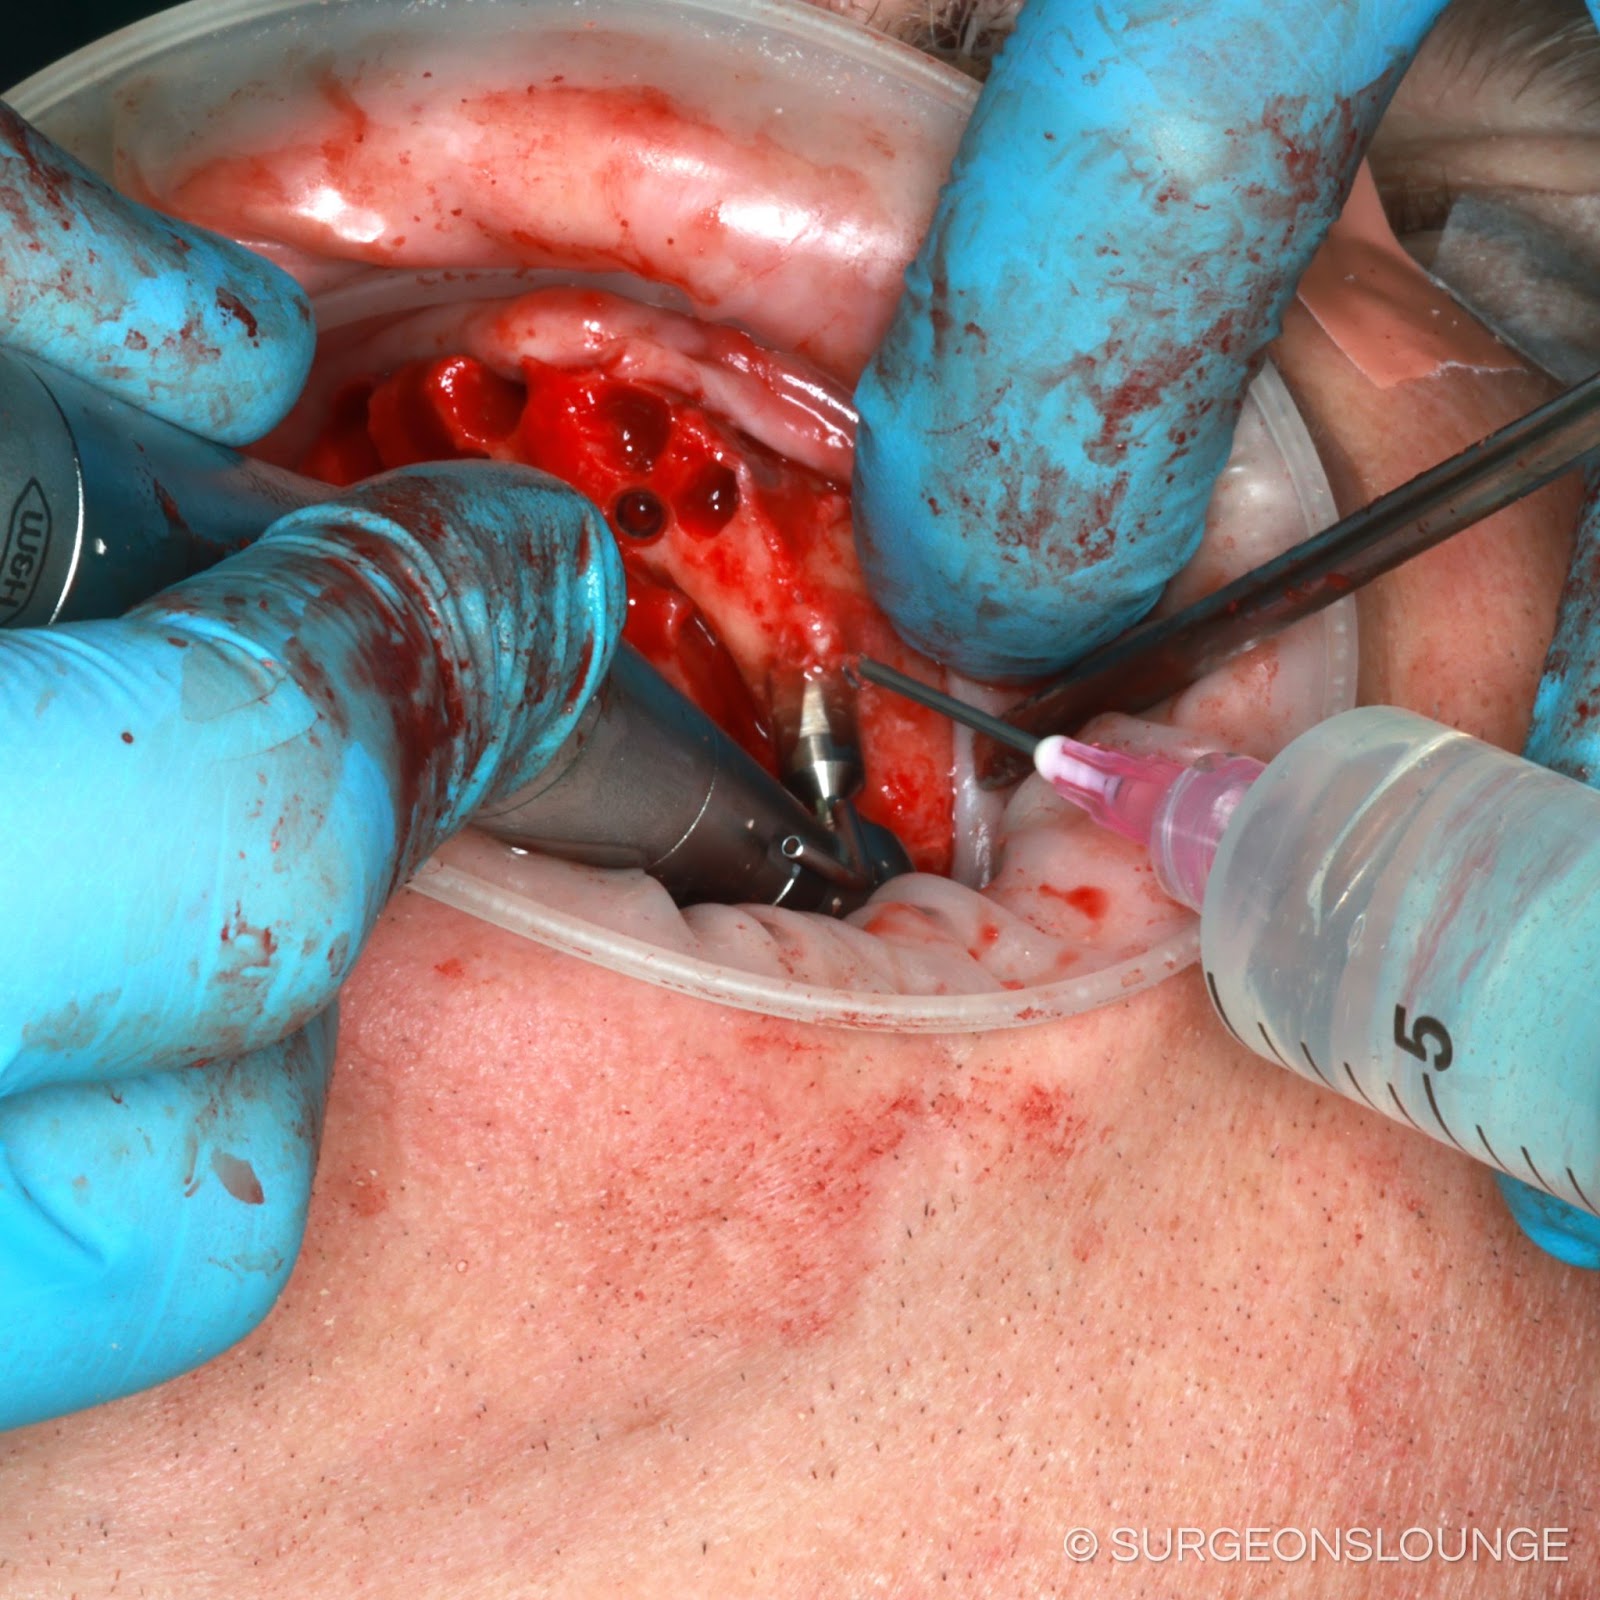
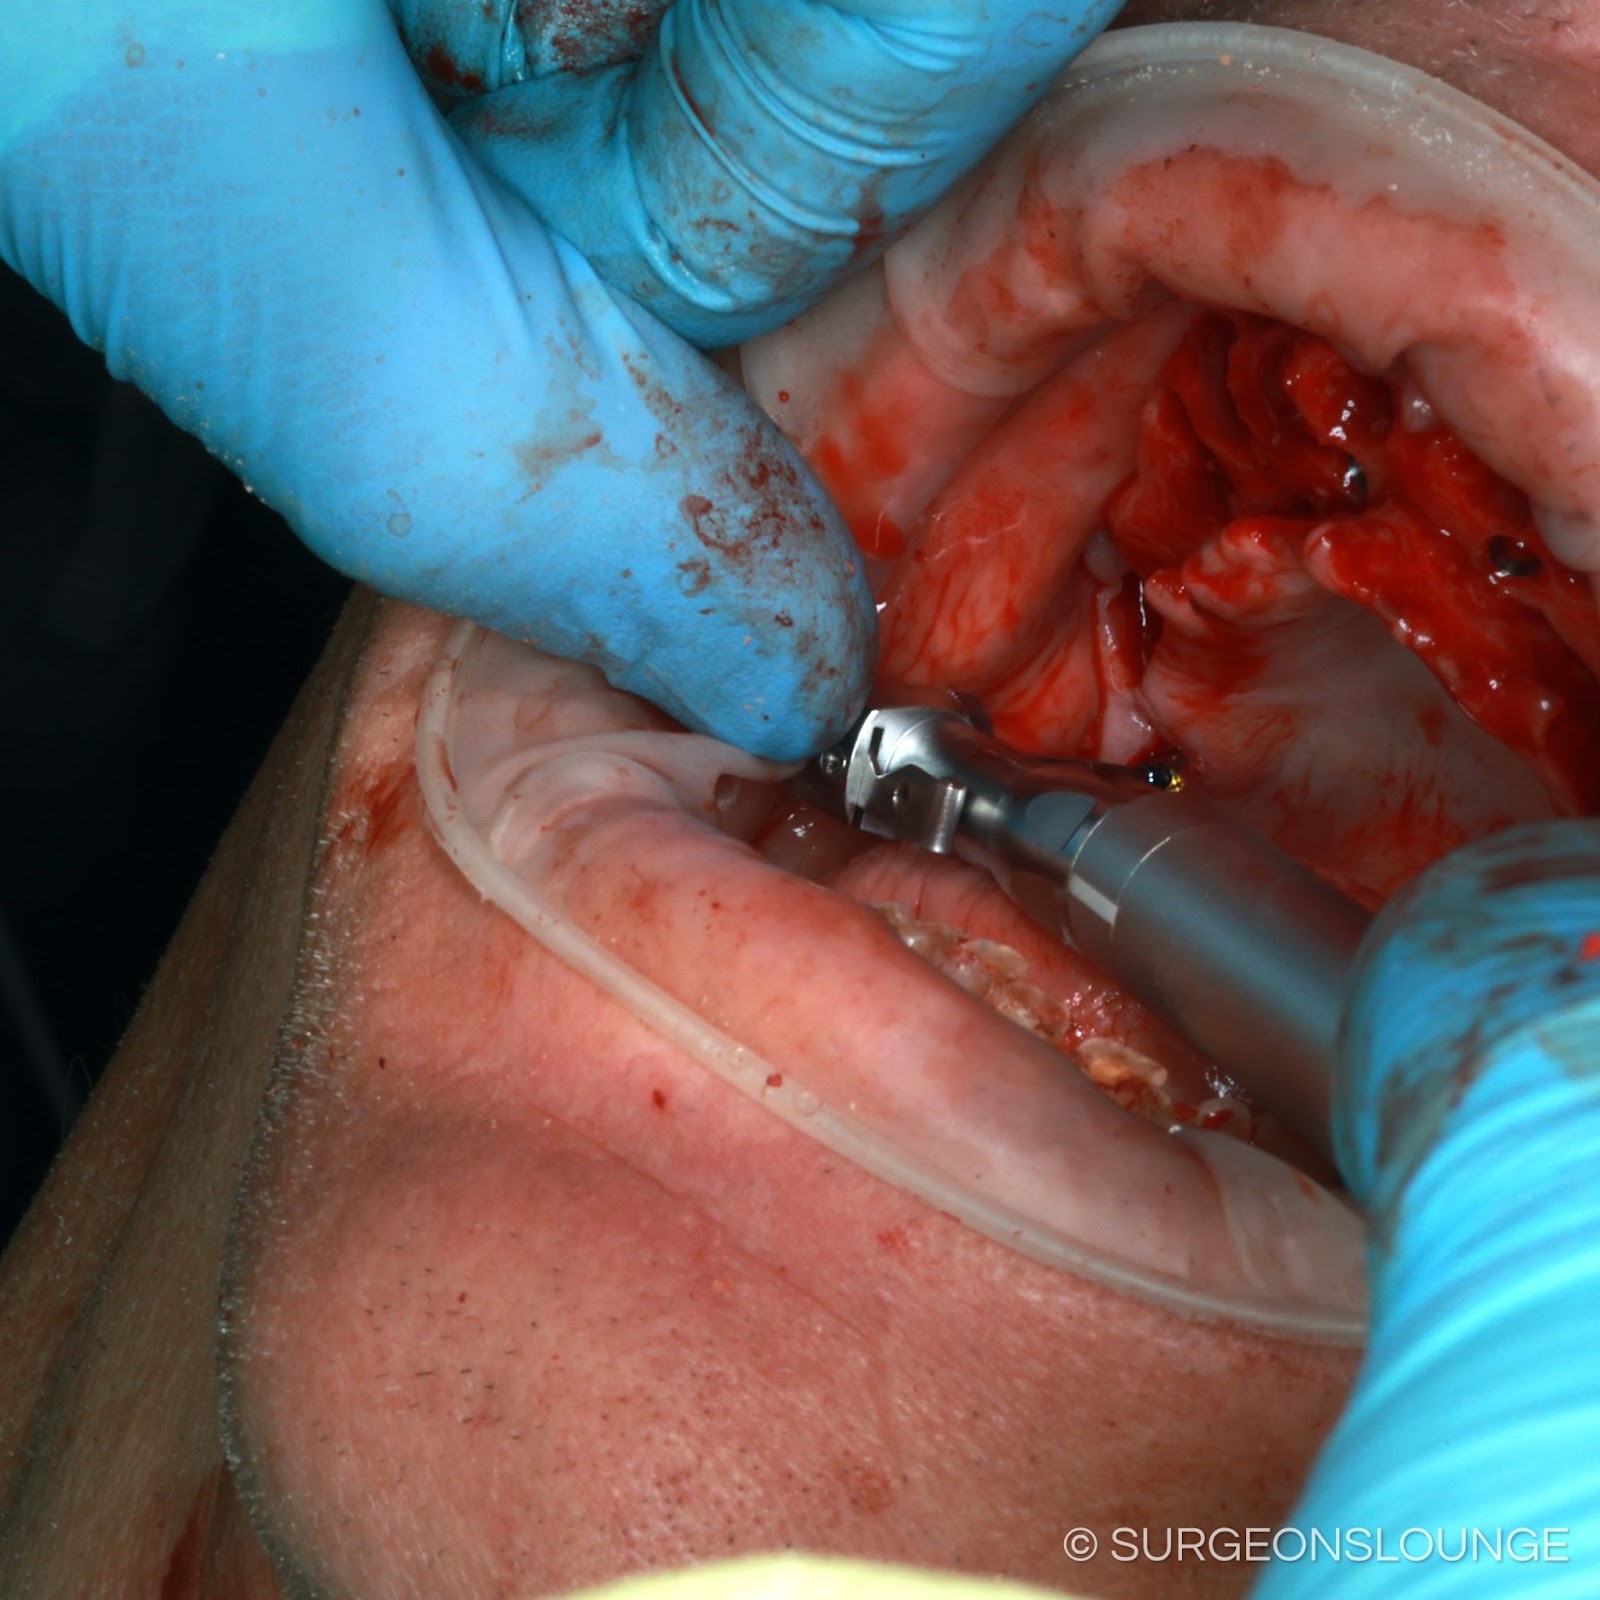
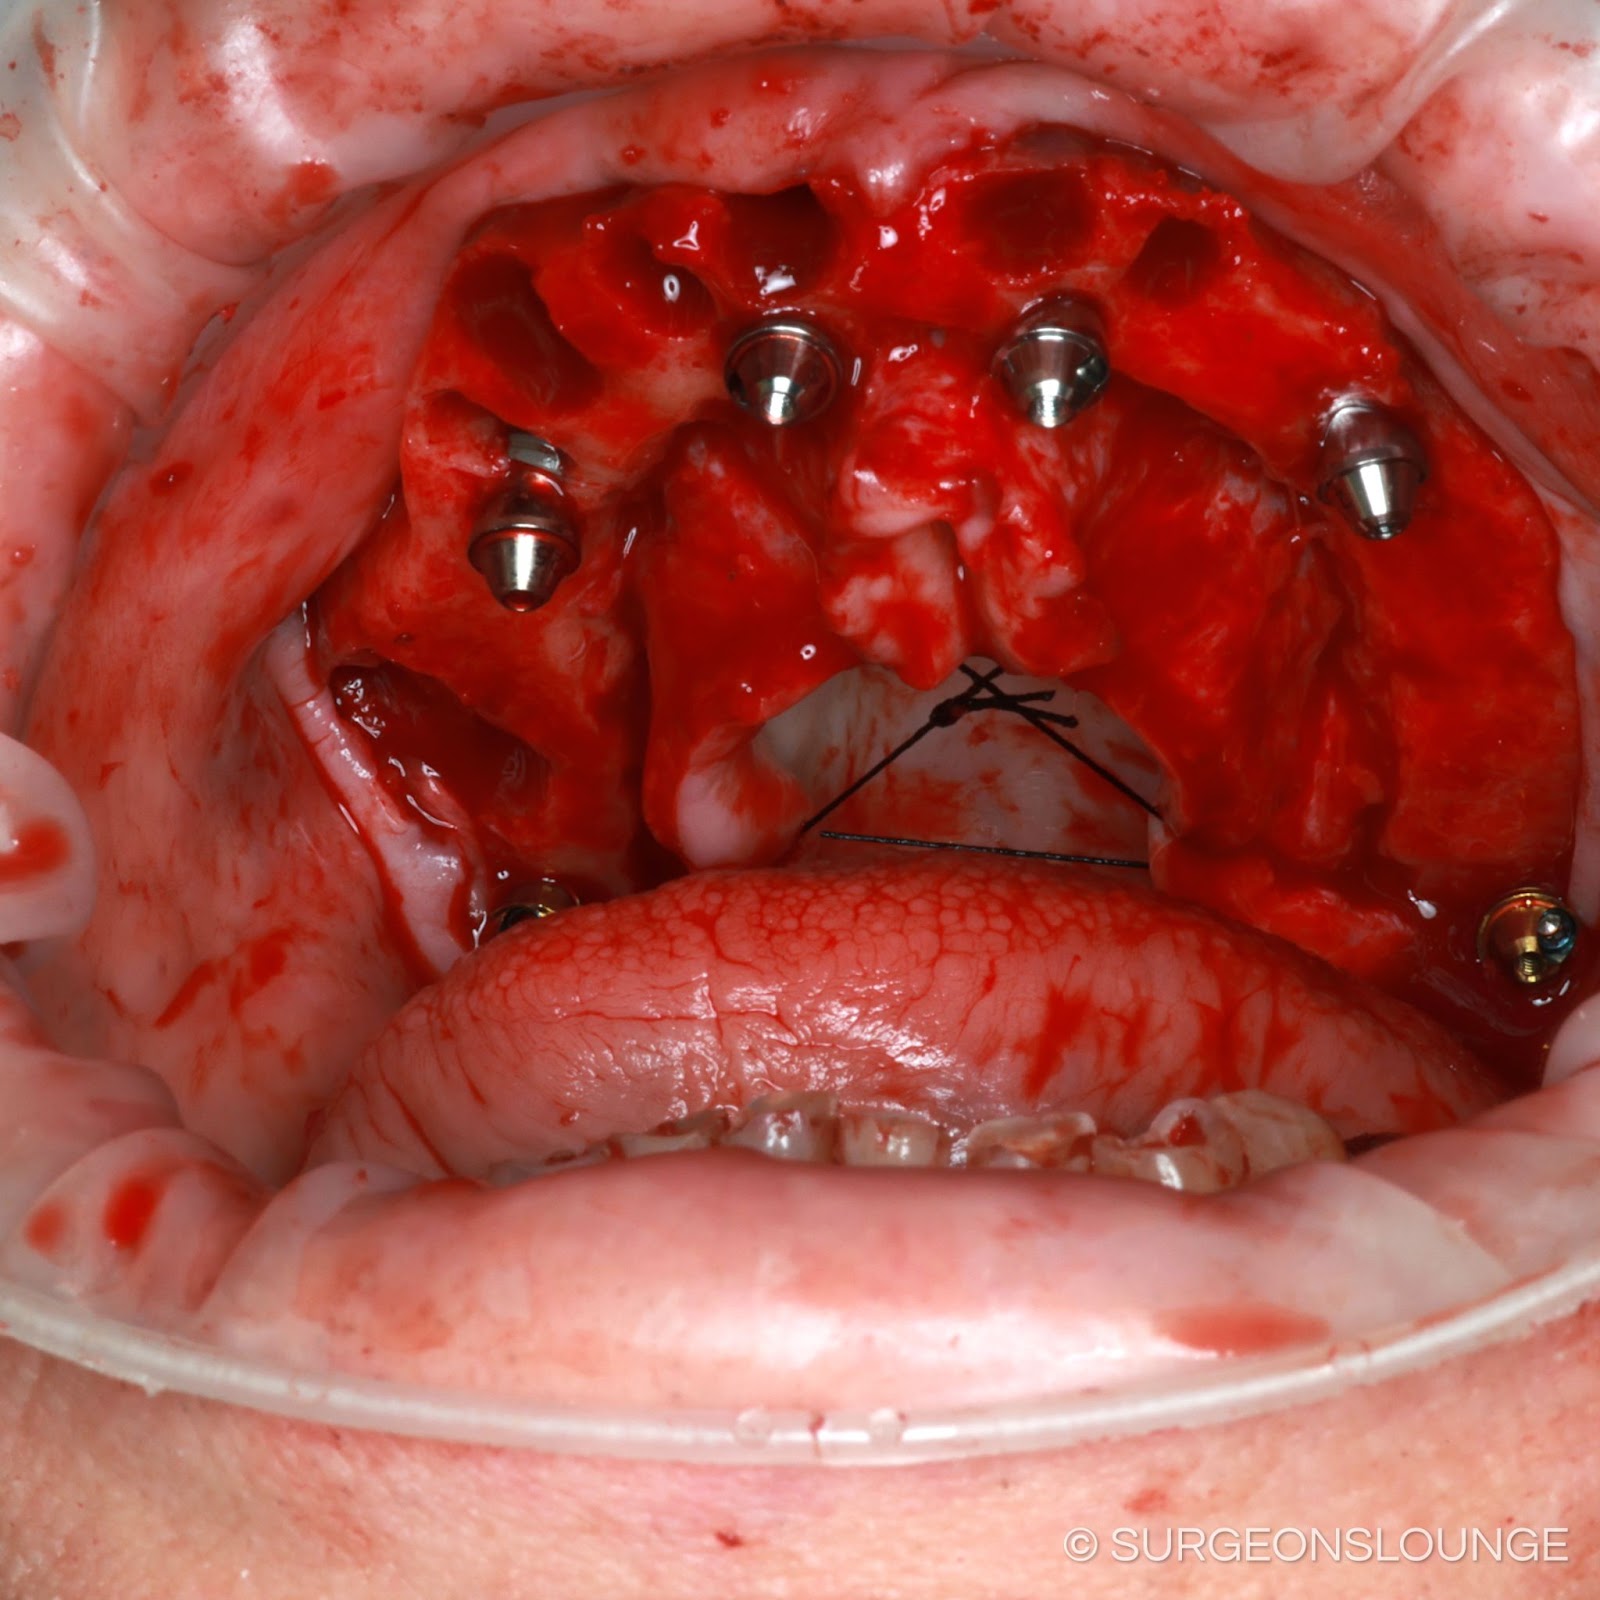
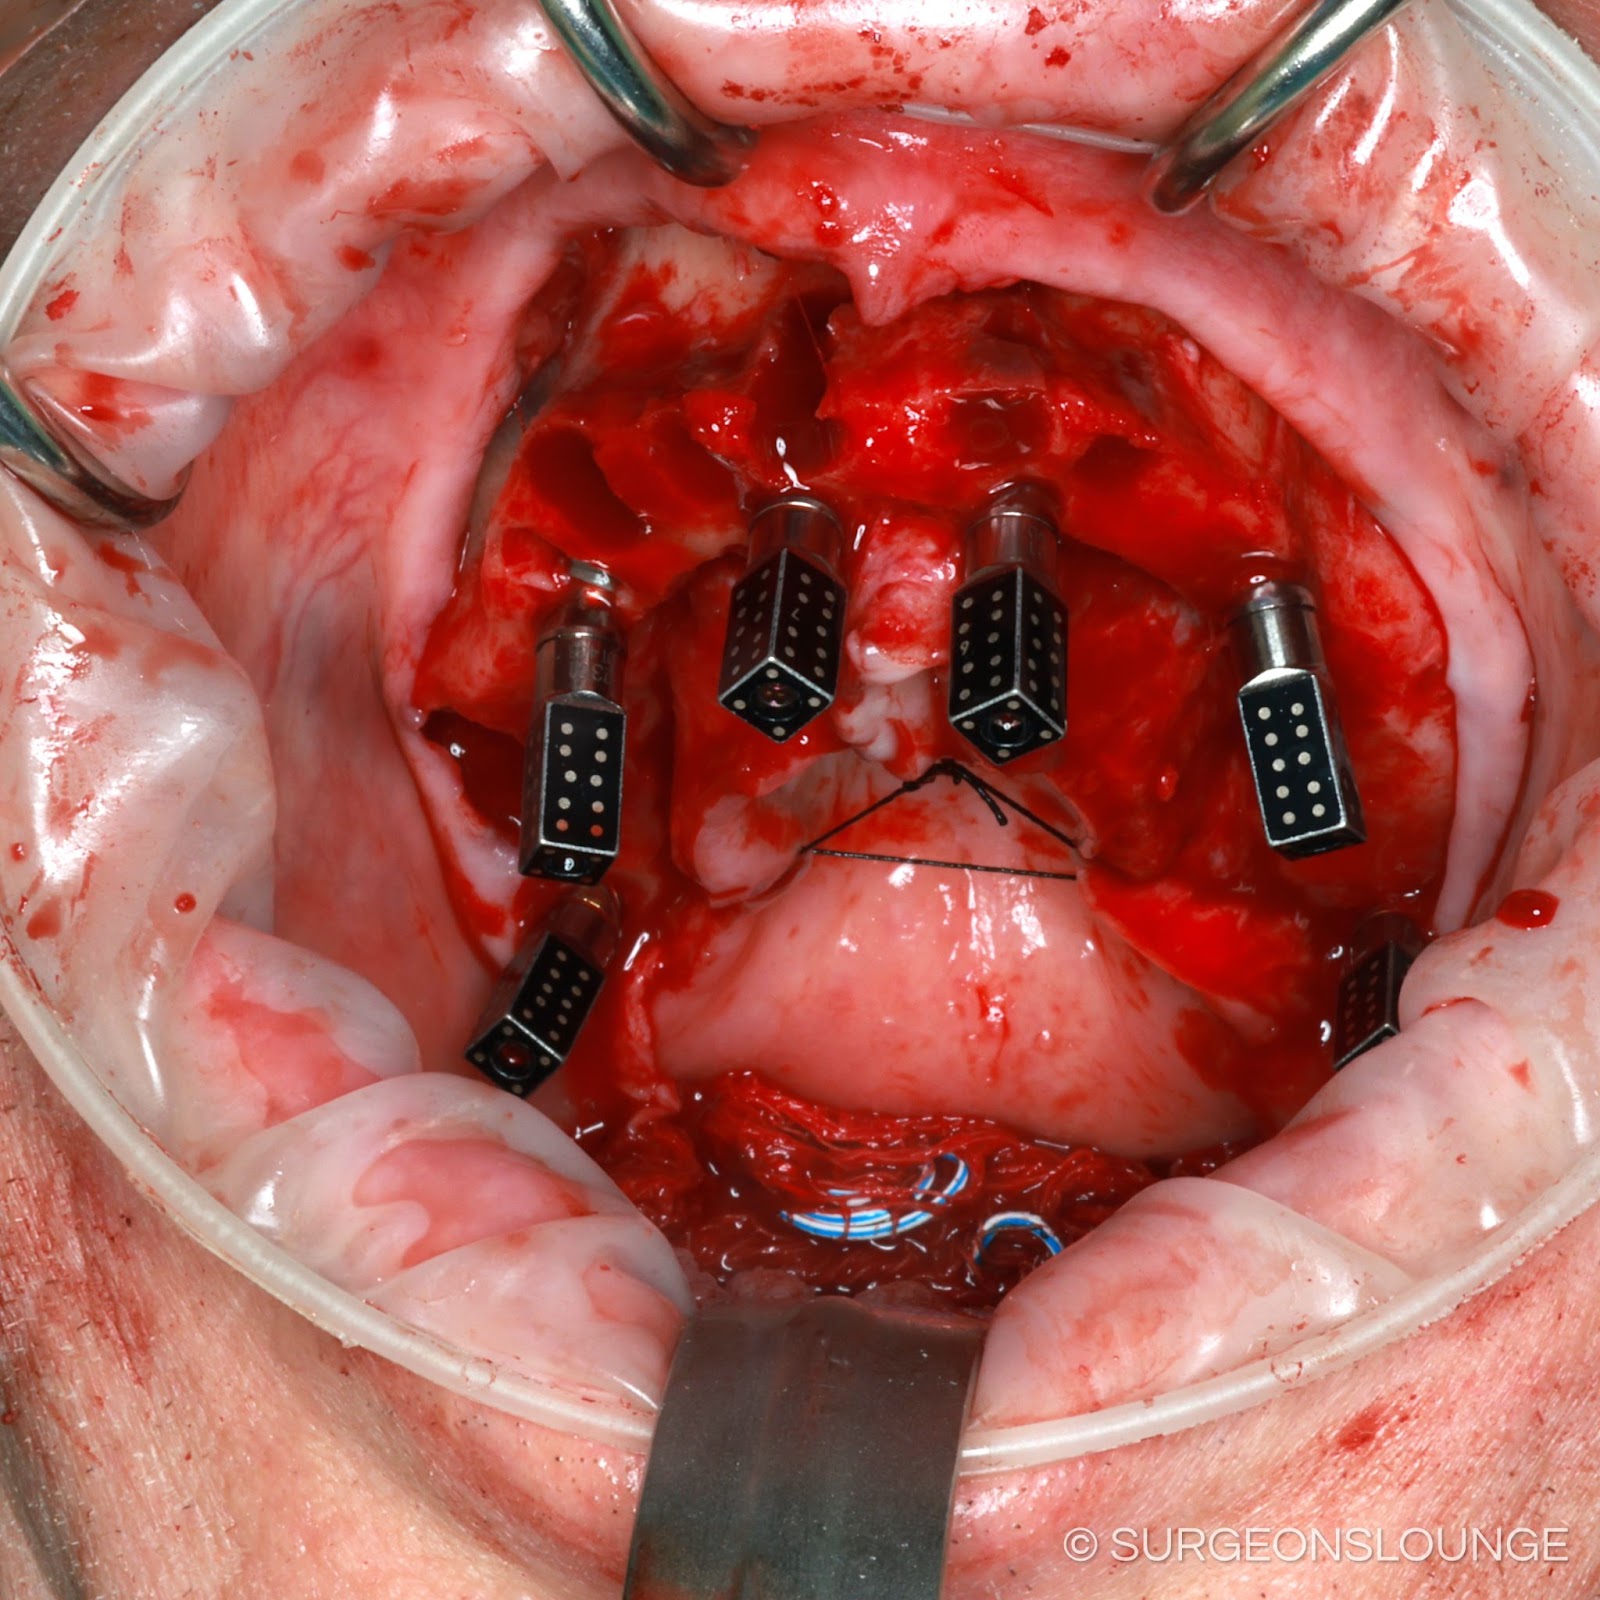
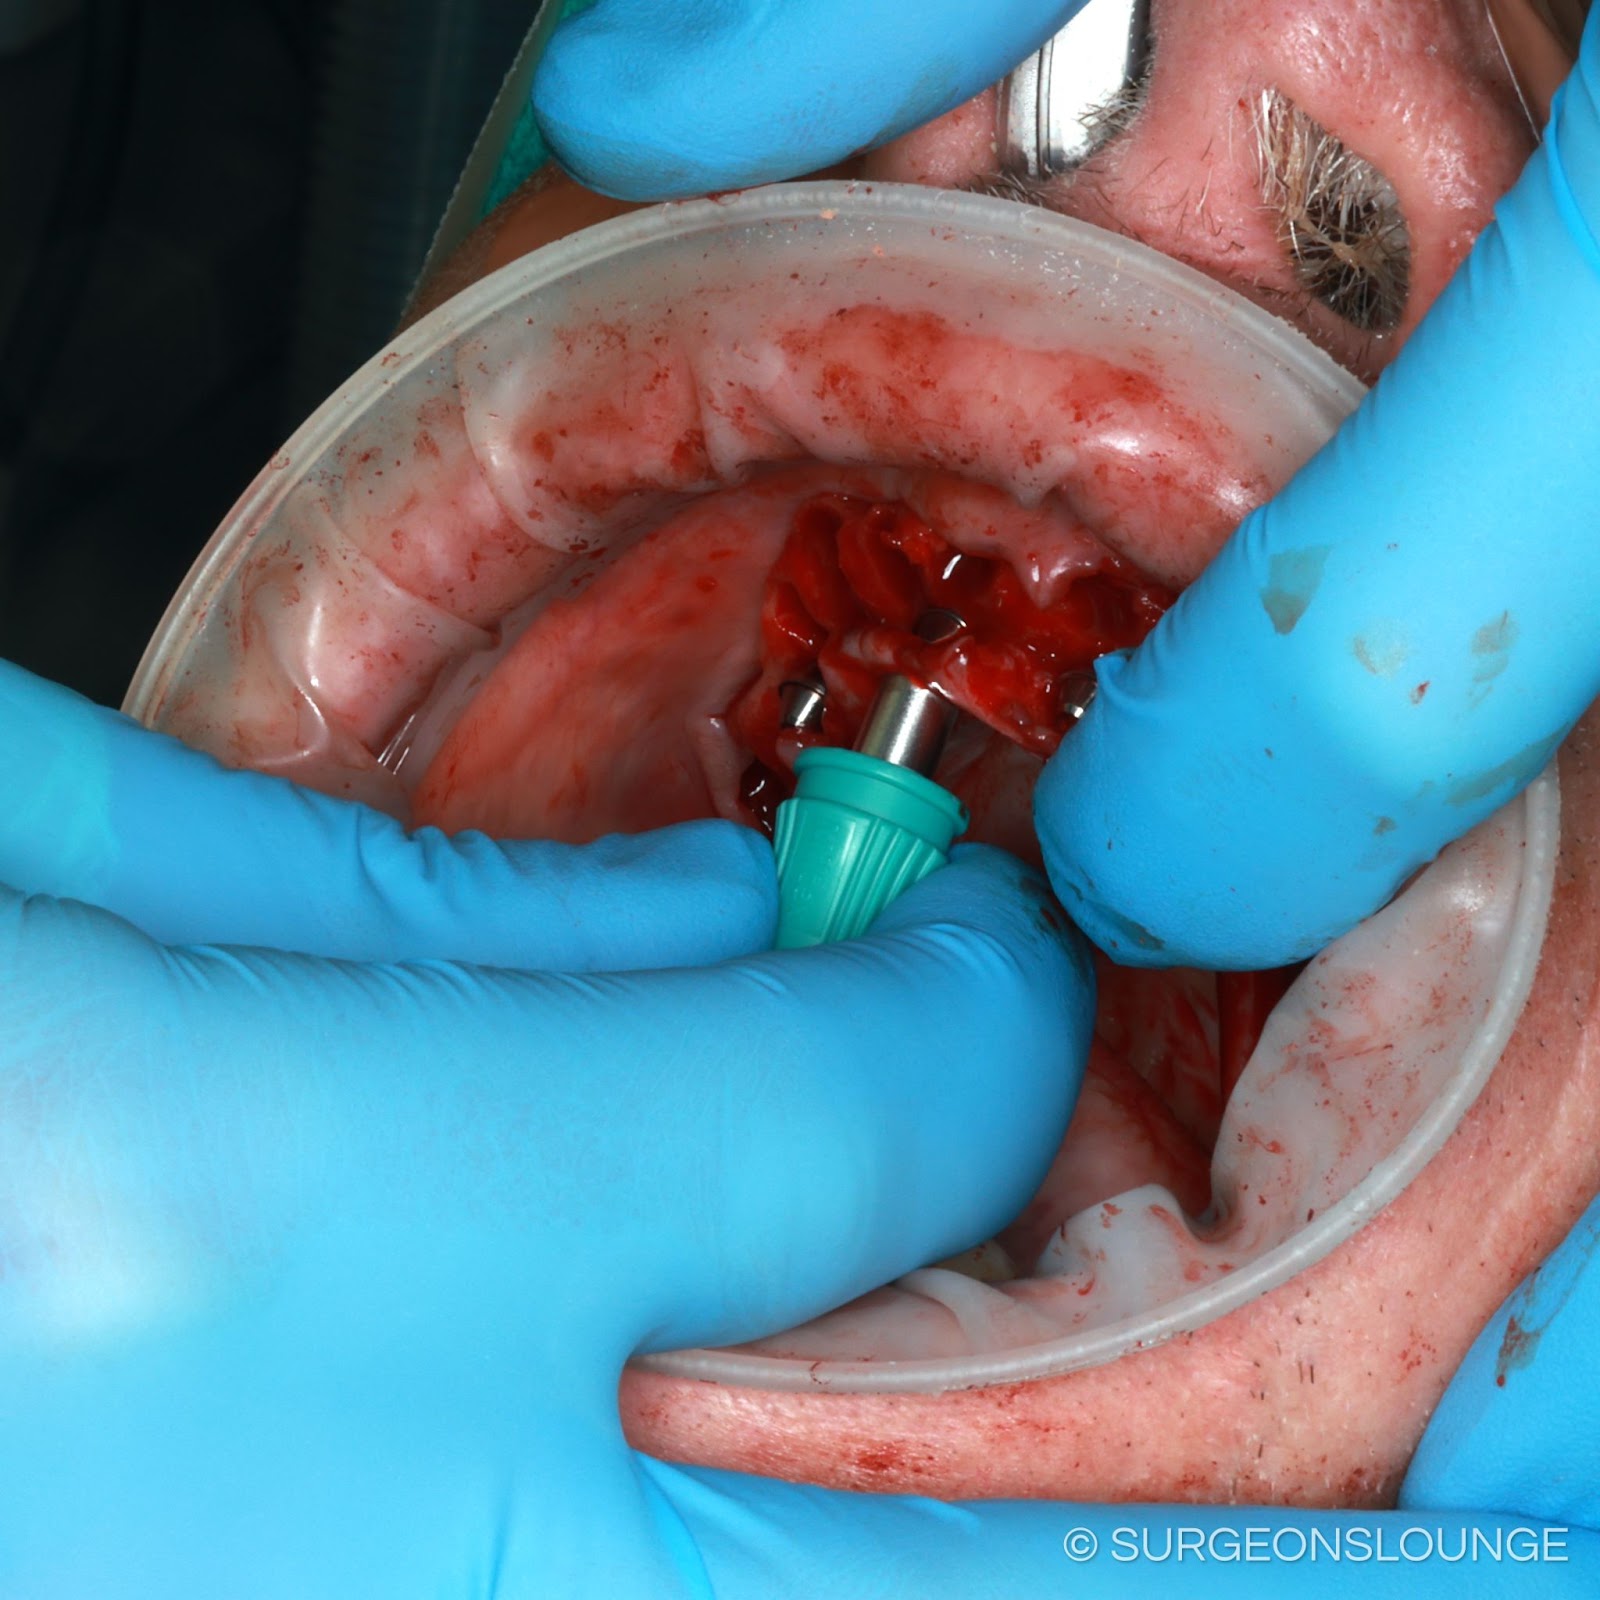
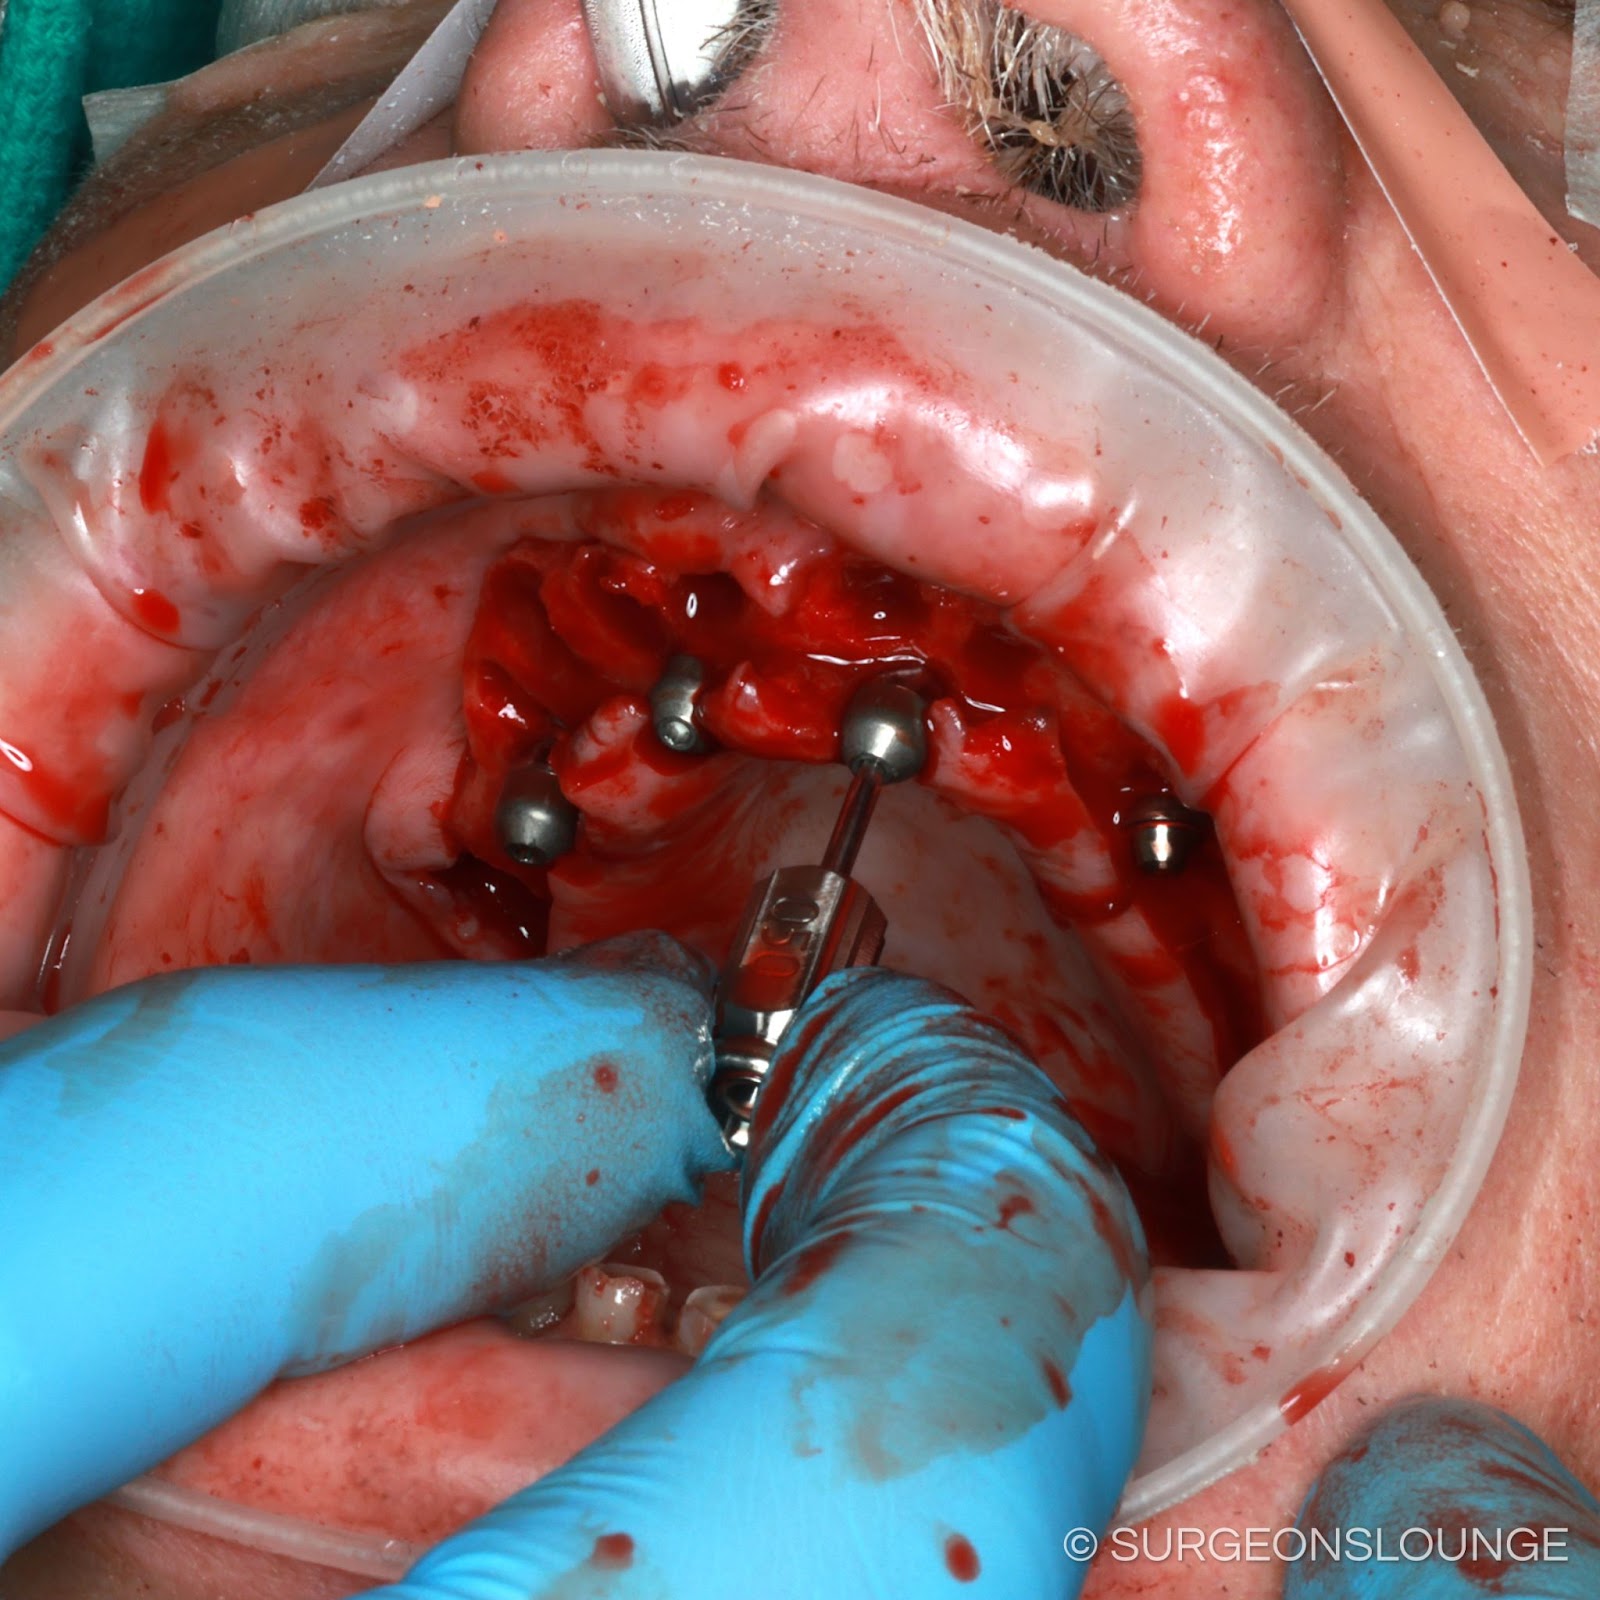
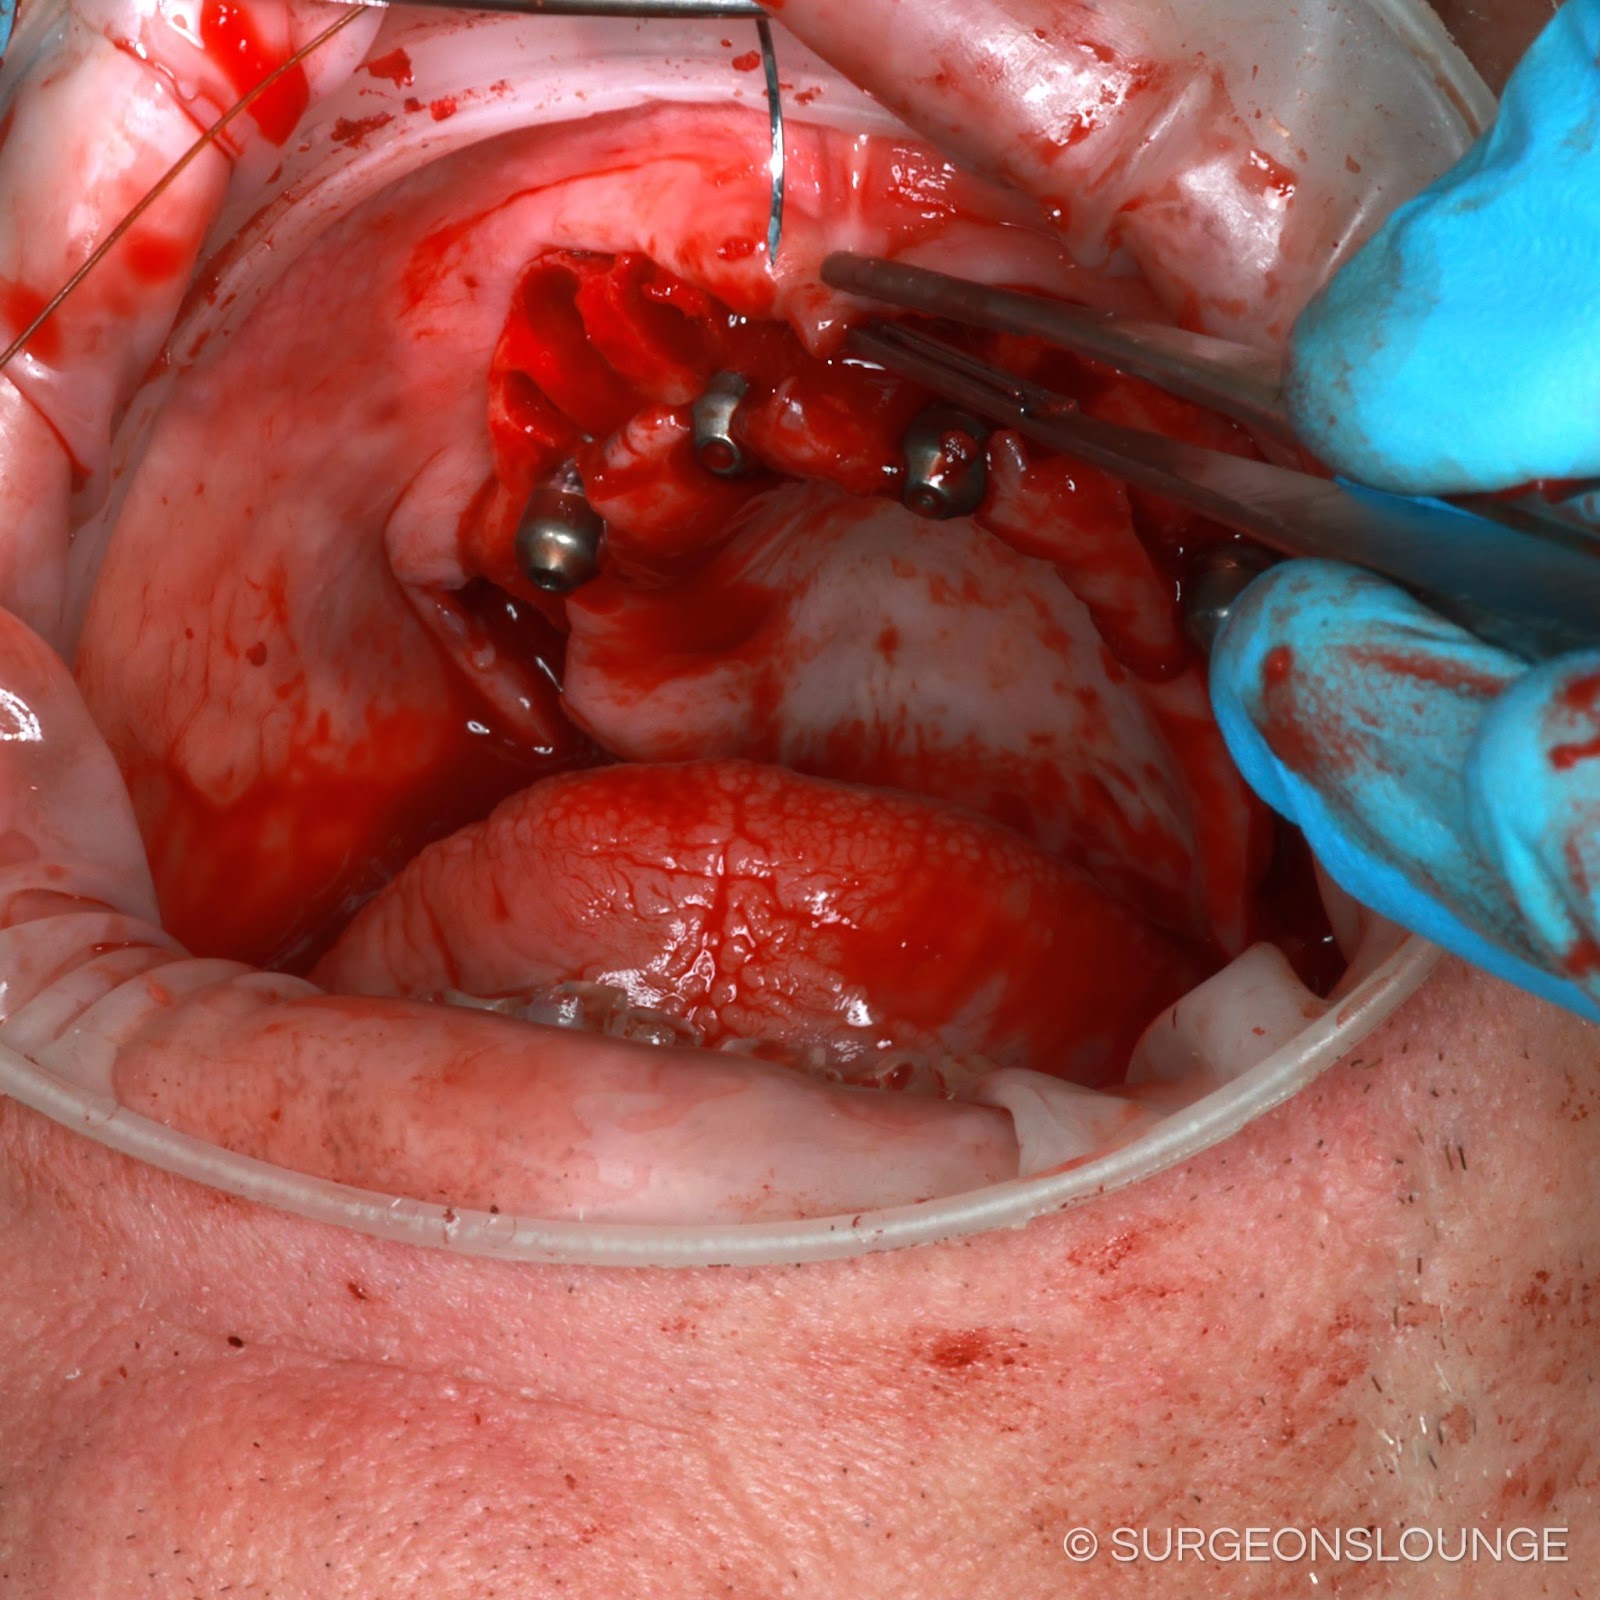
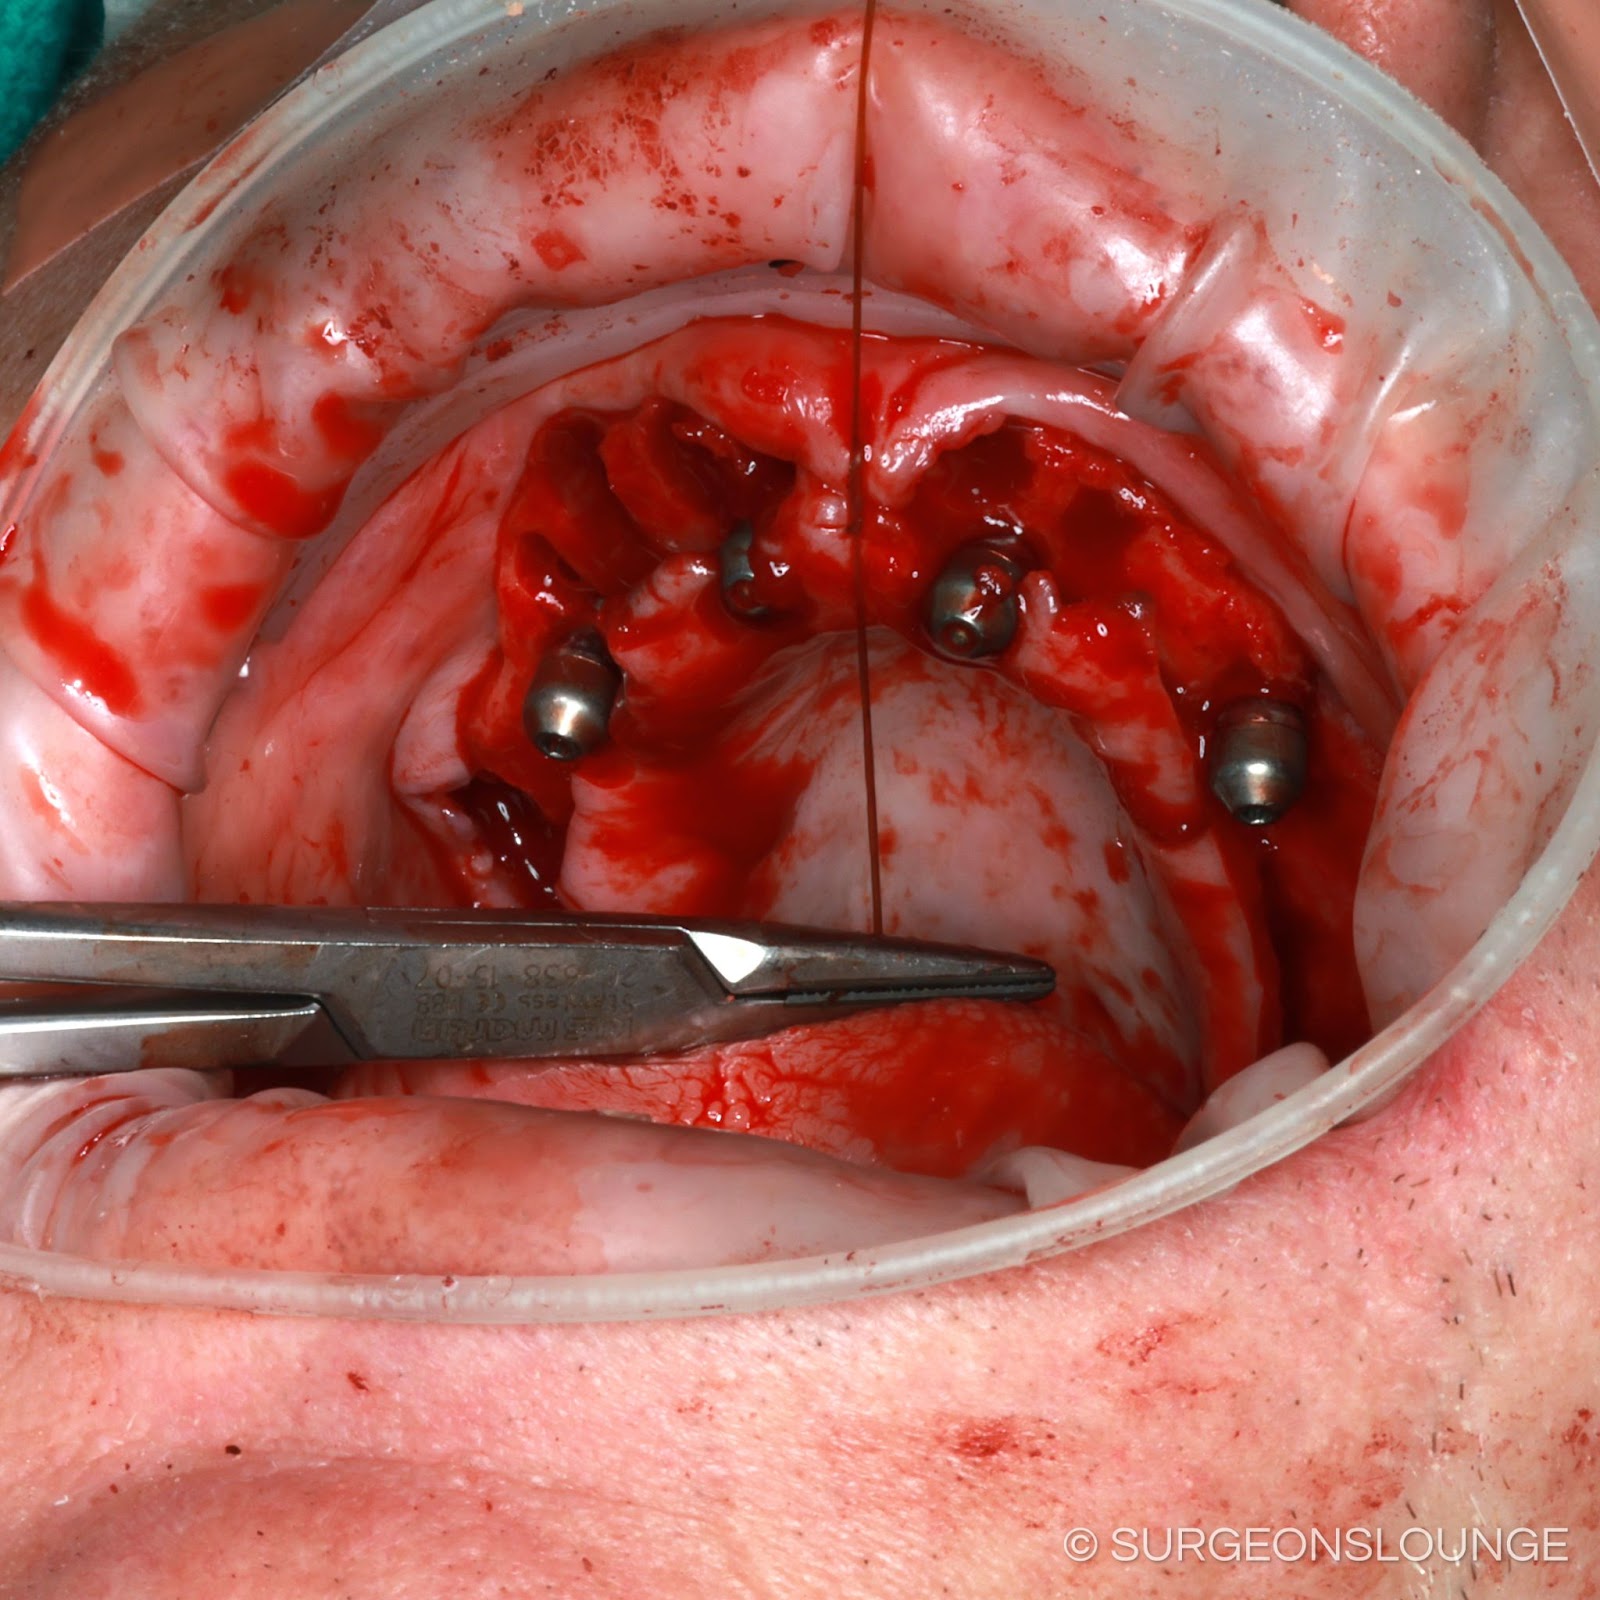
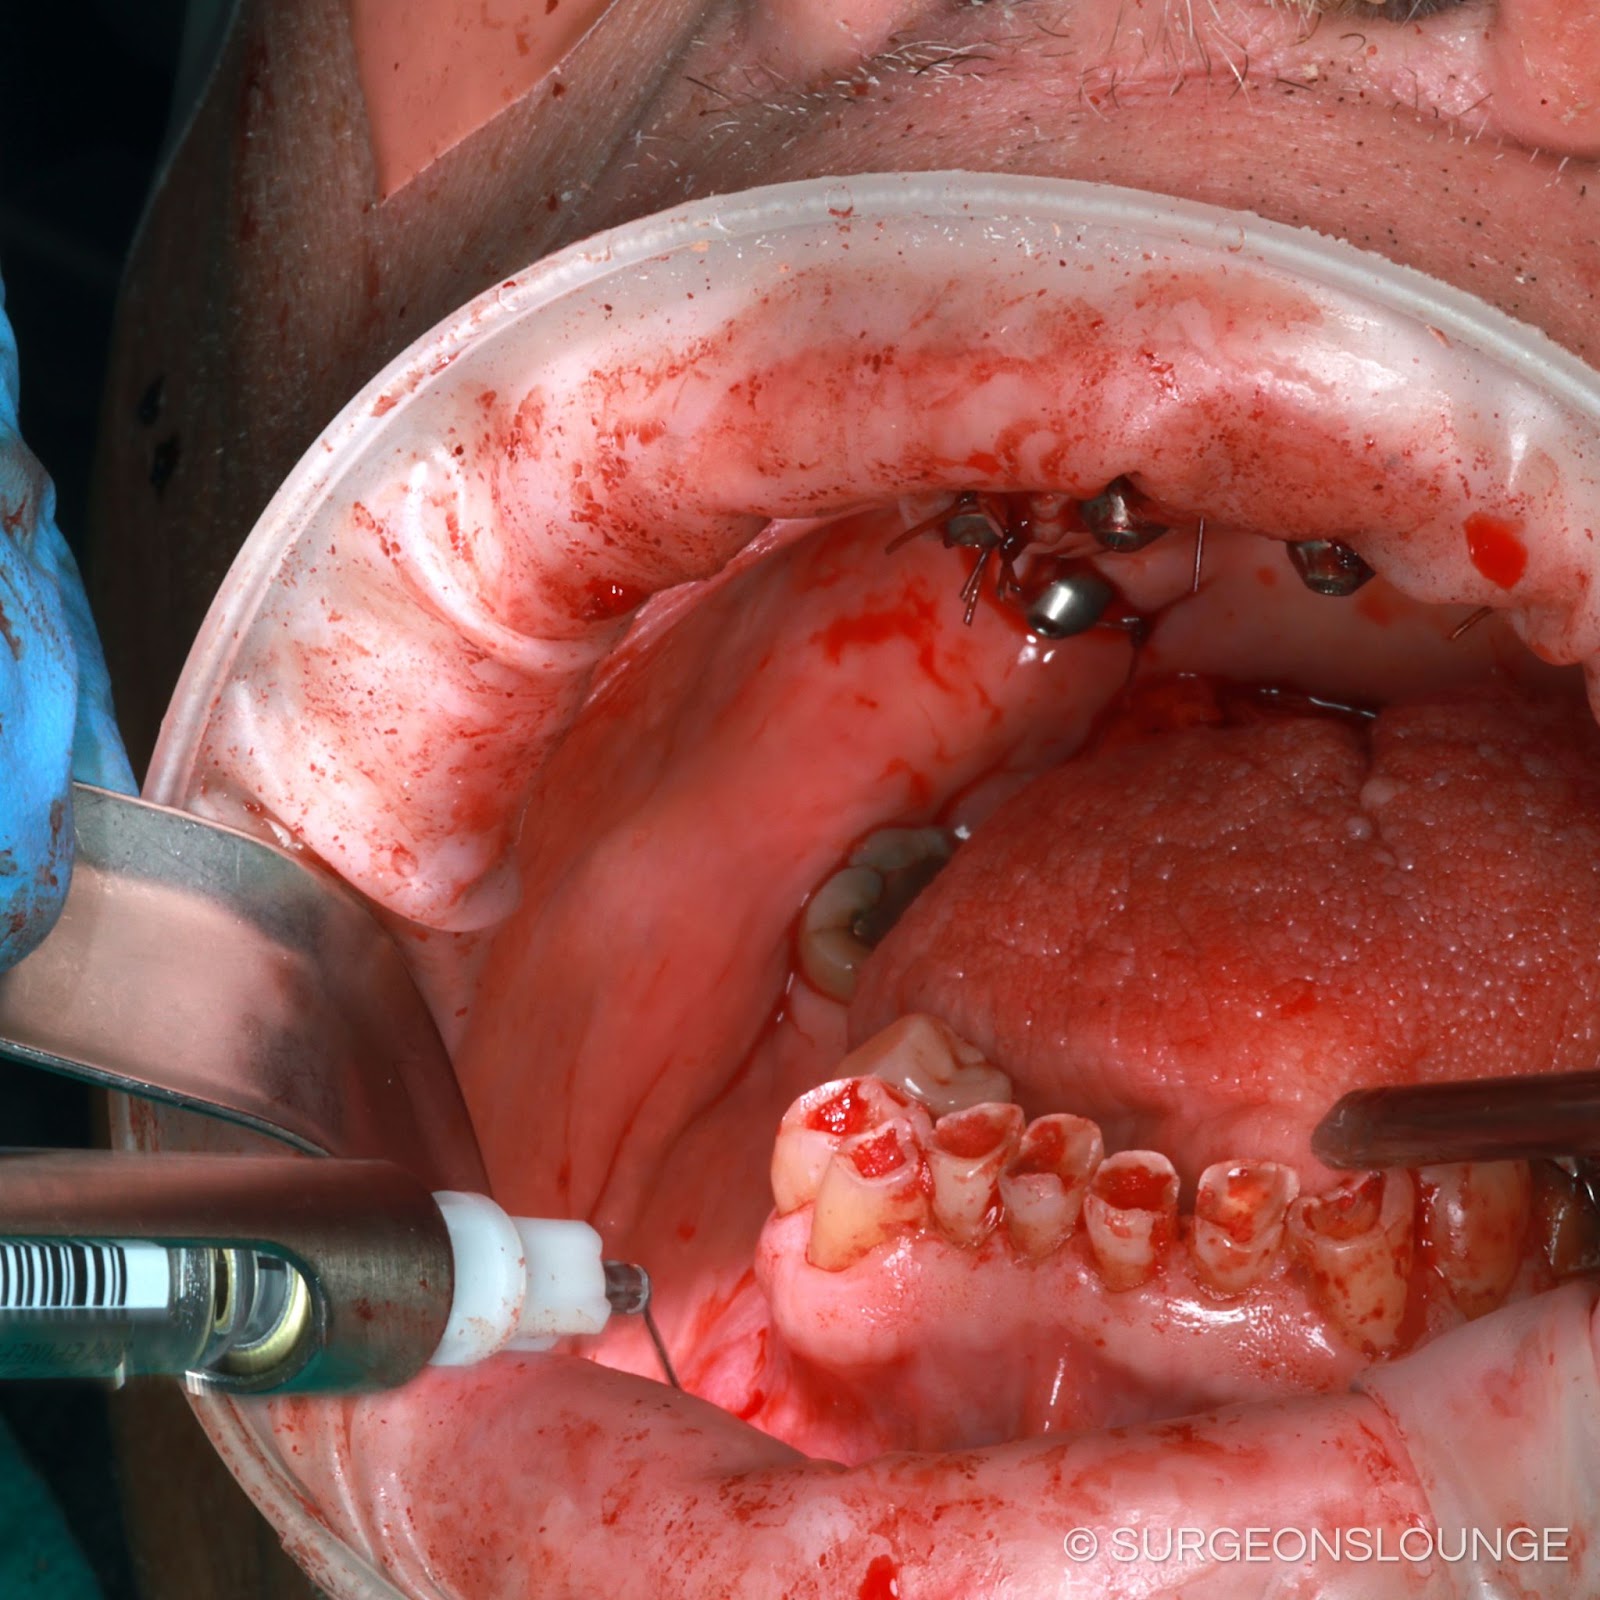
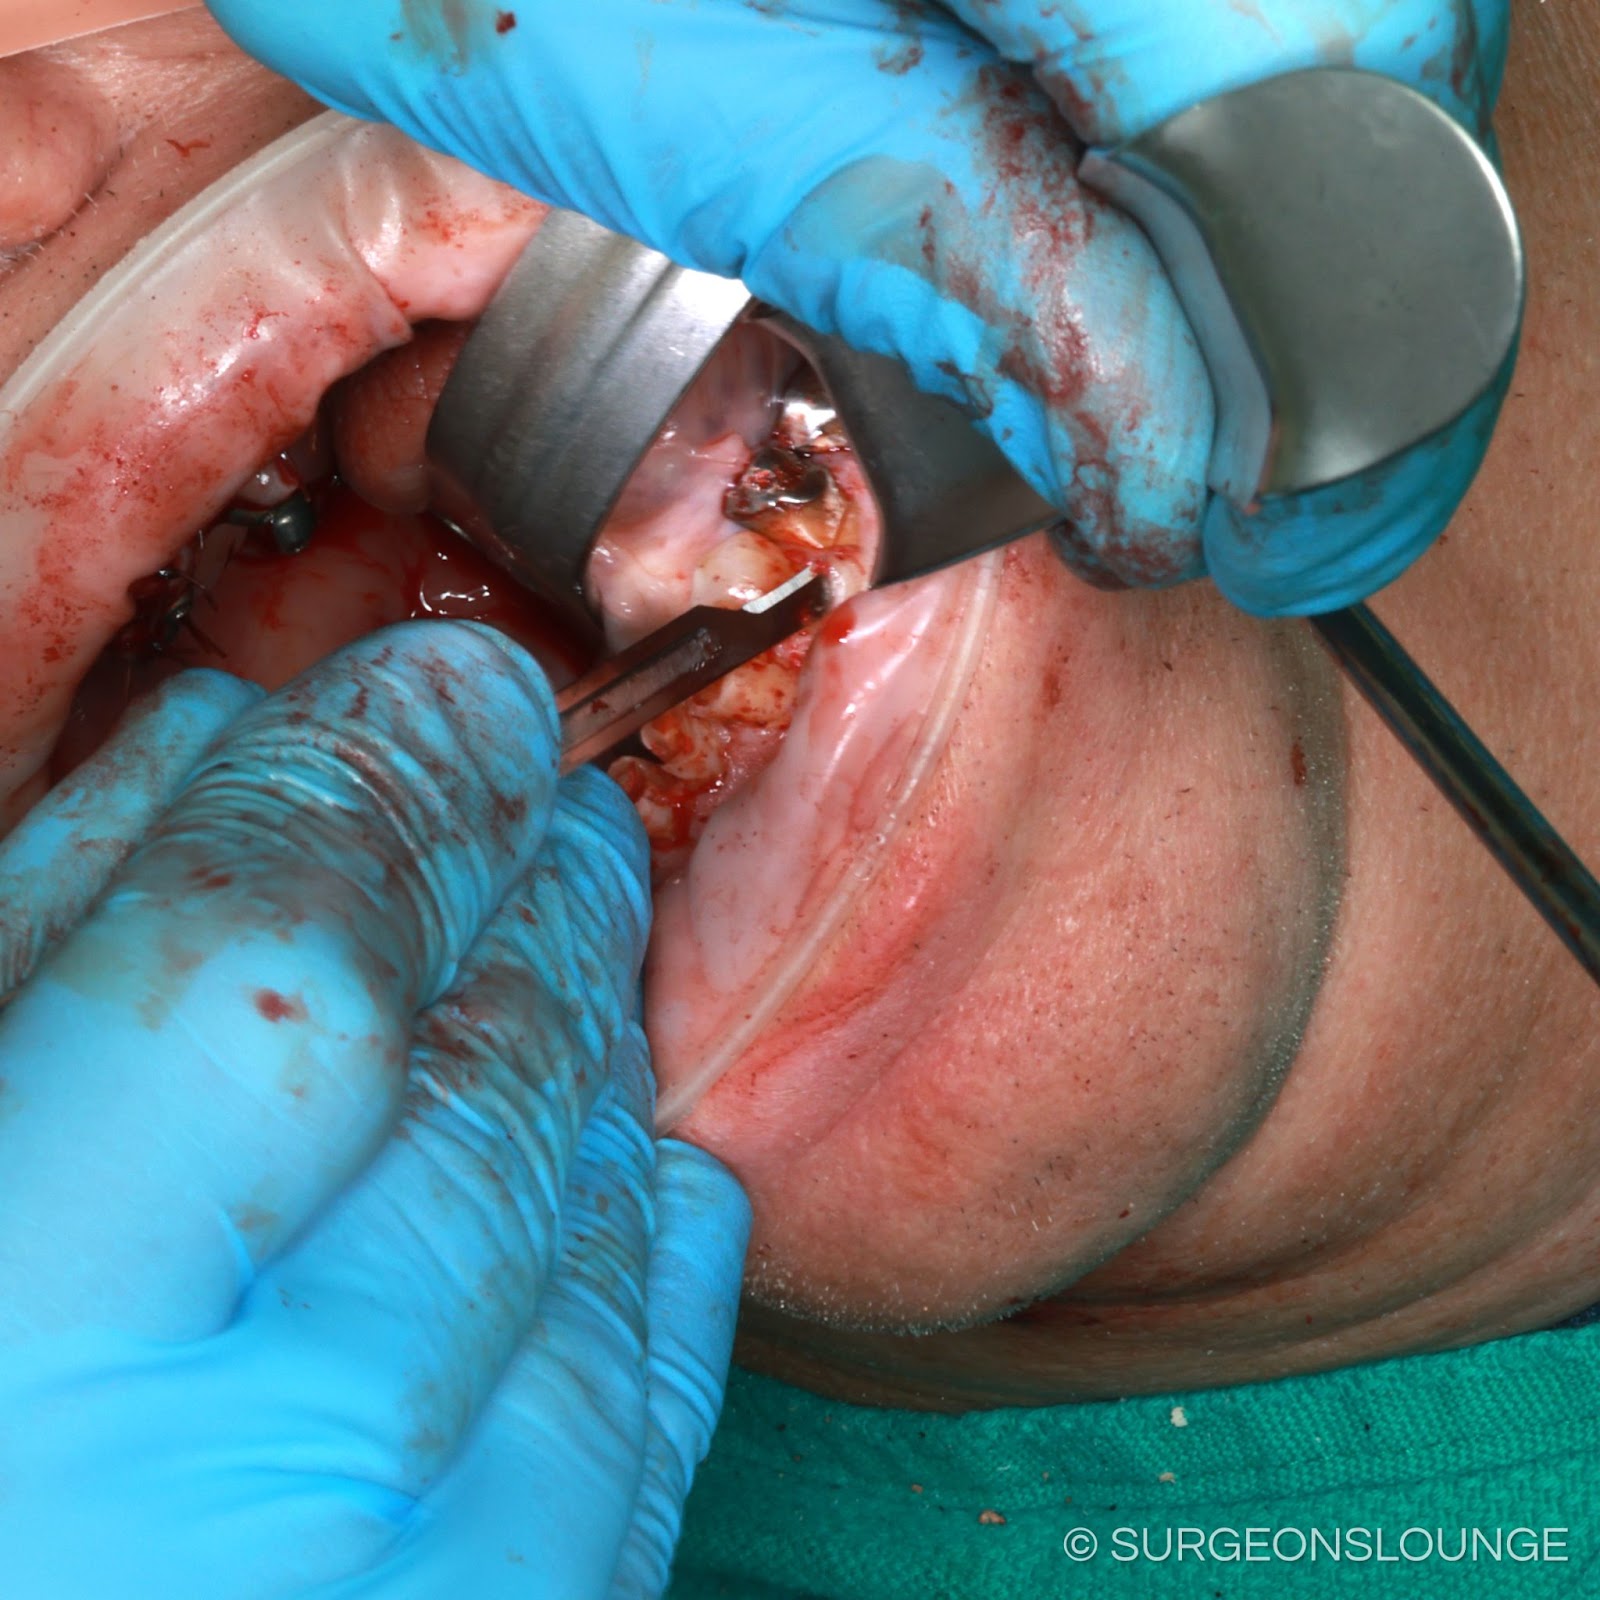
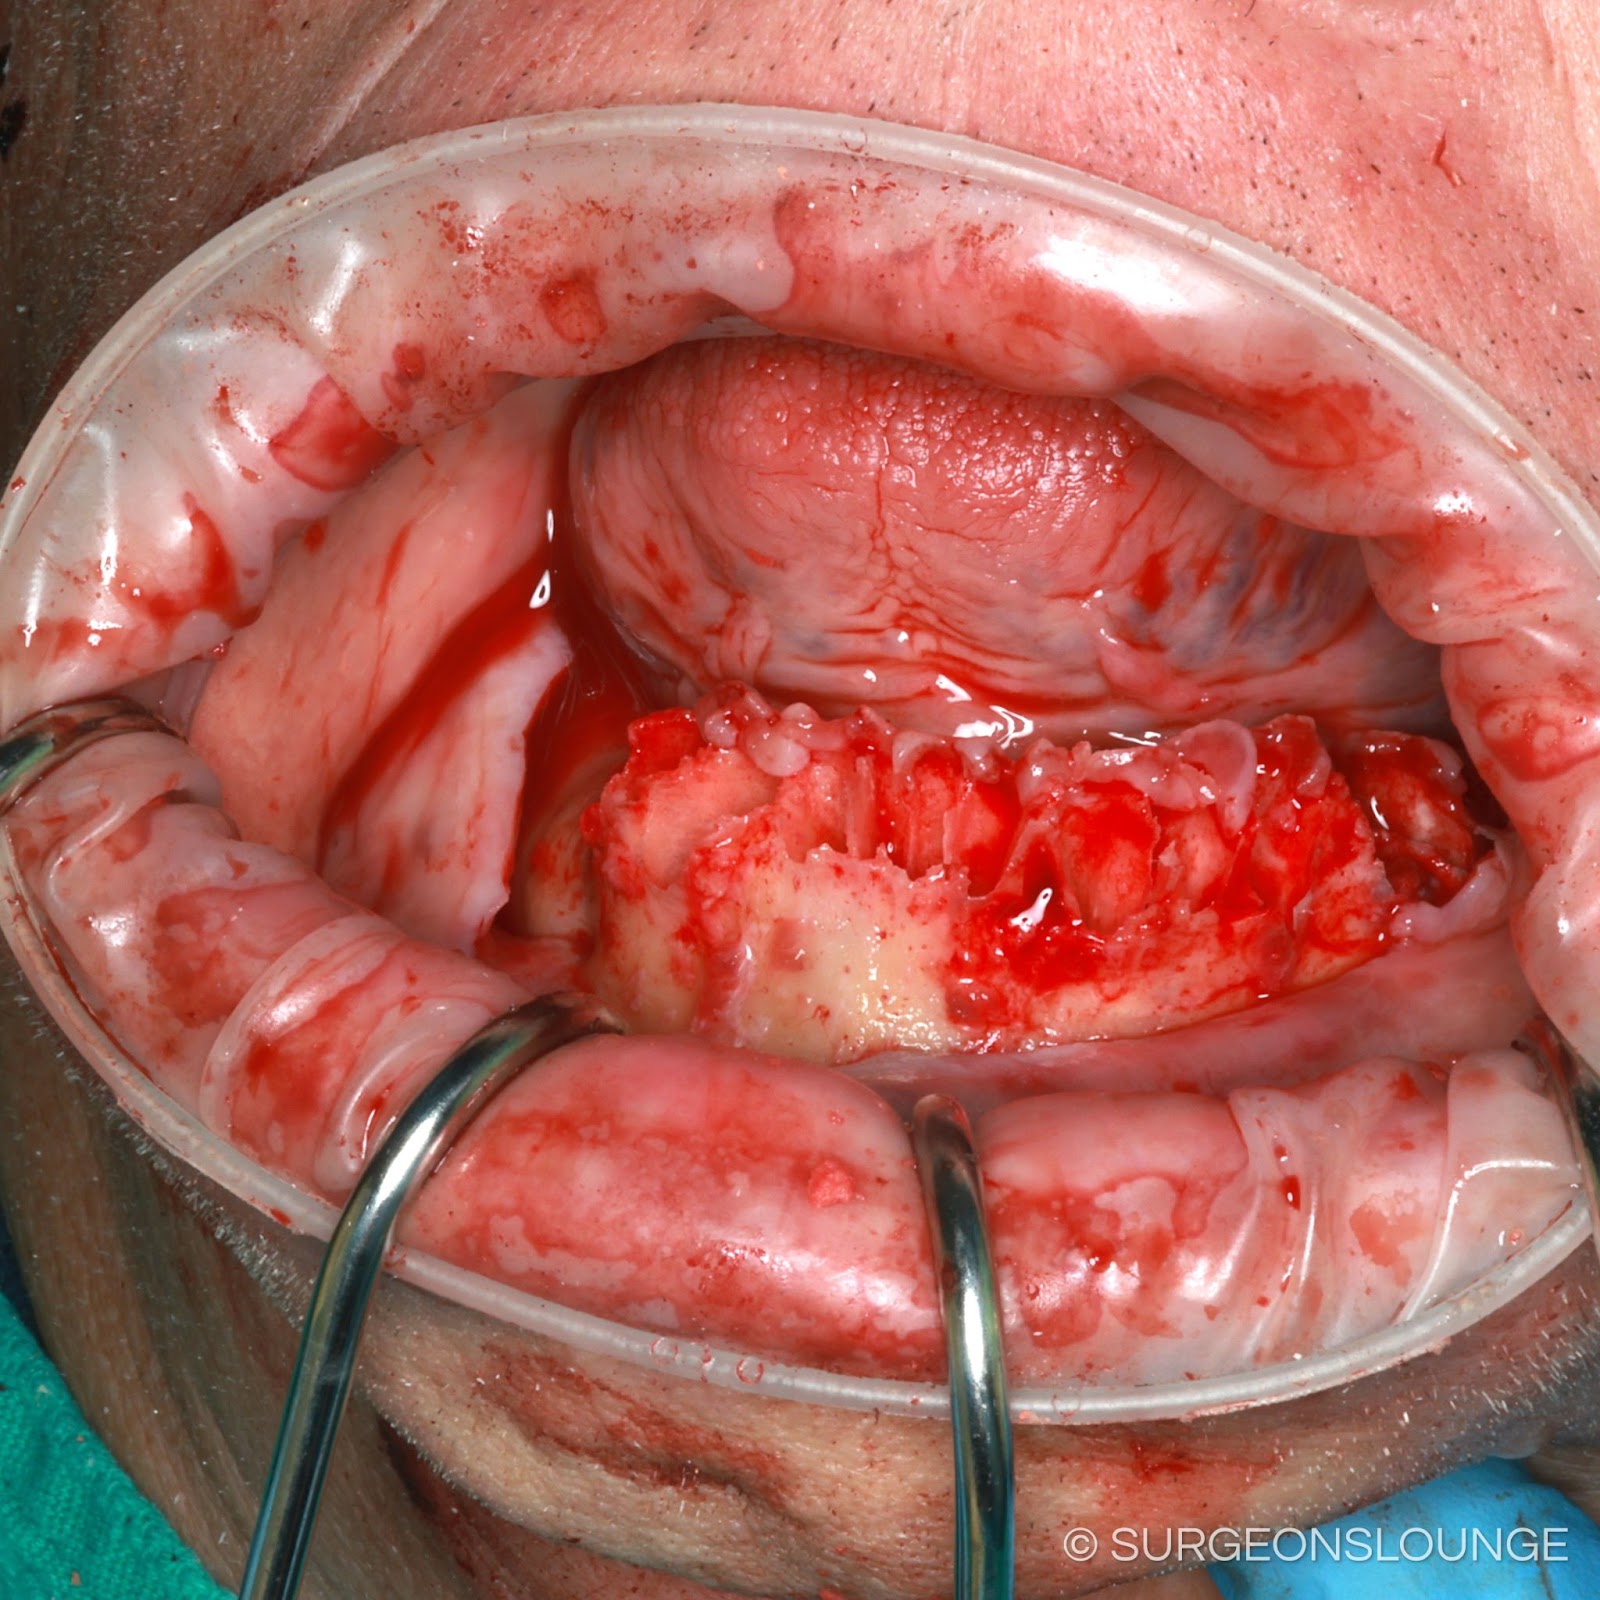
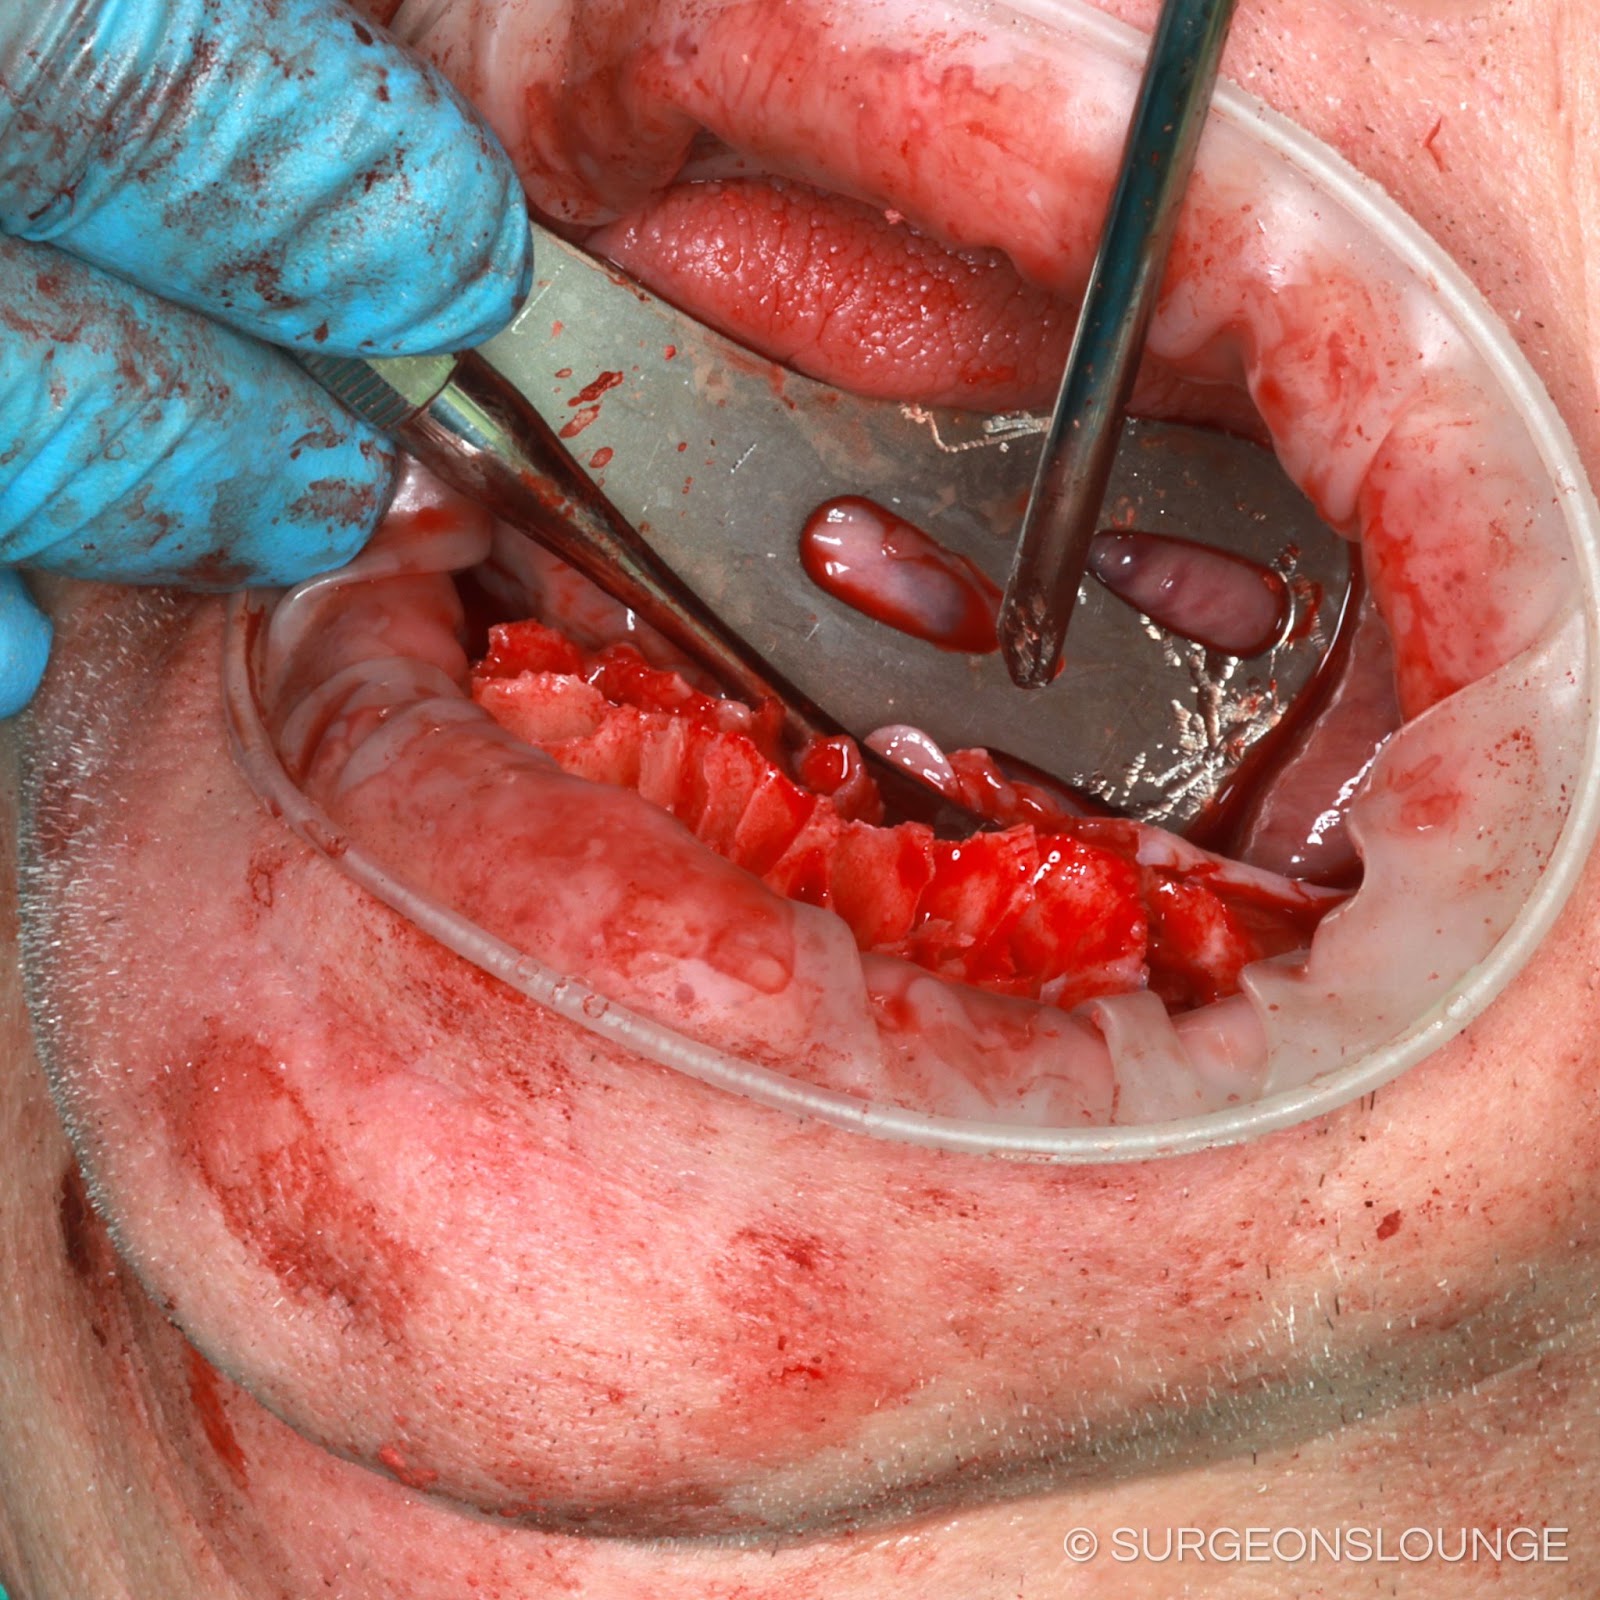
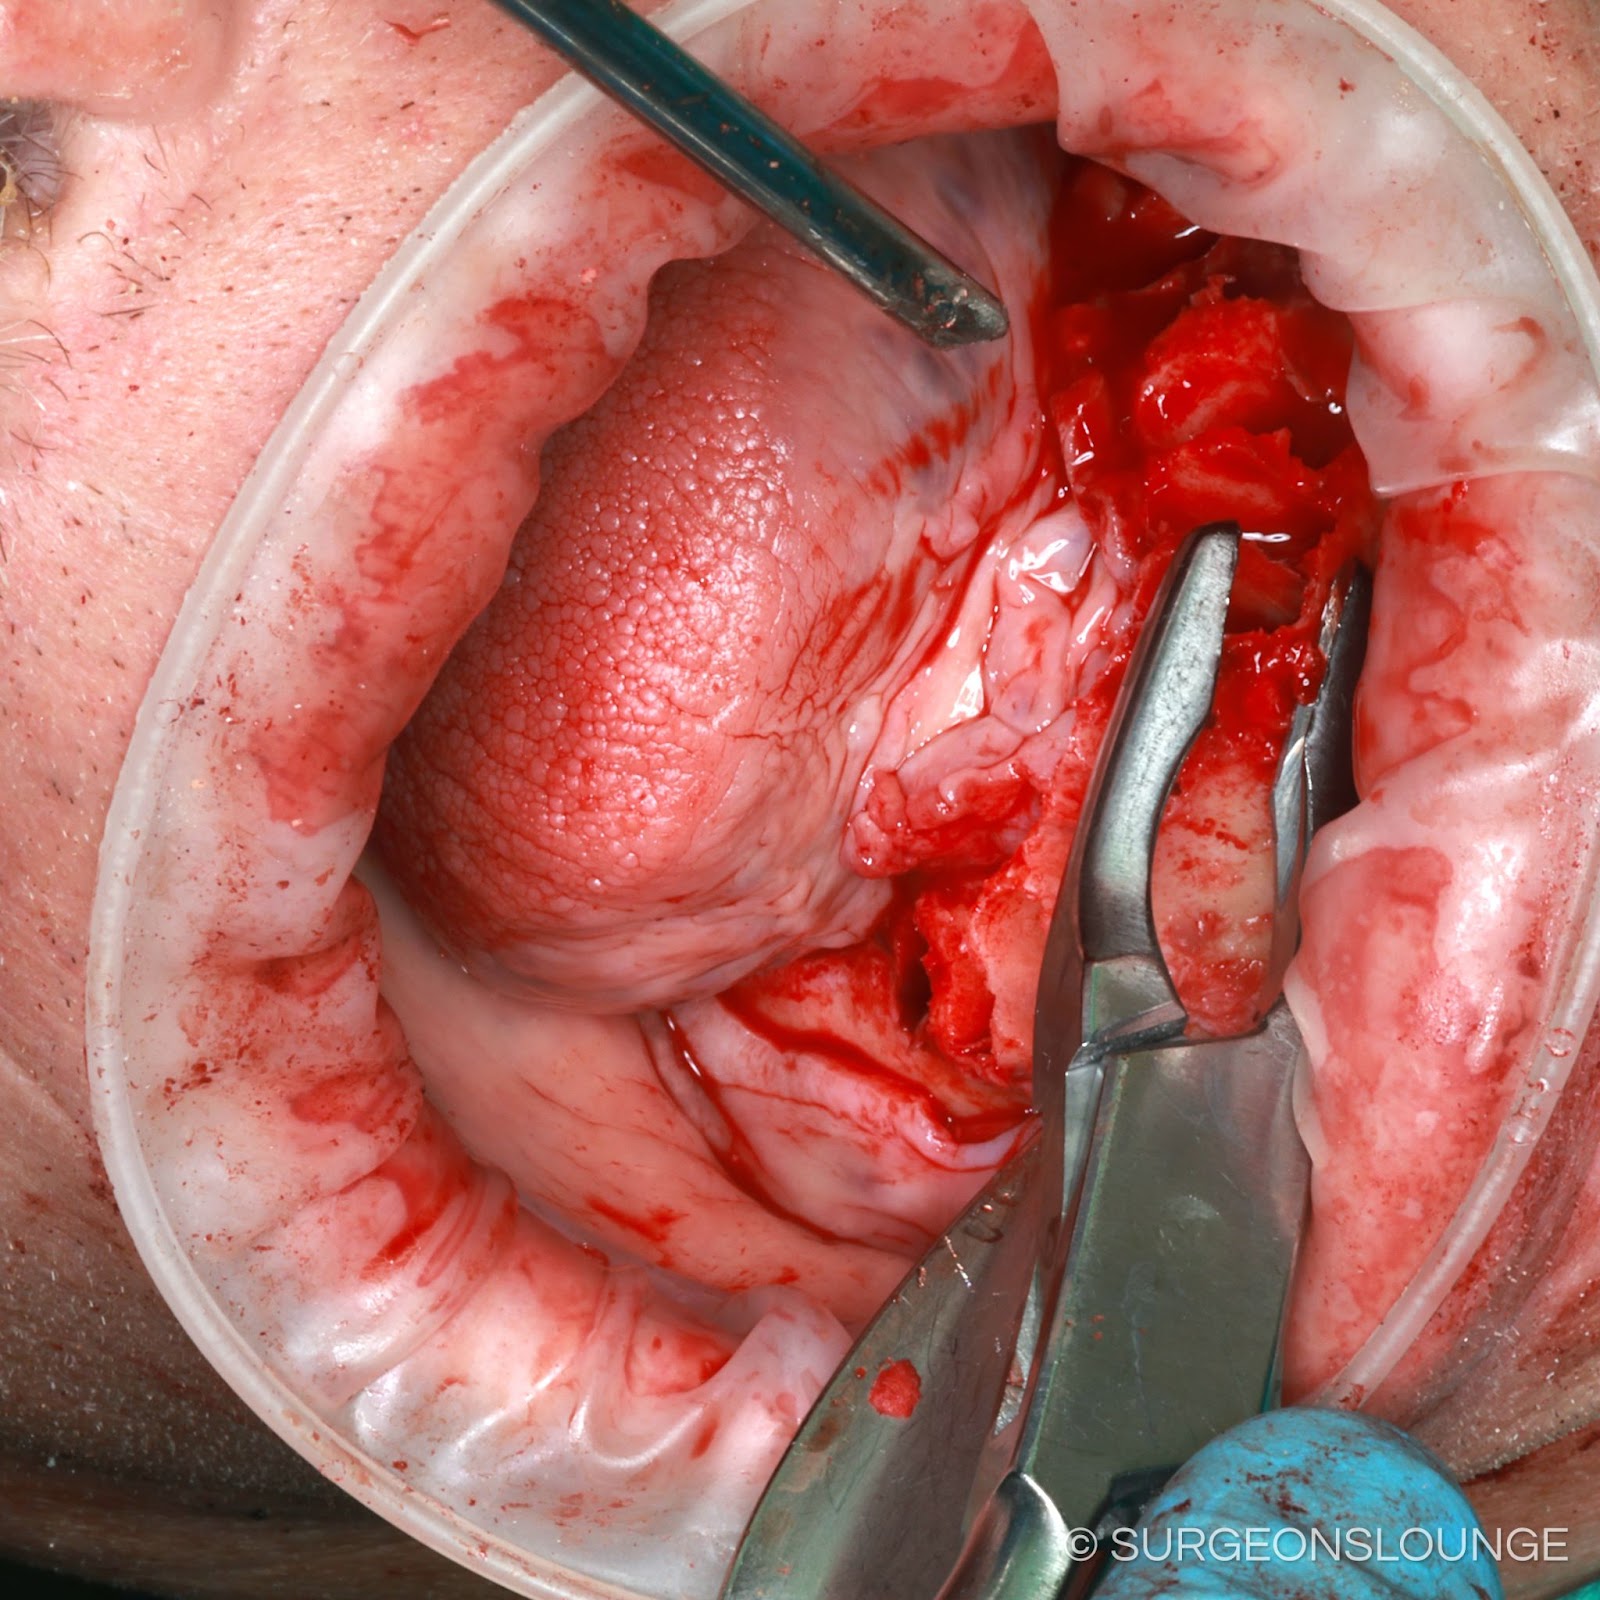
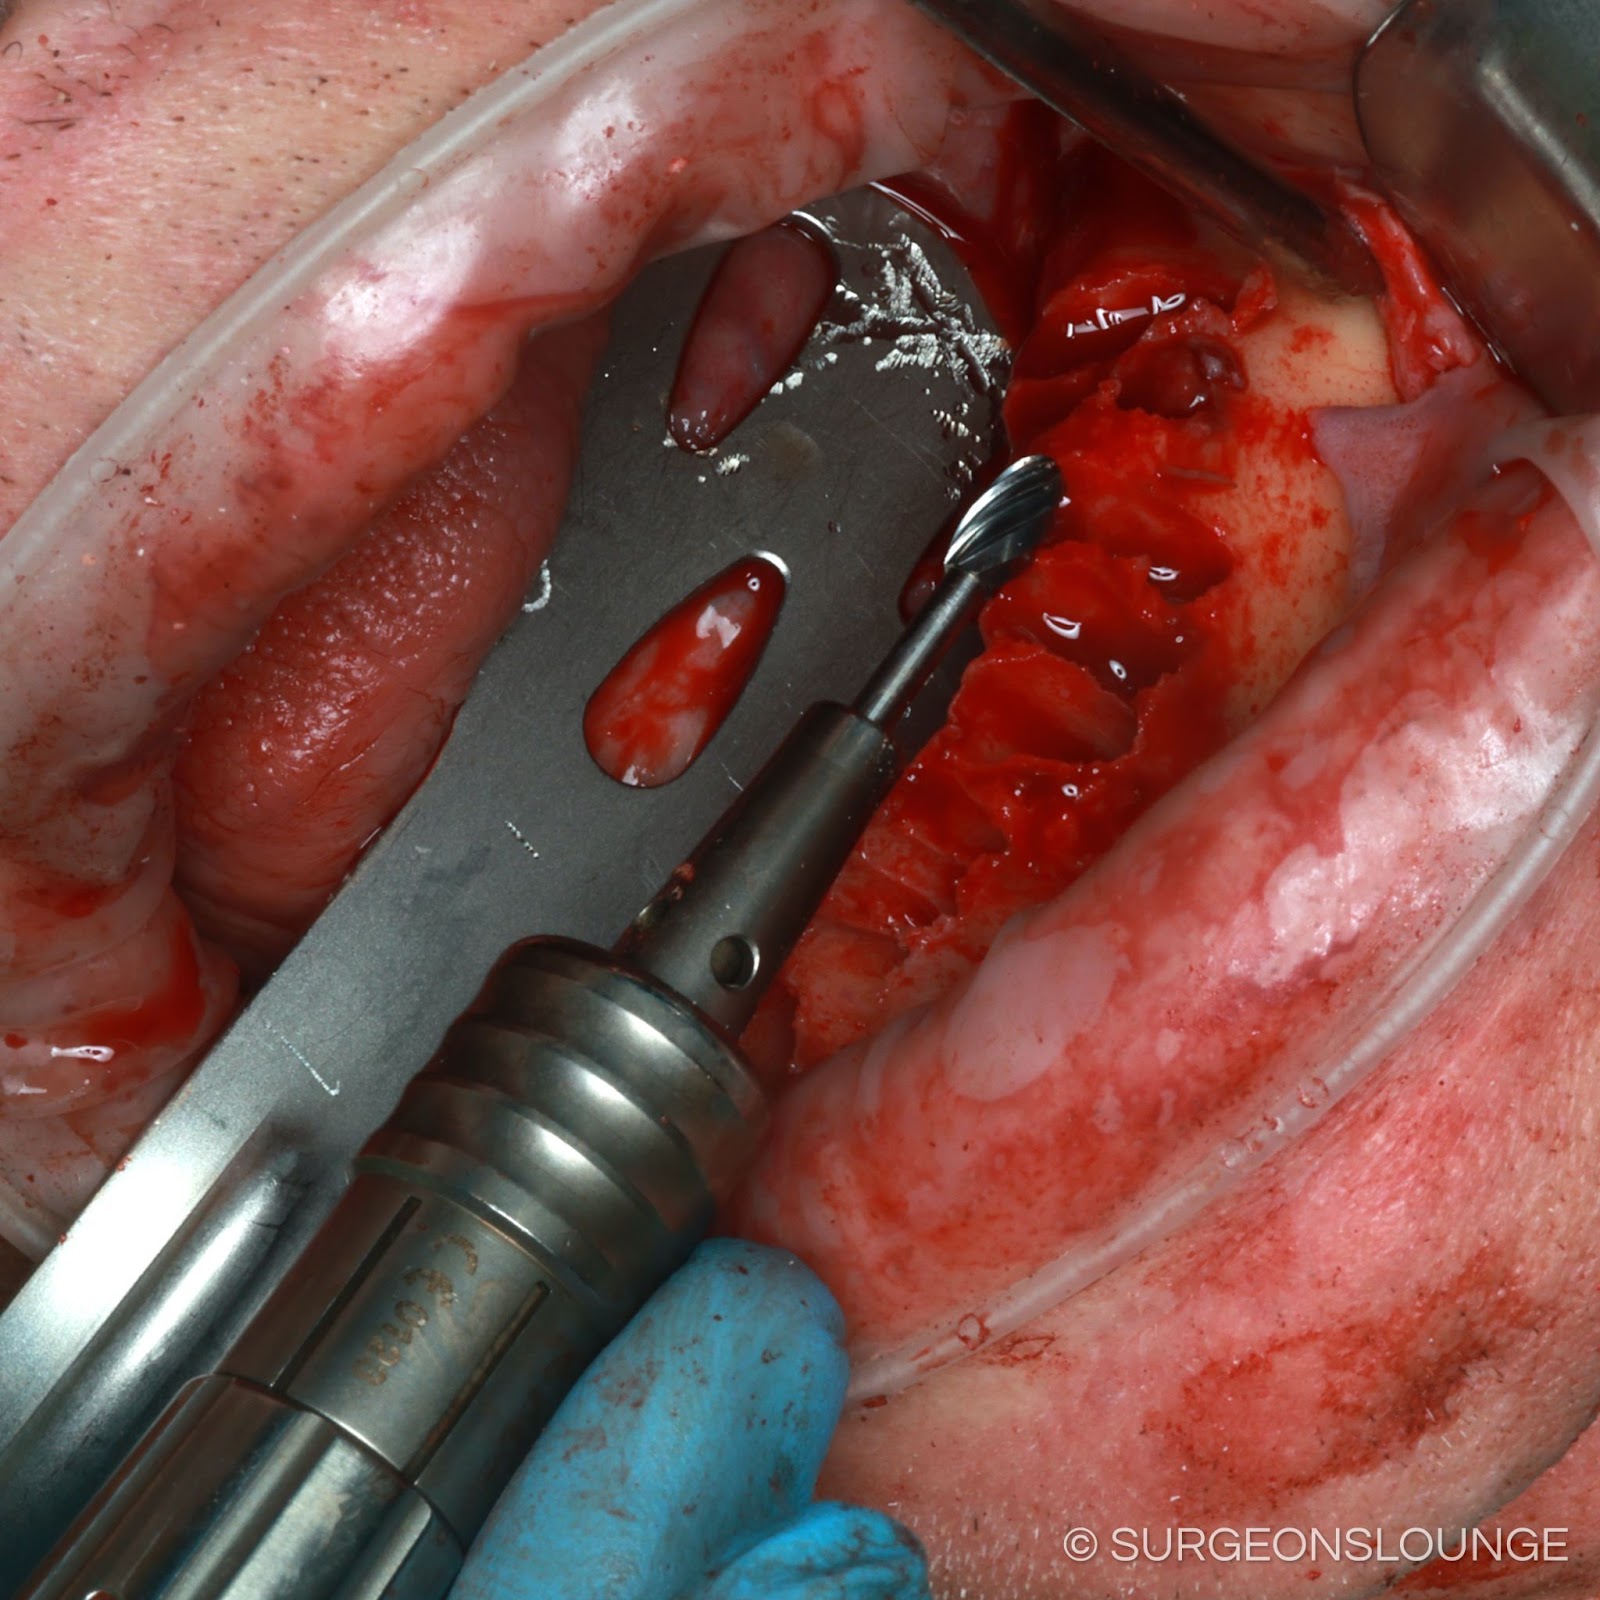
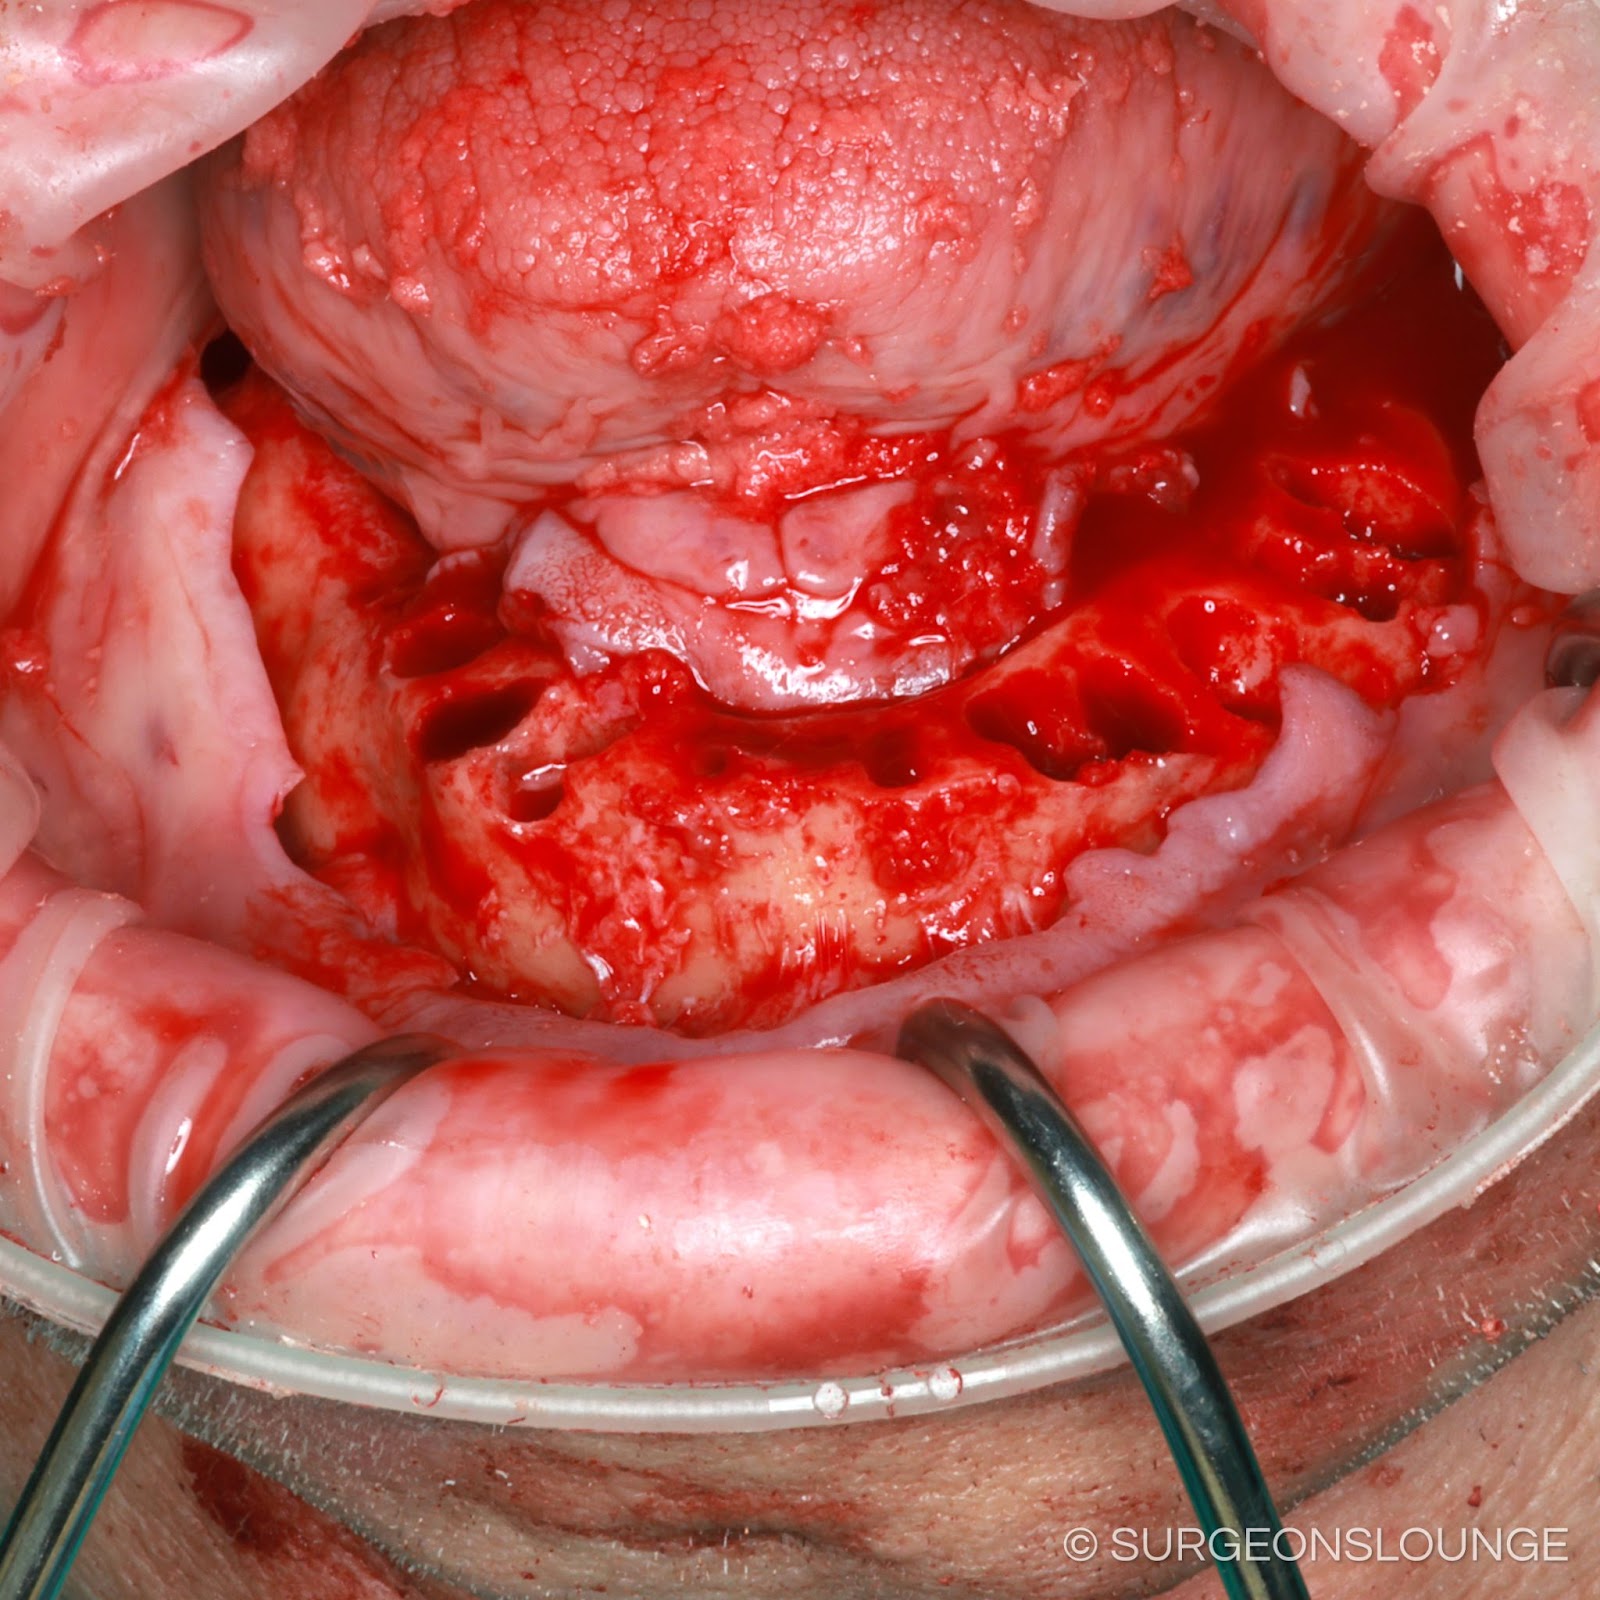
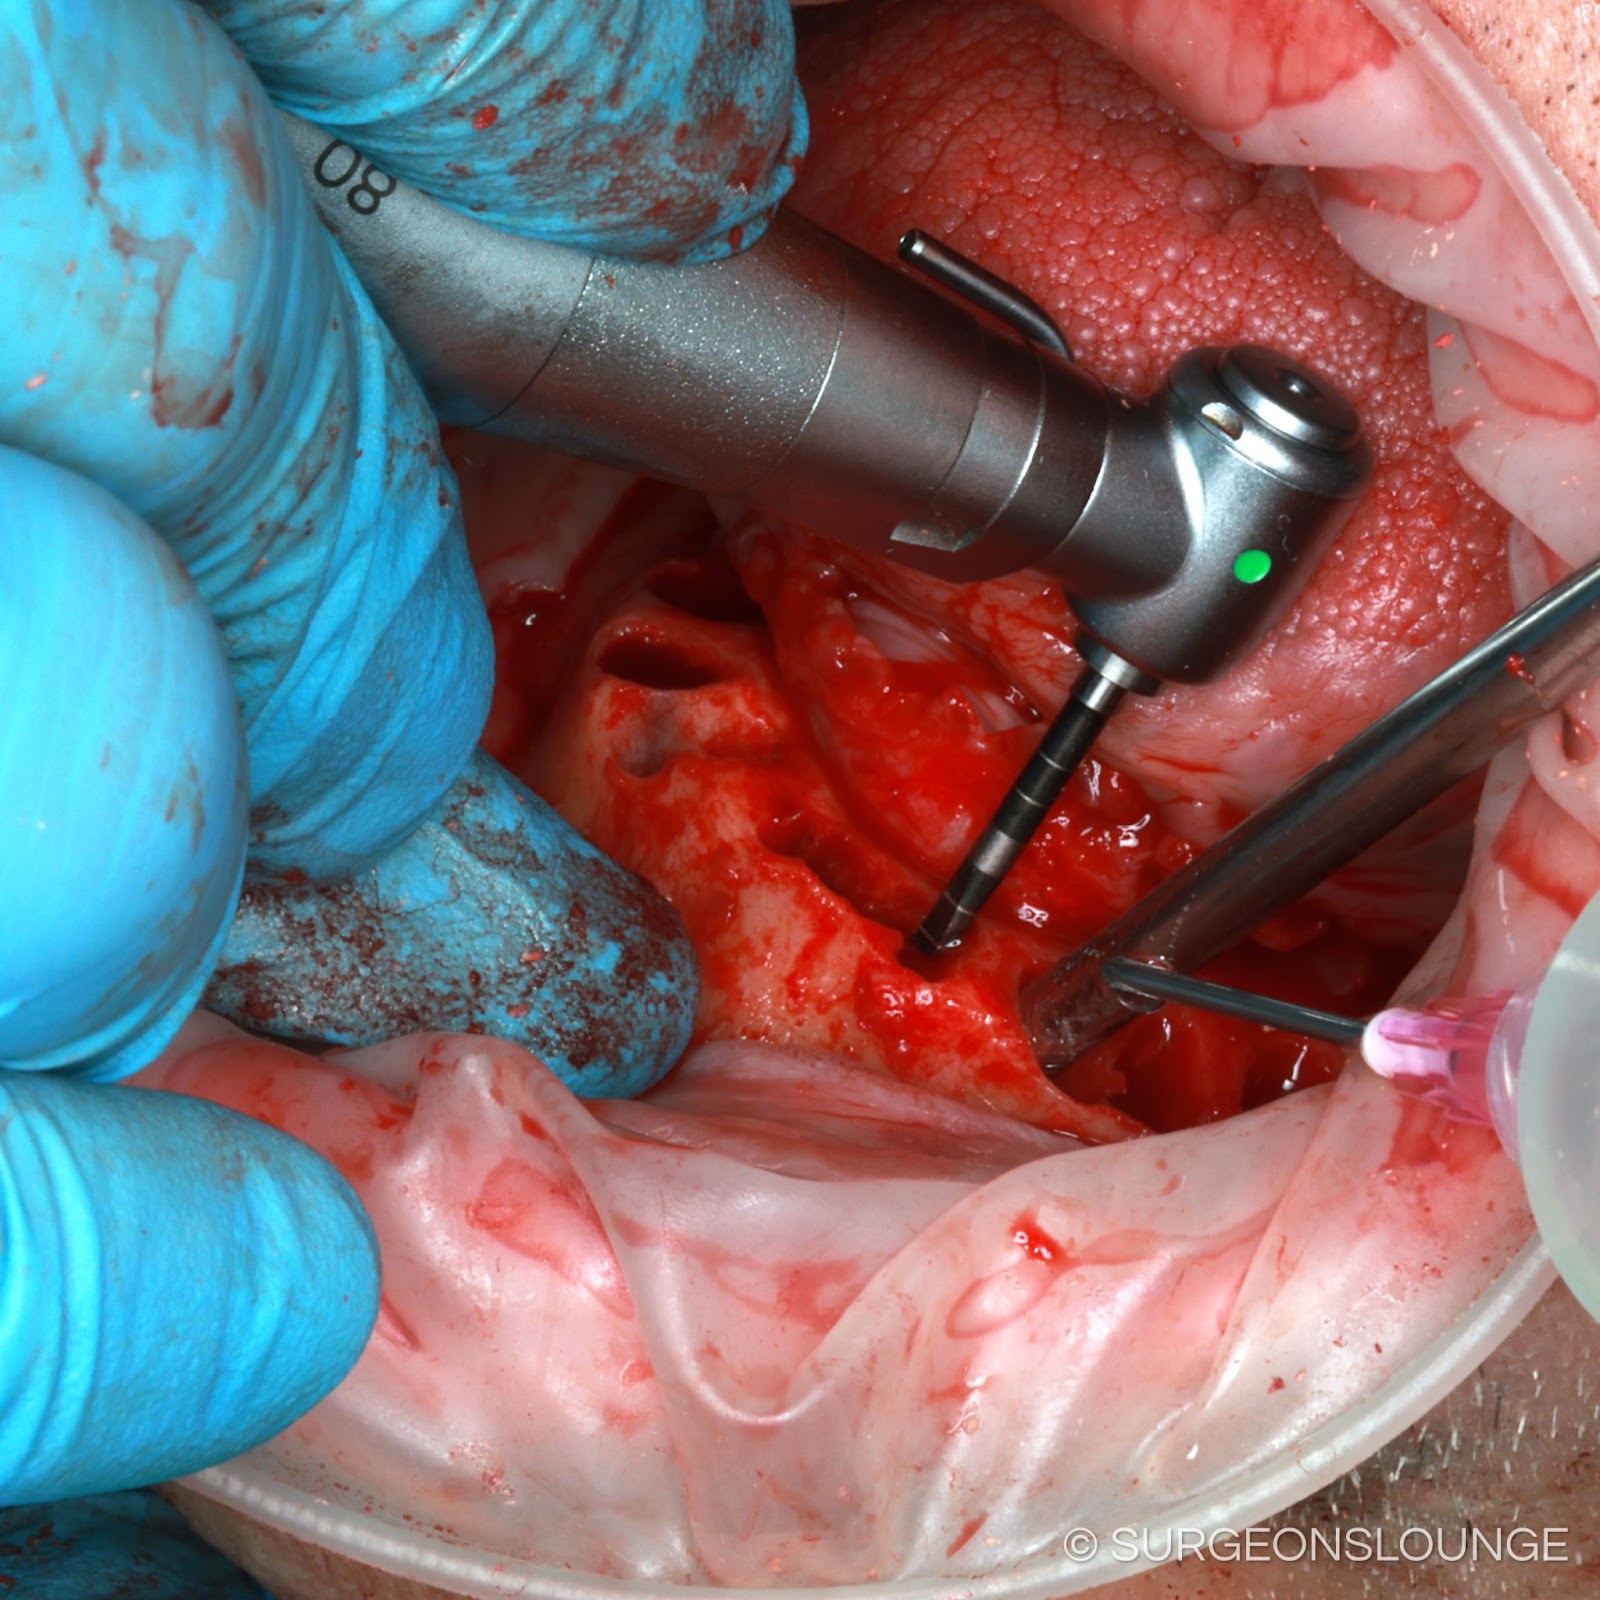
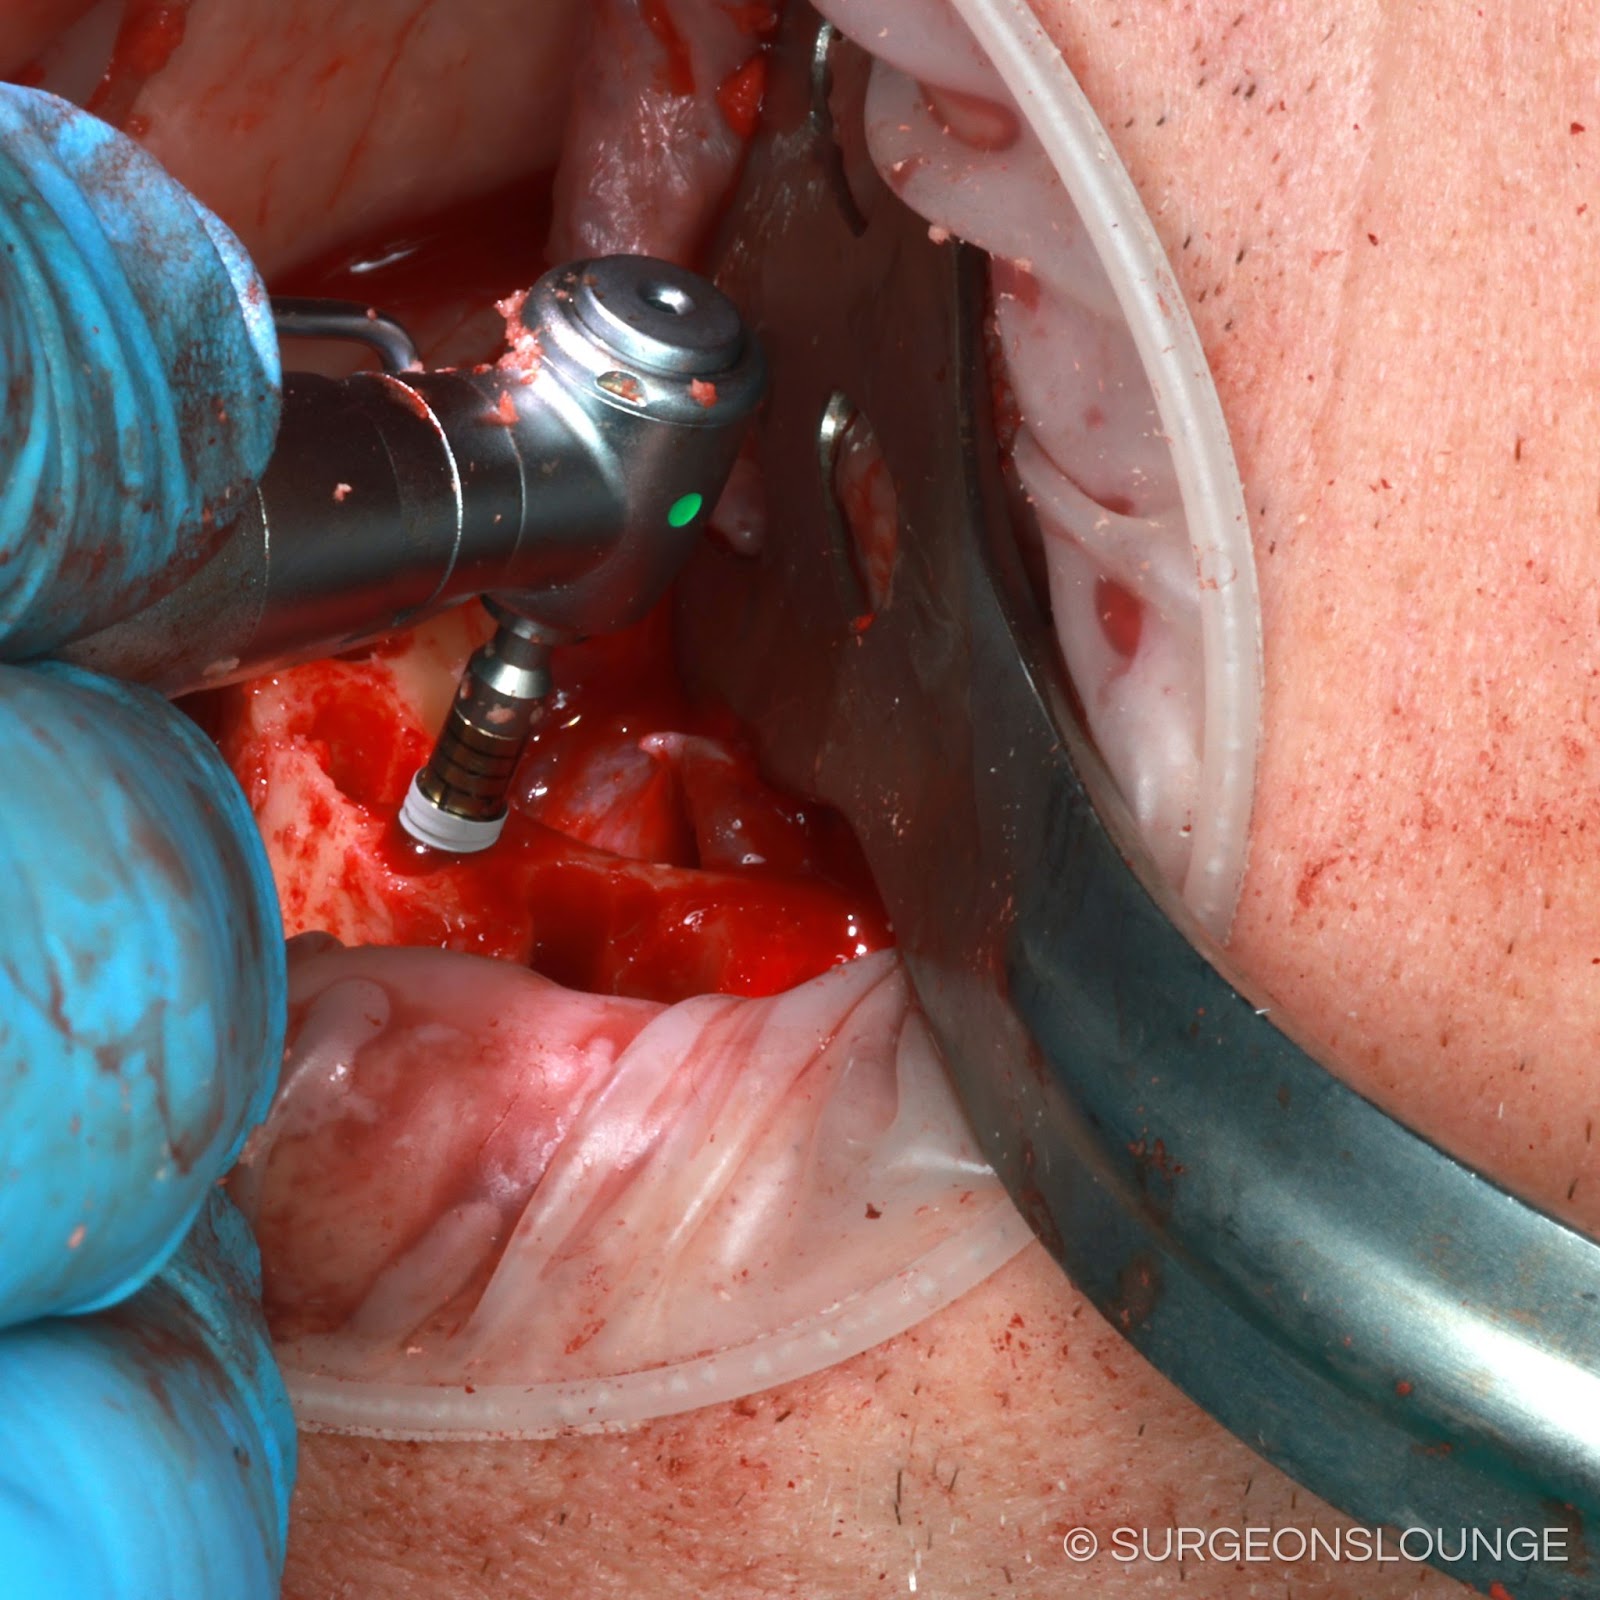
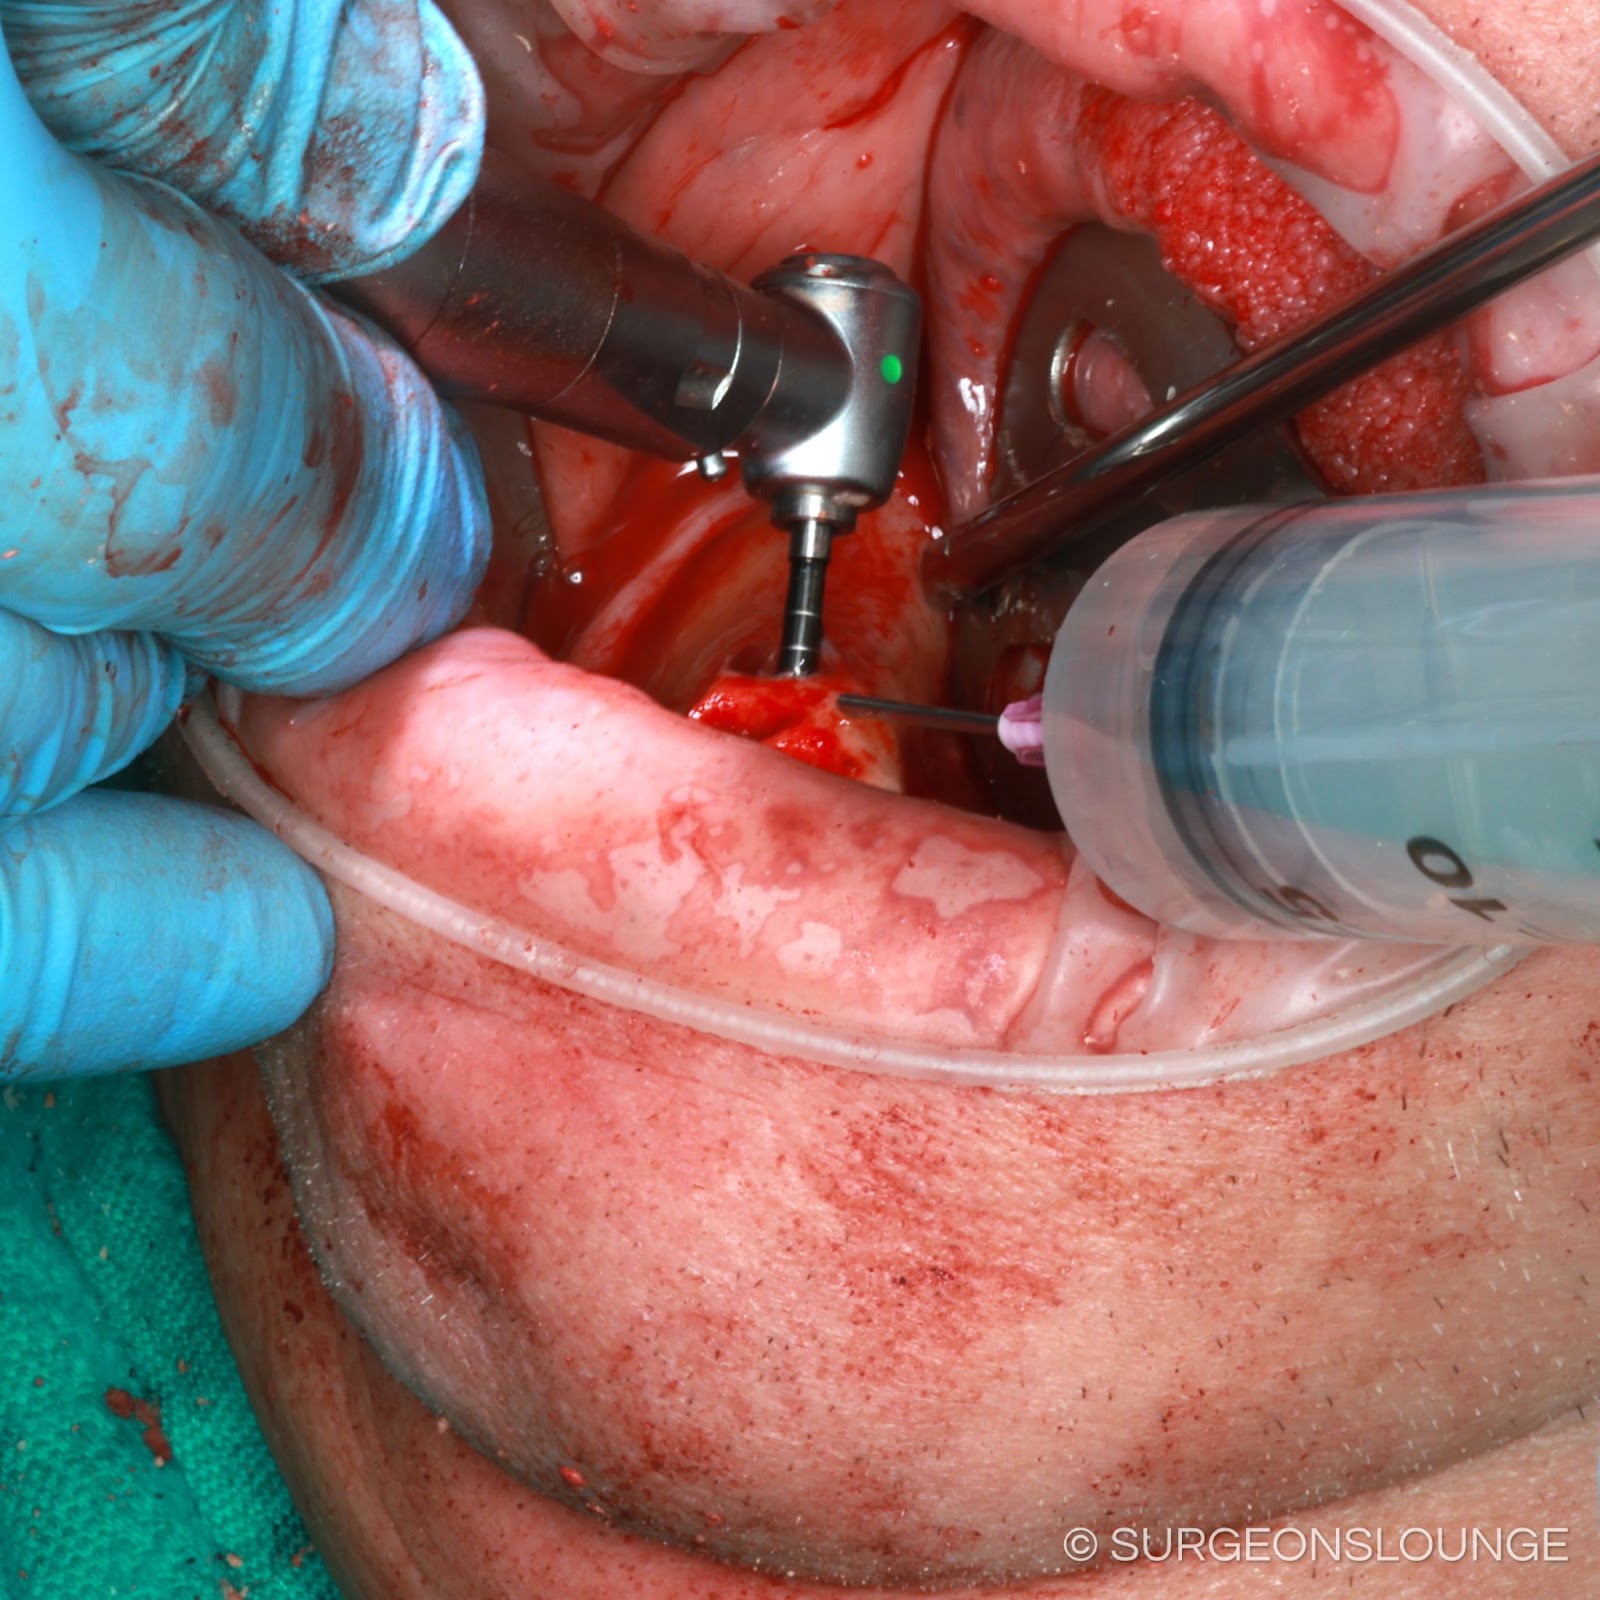
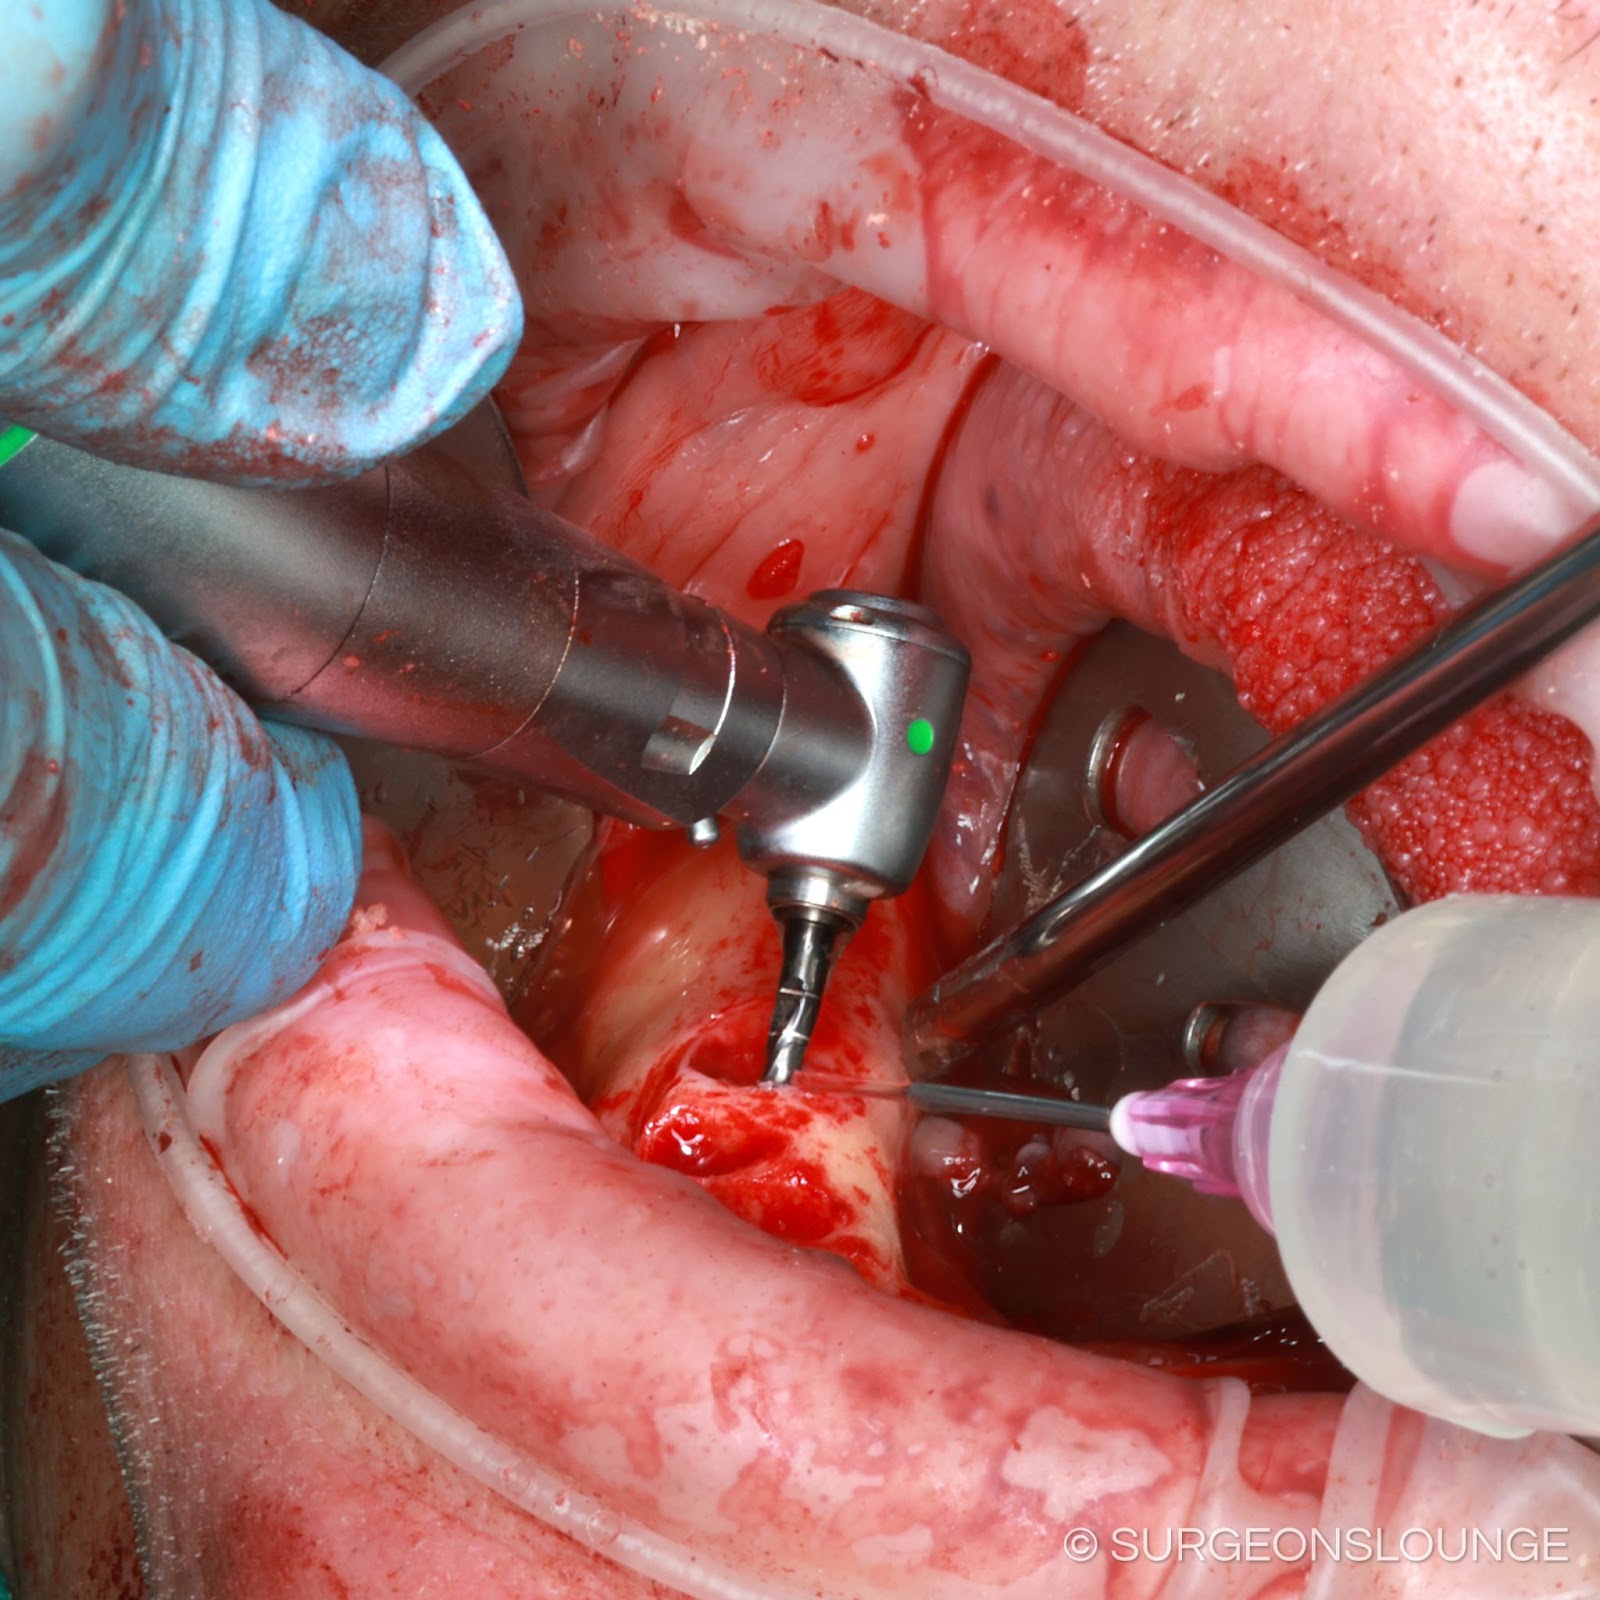
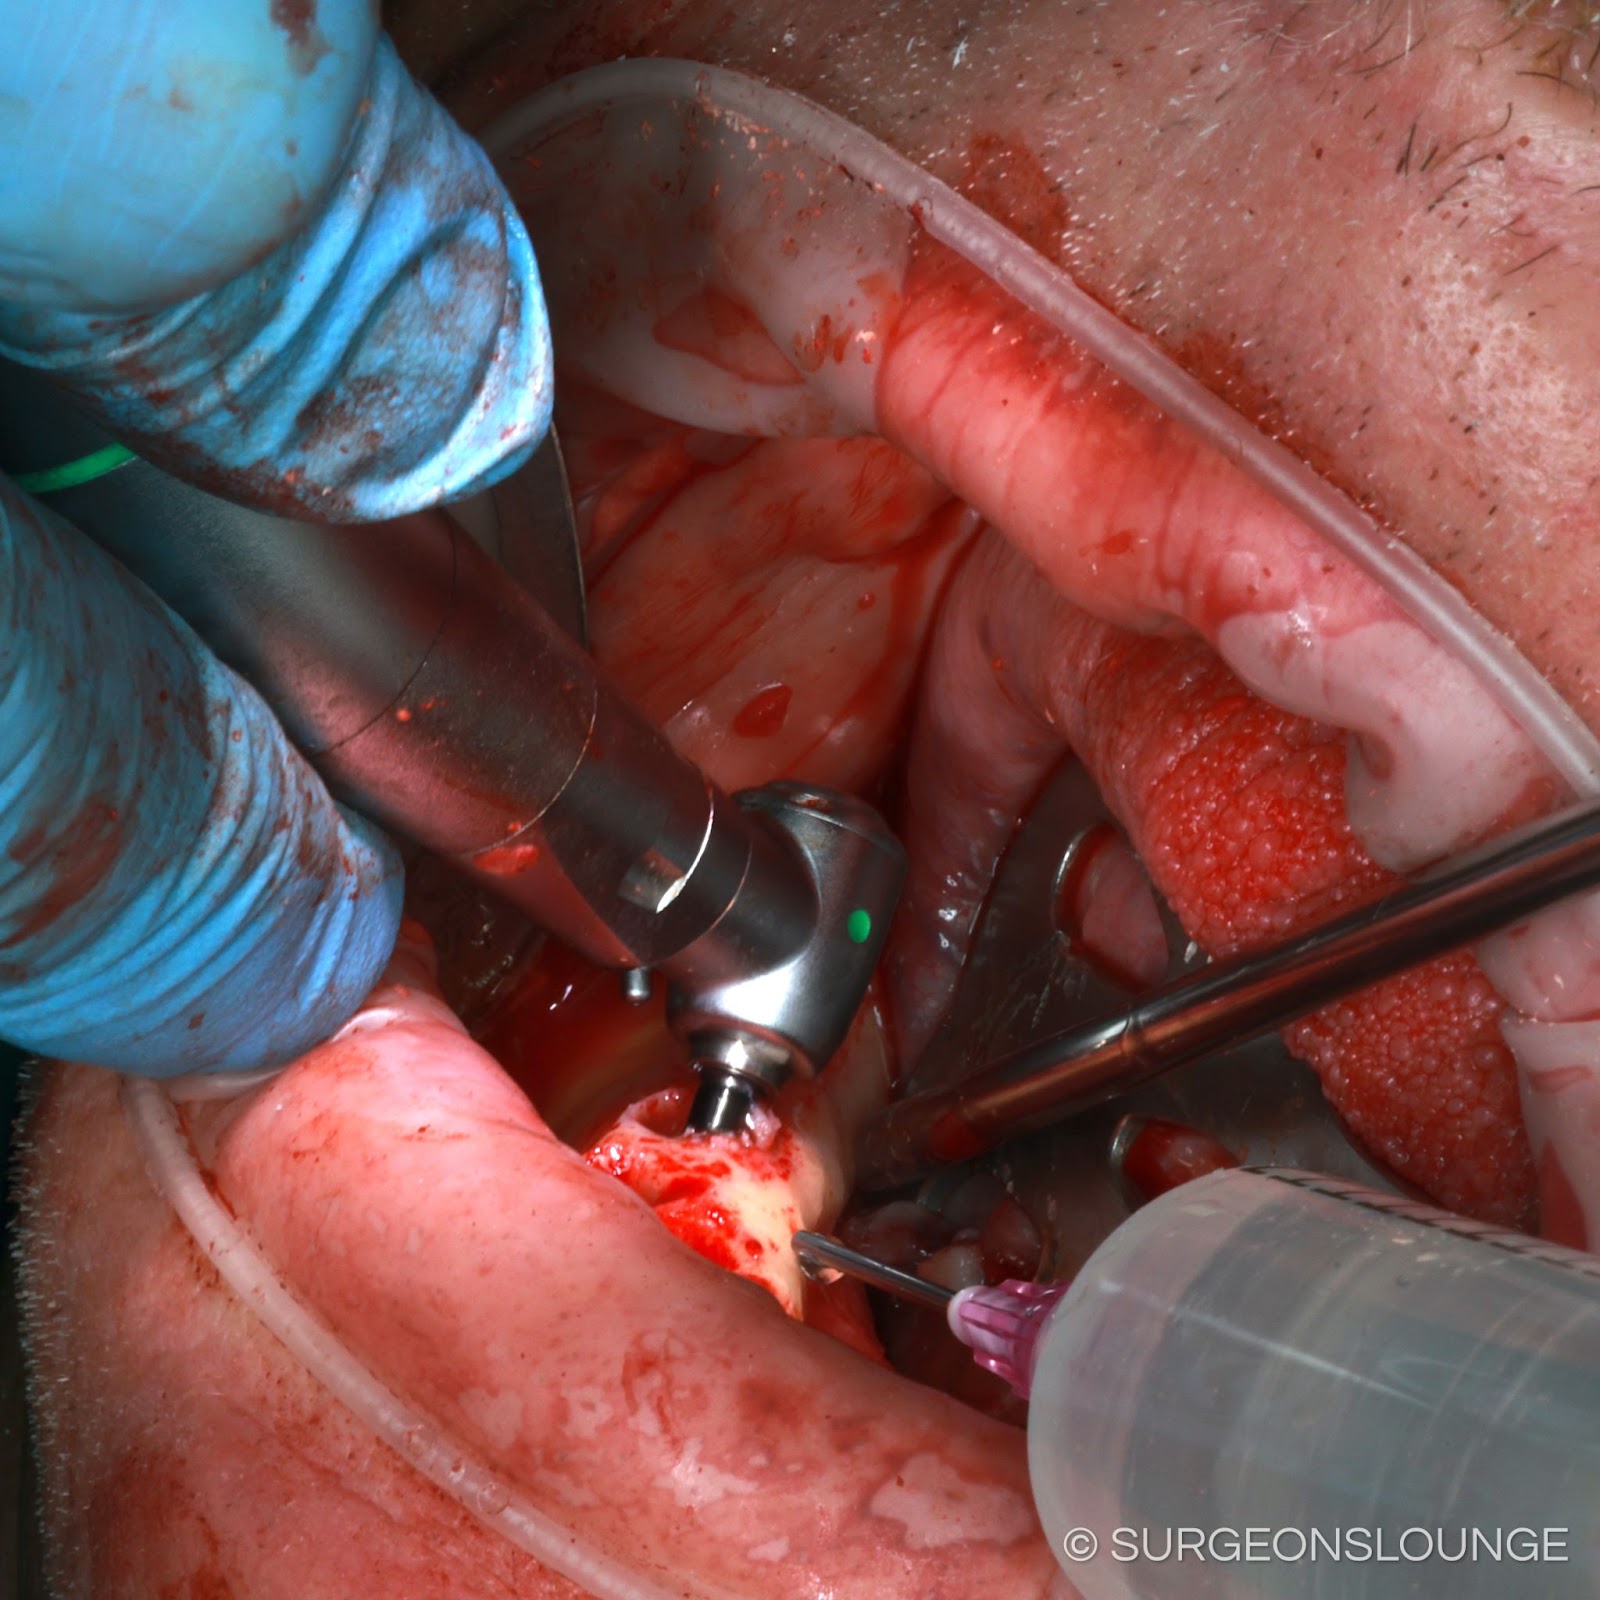
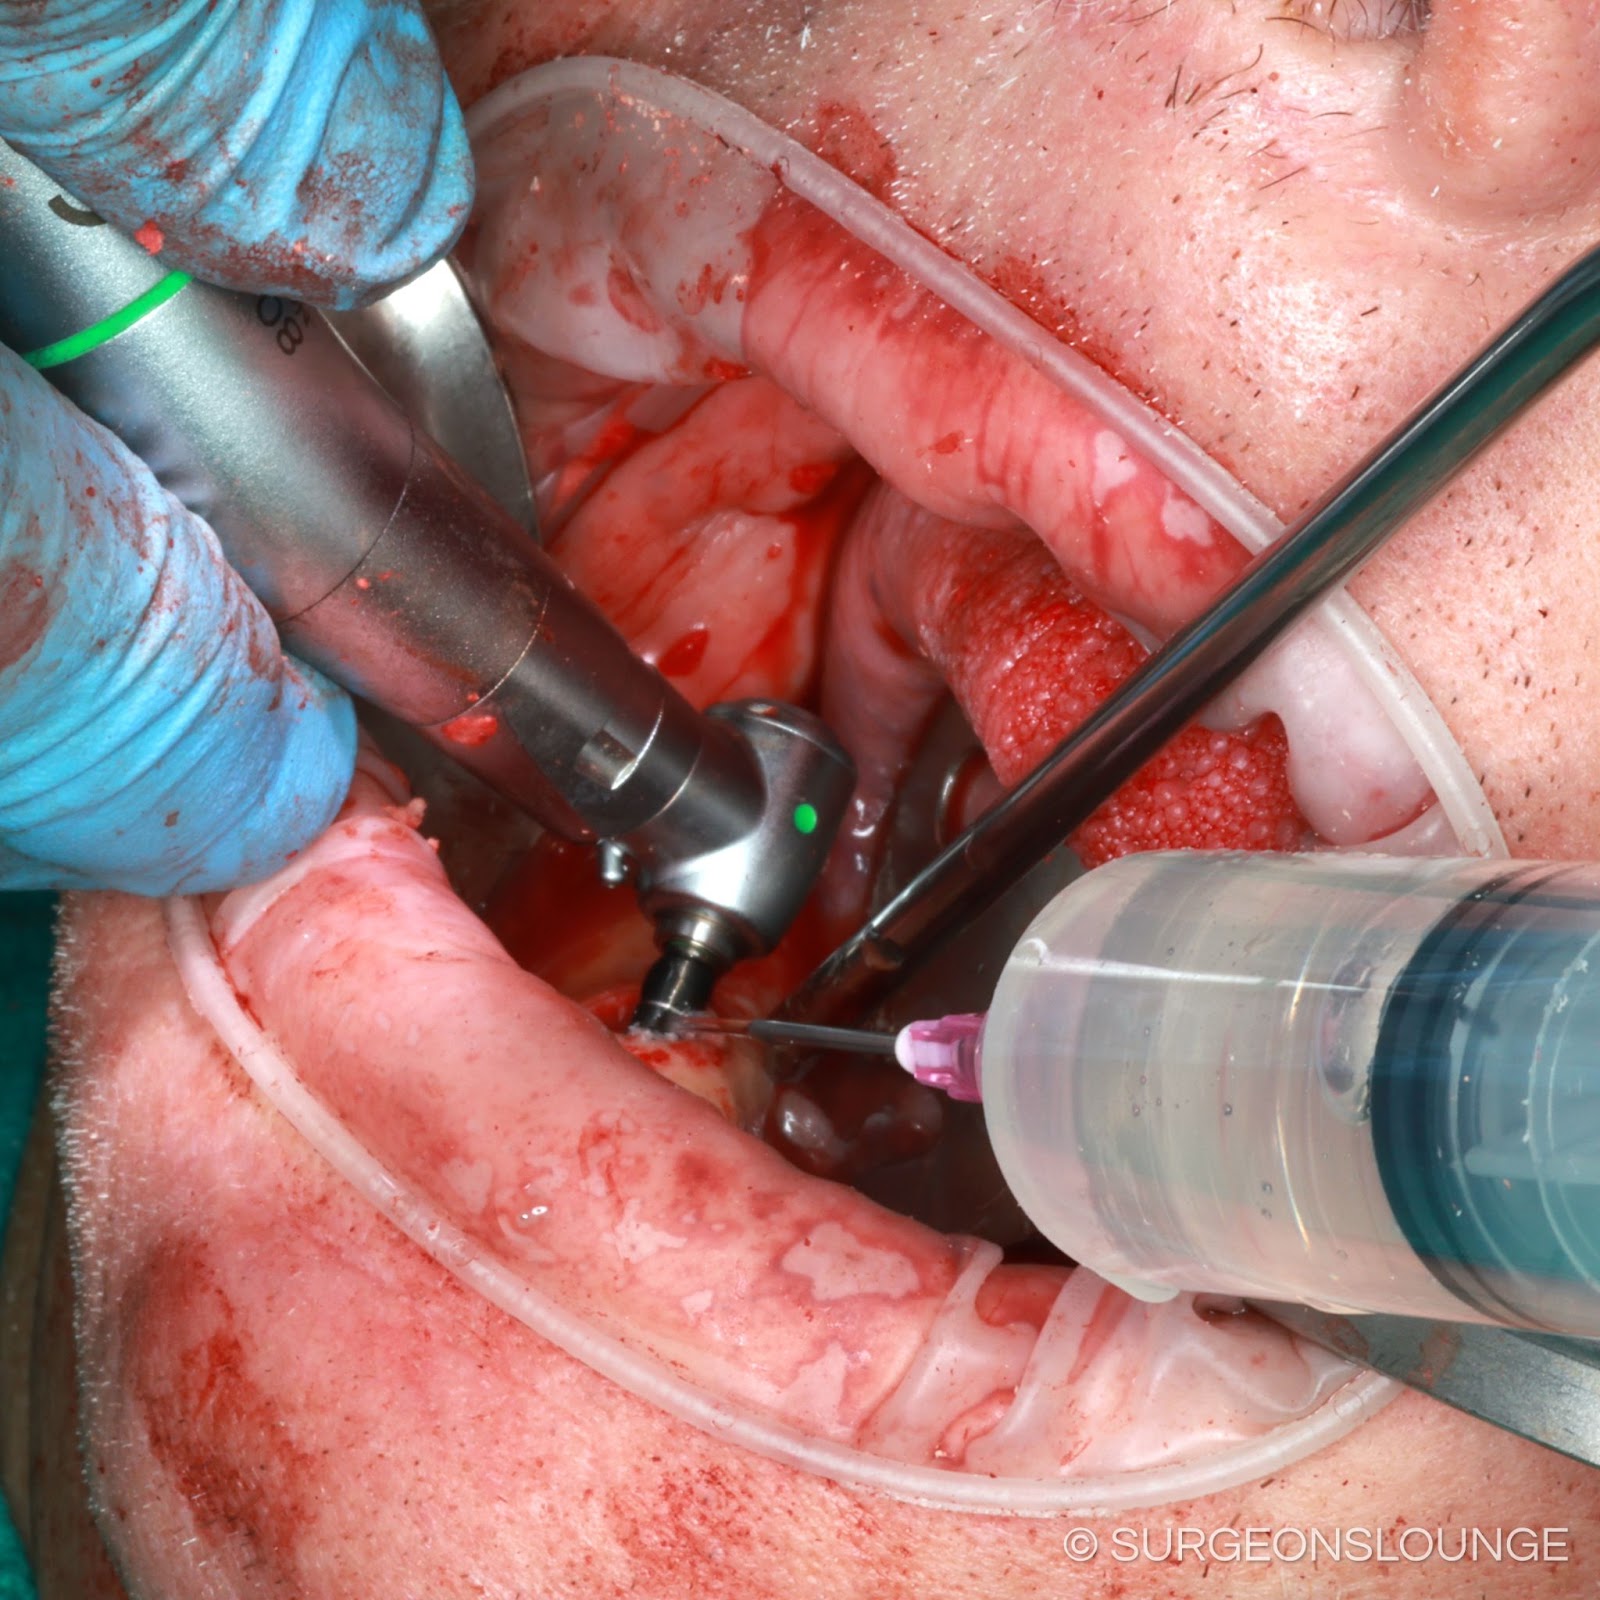
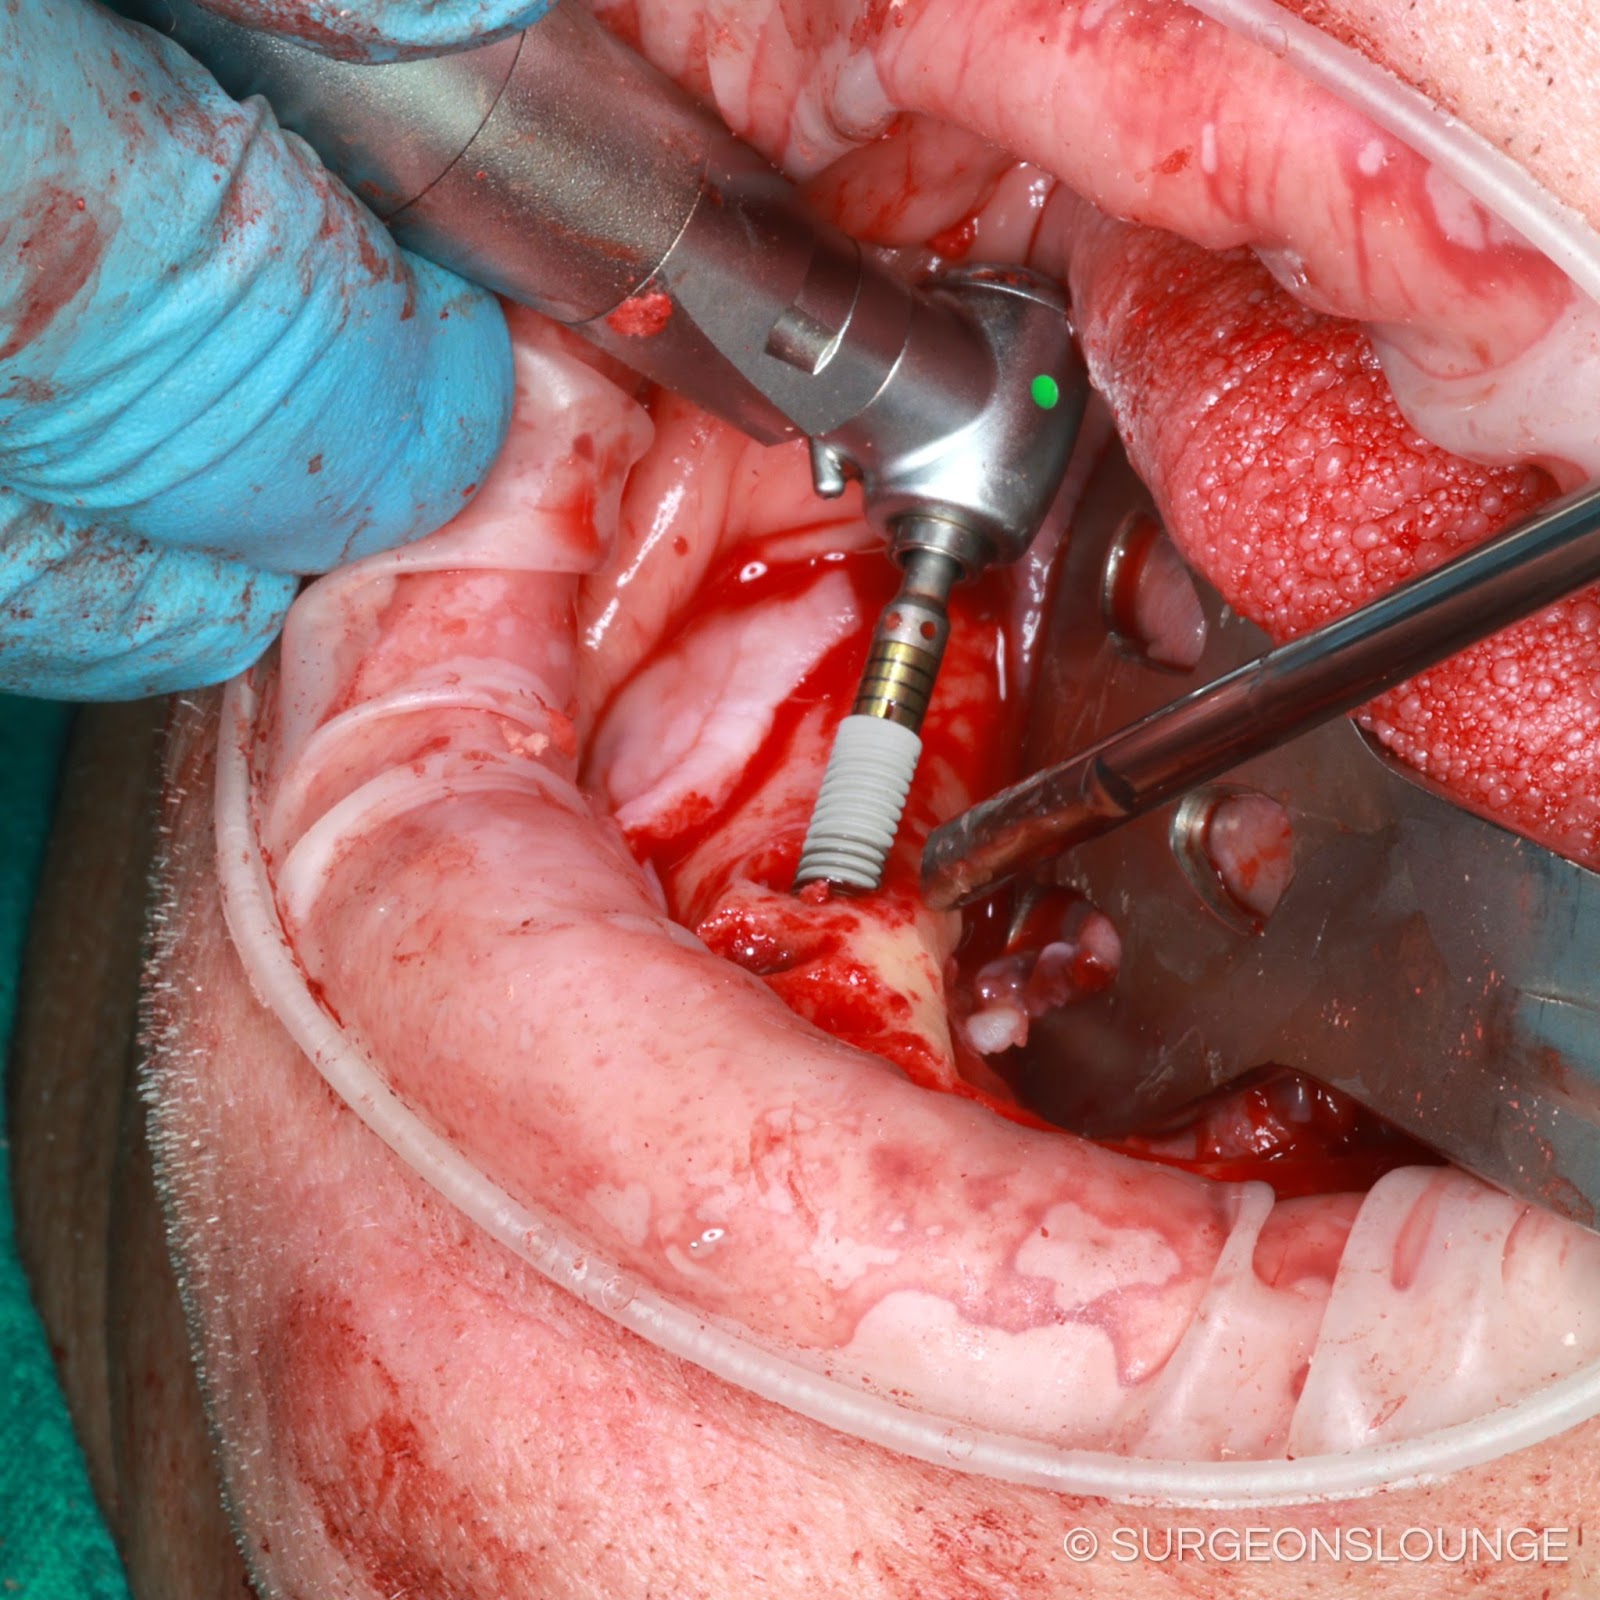
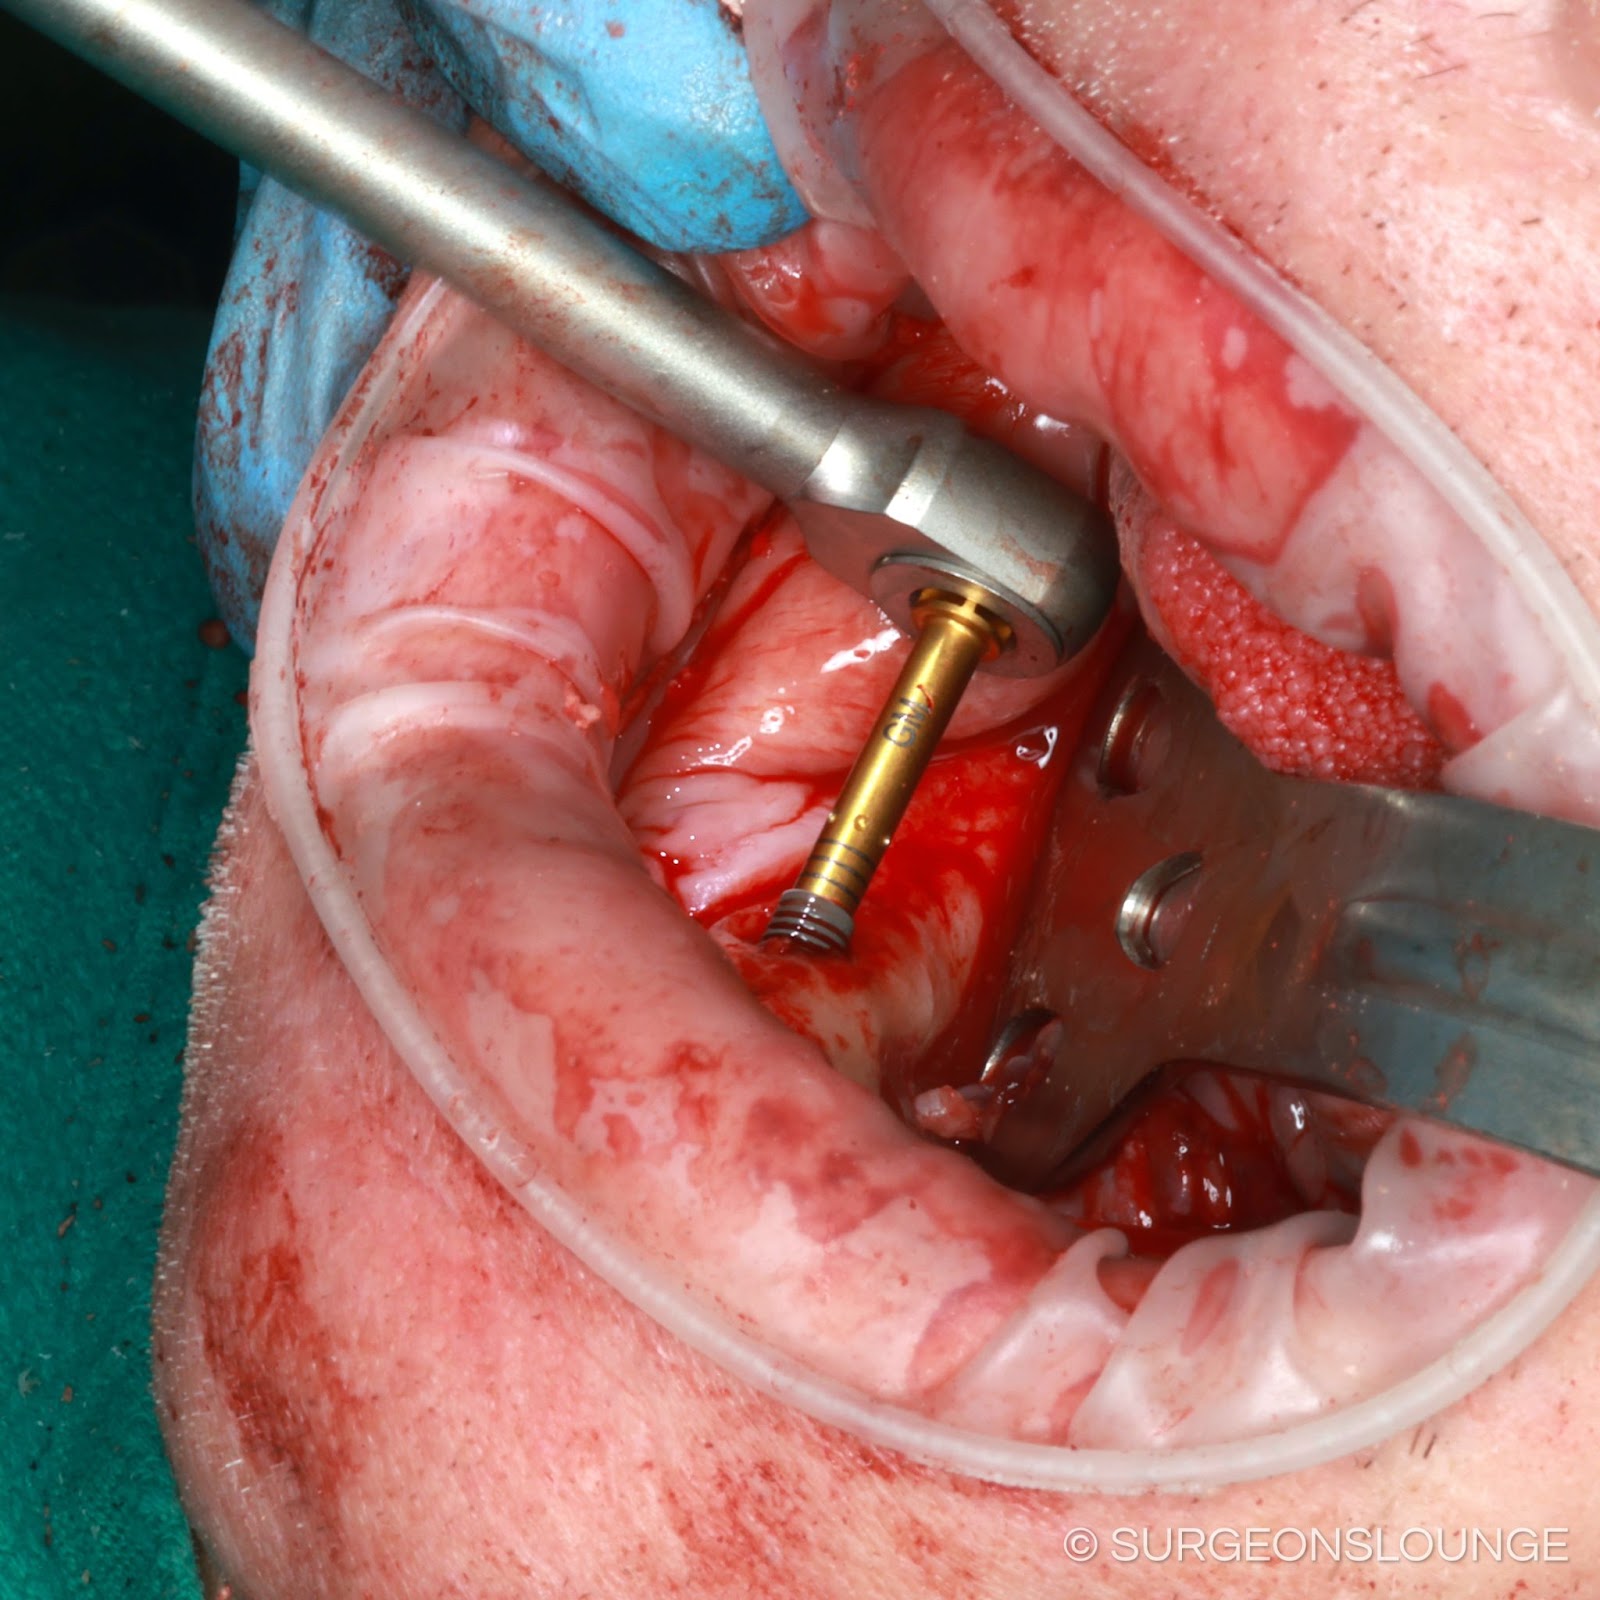
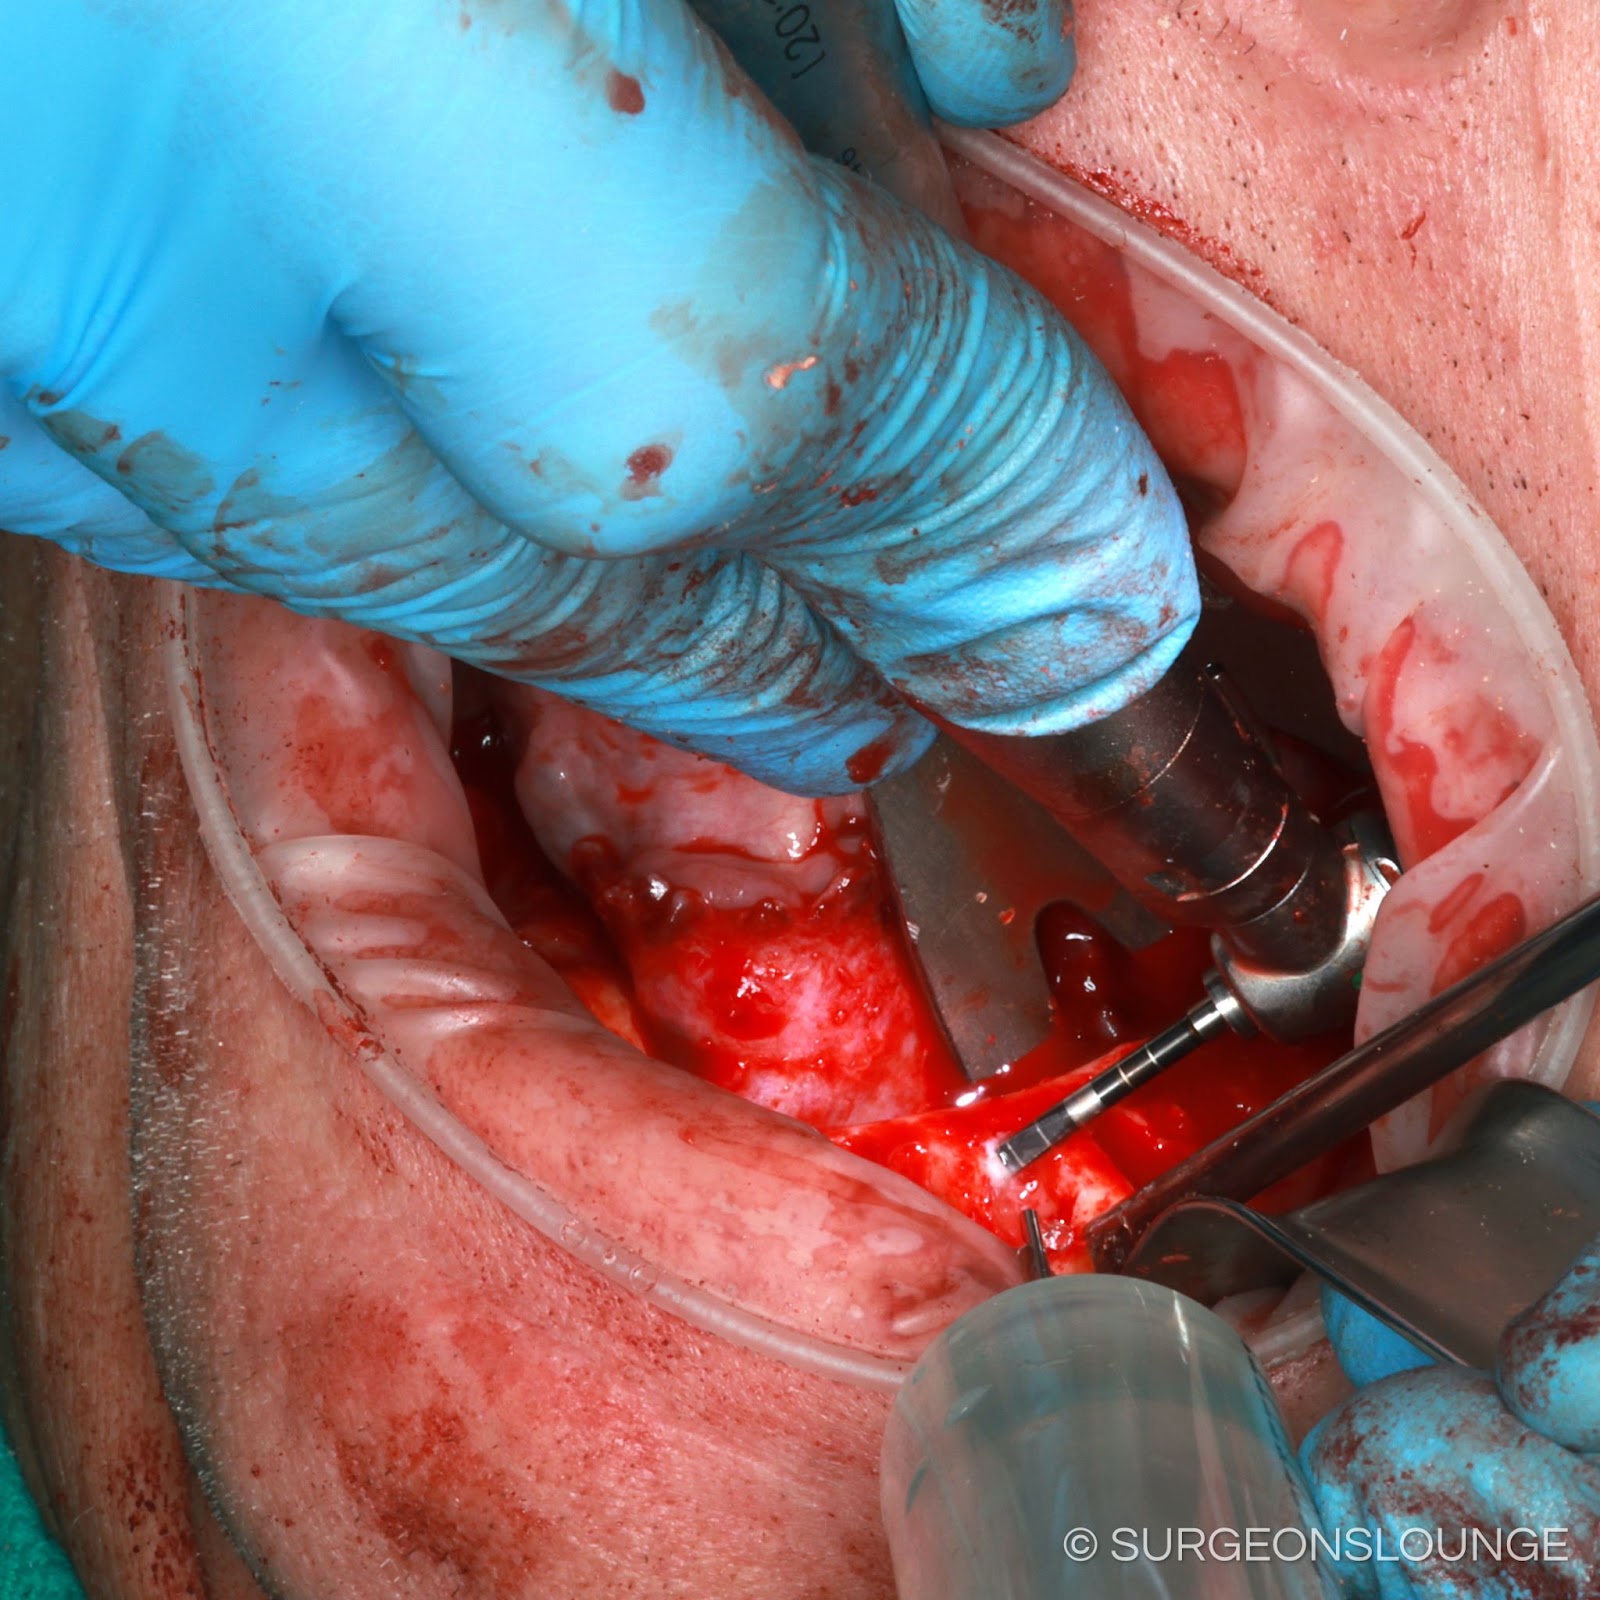
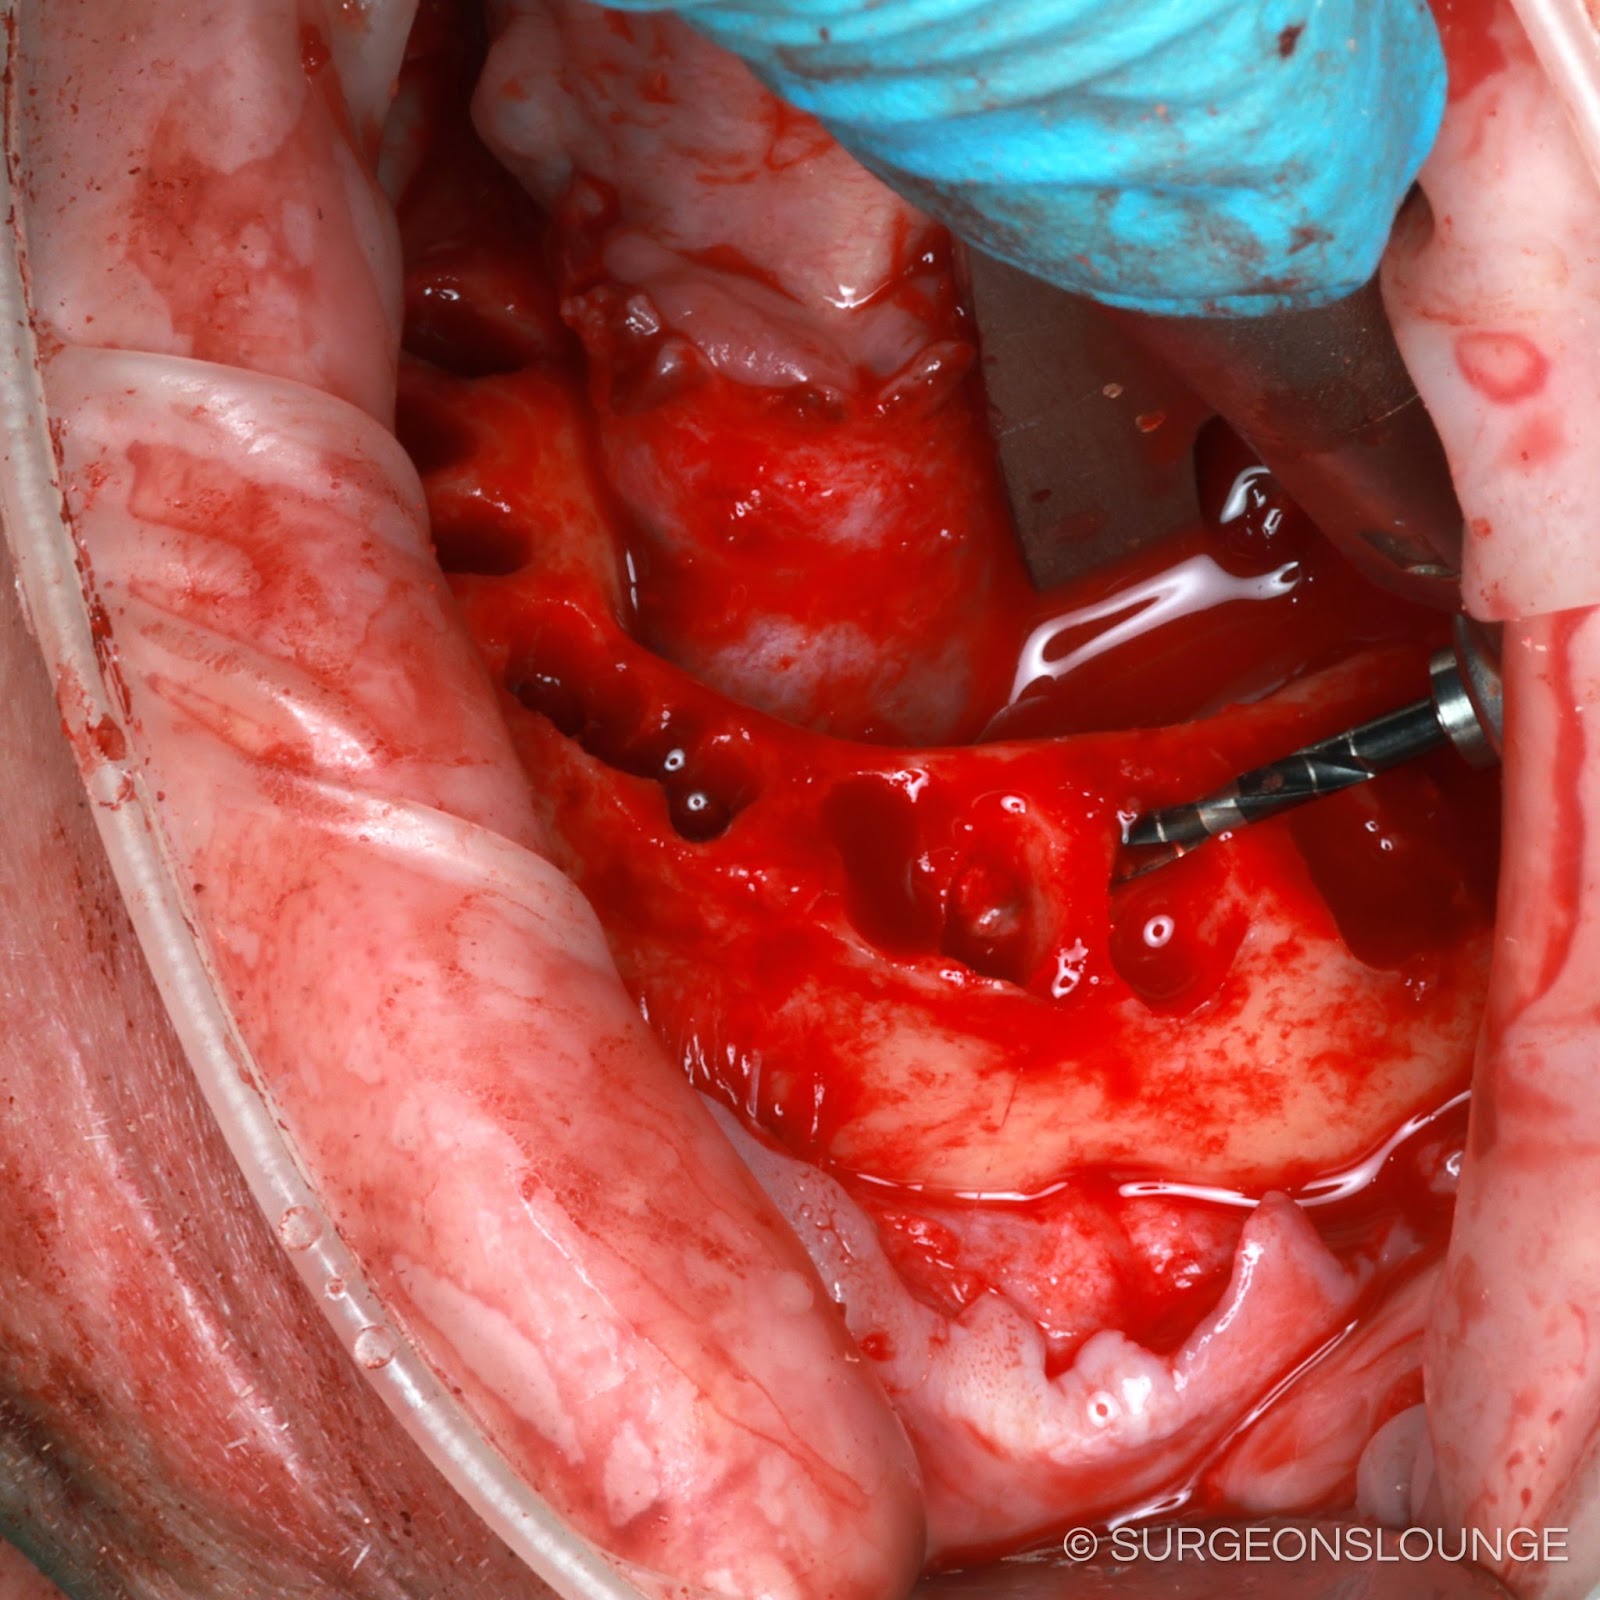
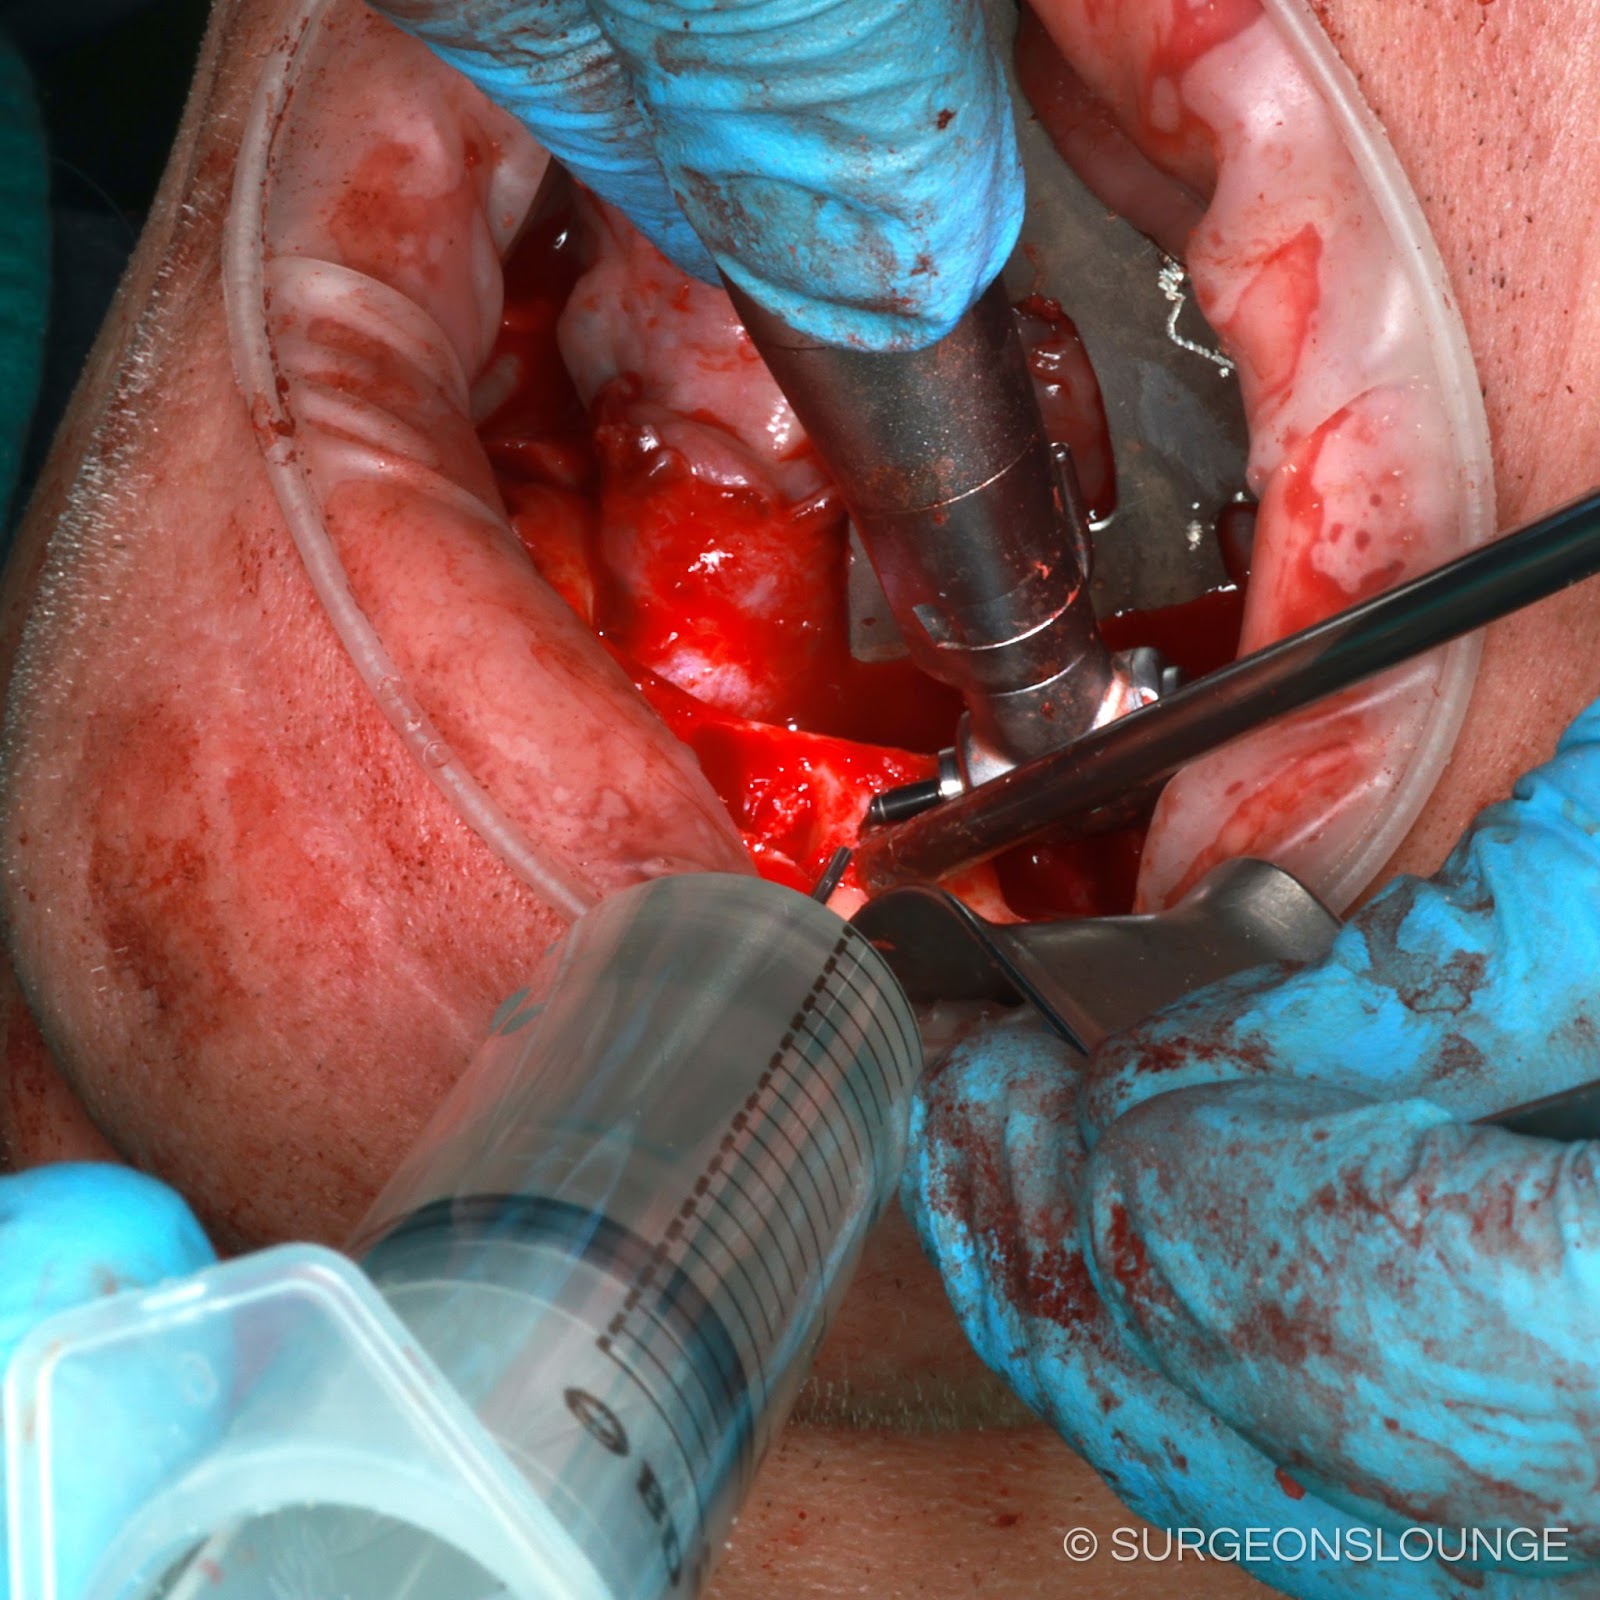
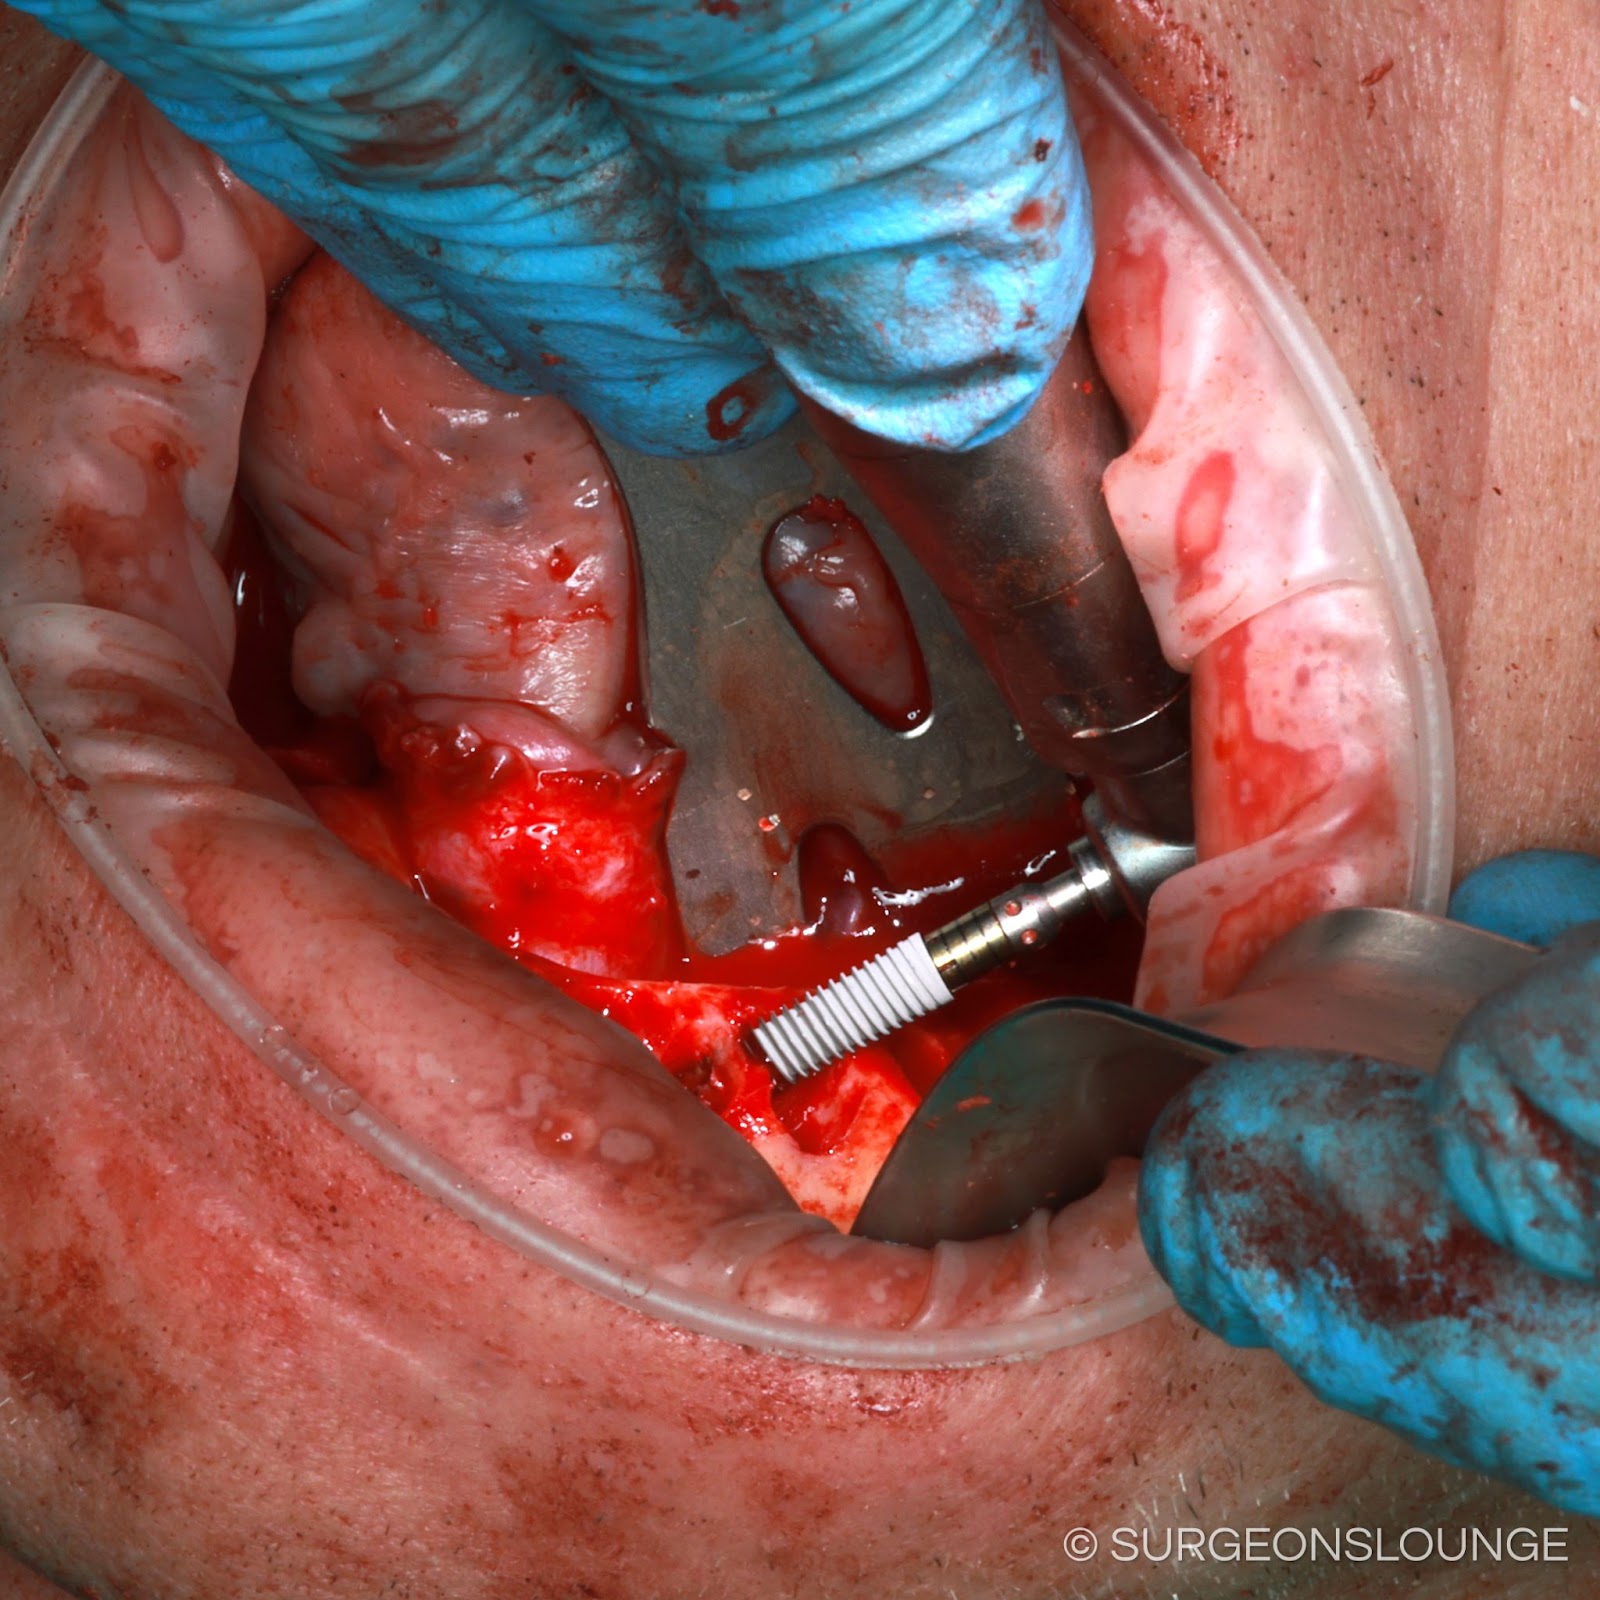
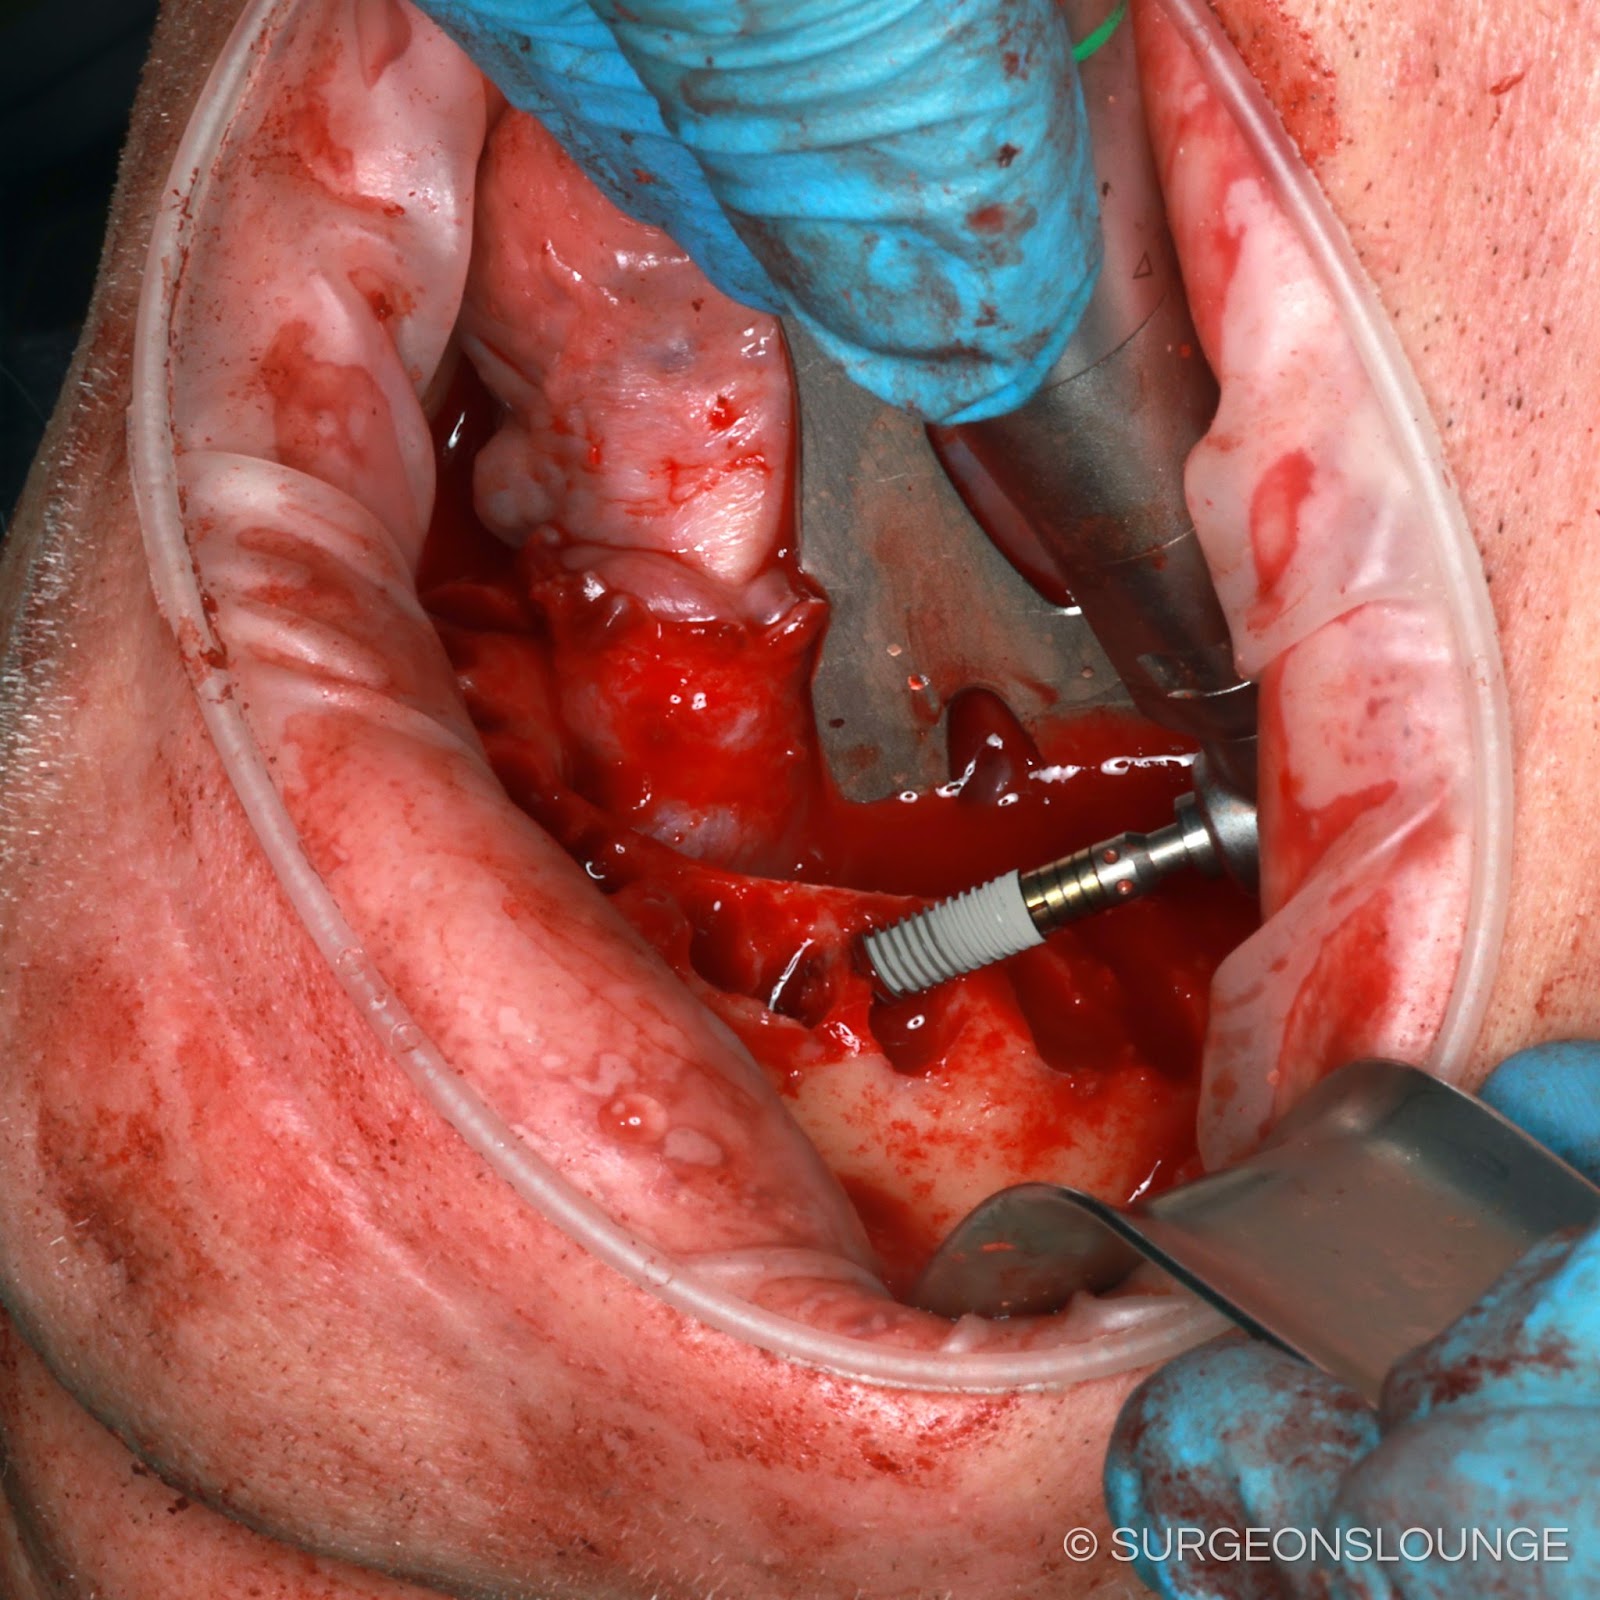
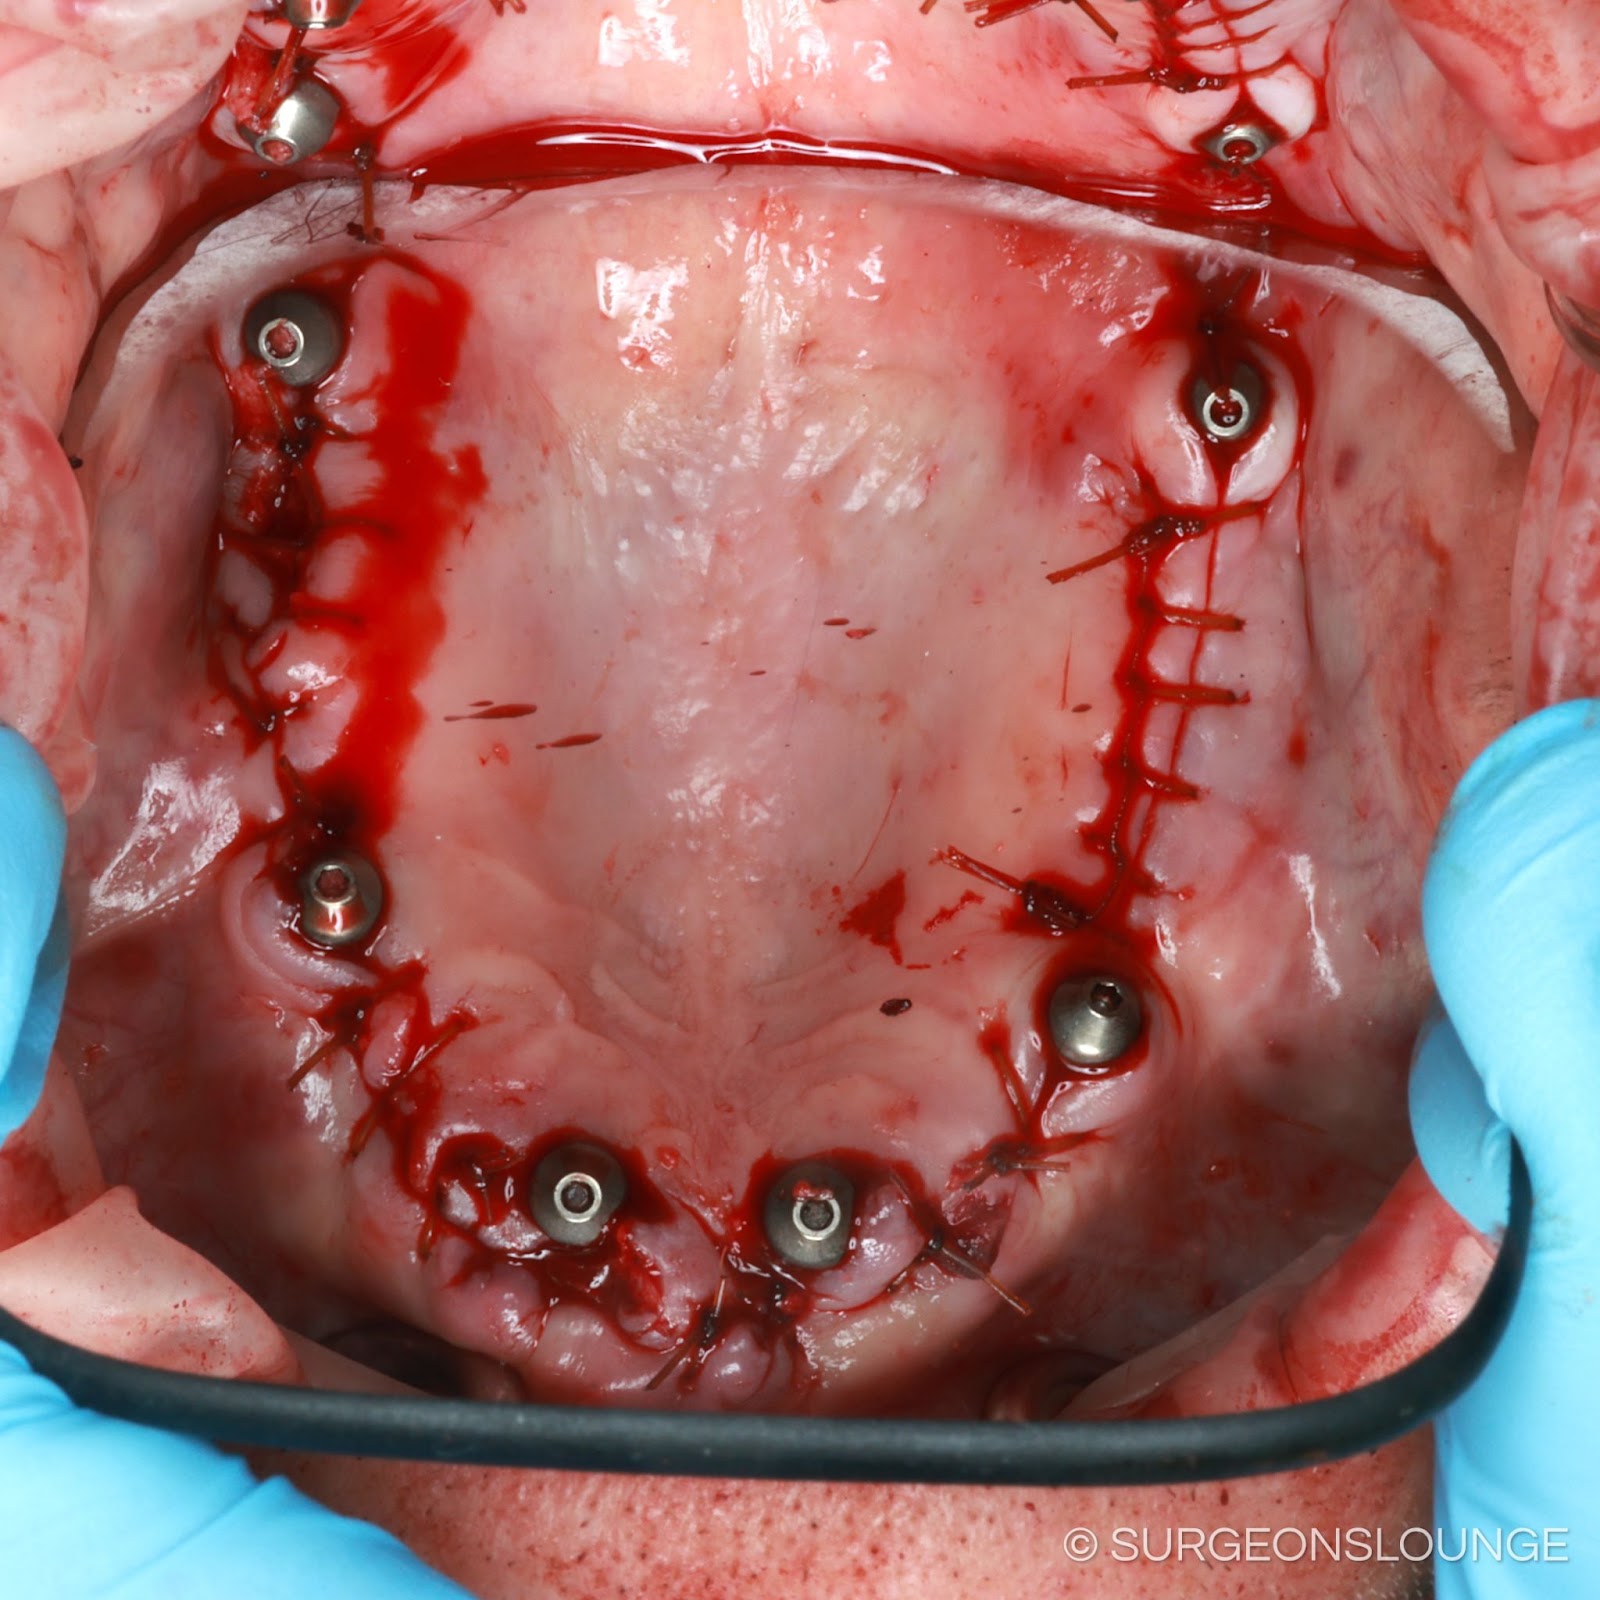
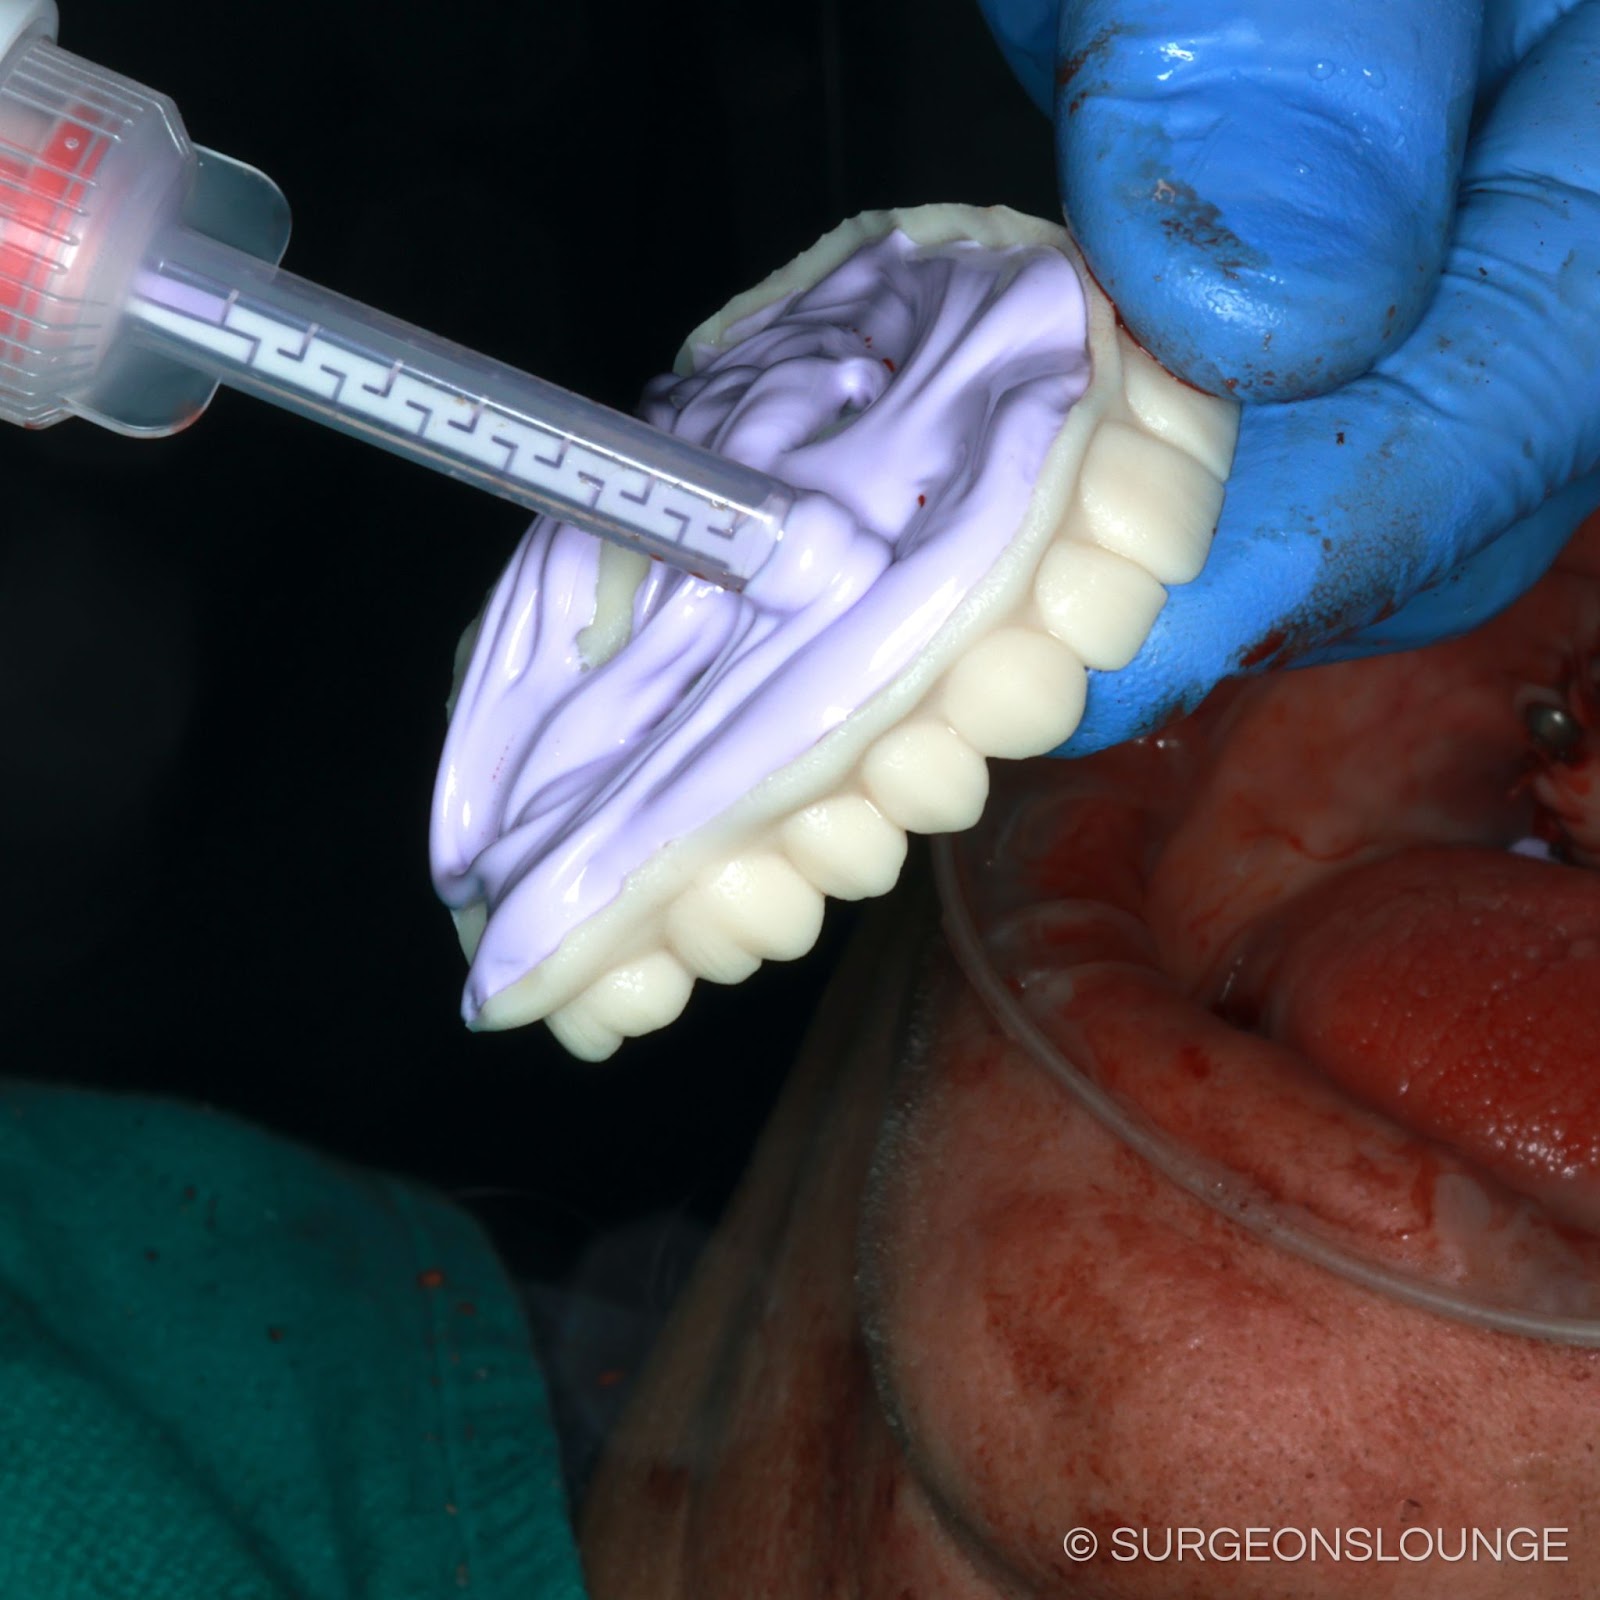
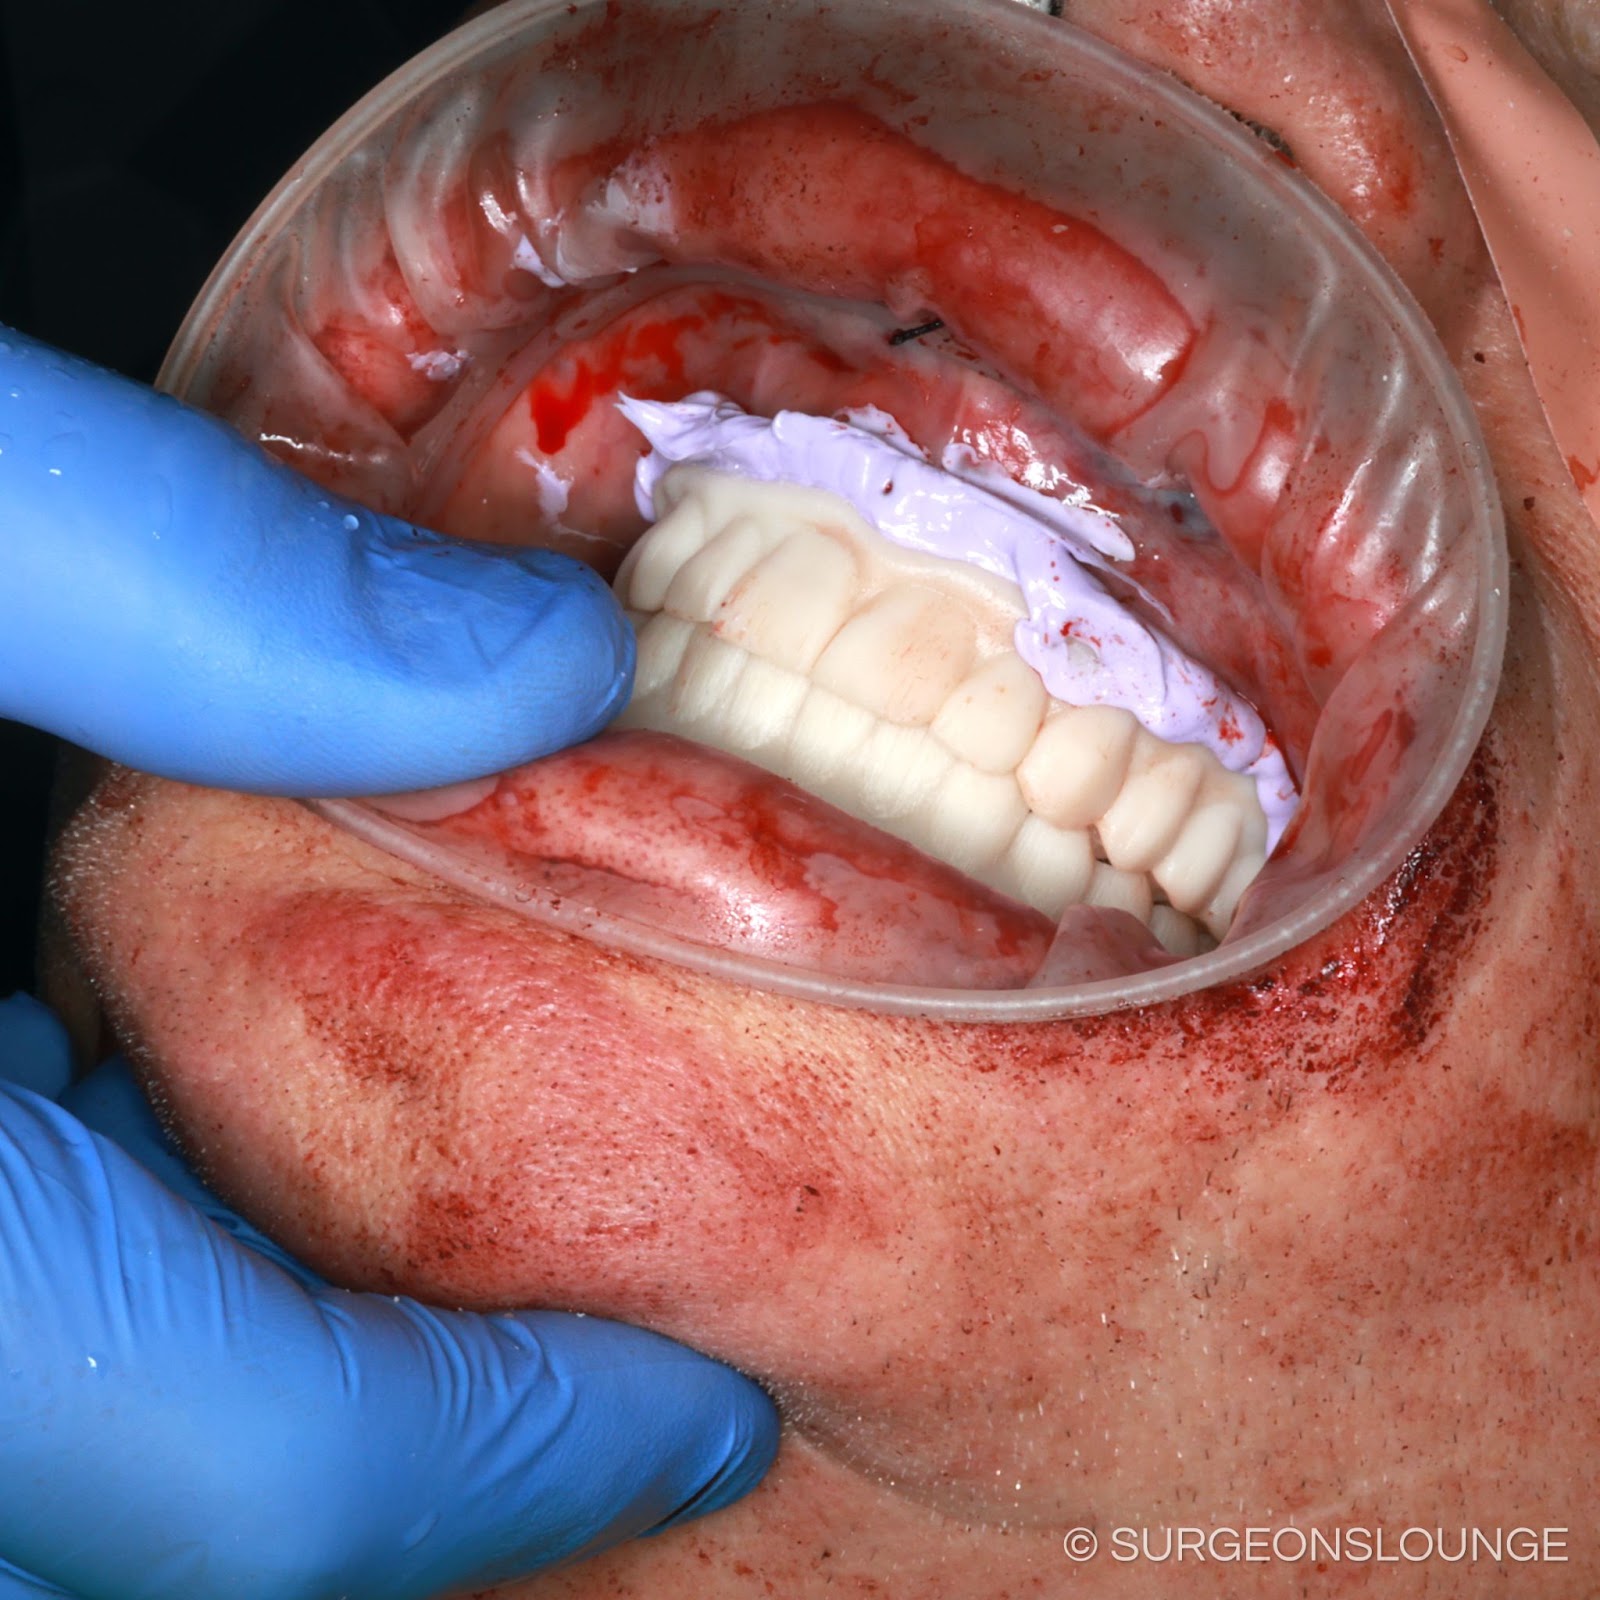
Attention was first directed to the maxilla where **cc 2% Lidocaine with 1:100k epi was administered as local infiltrations and *** blocks. A self-retaining cheek retractor was placed and secured to the buccal mucosa with 2-0 silk sutures. A 15 blade was used to create a full thickness incision extending between the posterior aspect of the maxillary tuberosities bilaterally. Full thickness mucoperiosteal flaps was then raised on both the facial and palatal aspect of the maxilla. Under copious normal saline irrigation, a fissure bur in a surgical handpiece was then used to remove interproximal bone around remaning teeth to aid in extraction. Remaining teeth # *** were then extracted with dental elevators and forceps in total and without complication. Troughed denture surgical template was then used to mark the required bone reduction. 2-0 silk suture was then used to suture back and protect the palatal mucosa and in self-retaining fashion. A combination of rongeurs and surgical handpiece with pineapple bur were used to reduce and smooth bone to desired level. Attention was then directed to the R posterior maxilla where a precision drill was used to create an osteotomy at a site approximately 10mm anterior to the hamular notch near the tooth #2 position. The precision drill was advanced until the pyramidal process of the palatine bone was encountered. A 2.0mm pterygoid osteotome was then placed in the osteotomy and advanced to the end of the osteotomy. The osteotome was removed and replaced with a 3.0mm pterygoid osteotome which was also advanced to the end of the osteotomy. A *** mm pterygoid implant was then hand-driven into place with excellent primary stability. A ** * mm pterygoid implant was placed in the L maxilla, at approximately site #15, in an indentical fashion and with excellent primary stability. Attention was then directed to the anterior maxilla where parallel osteotomies were created approximately at the lateral incisor positions. Manufacturer recommended osteotomy sequence was followed and * * * mm implants were placed in the #7, 10 sites with excellent primary stability. Attention was then directed to the #5 site were an osteotomy was created with the precision bur angulated below the floor the maxillary sinus and engaging the lateral nasal wall at the apex of the osteotomy. Manufacturers recommended osteotomy sequence was followed and a * * * mm implant was placed at the #12 site with excellent primary stability. A * * * mm implant was then placed at the #12 site in an identical fashion. Multinunit abutment try-ins were then placed on the implants and the implants were timed so that anticipated access hole position was within the occlusal table of corresponding planned tooth position on troughed denture template. Implants were then profiled as needed and multiunit abutments were secured in place. Comfort caps were placed on multiunit abutments. Palatal silk suture was removed. Tissue punch was used as needed on palatal mucosa to expose the top of the MUAs. Soft tissue flaps were then reapproximated with 3-0 chromic gut sutures.
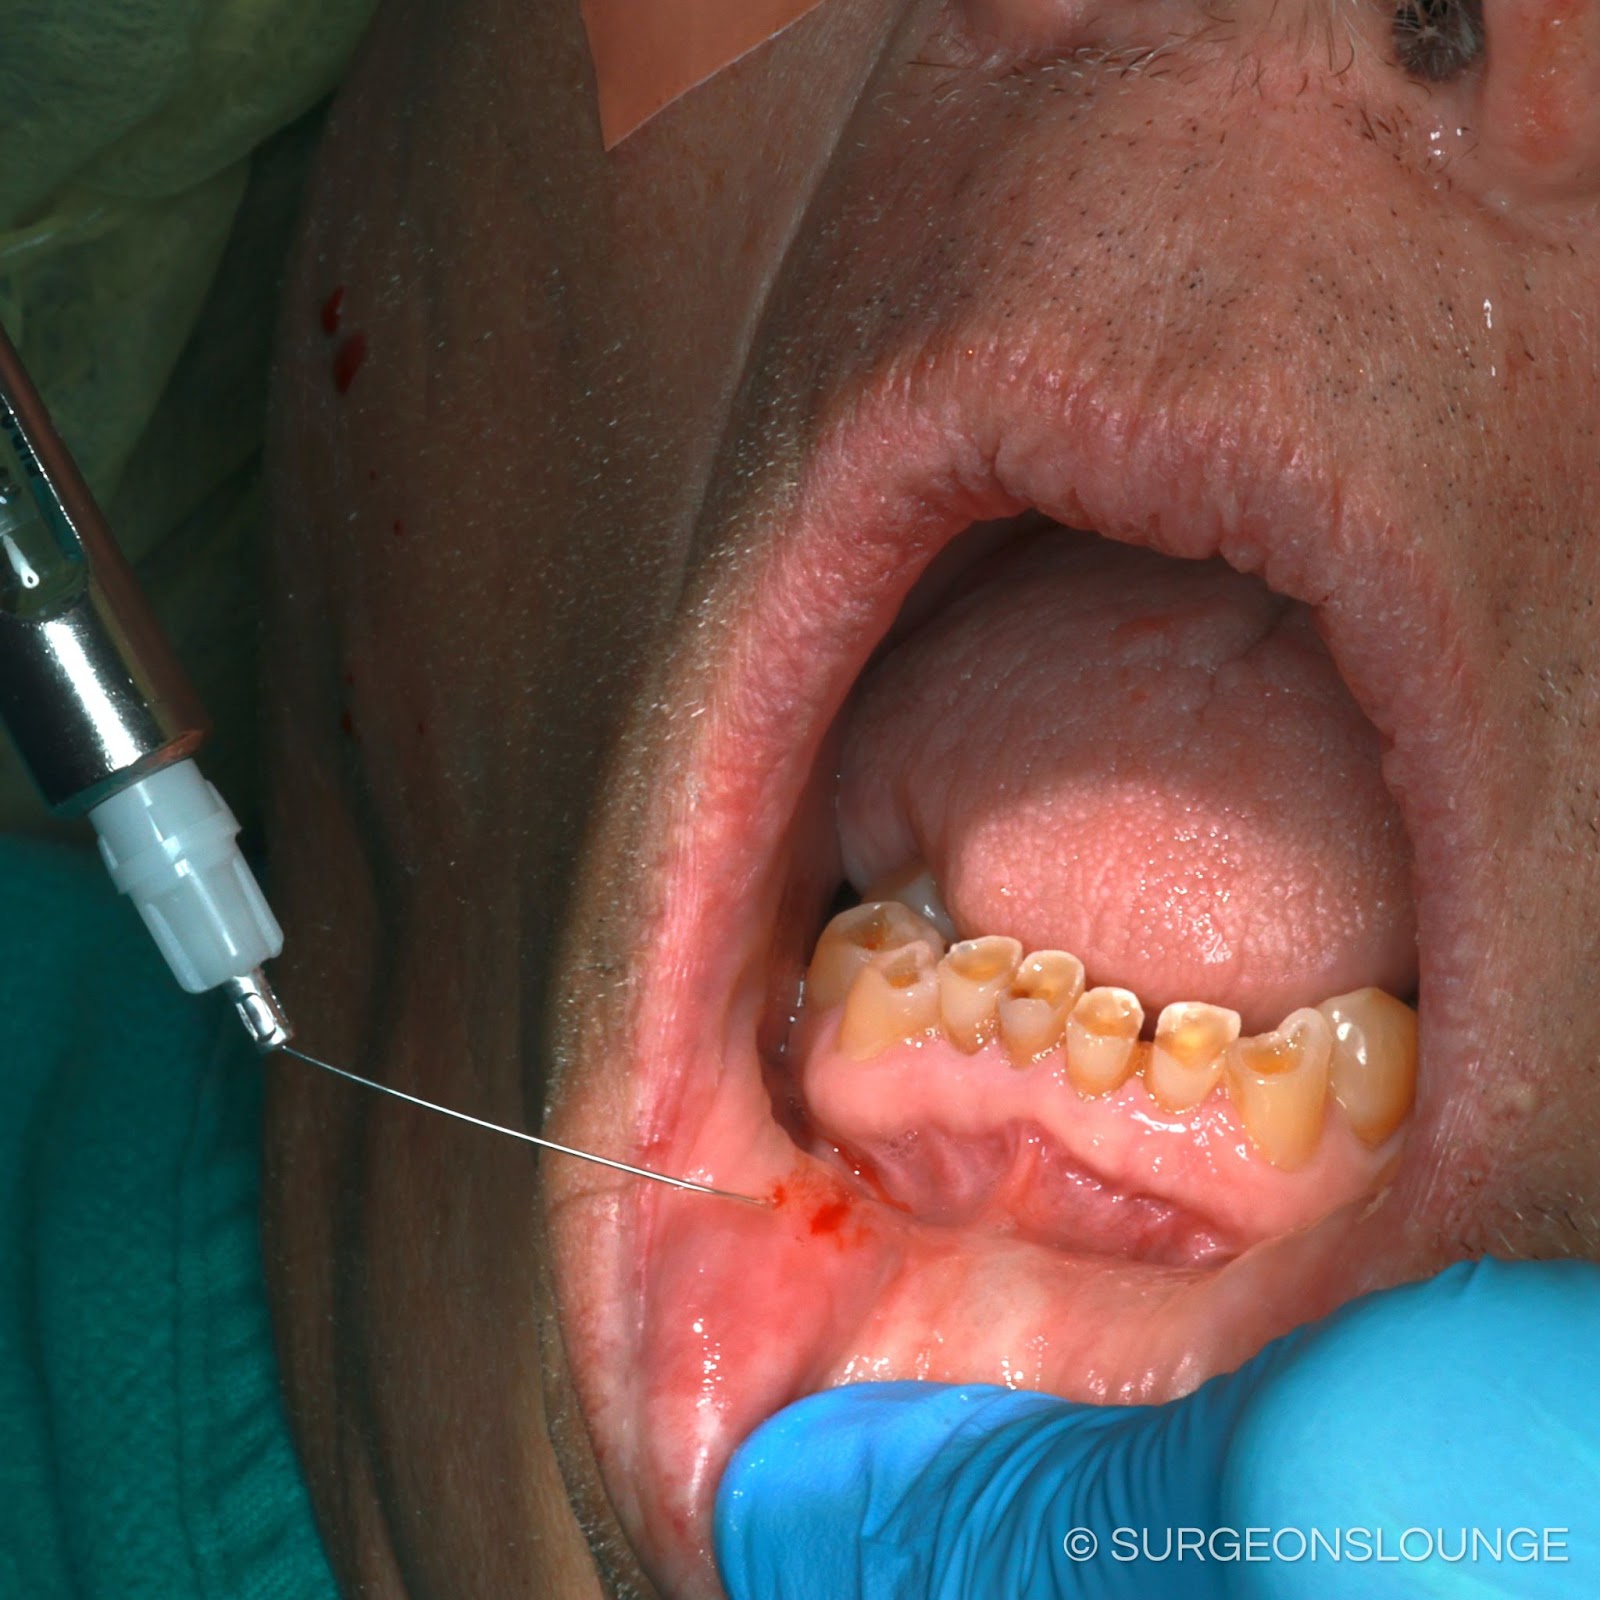
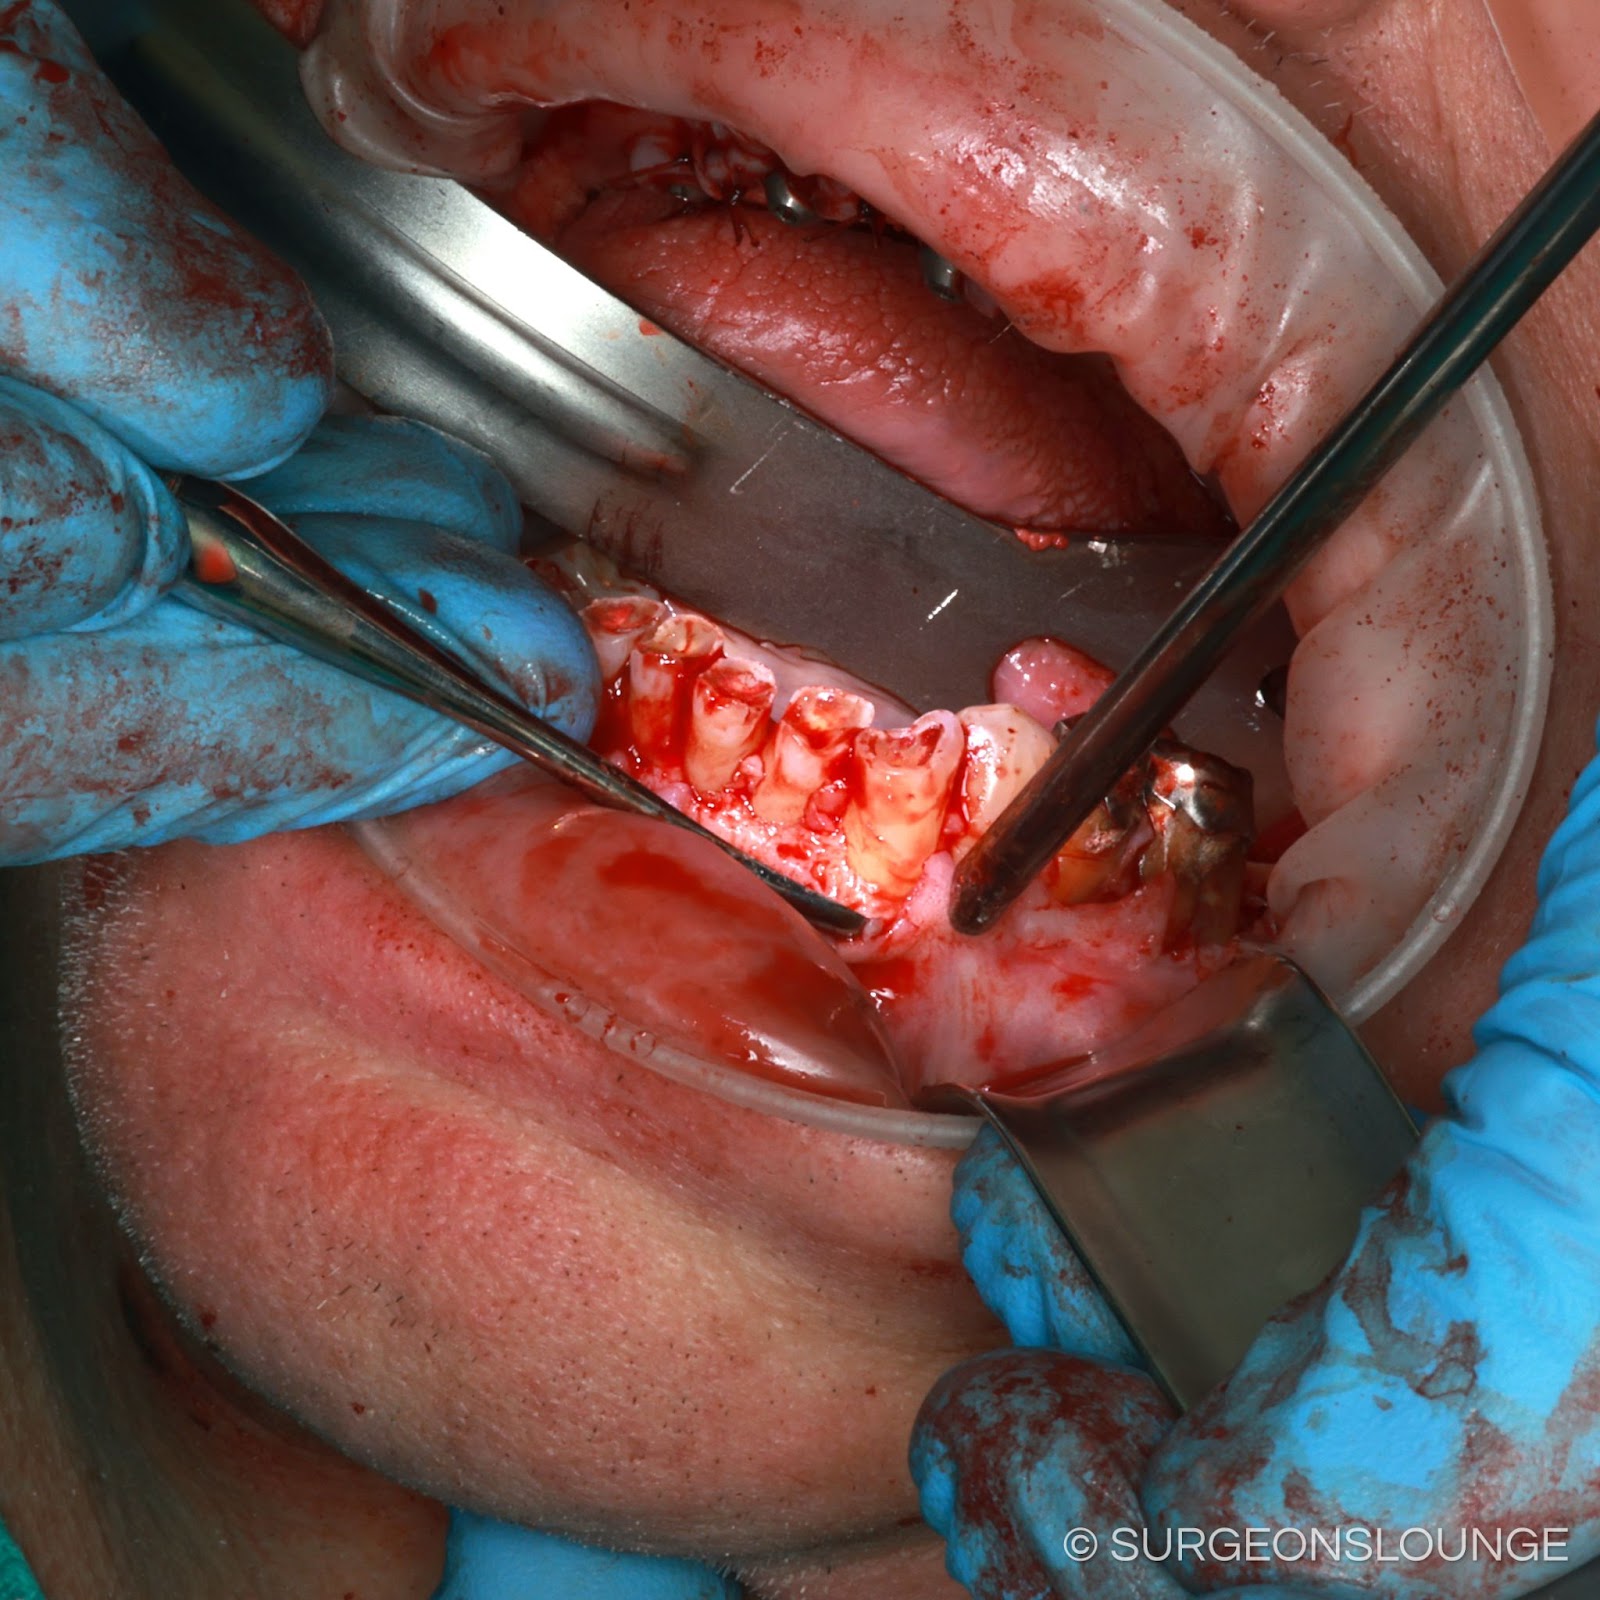
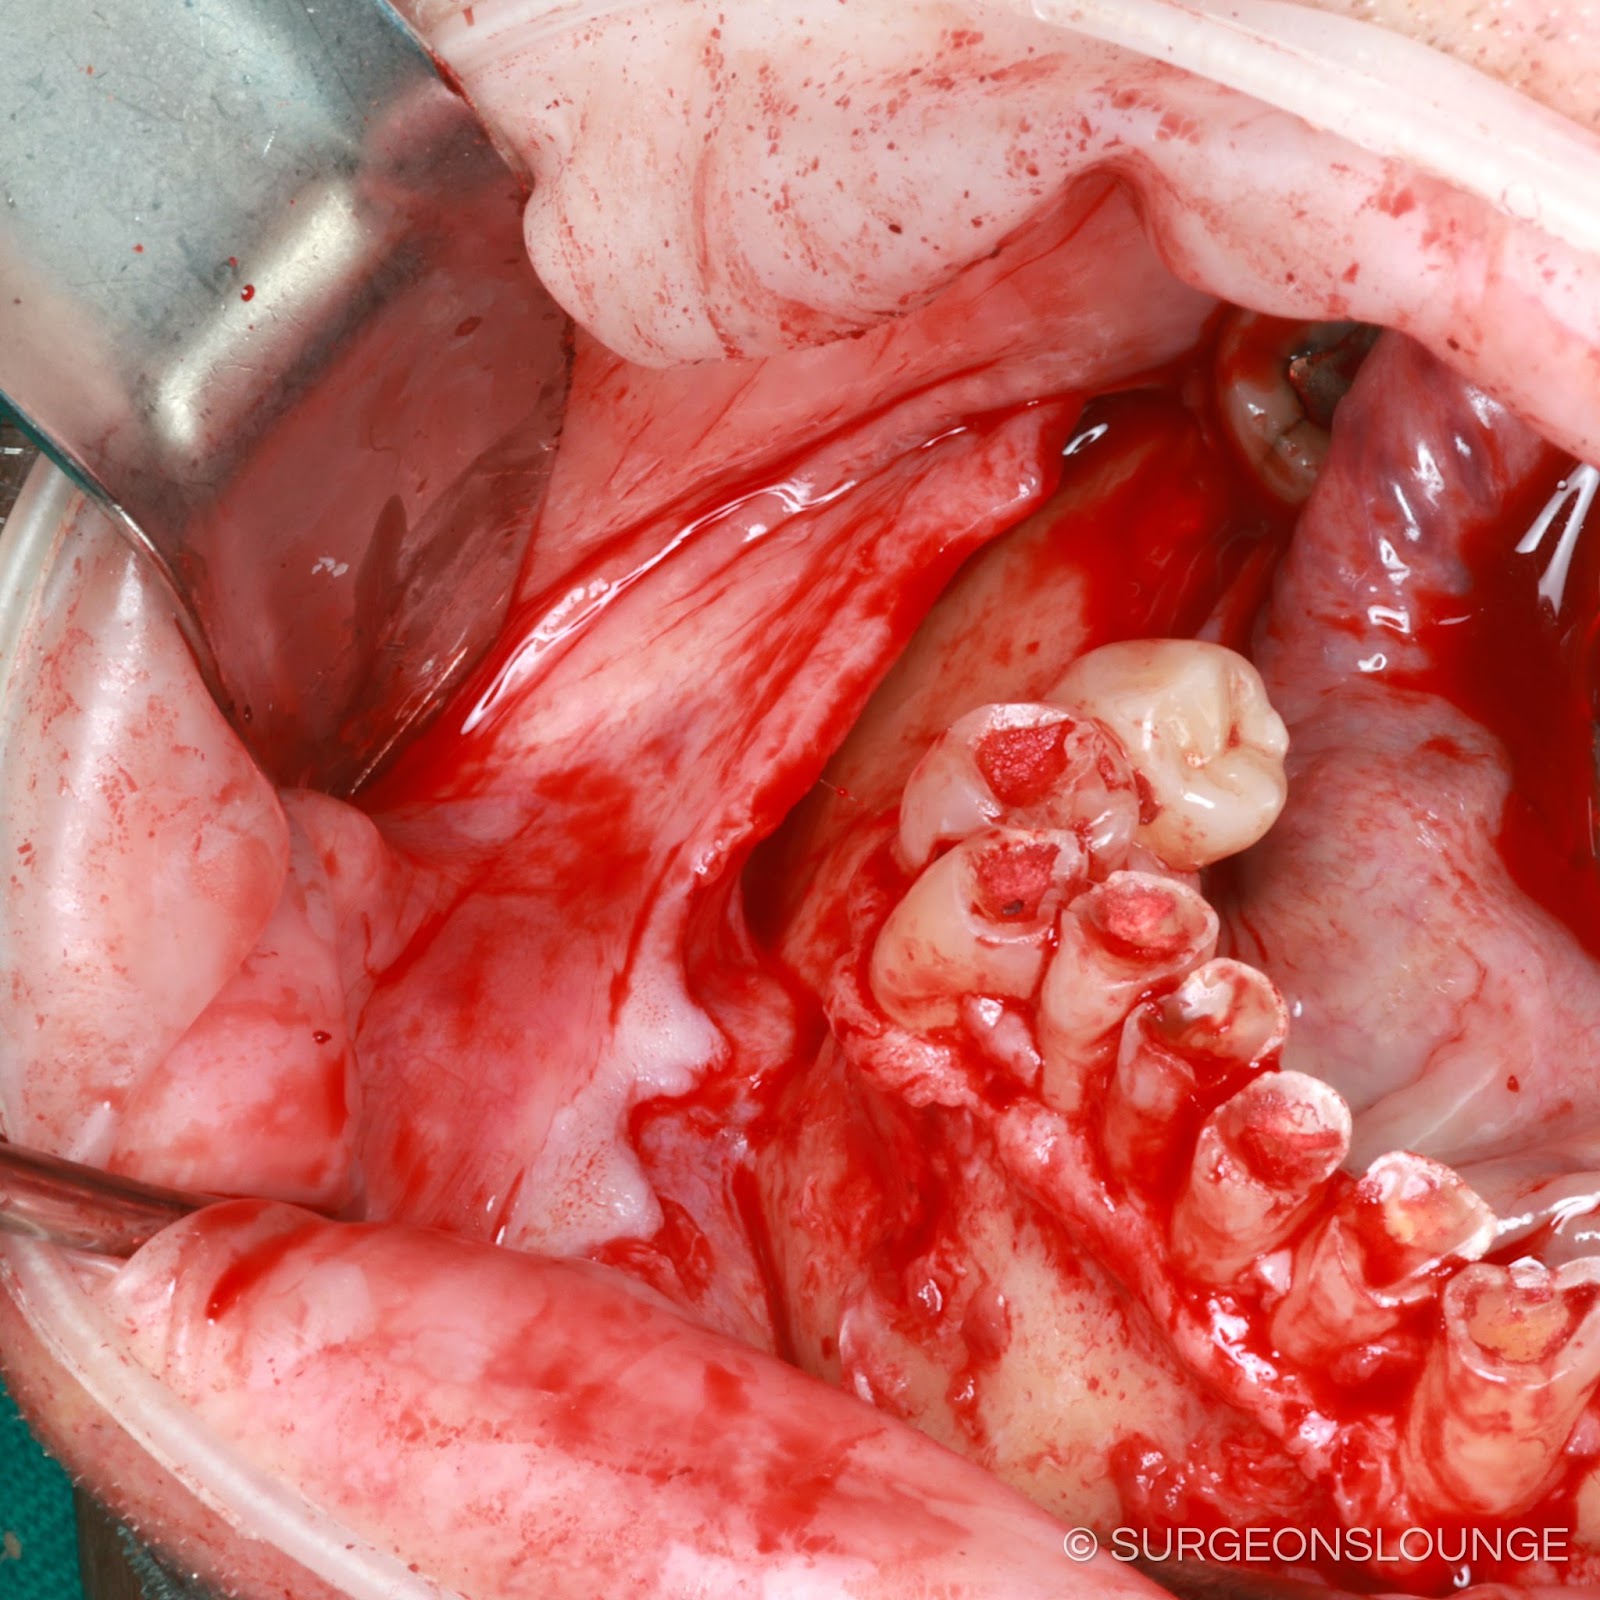
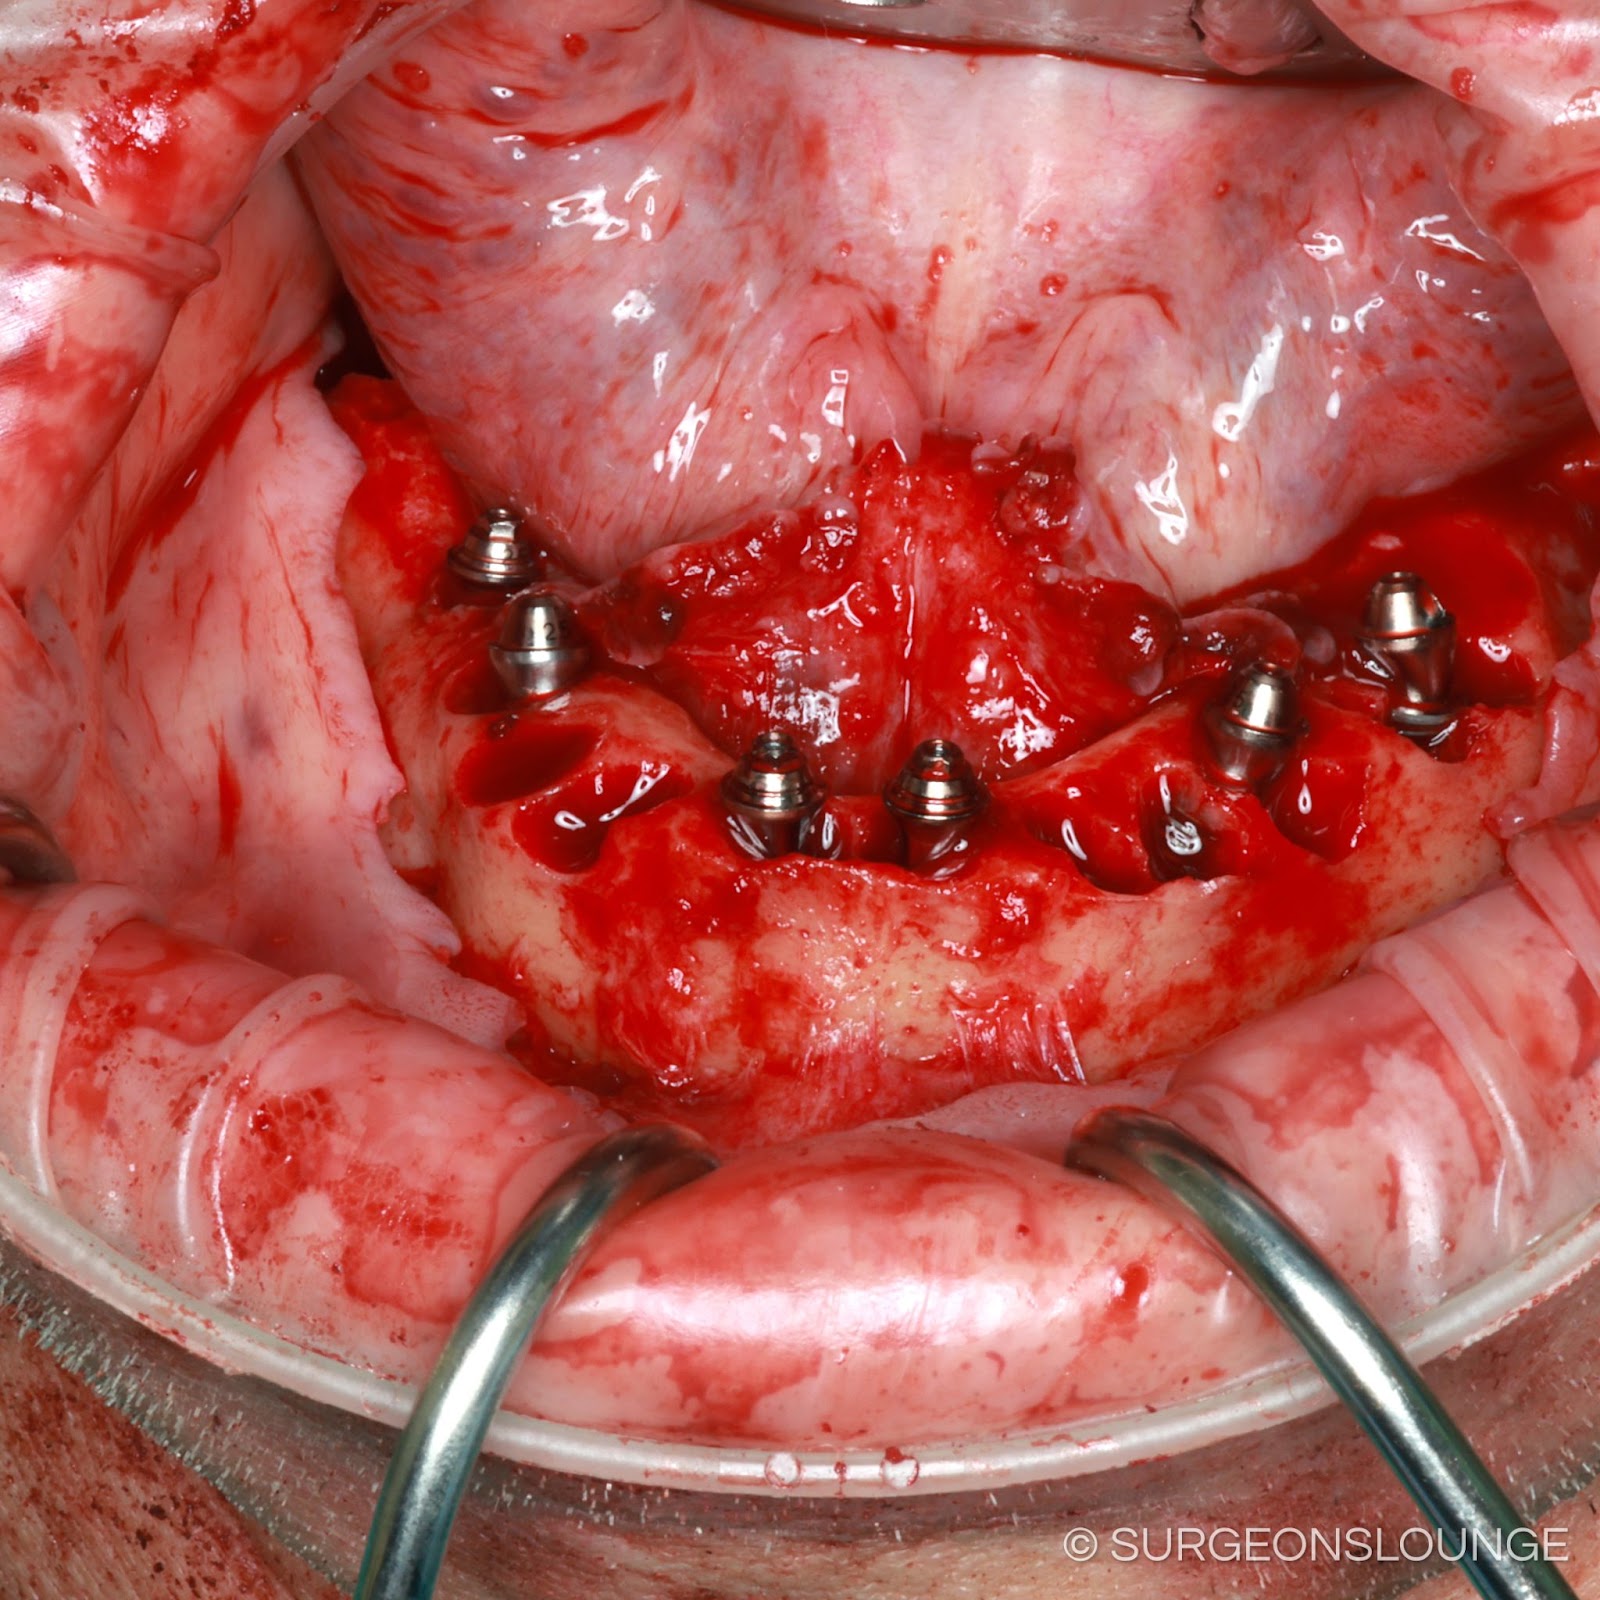
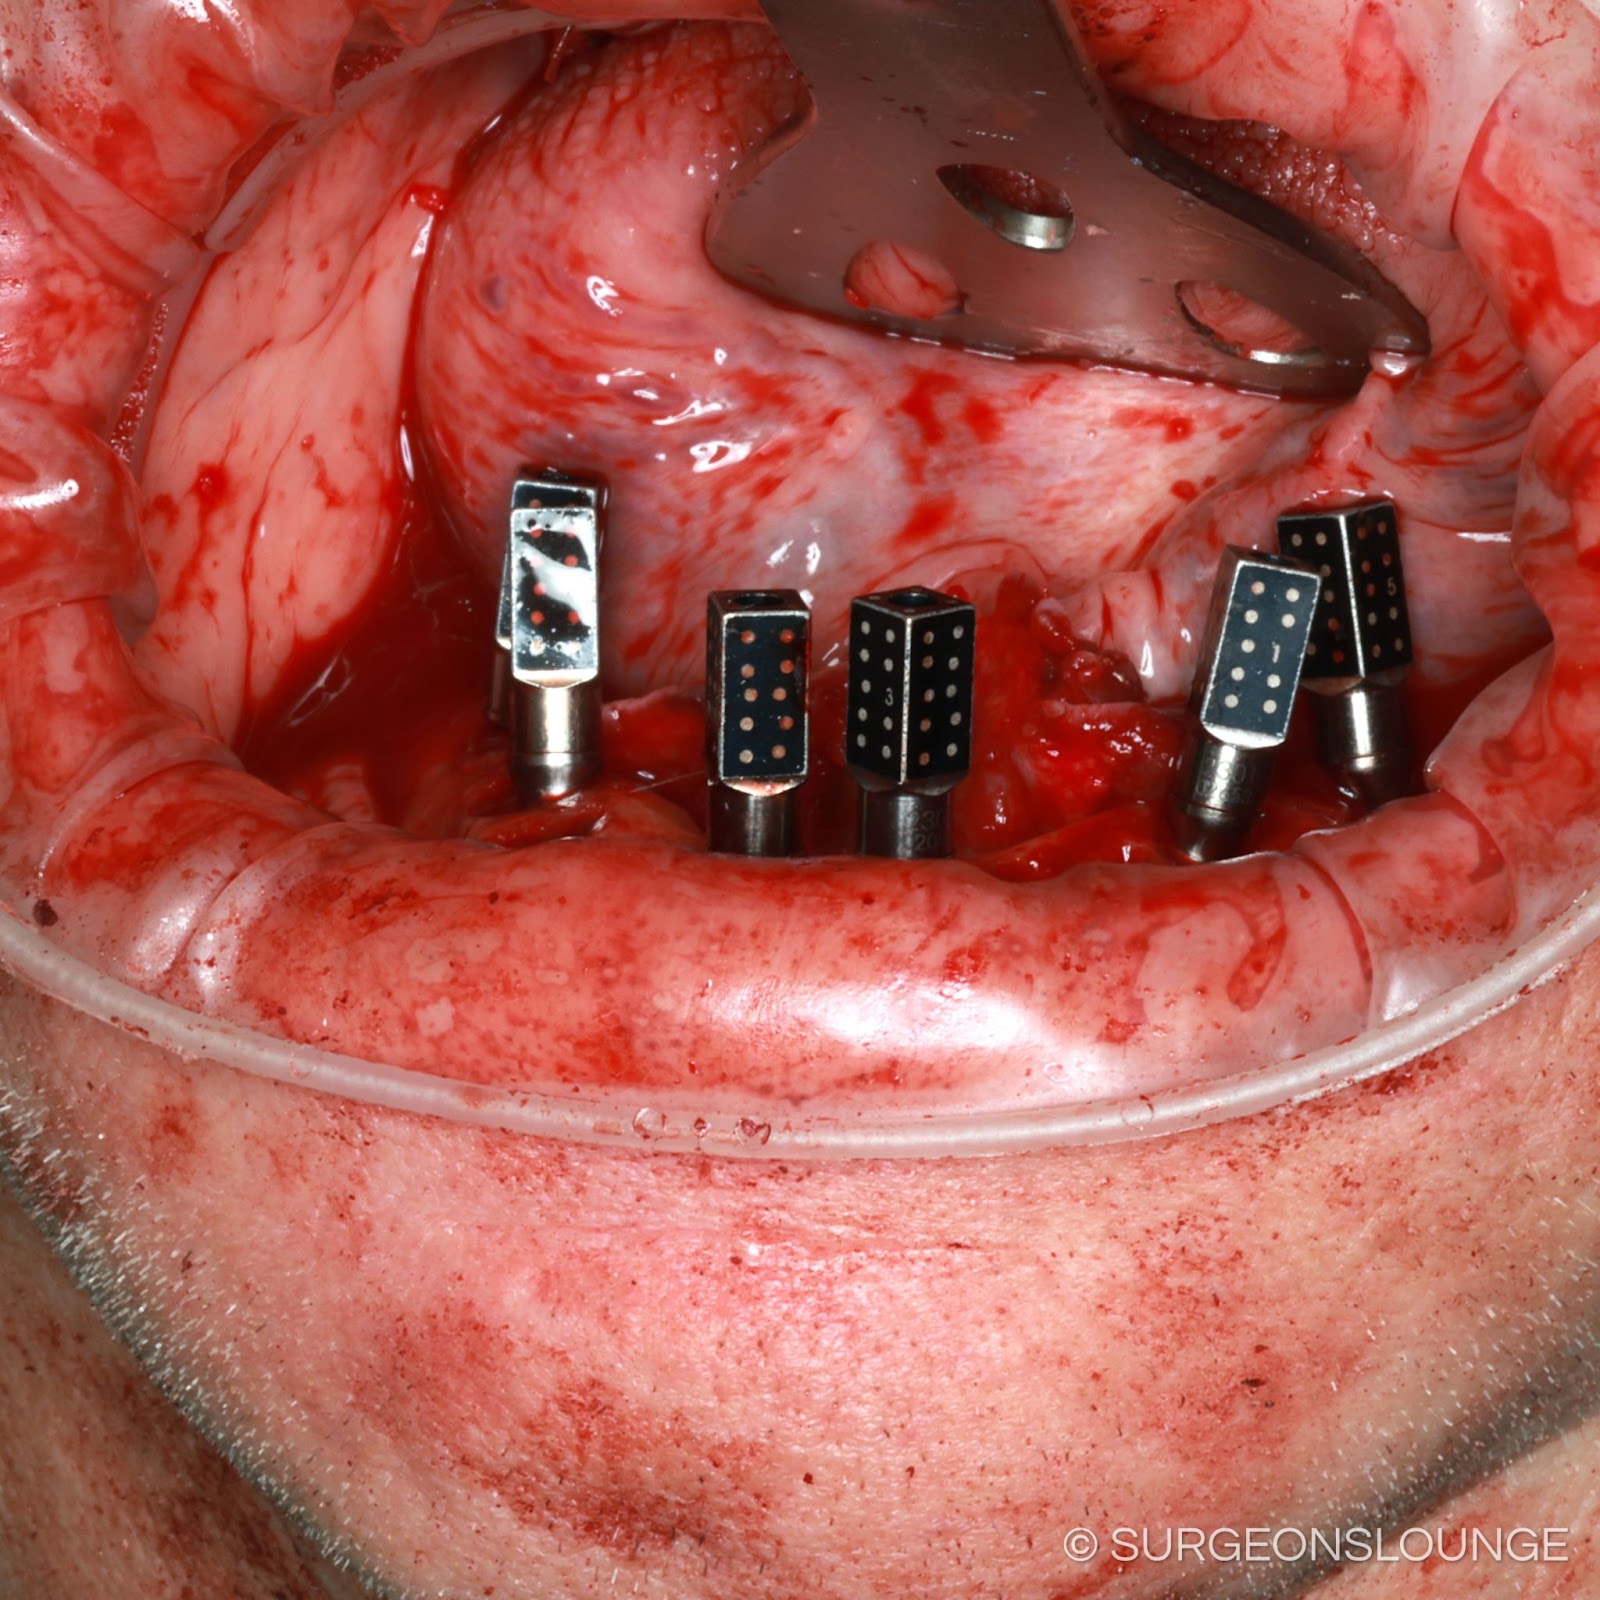
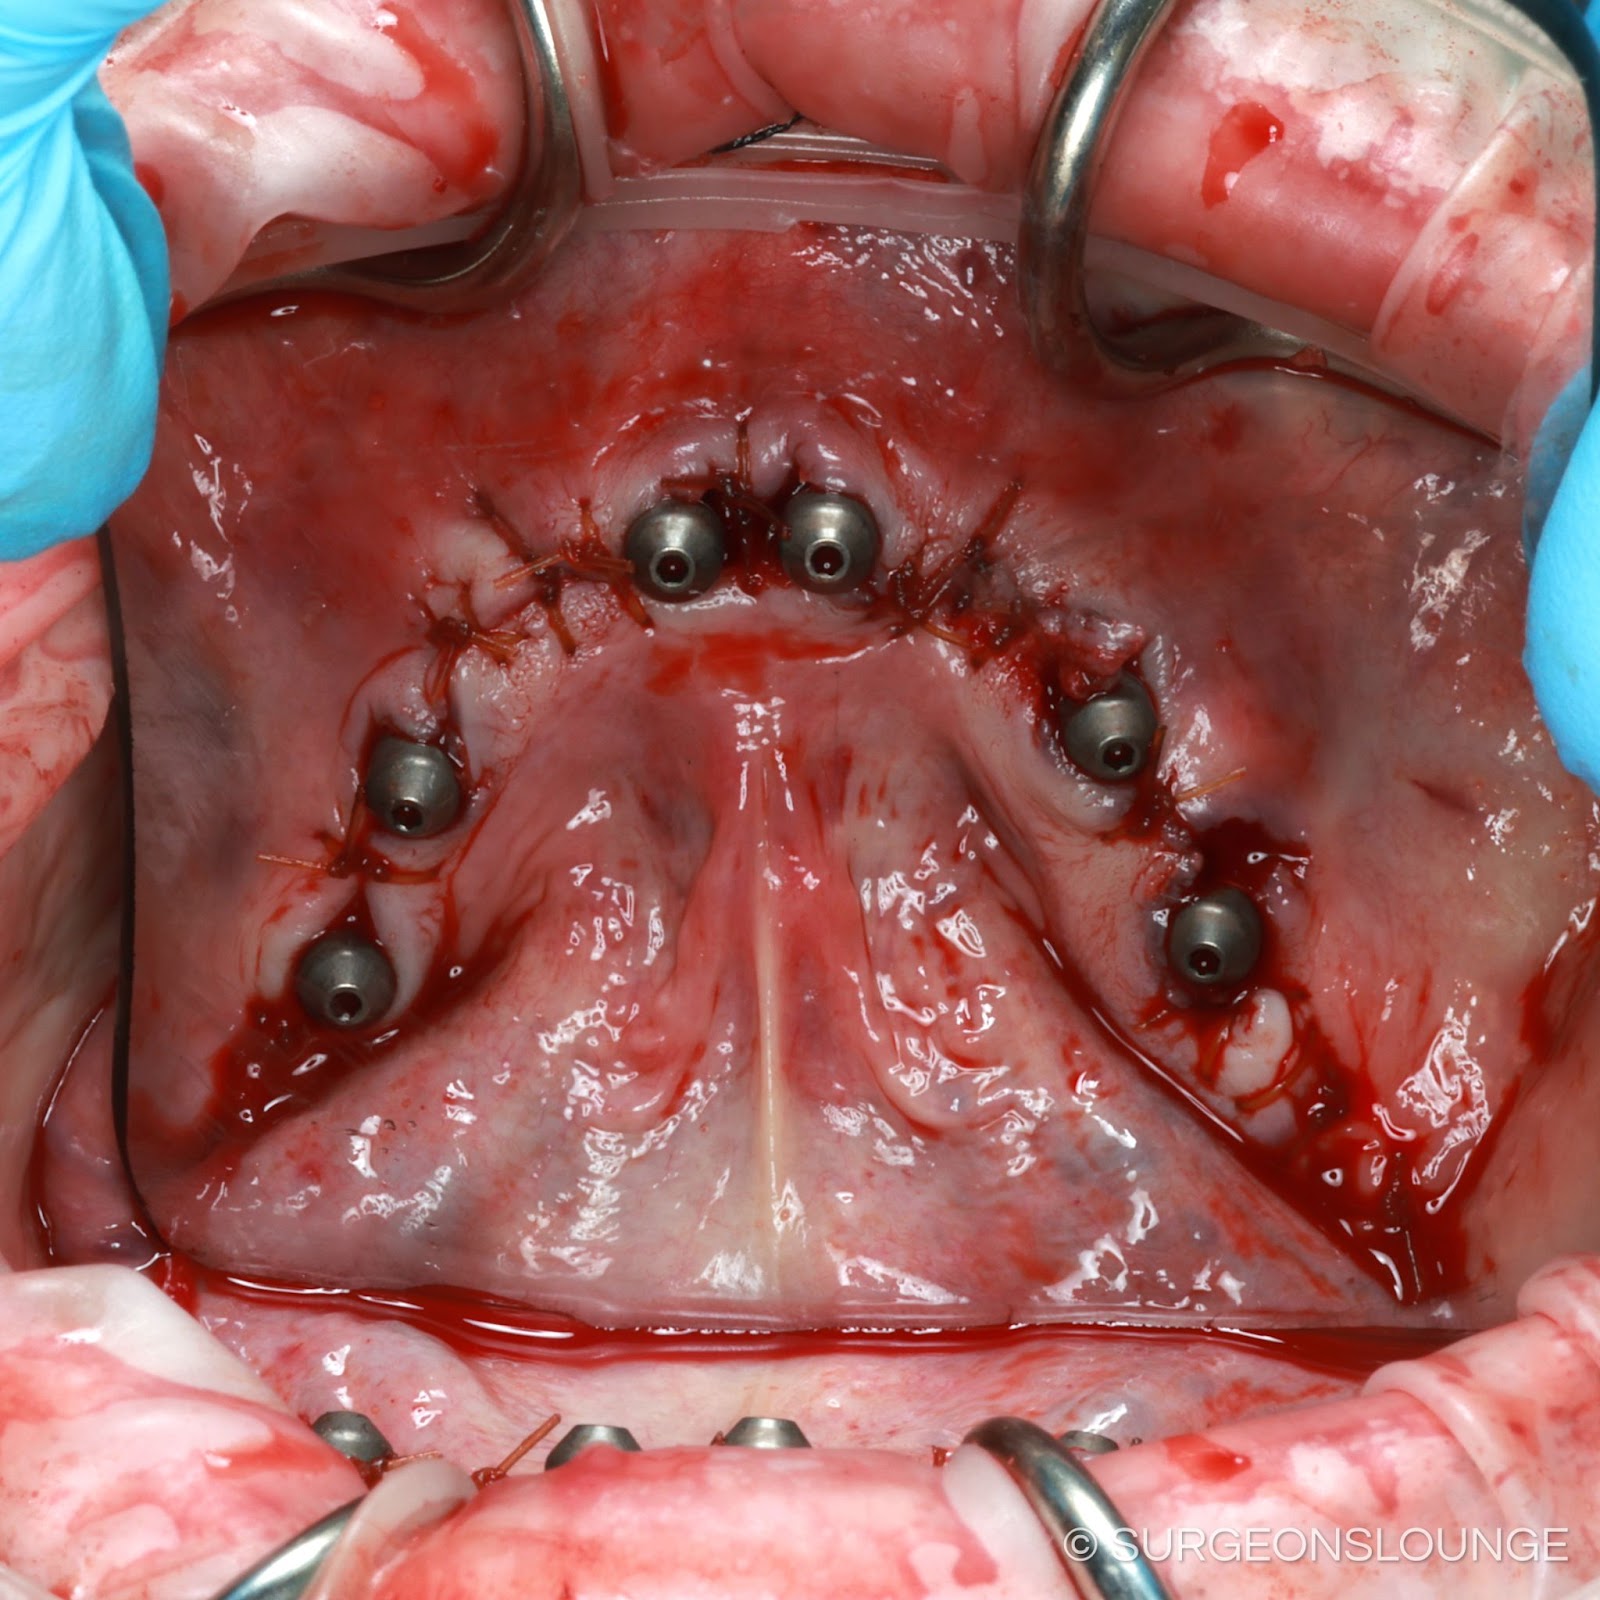
Attention was then directed to the mandible where **cc 2% Lidocaine with 1:100k epi was administered as local infiltrations and *** blocks. A 15 blade was used to create a full thickness incision extending between the retromolar pads bilaterally. Full thickness mucoperiosteal flaps was then raised with care taken to identify and protect the bilateral mental nerves. Under copious normal saline irrigation, a fissure bur in a surgical handpiece was then used to remove interproximal bone around remaning teeth to aid in extraction. Remaining teeth # *** were then extracted with dental elevators and forceps in total and without complication. Troughed denture surgical template was then used to mark the required bone reduction. A combination of rongeurs and surgical handpiece with pineapple bur were used to reduce and smooth bone to desired level. *** mm implants were then placed at sites #23, 26, 20, 29, 18, 31 with excellent primary stability. Implants at sites #20, 29 were angulated so as to avoid the anterior loop of the mental nerve. Multinunit abutment try-ins were then placed on the implants and the implants were timed so that anticipated access hole position was within the occlusal table of corresponding planned tooth position on troughed denture template. Implants were then profiled as needed and multiunit abutments were secured in place. Comfort caps were placed on multiunit abutments. A 701 bur was then used to drill several holes in the facial cortex of the mandible evenly spread out throughout the arch. 3-0 chromic gut suture was then passed through the facial flap, bur hole, and lingual flap so as to secure facial flap and keratinized gingiva down to their new position following bone reduction. Remaining soft tissue was also closed with 3-0 chromic gut sutures.
The patient's face was then cleaned and the posterior pharynx was suctioned. An OG tube was used to suction out the contents of the stomach. Tegaderms were removed from the eyes. The patient was then transferred back to the care of the anesthesia team for extubation and recovery.
Coding
Forms


